Introduction to GIMP Blend Tool
Blend tools can be considered gradient tools in GIMP, allowing you to blend more than two colors to get exciting color mesh up for different purposes. In previous versions of GIMP software, you will find this tool named Blend tool in the tool panel, but in the latest version that is 10.2, you will find it with the name Gradient tool. We can also use the Blend tool in the blending of two images with each other. Today in this article, we will discuss different parameters of this tool and get knowledge about how we can edit it as per our requirement.
How to use the Blend tool in GIMP?
We can use the blend tool in many ways, such as we can make a nice color blended background, blend two images for their manipulating purpose, and some other things. So let us understand the working of this software through some examples.
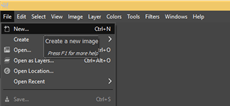
Now create a new document for learning about this topic. For this purpose, go to the File menu and click on it. Click on the New option of the scroll-down list.
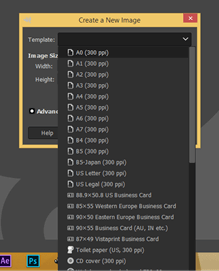
In the dialog box of creating documents, you will have different preset sizes. You can choose any one of them.
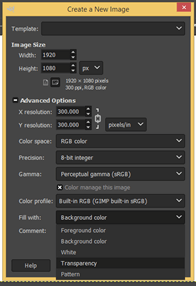
Or you can enter your own value of document size. Now go to advance setting options and choose the Transparency option from the ‘Fill with’ option.
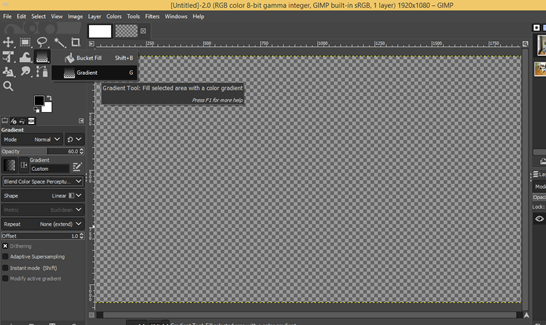
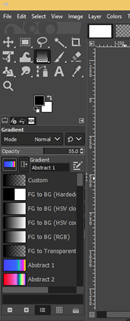
Now we have a transparent background in the image or document window of this software. Now take the Gradient tool from the tool panel, which is a blending tool in this version. You can also press the G button of the keyboard as a short cut key.
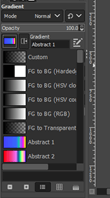
Now take a preset gradient from this list. I will choose the Abstract 1 option.
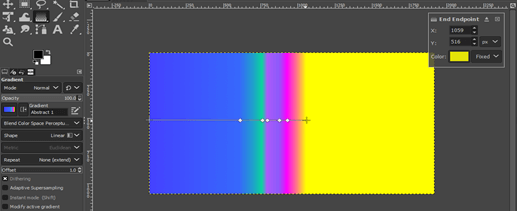
And for drawing gradient with blend tool, just click on the starting of the document on the left side, then drag it into the opposite side.
Colors of the blend tool will blend as you go forward in the chosen direction.
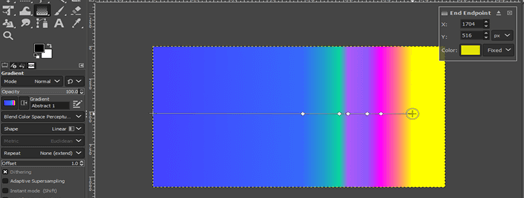
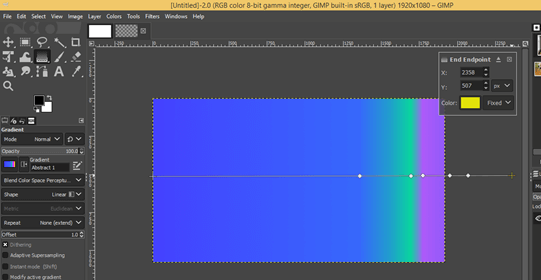
You can also go out of the document area for the blending effect.
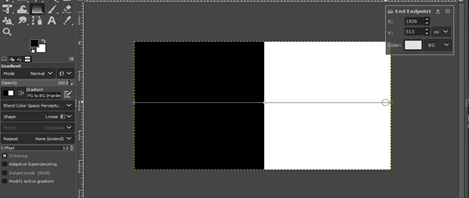
Now let us take another preset, FG to BG (Hardedg), which means you will have a hard blending edge of color.
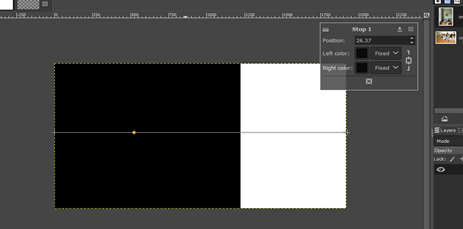
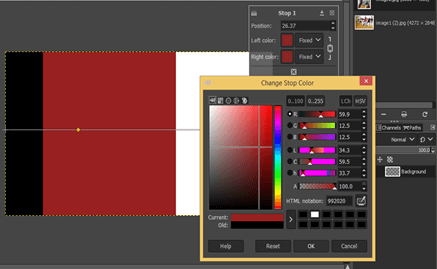
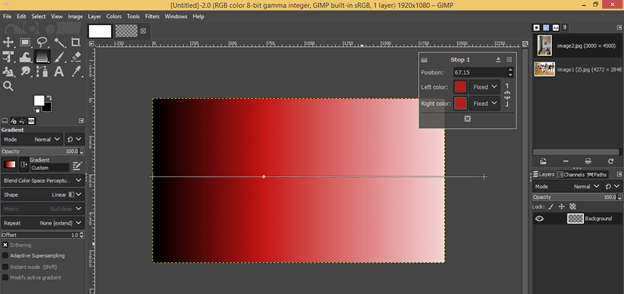
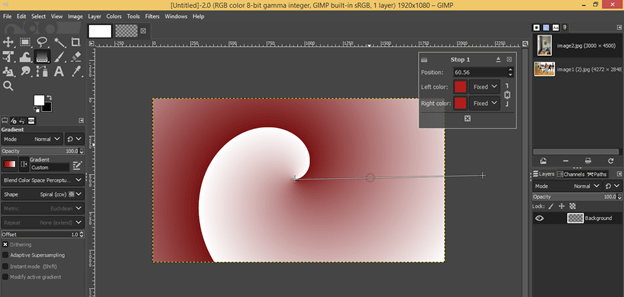
You can add one or more blending color points anywhere on the blending line of this draw gradient. For adding a point, move the cursor on this line, and you will see plus sing with the circular cursor.
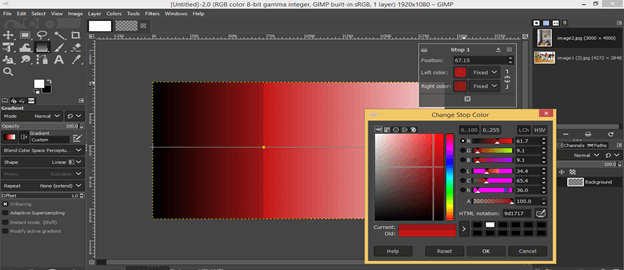
And make a click on that place, and the blending color point will be at that place. Once you add it, you will have a dialog box named stop 1 on the upper right corner of this document. Through this box, you can change the color of the blend at the left and right sides of that added point.
So make a click on the Left Color box, and you will get this ‘Change Stop Color’ box. Choose your desired color from here.
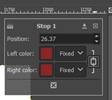
You will have the same color in both the left and right color option because the chain-link button is On.
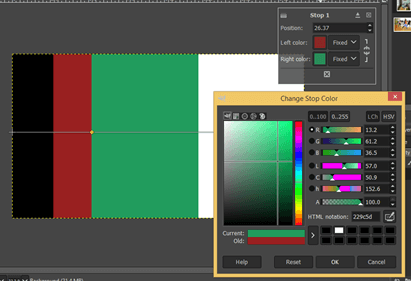
Make a click on this link button to separate both colors, and you can choose a different color for the right color.
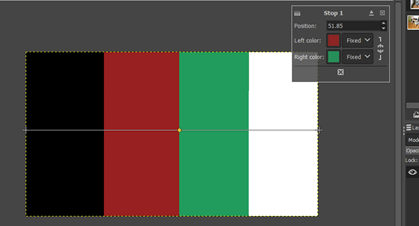
You can drag your added option any time for increasing or decrease chosen color areas.
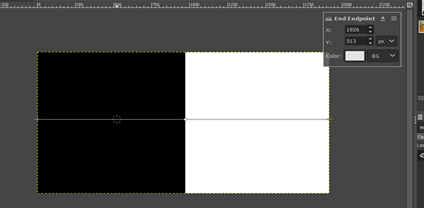
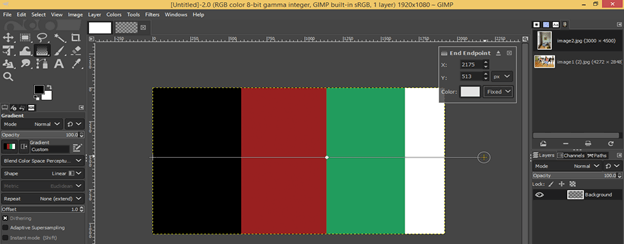
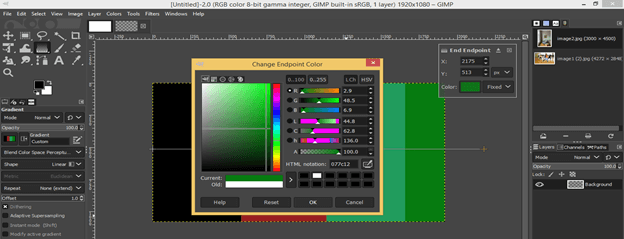
If you want to change the end color, then click on the plus sign on the end cursor.
And change color from color box.
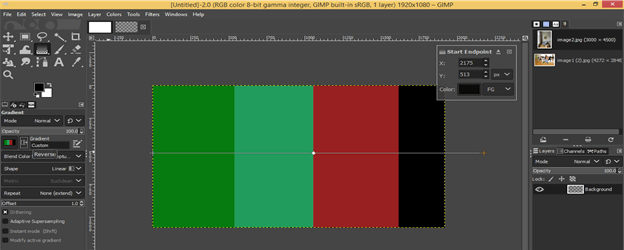
You can do the same with the first color.
Now let us switch to this gradient preset.
And change its color.
You will also get hardedge if you take two different colors on both sides of your added blend color point.
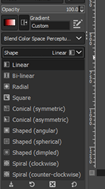
We have a different type of shape of the gradient of the blend tool here on this list.
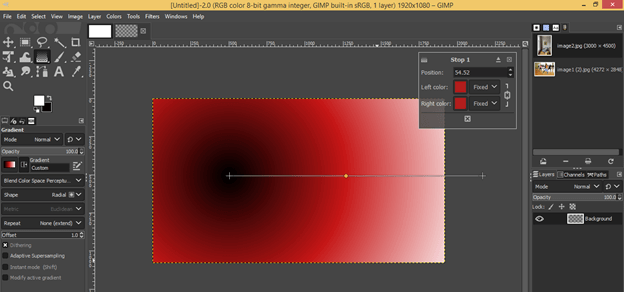
If you choose the Radial option, you will get this type of gradient effect.
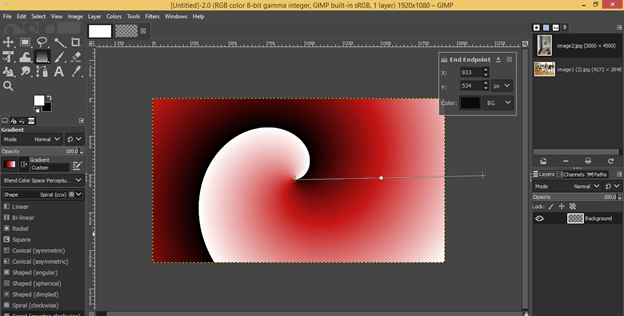
In the inspiral shape, you will get this.
If you want to delete any added point from the gradient line, then just hold it with the mouse left button by click on it and drag into the upward/downward direction and when you see the color has gone off that point, then release the mouse button.
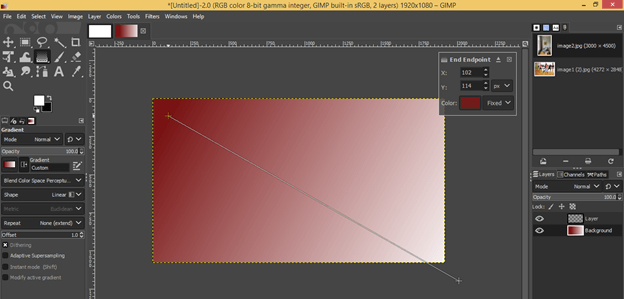
You can also draw a gradient in a diagonal direction by moving the gradient line’s start and endpoint.
How to Edit drawn gradient of blend tool?
It is difficult to edit a drawn gradient after going on a new layer for different work. But we can do another thing for editing purpose.
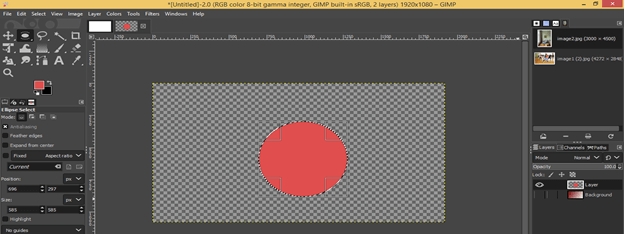
Let us have a new layer and draw a circle like this.
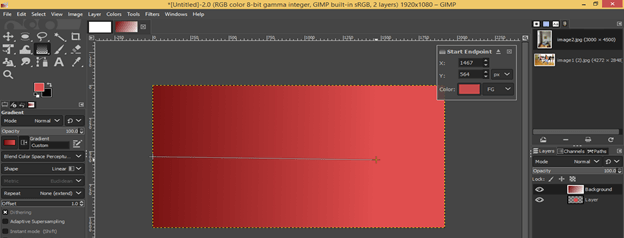
Now go to your gradient layer, and when you take the blend tool for editing your drawn grading, you will enable to do that. In place of editing, it will draw a new gradient like this.
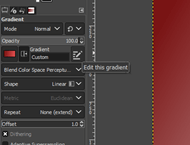
So for editing, make click on this button.
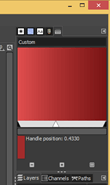
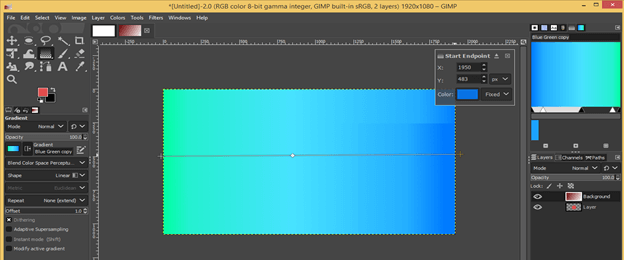
You will have a gradient editor box on the right side of the document area.
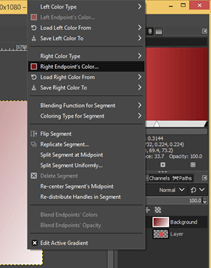
Make a right-click on this box, and you will have a different option for changing its color.
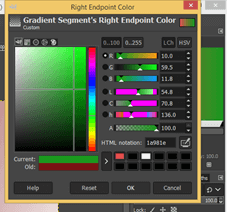
Choose your desired color.
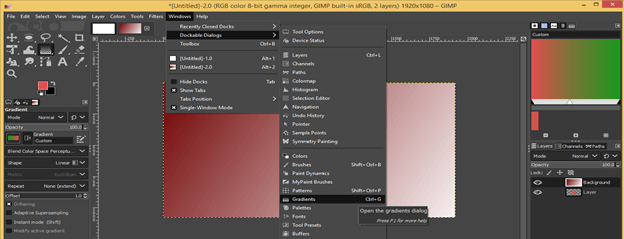
Or you can go on the Windows menu, then one Dockable Dialogs option and chose the Gradients option from the scroll-down list.
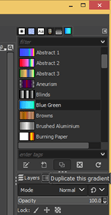
Now you will have different presets of gradient here. Just select any one of them and click on the Duplicate button for duplicating it for your use.
Now after setting colors, you can redraw the gradient on your layer. I will suggest you choose proper colors for your gradients during blending work so there will be less need for editing in the future.
How to use the Blending tool in Image Manipulation?
We can also use a blending tool in image manipulation, so let us discuss it.
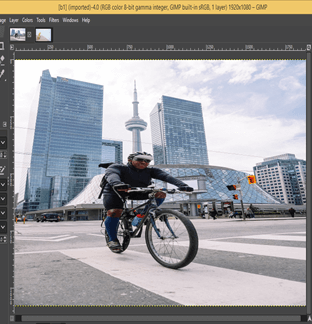
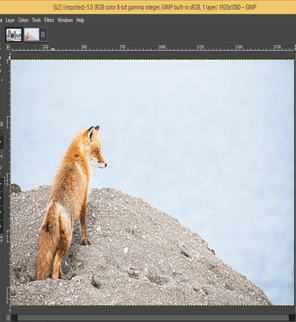
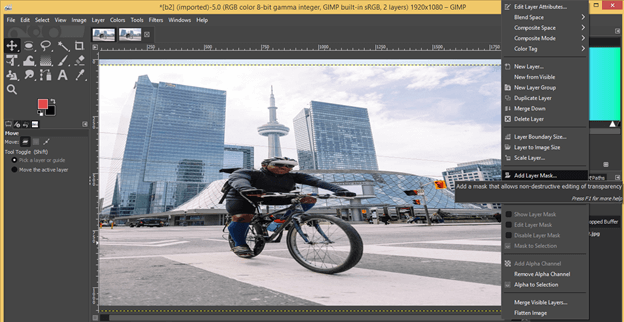
For this purpose, I will take these two images.
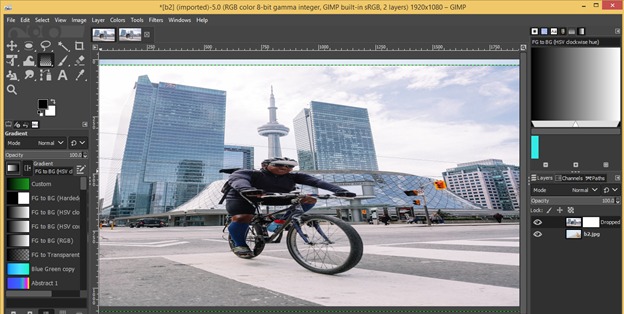
Take both images in one composition and add a layer mask on the top layer.
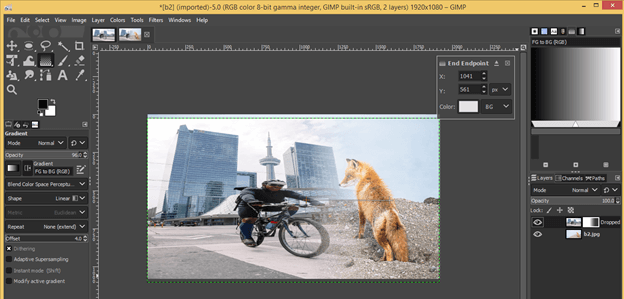
Now choose this gradient which is FG to BG, and make sure there is black as the foreground color and white as the background color in the color box.
Then draw the gradient on the layer mask, and you will get this type of blend effect of these two layers. Adjust gradient according to you for more effective image blending work.
Conclusion
Now you have good knowledge of blending tools along with command on different manipulation parameters of it. You can also edit your gradient after going through this article and use it in your image manipulation work by going through different shapes and parameters of the gradient of the blend tool.
Recommended Articles
This is a guide to the GIMP blend tool. Here we discuss How to use the Blend tool in GIMP and How to use it in Image Manipulation. You may also have a look at the following articles to learn more –
