Introduction to GIMP Crop
The crop is used for cutting your desired area from any image or deletes unwanted area from your image by using the Crop tool of GIMP, or we can also do cropping of the area by using some of the options of a different menu of the menu bar of GIMP software. We need to crop our image because most of the time, we haven’t got the desired perspective of our image during its shot, or there may be some other minor faults. We can also go with the crop tool for doing other manipulation work of image in GIMP. So let us have a look at these features and parameters of the crop tool.
How to do Crop in GIMP?
We can do crop in gimp by using crop tool as well as some options of Image menu of the menu bar. We will understand both of them one by one in this article. So for starting our learning, let us have an image which we want to crop according to us.
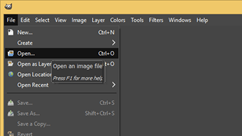
To open an image in gimp, go to the File menu of the menu bar, which is at the top of the user screen and click on it. Click on the Open option of scroll down list or go with Ctrl + O as short cut key.
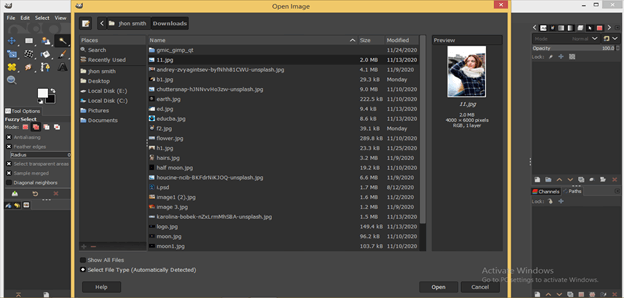
Now choose your desired image, which you want to crop from this dialog box and hit on Open button once you choose it.
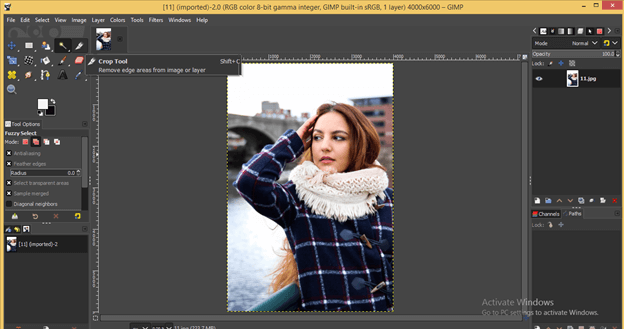
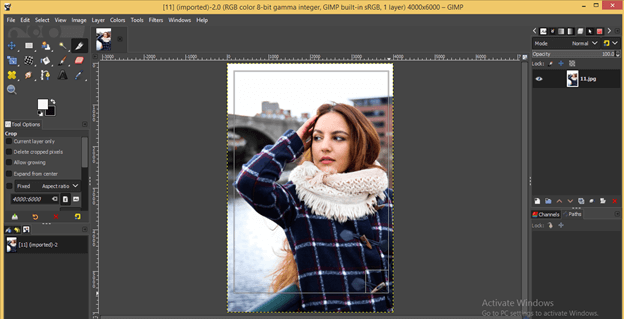
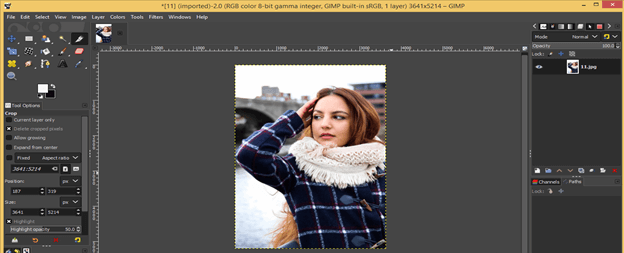
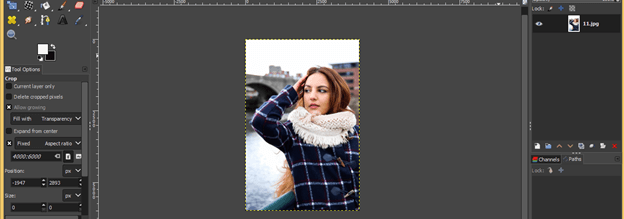
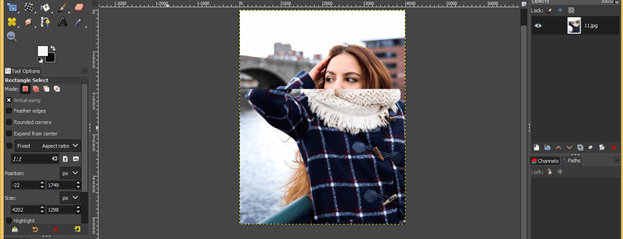
I will choose this beautiful model image. You can identify the Crop tool with this icon in the Tool panel of gimp, which is on the left side of the user screen. You can also press Shift + C as short cut key for this tool.
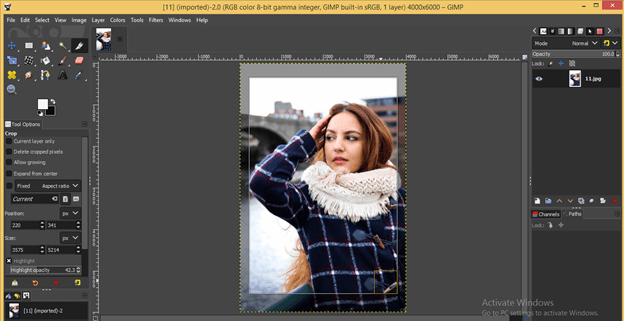
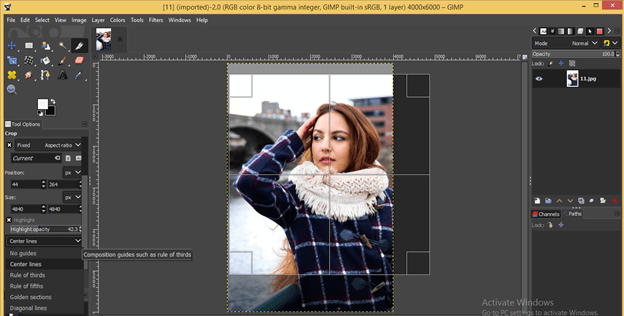
Now go to your image in the display window area, drag the mouse cursor of the crop tool like this, and select the area you want to crop.
When you release the mouse button after dragging this selection box, the area beyond this box will become less visible or has less opacity value, and that will be deleted after cropping.
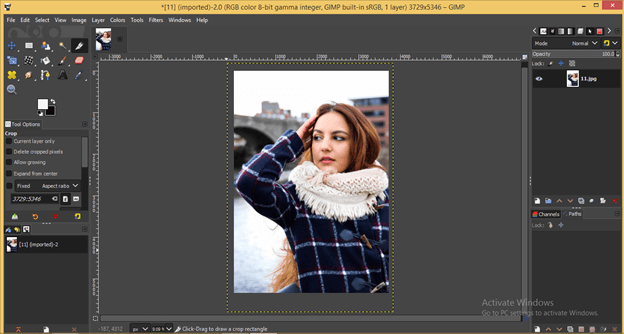
Hit Enter button on the keyboard for applying crop, and it will crop your selected area like this.
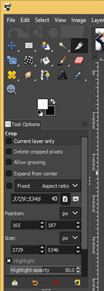
Now let us understand the parameters of the crop tool for getting better knowledge about this tool. These are some parameters of this tool.
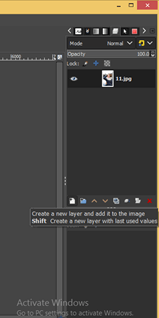
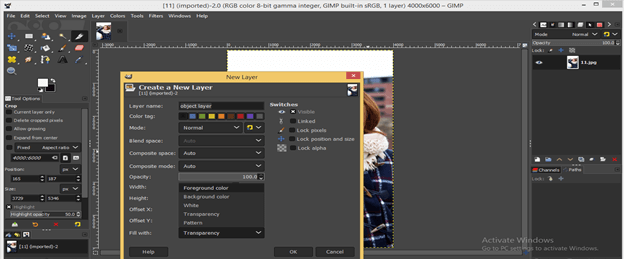
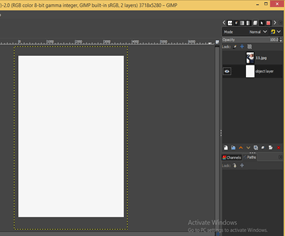
For learning about the first parameters, Let us create a new layer. For creating a new layer, click on Create New button of the layers panel.
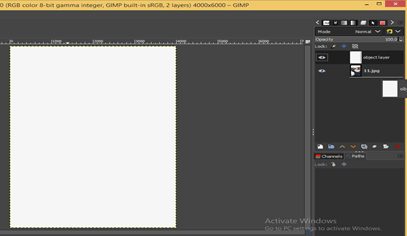
Create a layer filled with any color. I will fill it with white color.
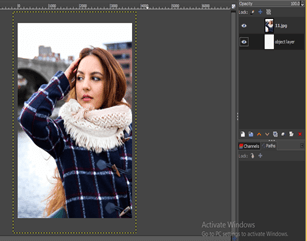
Go to the Layers panel and place it below to image layer.
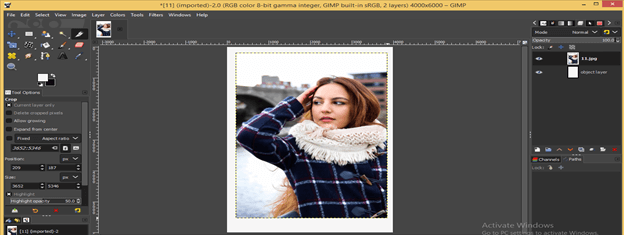
Now take the crop tool and crop this image and you will notice all layers of layers panel will cropped in one click.
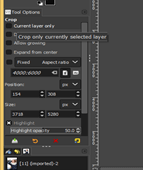
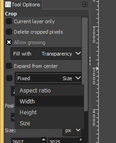
But if you don’t want to crop other layers with your selected layer, then enable the ‘Current layer only’ option in the parameters section of this tool.
And now, this time, it only cropped your selected layer like this. You can see below the layer is not cropped below to image layer with the white fill color.
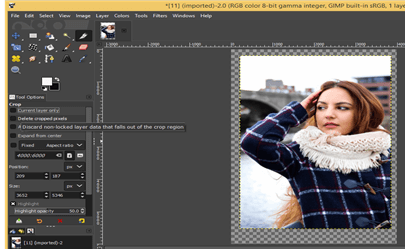
Now let us move to another option of the parameters section, which is ‘Delete Cropped pixels, ’ which means it will delete an extra area of canvas after cropping your images.
Now crop this image again by enabling this option, and it will delete extra space after cropping like this.
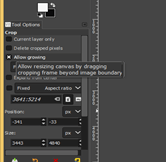
Now enable the next option, ‘Allow growing’ and see its magic on your image.
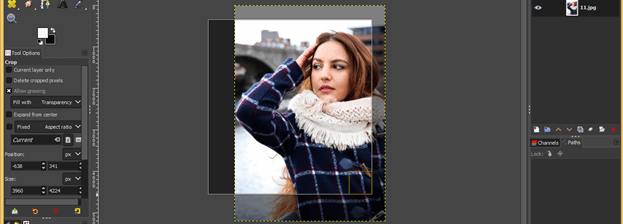
Make a selection with the crop tool, and by enabling this option, you will have an increased canvas area according to your selection beyond the image area.
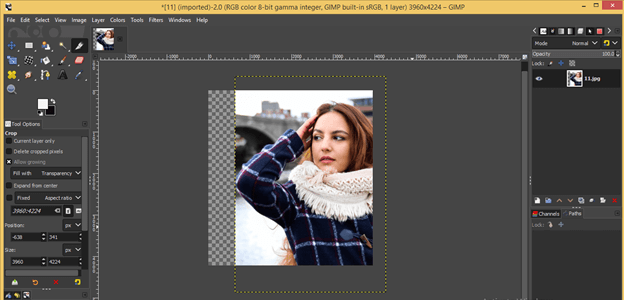
Hit enter button on the keyboard for seeing its effect. There is an extra canvas area added on the left side of the image. You can fill it with any color or pattern for making good use of it.
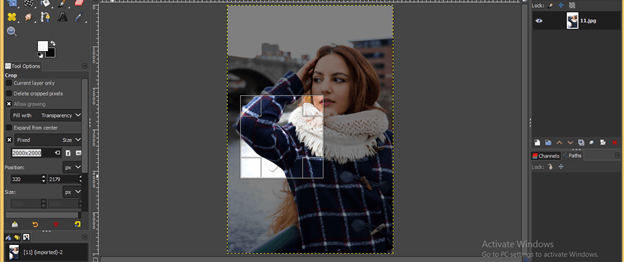
The next option is for having your desired size of crop selection box for croping the exact desired size of your image. Please select the size option from the list and enable it.
And give the value of size according to your requirement. I will give 2000 x 2000 pixels as values as the size of the selection box of crop tool and got this time of the accurate size of crop tool selection box.
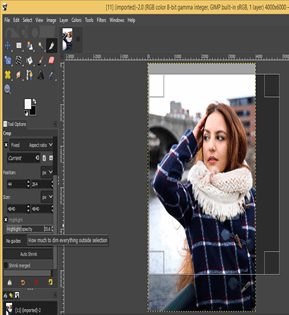
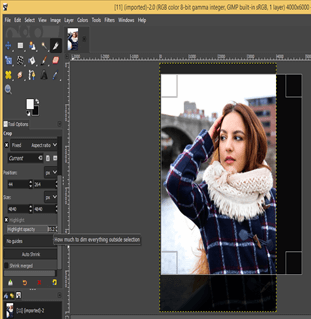
From the ‘Highlight opacity’ option, you can increase or decrease the opacity of area beyond the selection box of the Crop tool by increasing or decreasing its value on the slider.
You can also have guidelines on the selection box of crop tool if you want. You can choose any type of guide from this list. For example, if I choose Centerlines , it will give horizontal and vertical lines at the center of the selection box.
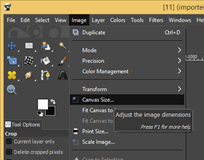
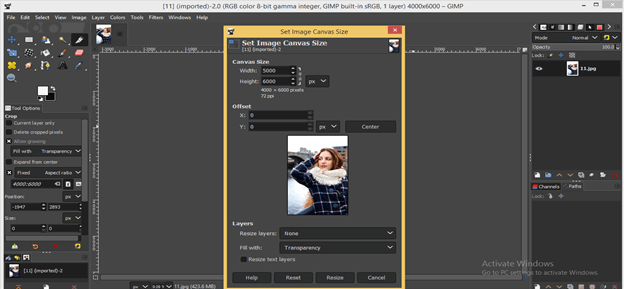
Now let us analyze some crop option of the Image menu of the menu bar. For that, first, let us increase the size of the canvas. For that, go to the Image menu and click on the Canvas Size option of scroll down list.
Increase the size of the canvas a little bit more than the size of the Image and hit on Resize button of this box.
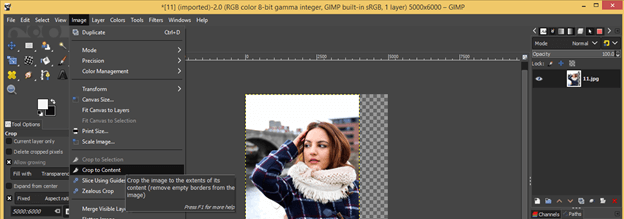
Now again to go Image menu and this time click on the ‘Crop to Content’ option of a scroll-down list of this menu.
And it will crop your canvas according to the area of your image size.
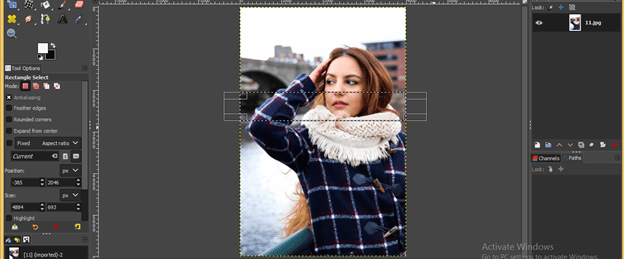
Now take the Rectangle Select tool and select any area on an image like this.
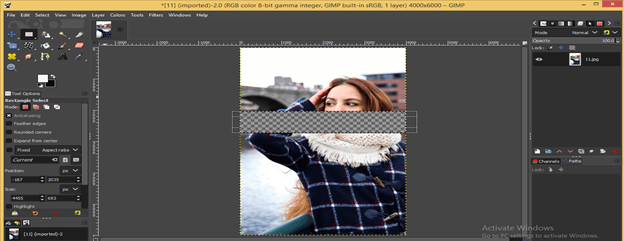
Hit the delete button of a keyboard for deleting this selected area.
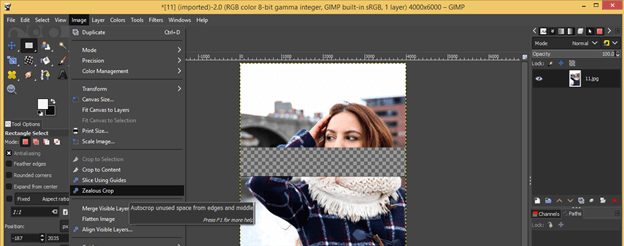
Deselect this area by None option of Select menu and now go to Image menu one more time then click on ‘Zealous Crop’ option of a drop-down list.
And it will join the two separate part of the image like this.
Go to select menu and click on ‘None’ option of scroll down list for disabling selection around selection box, and it will look like one image.
These were all important parameters and features of the Crop tool of gimp.
Conclusion
Here in this article today, we discussed some of the important aspects of the Crop tool, and now you can easily understand its mechanism for having a good command of it. You can start using this tool of gimp for making your image manipulation work easy.
Recommended Articles
This is a guide to GIMP Crop. Here we discuss the important aspect of the Crop tool, and you can easily understand its mechanism. You may also have a look at the following articles to learn more –
