Introduction to GIMP Filters
Filters are pre-designed effects with some editable data that helps in image manipulation and image editing work of gimp software, and you can use filters on an image or geometrical shapes or text in this software. We have several filters in gimp, which has different effects and uses for different purposes. We have Drop shadow filter, Long shadow filters, New Print filters, and many more, which we will discuss in this article. You will find filters in the Filter menu of the menu bar. So let us analyze some of the most used filters of gimp.
How to use Filters in gimp?
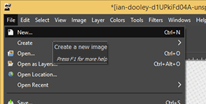
You can find filters in the Filter menu of the menu bar, which is at the top of the user screen. There are many Filters in the list Filter menu, and each filter of the list has several filter effects. So for that, first of all, let us create a new document or new image for this purpose. Go to the File menu of the menu bar and click on the New option of scroll down list or hit Ctrl + N button of the keyboard as short cut key.
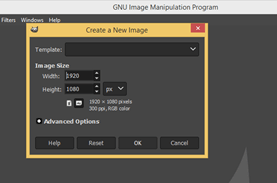
Now set your desired parameters of New image in this dialog box of ‘Create a New Image’ and hit on the Ok button of this dialog box.
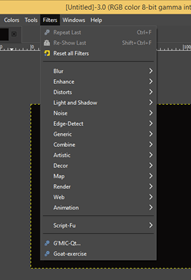
Now go to the Filter menu of the menu bar and click on it. Here is the list of the number of Filters of gimp in the scroll-down list of this menu.
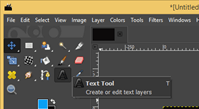
Now go to the tool panel of gimp, which is on the left side of the working screen and take the Text tool from here or press the T button of the keyboard as the shortcut key of it.
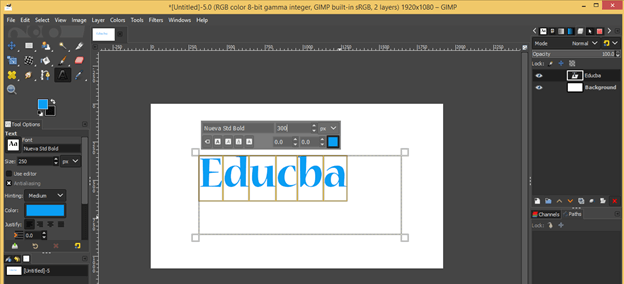
And type your desired text here on the document area. I will type EDUCBA, which is our official name. You can go with your desired font style.
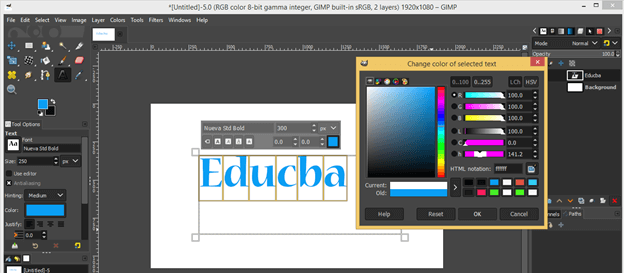
Now make click on the color box of the text tool, which is at the document area, for changing the color of this text and choose the white color from the ‘Change color of selected text’ box and hit on the Ok button.
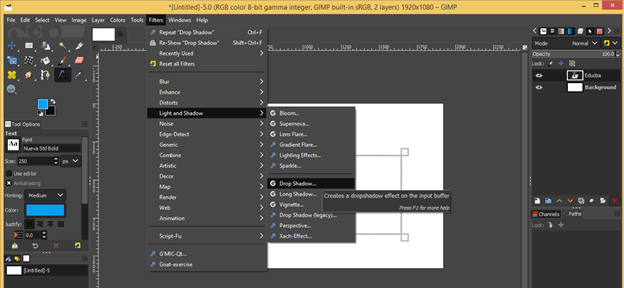
Now go to the Filter menu of the menu bar and then go to ‘Light and Shadow’ filter or scroll down list then choose ‘Drop Shadow’ filter effect of new scroll down list.
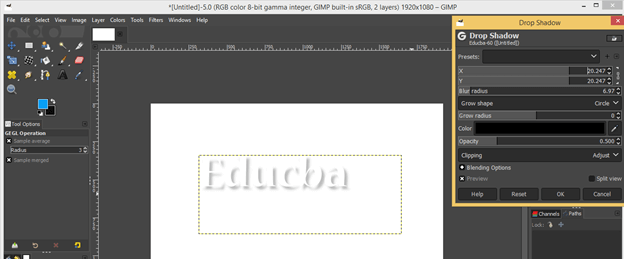
And you will have a shadow behind your text like this.
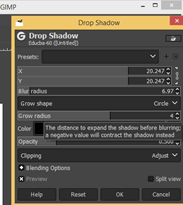
You can make changes in shadow by this Drop shadow parameter box.
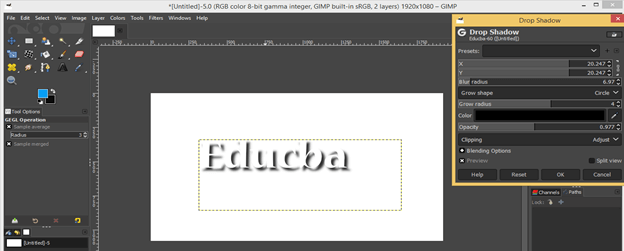
You can increase the intensity of shadow by changing the value of the Opacity option of this dialog box.
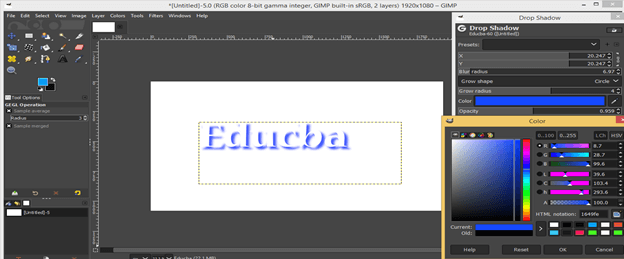
You can also change the color of shadow by changing the color of the Color box of this dialog box. Just make click on the color box of the Color option and choose your desired color from the ‘Color’ dialog box, then hit on the Ok button.
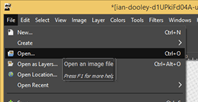
Now let us apply one filter to any image. So for having an image in gimp, click on the File menu of the menu bar and click on the Open option of scroll down list.
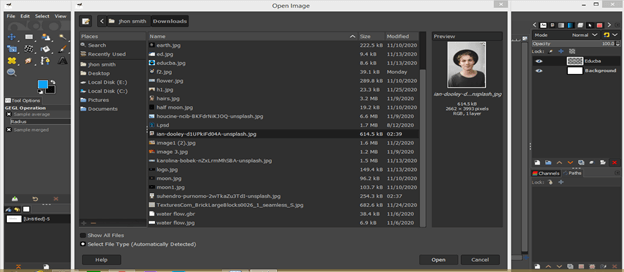
Then choose your desired image from this dialog box. Once you have chosen your desired image, then hit on Open button of this box.
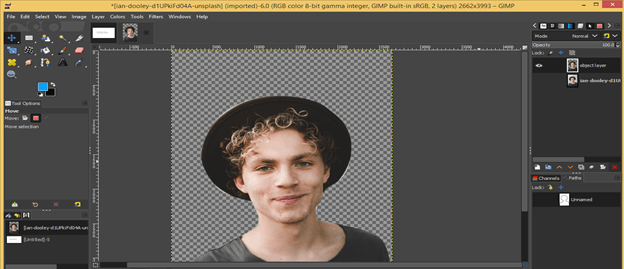
I will delete the background of this image like this. You can go with our ‘Delete Background’ article if you don’t know ‘how to delete background in gimp?’
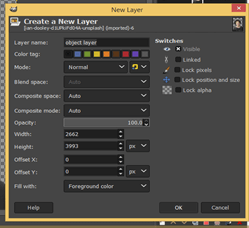
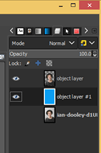
Now click on the Create a new layer button of the layers panel for having a new layer. I have a layer with a Foreground color fill. You can have any color for your layer according to your image object. Now hit on the Ok button of this box.
Place your created layer below this guy image in the layers panel of gimp.
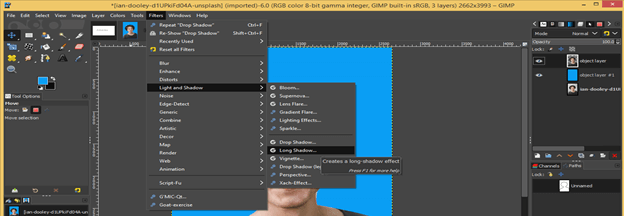
Now again, go to the Light & Shadow filter of Filter menu and choose Long Shadow filter of new scroll down list of Light & Shadow filter. You can also apply the Drop shadow filter to this image.
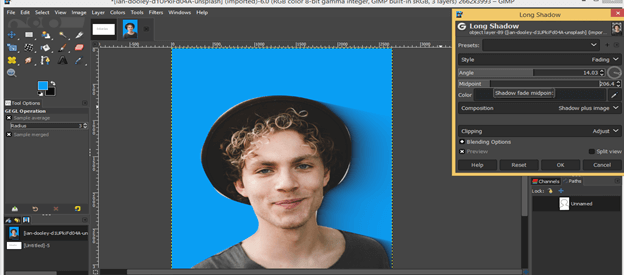
First, change the long shadow colour from the Color box option of the dialog box of Long Shadow.
You will have this type of shadow effect behind this guy.
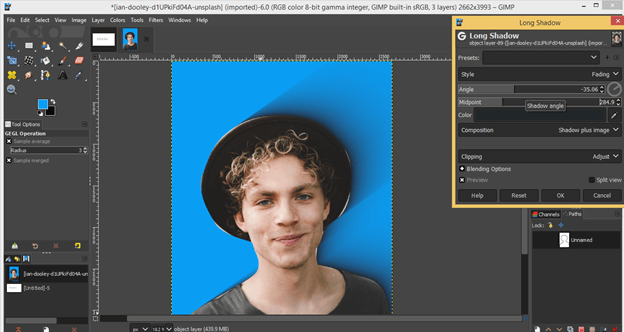
Change the angle of shadow for a nice shadow effect like this.
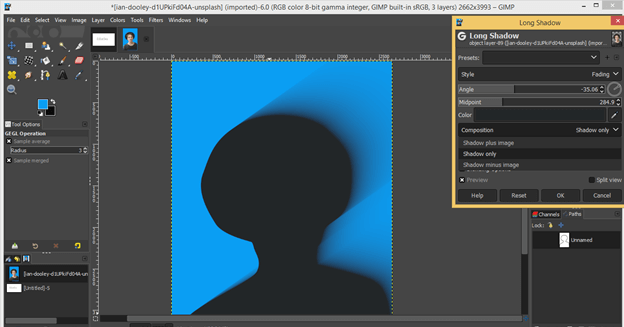
You can choose any one of the options from the list of Composition option of this dialog box. If you choose the ‘Shadow only image’ option, it will only give you only the image’s shadow.
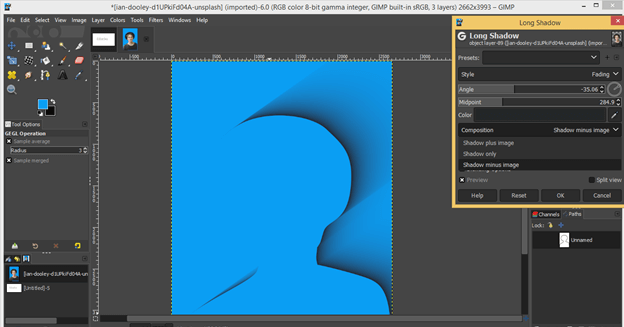
If you choose the ‘Shadow minus image’ option, then it will delete the main image, and the shadow will remain like this. You can play with these things with your own ideas.
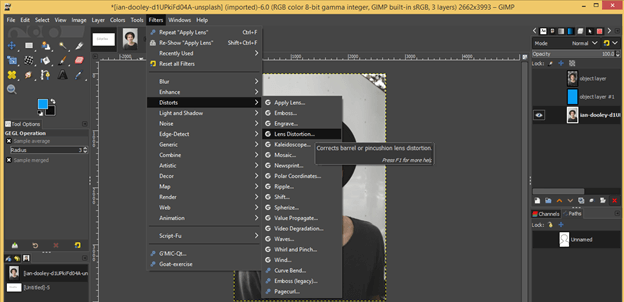
Now let us understand one more filter, which is Distorts. So go to Distorts filter, then click on Lens Distortion of the scroll-down list of this filter.
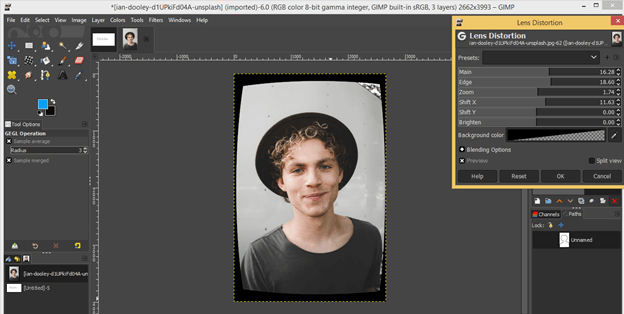
And you will have a lens effect on your image, and you can make changes in the parameters of this filter for having something good.
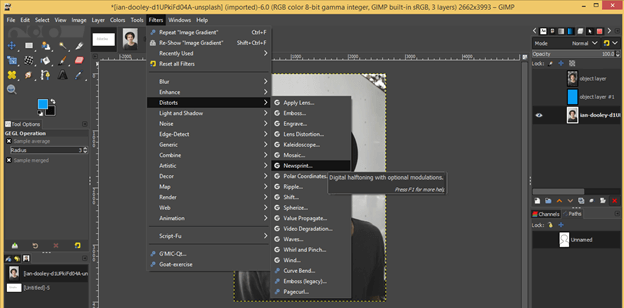
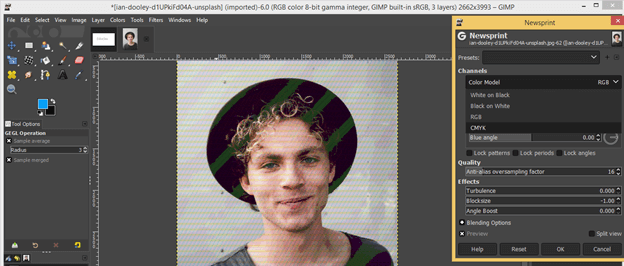
The next filter is Newsprint which you will also find in Distorts filter’s list.
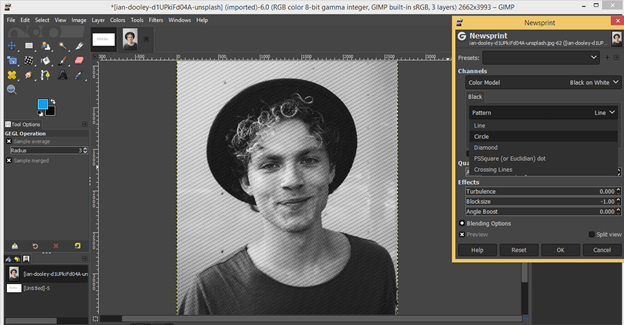
Once you apply this filter to your image, it will give you a newspaper print effect on your image. That means the image will look like made of pixels.
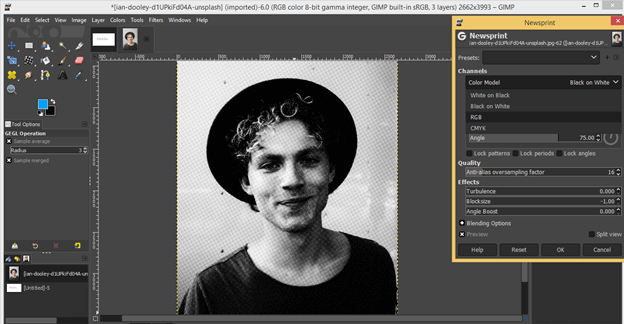
This filter gives you, by default, a black and white effect, but you can go with RGB, CMYK modes also, so if you choose the RGB color mode from the list.
Then you will have this type of effect. Actually, the effect of different color modes will change according to your image. On my image, I go this effect with RGB mode.
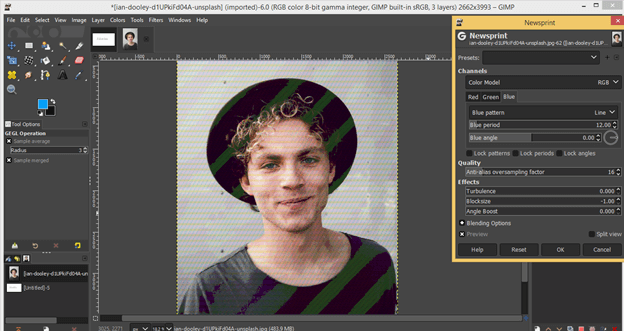
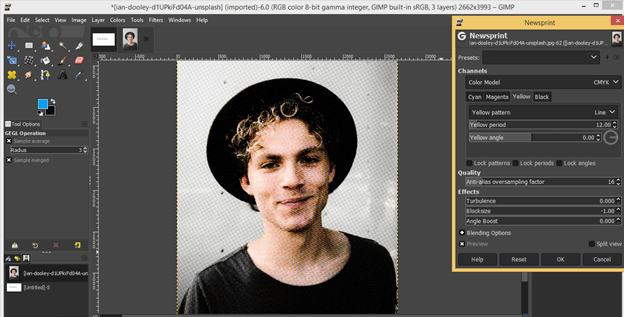
If I choose CMYK color mode from the list.
Then it will give this type of effect. So, according to your image or requirement, you can go with any of the color modes of this list.
There are many more Filters in gimp; you can go through every filter for knowing about them.
Conclusion
Here we discussed some of the important filters of gimp, and now you can have good knowledge about what filters is? and how you can play with the parameters of the different filters of the list of Filter menu for getting creative work in your image manipulation as well as image editing work.
Recommended Articles
This is a guide to GIMP Filters. Here we discuss the important filters of gimp, and now you can have good knowledge about what filters are?. You may also have a look at the following articles to learn more –
