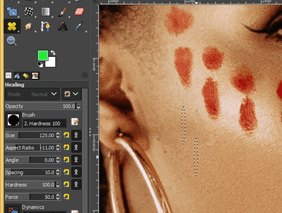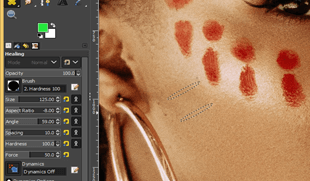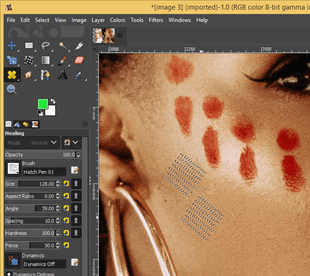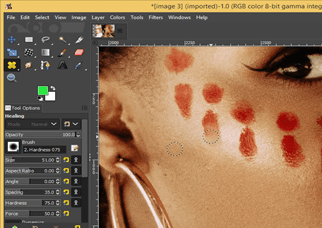
Introduction to GIMP healing tool
Healing Brush works for healing any particular section in images, same as a clone tool, but it has something different algorithm for doing this process that means it copies pixel along with the texture of your chosen area as source area (the area which you want to paste at another place in image) for destination area (where you want to paste your copied area). We mainly use the healing tool for the removal of blemishes, but it helps in more healing processes such as the removal of spots on the face, wrinkles, scratches, and many other things. In this topic, we are going to learn about the GIMP healing tool.
How to use the Healing Brush Tool in GIMP?
We can use the healing brush tool with the combination of Clone tool and Paint Brush tool while enhancing the qualities of any image’s face. Healing brush tools can work on multiple images at one time. So let us understand how we can do it.
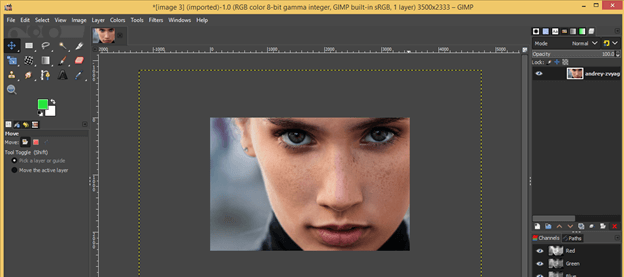
Now open an image in this software.
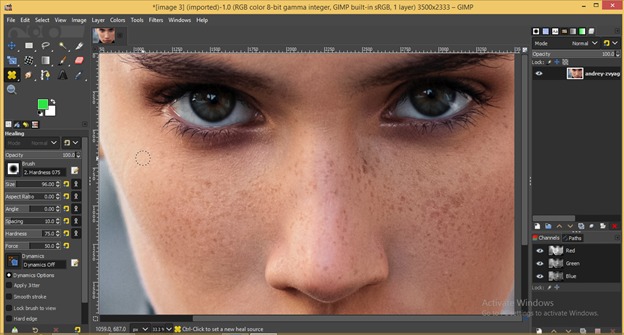
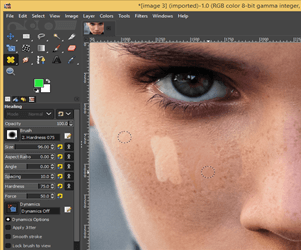
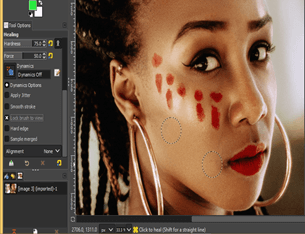
You can find the Healing tool in the list of paint tools with shortcut key H.
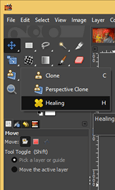
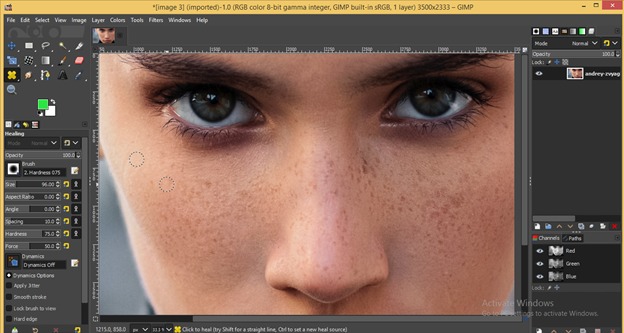
Now you will have this type of brush cursor with a healing tool. Using it, just click on the area you want to make the source area by holding the Ctrl key.
And once you did release the mouse button as we as Ctrl key, then click on destination area with mouse left button and hold this key then drag it around that area for healing that area.
Difference between the Clone tool and Healing tool:
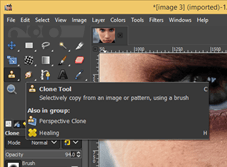
It is necessary to understand the difference between these tools for a better understanding of healing tools. Take the Clone Tool first.
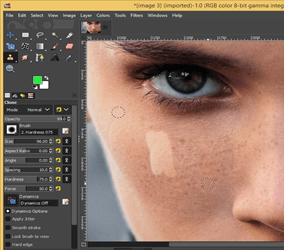
Now use the clone tool the same as a healing tool, and you can see the clone tool only copy pixels of your source area for the destination area. Whereas the healing tool does different, it copies pixels as well as textures, contrast, and other parameters of the source area and blends it for the destination area.
Clone tool
Healing tool
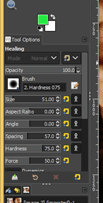
The healing tool has parameters the same as the Paintbrush tool, which is at the left side of the User screen.
Now let us take another image and understand the parameters of this tool.
Parameters of Healing Tool
- Opacity:
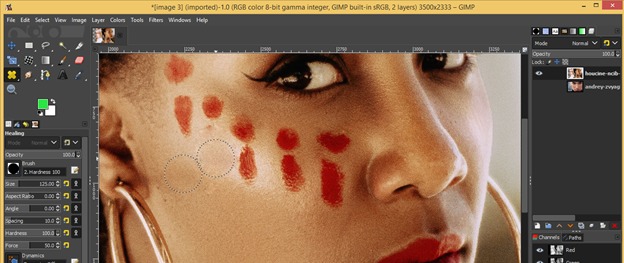
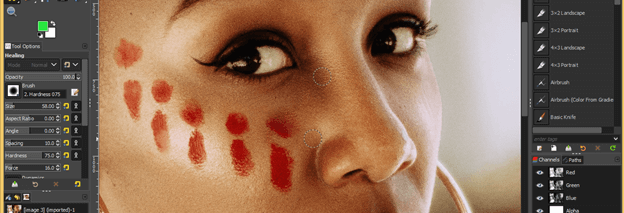
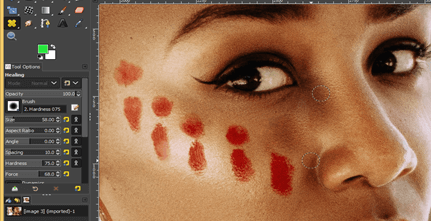
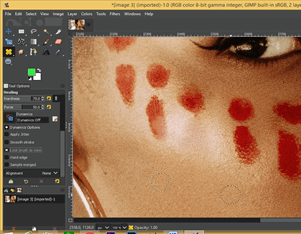
We are using the healing tool for the removal of the red color spot from the face with 100 % opacity, and you can see it removes the spot clearly.
Whereas with less opacity, you see there is opaque healing at the destination source.
- Hardness:
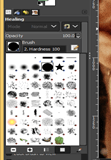
Hardness defines how hard the edge will be of your source area when you paste it on the destination area; that means if you want good blending on the destination area of the source area, then less hardness will be good. You can choose a preset of brush hardness from the pattern list.
You can see the effect of hardness here.
- Size:
You can increase or decrease the size of the brush tip as per your requirement. For example, I take minimum brush size here and use a healing tool to remove red spots. You will notice it can’t remove it clearly because it copied a pixel of a very small area as the source area.
Now increase the size of the brush and again do the same task. Here, you can notice increased brush size has copied a large area as a source area, so it clearly removes the red spot.
- Aspect Ratio:
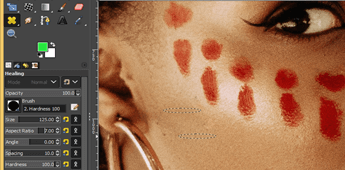
It is a ratio between the width and height of the brush tip. You can change it according to the area you want to heal. For example, if you increase value in a positive direction, then you will get the horizontal shape of the brush tip.
On the other hand, if you decrease its value to minus, then you will have the vertical shape of the brush tip.
- Angle:
With the changed aspect ratio, you can also see the effect of the changed angle on the brush tip, but if you have a rounded brush tip, then there will be no effect of changing angle value. I changed the angle value to 59 degrees, and you can see it inclined at 59 degrees.
You will also have the effect of changed angle with other brush tip patterns like this without making any change in aspect ratio.
- Spacing:
Value of spacing defines how long the gap will be there between in each movement of source brush on source area during moving your source brush with destination brush. For example, I take the spacing value as 35; then, the source brush will move 35 pixels on the source area per movement during the coping source area on the destination area.
- Hardness:
We discussed it above, but from this option, you can enter your desired hardness value.
- Force:
Force can define as force you applied on a brush tip. The higher force will copy texture and other things of the source area very hard, and the lower force will do the opposite. Here I have taken less value of force and using the healing tool in this area.
On the other hand, I increased the value of force and again using the healing tools in the same area. Here you can see it copies are very strict.
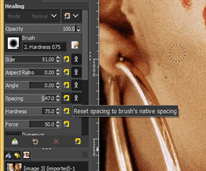
If you want to reset the value of any parameter, then just click on this yellow button.
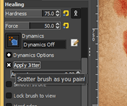
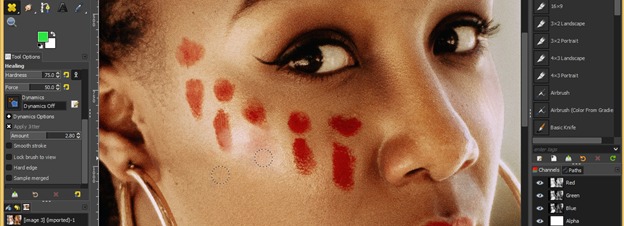
- Jitter:
Jitter will read random area on source area according to its taken value for destination area during using of healing tool if you enable it.
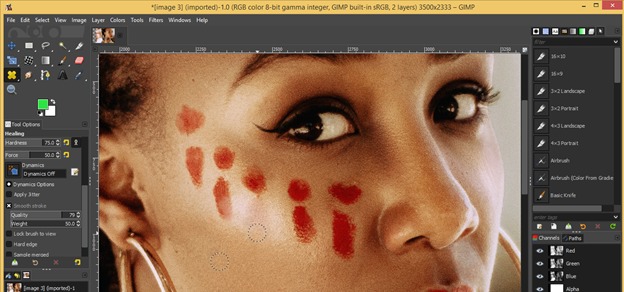
- Smooth Stroke:
This option will help you if you have very slippery hands that mean it will auto provide smoothness during healing on the spot. By increasing the value of the quality option, it will give a more precise result.
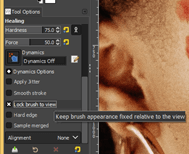
- Lock brush to View:
It will lock the size of the brush tip during the zoom in or zoom out process.
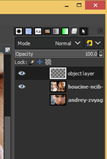
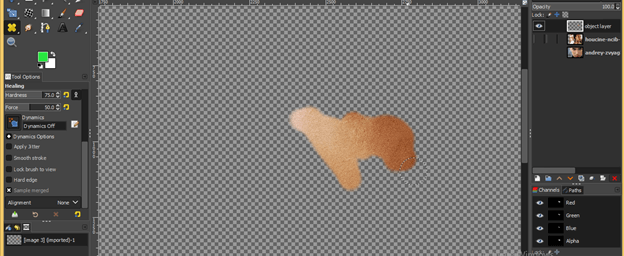
Let us have a new layer with a transparent background. Now enables ‘Sample merged’ parameter of healing tool.
And select the transparent layer in the layer panel.
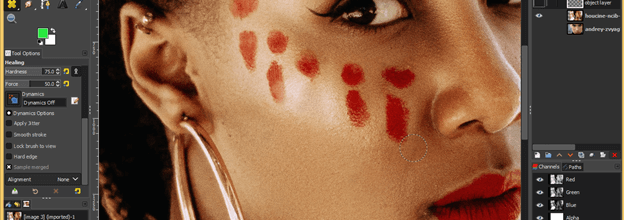
Now use a healing tool on our main image for the removal of this red spot.
Now enable the eye button of the transplant layer, and you can see whatever you remove with the healing tool comes back.
That means it is on a transparent layer, not on the original image. Because of the non-destructive layer for your image, it will not harm the original image, and you can remove changes done by you at any time by deleting this transparent layer.
Conclusion
How are you feeling now after getting knowledge about the healing tool of GIMP from this article? Wasn’t it very exciting? So what are you waiting for now? Start practicing on this tool because you have enough knowledge about important parameters and using the technique of this tool.
Recommended Articles
This is a guide to GIMP healing tool. Here we discuss How to use the Healing Brush Tool in GIMP with the important parameters. You may also have a look at the following articles to learn more –
