Introduction to GIMP Invert Colors
Invert colors is a very interesting feature of GIMP software which you can consider as a tool or feature through which we can have the exact opposite color of any color in our image. By opposite color, we mean opposite color of color on the color wheel, for example, we have cyan as the opposite color of red, yellow as opposite color for blue and magenta as the opposite color of green, and by invert option, we can replace anyone color with its opposite color for having good contrast between any text with background and for many other important manipulation work. So let us discuss how this invert color option works in GIMP.
How to use Invert Colors in GMIP?
Using this feature is not very tough, but you must have to understand the color theory for having good use of this feature in your designing work for effective results. But before we go through this feature, I think we must have a quick look at the User Screen of this software so that you will easily understand the terms which we use throughout this article.
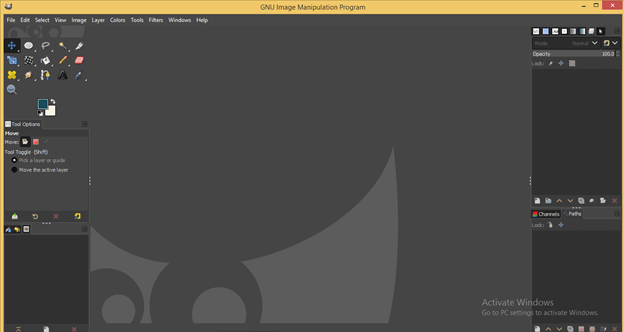
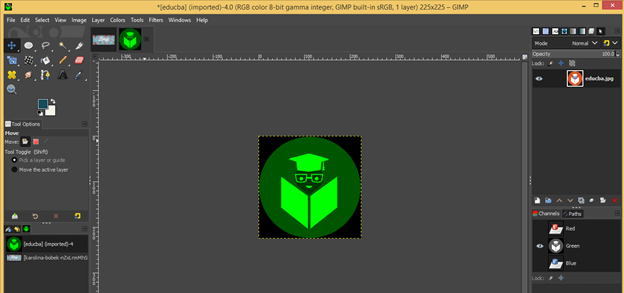
The user screen of GIMP is divide into three main sections that are tool panel at the left side of the user screen along with their properties panels. Next to this panel at the center, we have a display window in which we can create our document or place an image for working on it, and at the right side of this display window, we have some other important tabs such as layer’s panel, channel tab, Path tab and other which you want to have. At the top of these three sections, we have a Menu bar which has a number of menus such as File, Edit, Select, and many others, which helps us in different manipulation work in GIMP.
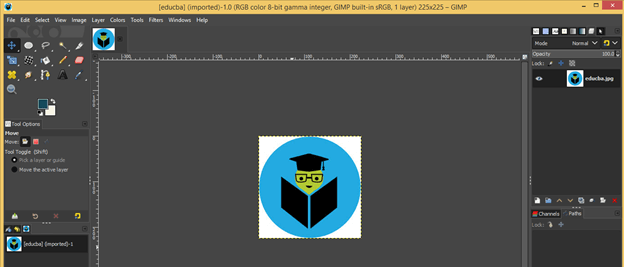
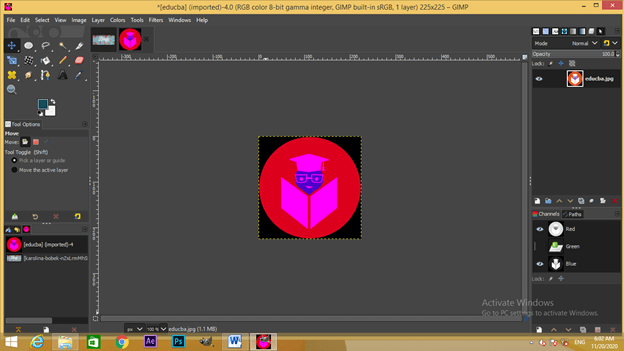
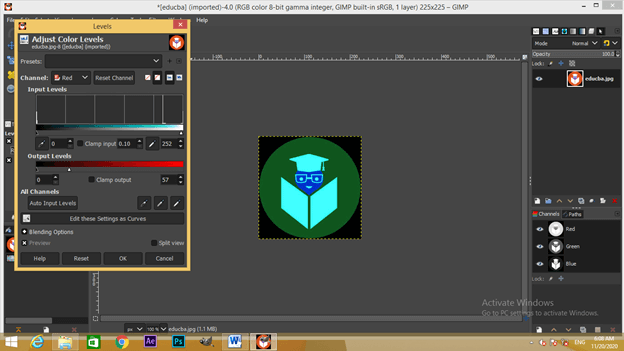
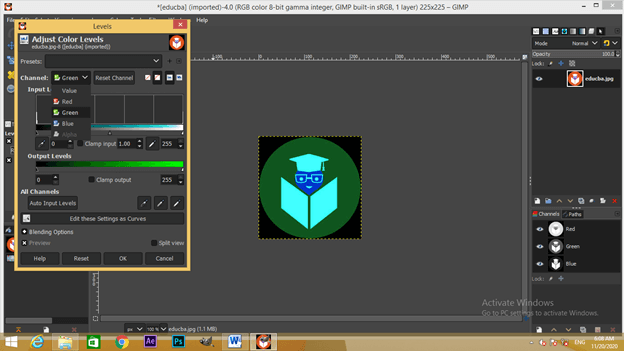
I think you now have good knowledge about user screen. So let us have an image for starting our learning. For that, go to the File menu of the menu bar and click on it. Then click on the Open option of scroll down list, or you can simple drag an image from its saved folder into the GIMP software with the help of the move button and release it. I will have this Logo image of EDUCBA, which represent us as e-learning graphics designing firm.
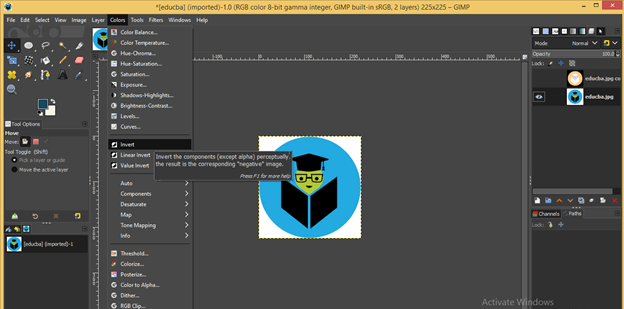
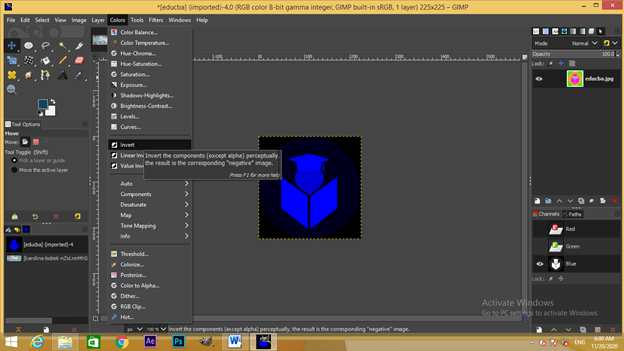
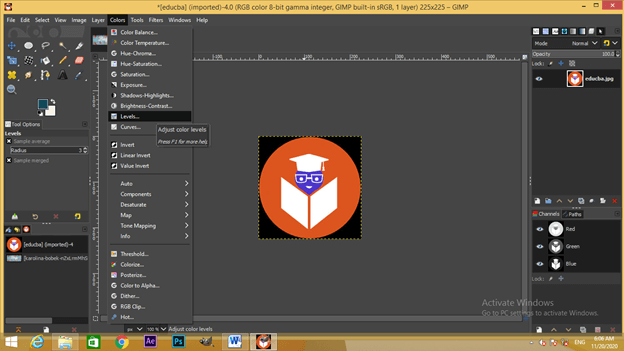
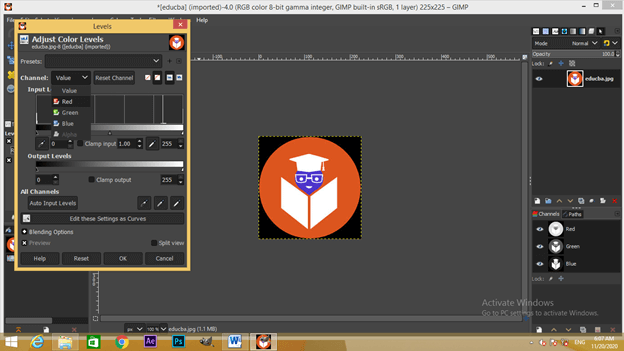
Let us go through the easiest way of inverting of color first. For that, select layer of this logo in the layer panel and then go to the Colors menu of the menu bar and click on it. You will have a scroll down list here; go to the Invert option of this list and click on it.
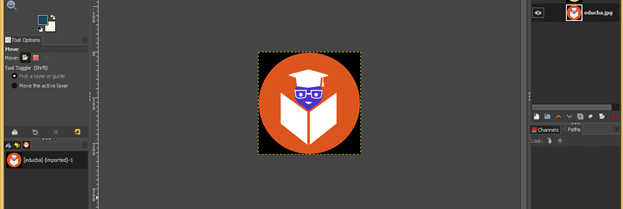
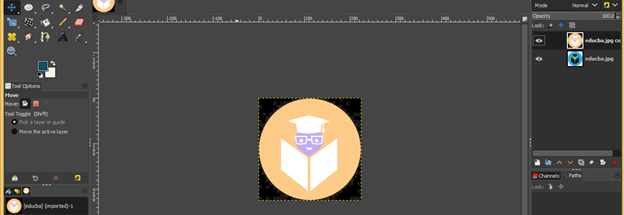
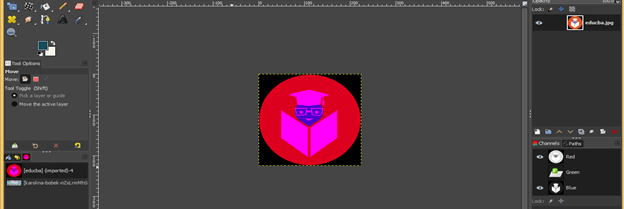
Now you will have opposite colors of your image color after clicking the invert option. Here you can see black converts into white, blue shade converts into the yellow shade, green shade colors into a magenta shade that means that according to the shade of color in any image, it will cover it into opposite color shape.
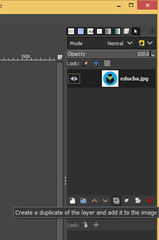
Let us undo this invert and make a duplicate copy of this logo image for learning about another invert option of GIMP. For making a duplicate copy, go to the Layers panel and select an original layer by clicking on it, then go to the bottom of the Layers panel and click on Create duplicate layer button.
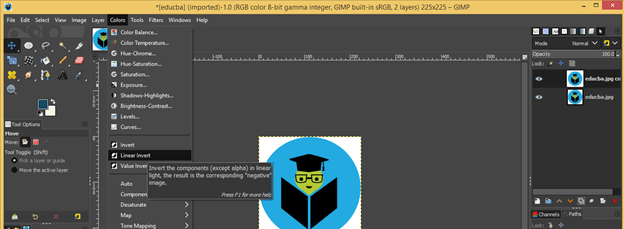
Now again, go to the Color menu of the menu bar and click on it. Now this time, click on the Linear Invert option of scroll down list.
And you will have something different effect with this linear option of invert. It will give you light shapes of opposite colors.
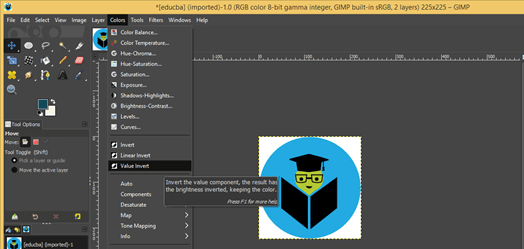
Now again, undo this linear invert by pressing the Ctrl + Z button of the keyboard, then select this layer in the layers panel, or you can have a duplicate layer for the next invert option again if you don’t disturb this linear invert layer. Now go to the Color menu of the menu bar once again and click on the Value Invert option of scroll down list.
It will change the value of colors on the color wheel to give this type of invert effect.
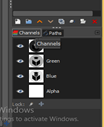
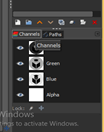
Now let us understand the invert option on separate channels. For this, go to channel tabs which is on the right side of the working screen.
If there is no Channel tab in your GIMP user screen, then go to the Window menu and then click on it. Go to the Dockable Dialogs option, then click on the Channel option of the new drop-down list.
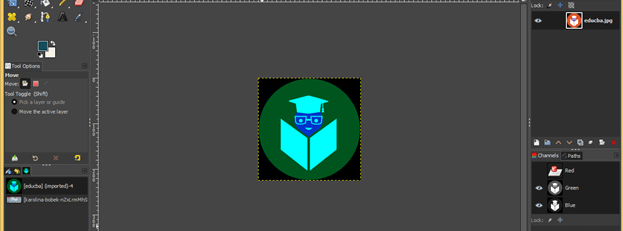
We have three colors in a channel that are red, green, blue.
If you are unable to the red color channel by clicking on the eye button, then you will have only blue and green color on your image.
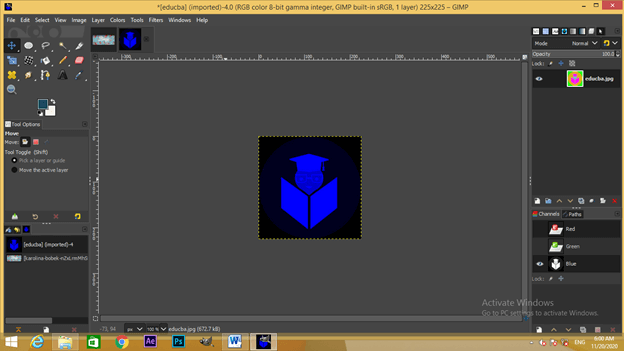
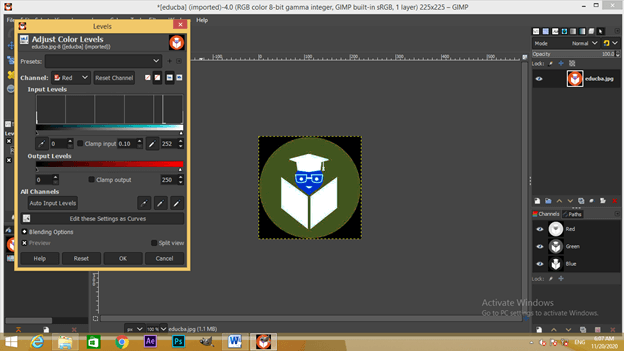
Now invert it by the same method as we did in the previous step, and you will get this nice invert effect without a red channel.
Now off blue channel from channel panel by click on eye button of this channel.
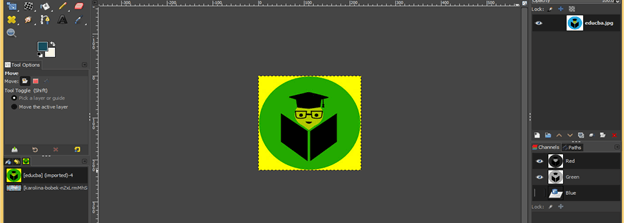
Invert it by click on the invert option of the Color menu of the menu bar. You can go with anyone of the invert option according to your choice, and it will give you this type of invert effect.
Now off the Blue channel by click on the eye button of this channel.
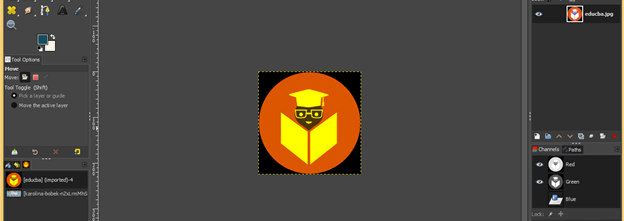
Invert this layer without a blue channel, and you can see this is another good effect of the invert colors option.
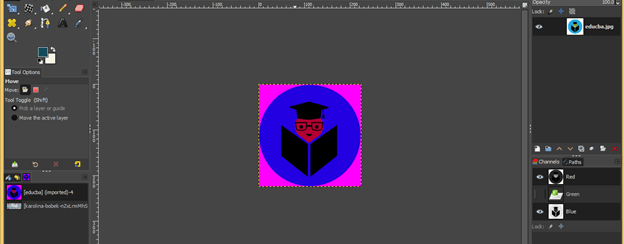
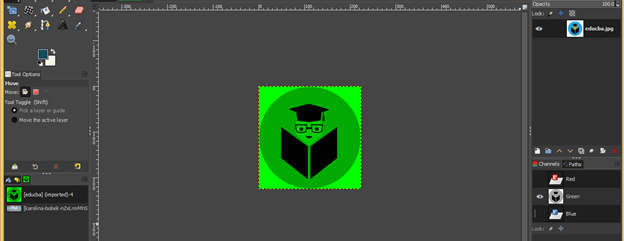
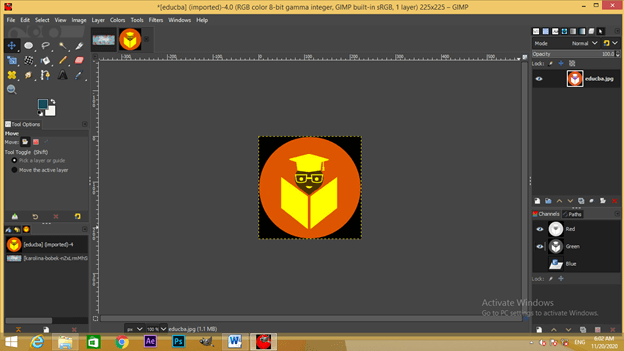
I will say try another option: this time of two channels and sees the invert colour option on one channel. Here I will go off the red channel and blue channel by clicking on the eye button of both layers.
Again go to color menu and click on the Invert option; now just see the effect, isn’t it a cool effect.
This way, you can create invert colors effect on your image for getting an effective result.
Conclusion
Invert colors feature of GIMP software will be no more new word for you after going through this article, and you can easily analyze its parameters for playing with it for having invert colors on your image. This is a very good feature for having good contrast between two different objects of an image.
Recommended Articles
This is a guide to GIMP invert colors. Here we discuss the different parameters and features of this GIMP invert colors for getting more knowledge. You may also have a look at the following articles to learn more –
