Introduction to GIMP Remove background.
Remove Background is not a new word for us. You can understand it by deleting the unwanted background of any image for using its main object in other place or with other references. In GIMP, we can do it in many ways by using different tools and features it. We will use the Fuzzy Select tool, Paths tool, Select by Color tool, and also by adding the Mask layer to the original layer. The use of the different method of removing background depends on the properties of an image, such as color contrast of an image, detailing of an object and many more things. So let us find out which method will suit which image. In this topic, we are going to learn about GIMP remove background.
How to Remove Background in GIMP?
Removing background in GIMP is not a very difficult task. You just have to choose the right method for removing the background of any image according to the features of that image. For removing background, we have to make a selection around our main object, and for making a selection, we have a number of tools and ways in GIMP. The very first way is by using the Fuzzy Select tool.
By using Fuzzy Select Tool.
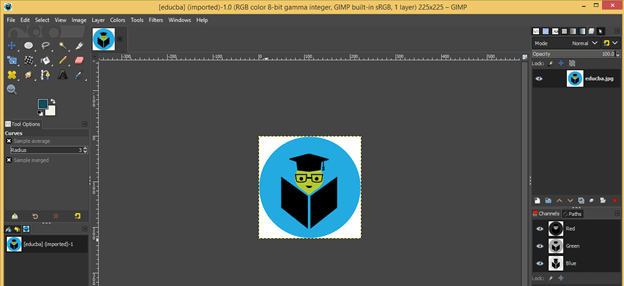
It will select color pixel for making a selection, and for learning this method, let us have an image of the logo of EDUCBA, which represents us officially.
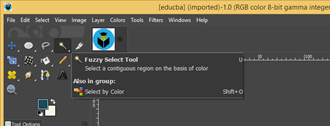
Now go to the Tool panel and take the Fuzzy Select tool.
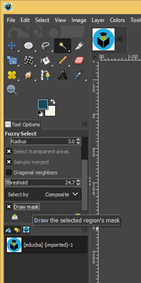
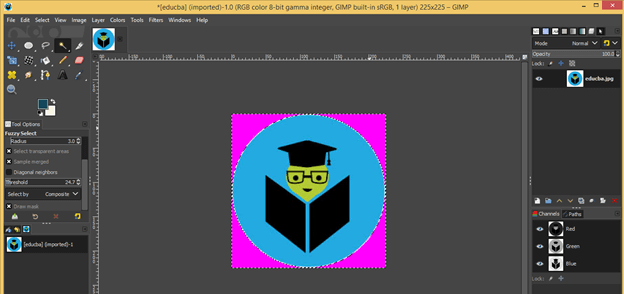
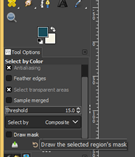
Enable the antialiasing option and Draw mask option of this tool from the parameters’ panel of it so that it made a smooth selection, and by enabling the Draw mask option, you can see the selection with magenta color on your image.
Now make a click on a background which you want to remove and hold click. You will see your selection by magenta color. You can make multiple clicks for making an appropriate selection of background if it doesn’t not select in one click. If you want to learn about the Fuzzy select tool, you can go with our Fuzzy select tool article.
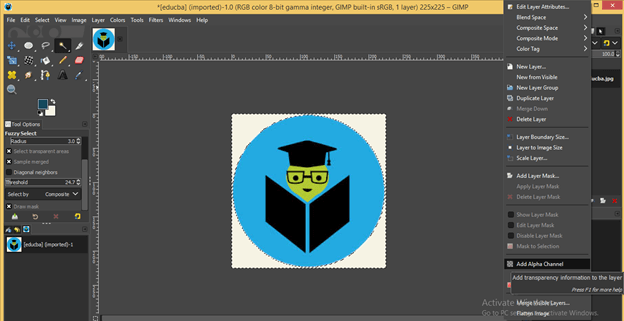
Now release the click, and your selection is ready; and for having a transparent background, make right-click on this layer in the layer panel and click on Add Alpha channel option.
Now press the delete button for deleting the background.
Now let us have another image for learning about the next method.
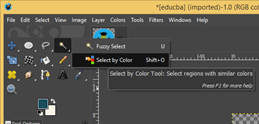
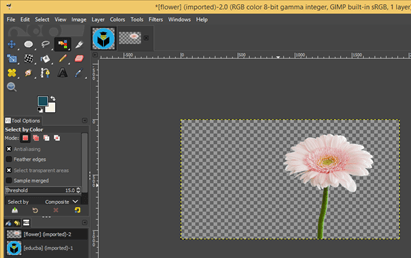
The next method is by using the Select by Color tool.
By using the Select by Color tool:
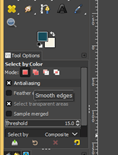
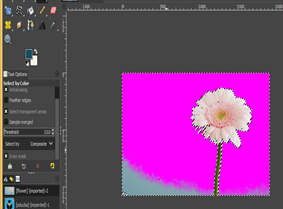
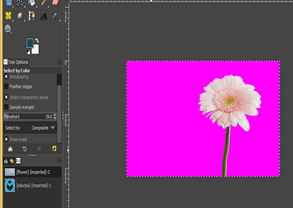
Enable antialiasing, draw mask and feather option of this tool in the parameters’ section.
Now make click on the background of your image and drag the mouse around the background for making a proper selection of background. You can see your selection by magenta color.
Release the click, and your selection is ready. Now go to the layer panel and make right-click on this layer, then click on Add Alpha channel option for transparent background.
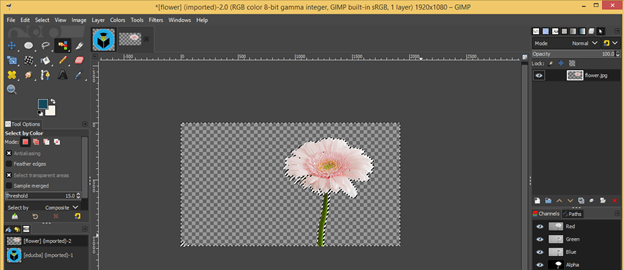
Press the delete button for removing the background.
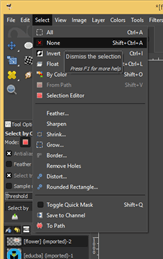
Now got to the Select menu and click on the None option for disabling selection around the object, and you will have your object ready.
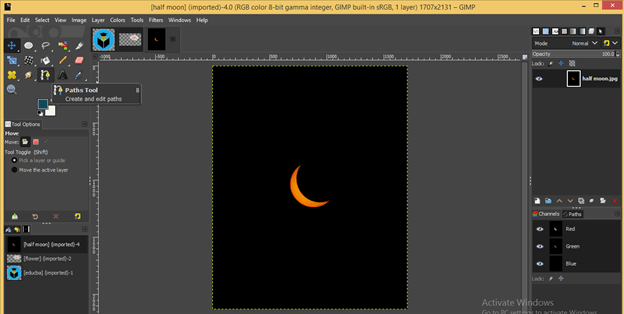
Now move to the next method, so for that again, I will take a new image. This time I will go with Paths Tool.
By using Paths tool:
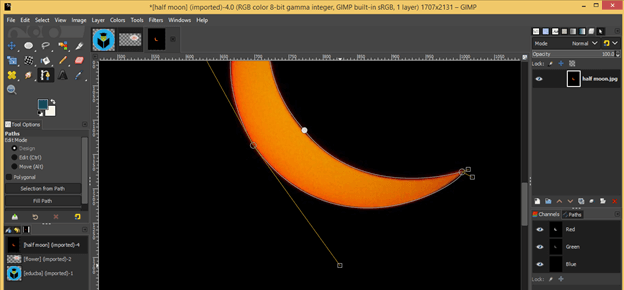
This is a very precised selection because, with it, you can create a path around the edges of the main object of you image and make a good selection. So take Path tools from the tool panel.
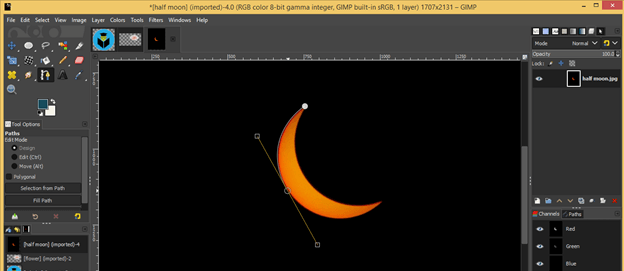
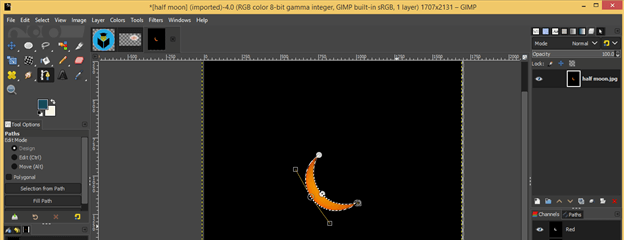
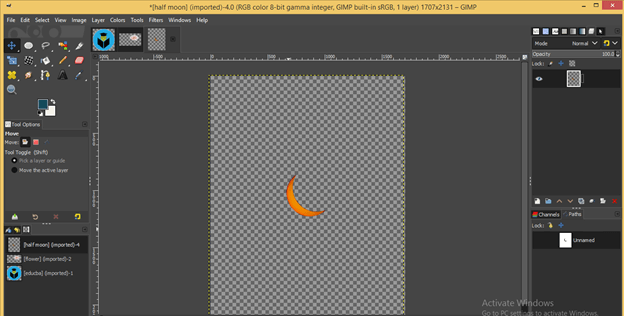
I want to remove the background of this half-moon, so make a selection around it by click on the edges of this moon.
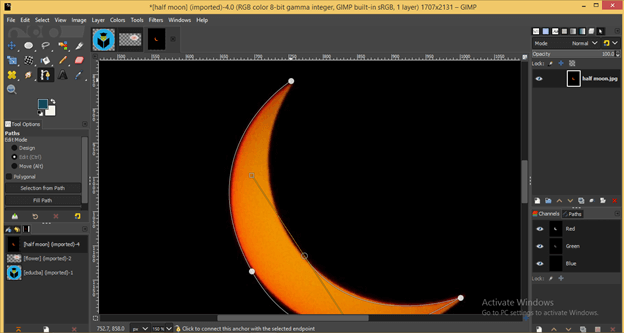
Once you made a path around your object, hold the Ctrl key of the keyboard and click on the starting point of the path to close the path.
You can adjust curve of your object later or after making path by using path tool. Just hold the handle of nodes of the path and adjust them for a proper curve.
Now hit enter for converting the path into a selection.
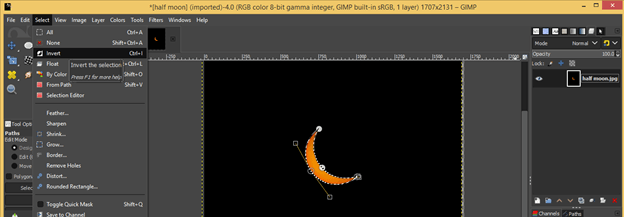
This selection is around an object, and we want to remove the background, so for that, go to the Select menu and click on the Invert option, and selection will go around the background.
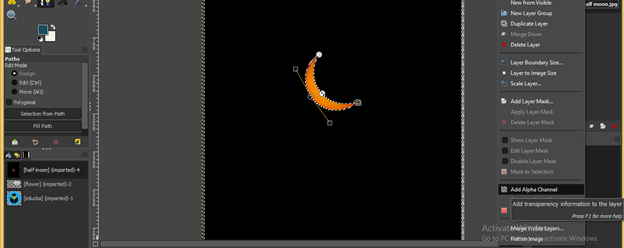
Make click on Add Alpha channel option for transparent background.
Press the delete button on the keyboard, and the background will delete.
Let us have a look at the next method, which is by making a layer mask with the original image layer.
By Adding Layer Mask:
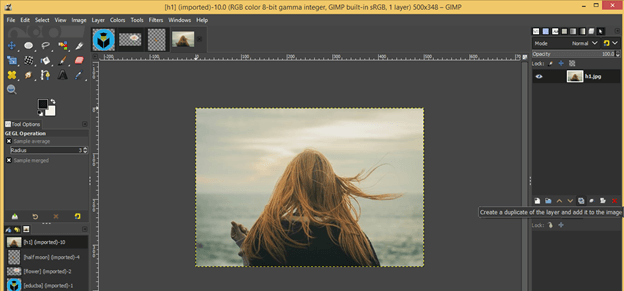
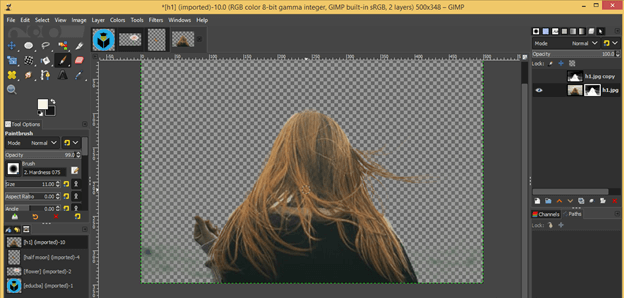
By this method, we can remove the background of that object which has hair like structure or structure that can’t work by select by the paths tool. So for this method, I will take this image. Let us make a duplicate of this image.
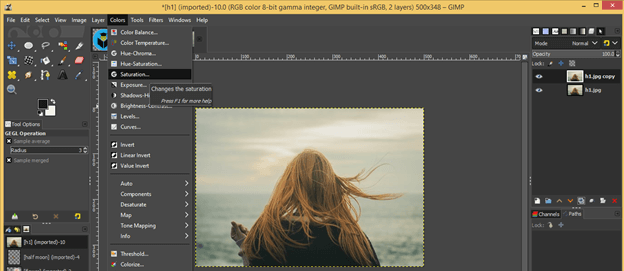
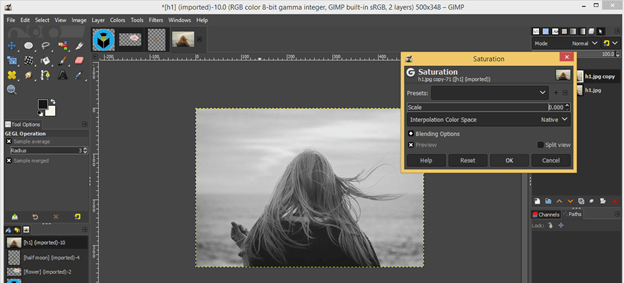
Now make your image black and white. For that, click on the Saturation option of Colors the menu of the menu bar.
Make the scale value as 0.00 and hit the Ok button of this dialog box.
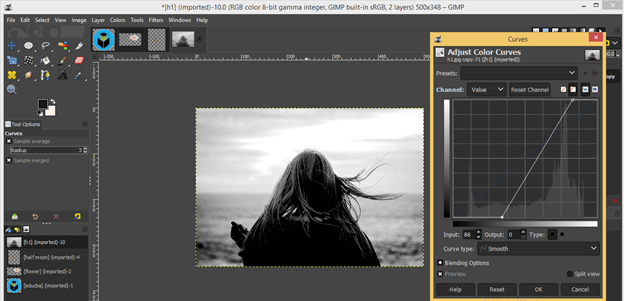
To again, go to the Colors menu and click on the Curves option of scroll down list.
Adjust brightness and shadow of image by this curve. Adjust it in this way so that our object covers more black area. This method works properly on an image which has good contrast between object and background.
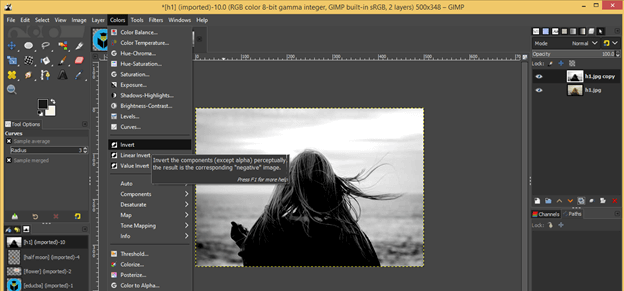
Now one more time, go to the Colors menu and click on the Invert option for inverting color of our image.
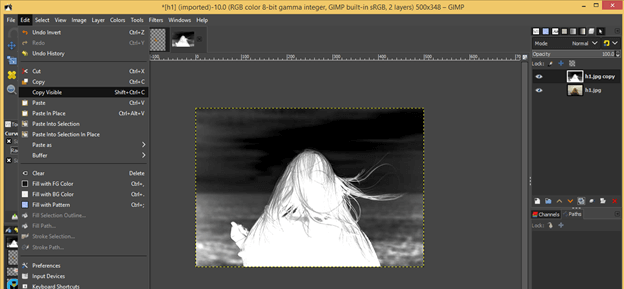
You will have your selection in the form of invert color like this. Now go to Edit menu an click on Copy Visible option of it.
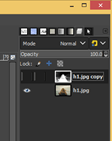
Now hide this layer in layer panel by click on eye button of it.
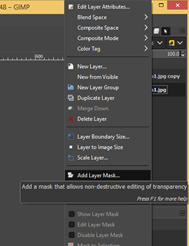
Go to the original layer, make the right-click on it, and then click on Add Layer Mask option to add a mask to this layer.
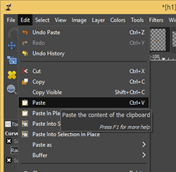
Now click on the Paste option for pasting your copied selection on this mask layer.
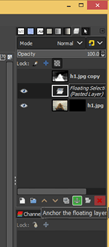
Click on the Anchor button for adding this floating layer with the mask layer.
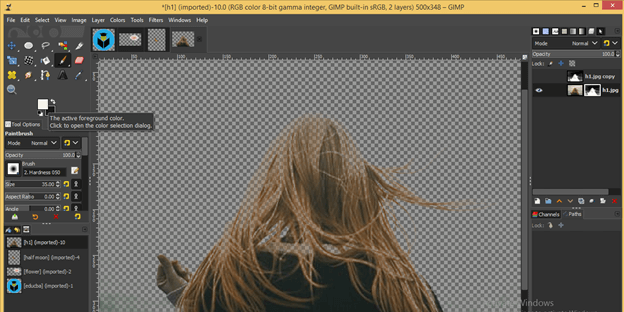
And you will have an object with a removed background. You can fill unappropriated area of your object by using a brush tool. Just take white color as foreground color.
And move the brush around your desired area of an object for filling it up.
Conclusion
These were some good ways to make a selection around your desired object and remove the background of that object by making some adjustment to its parameters. You can practice on each and every method for having good command on each one of them.
Recommended Articles
This is a guide to GIMP remove background. Here we discuss How to Remove Background in GIMP and find out which method will suit which image. You may also look at the following articles to learn more –
