Introduction to GIMP Text Shadow
Text Shadow is a very effective feature for creating 3d illusion on your text for its viewer, and it also gives good weightage to your text; and in GIMP, we add shadow to our text by using paint tool, filters option, and many other important features of GIMP software and this shadow take place generally behind the text, but you can set shadow angle according to you. We will create a shadow for our text manually and also use the filter as a preset of shadow. So let us find out both of method through which we can have a shadow for our text.
How to create Text Shadow in GIMP?
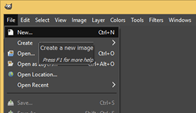
First of all, let us have a very pretty background for our text, so for that, take a new document. Go to the File menu and click on the ‘New’ option for it.
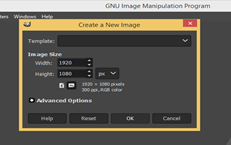
Set your desired size of the document here. I will take 1920 x 1080 size.
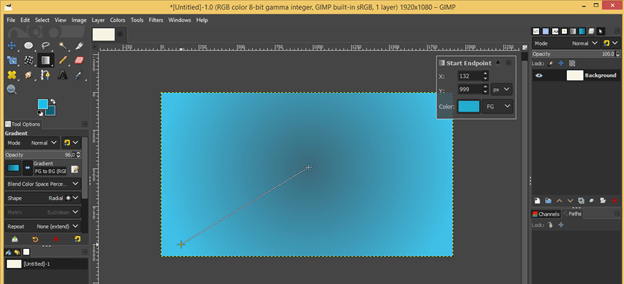
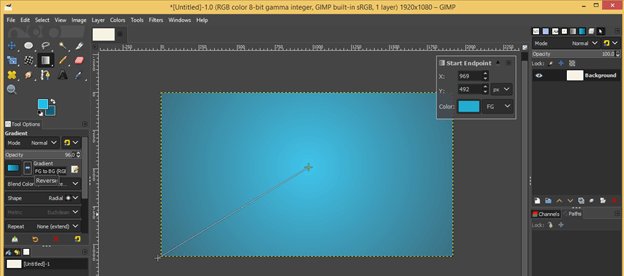
We will apply a gradient to our background, so set two colors of gradient on the foreground and background color box of the tool panel. I will take this darker and lighter shades of blue color.
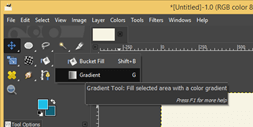
Now take gradient or blend tool from tool panel of GIMP.
Set FG to BG color mode in gradient parameters and also take radial gradient then drag gradient cursor from center to outward direction of the document.
I will reverse my gradient colors from gradient parameters and get this type of smooth blend of gradient on my background.
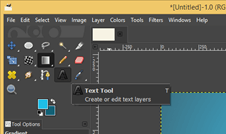
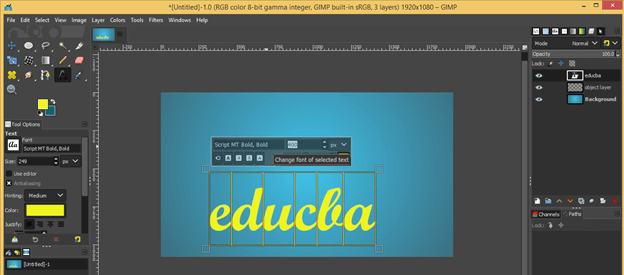
Now take the Text tool from the tool panel.
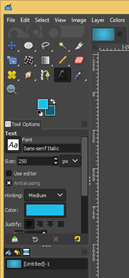
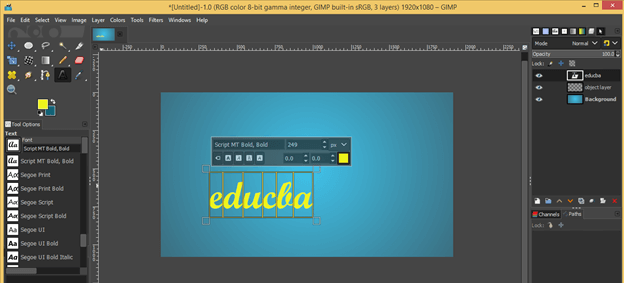
And change the color of the text to your desired color and choose a good font style from its parameter.
Now type your desired text here. I will type EDUCBA, which is the official name of our website.
Now increase the size of the text according to you.
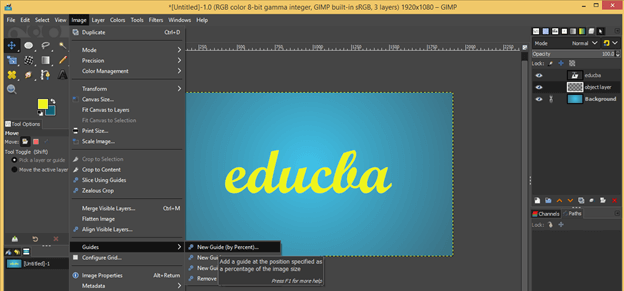
Go to the Image menu of the menu bar, then go to the Guides option of scroll down list and click on New Guide (by percentage) option for having a vertical and horizontal guide at the center of the document.
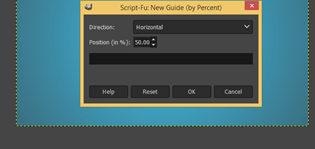
Take horizontal guide at 50 % of document size and hit ok.
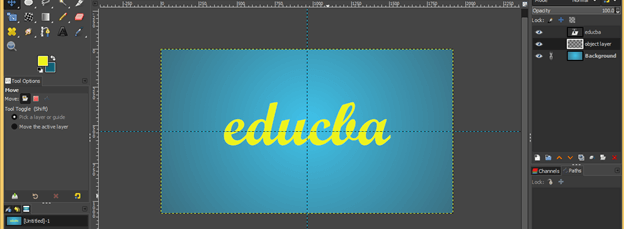
Do the same for vertical guides, and you will have guides at the center of your document. Now place your text at the center of a document at the crossing of guides with the help of the move tool.
Rotate this text a little bit with the help of Rotate Tool of the tool panel for having a good effect of shadow on your text.
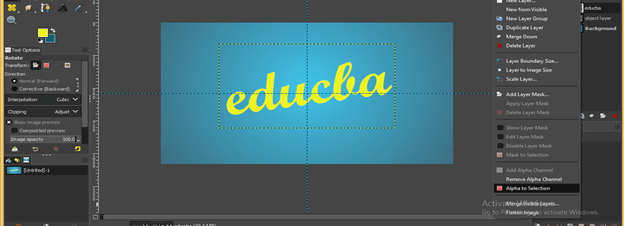
Now make right-click on the text layer and click on the Alpha to Selection option of scroll down list for selecting this text.
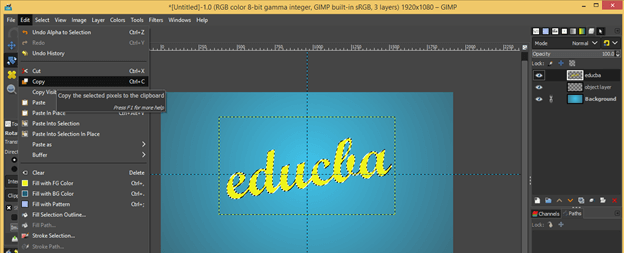
Copy this selection by clicking on the copy option of the Edit menu of the menu bar or press the Ctrl + C button on the keyboard.
And create a new transparent layer in the layer panel by click on create a new button of the layer panel.
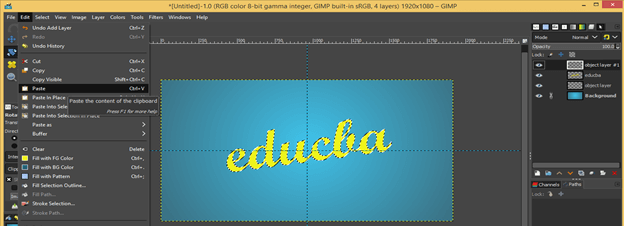
Paste this selection on this new transparent layer by click on the Paste option of the scroll-down list of the Edit menu or press the Ctrl + V button on the keyboard.
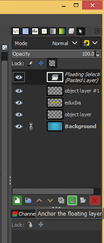
Now click on the Anchor button, which is at the bottom of the layer panel, for adding this floating layer with the below transparent layer.
Now move this layer below to the original layer.
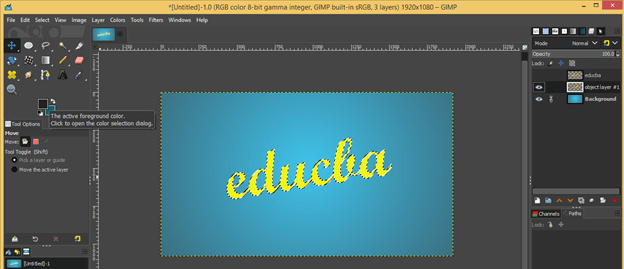
Again make a selection and set black color as the foreground color in the color box. Hide the top original layer by click on the eye button of it in the layer panel.
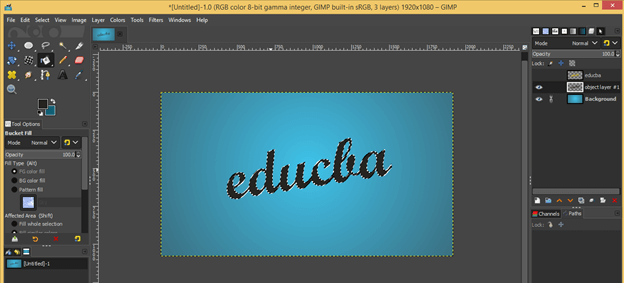
Now make a click on a selection with the bucket tool for filling this black color in selection.
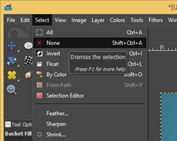
Enable selection by click on the ‘None’ option of the Select menu of the menu bar.
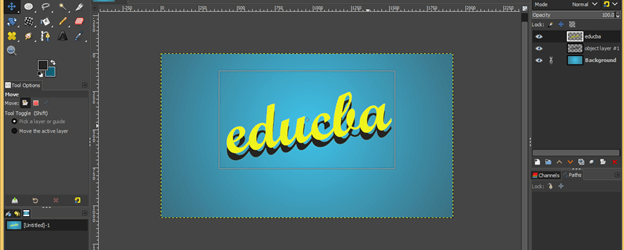
Now unhide the top layer and move the black text layer a little bit downward to it, and you will have a nice shadow effect on your text. You can decrease the opacity of the black layer for a soft or hard shadow effect.
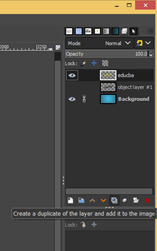
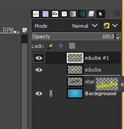
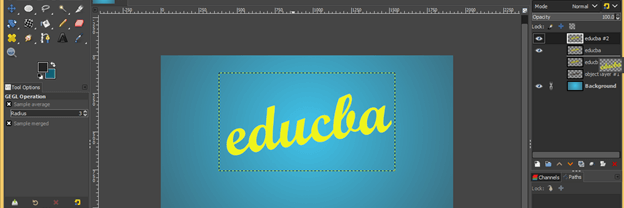
Now let us make text-shadow by using the filters option of GIMP. For this, make a duplicate layer by clicking on the Create duplicate button of the layer panel.
And move it to the below of the original layer.
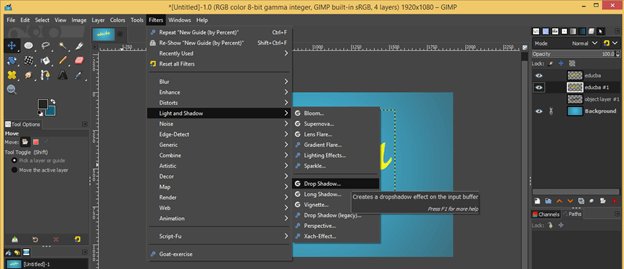
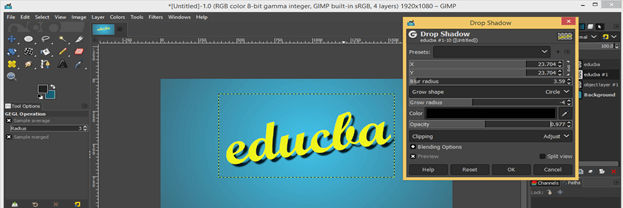
Now select a copied layer and click on the Filters menu of the Menu bar. Go to the Light and Shadow option of the scroll-down list, then click on the Drop shadow option of the new scroll down list.
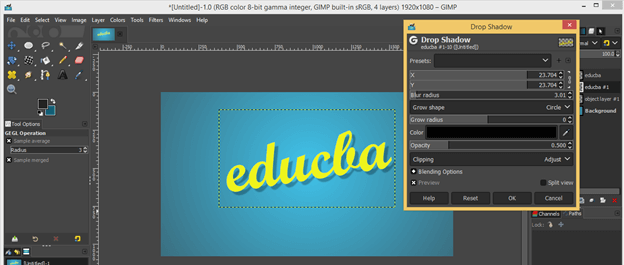
And you will have this nice drop shadow. We have a Drop shadow dialog box with this filter. You can increase or decrease blur radius for increasing or decreasing the intensity of darkness of shadow.
You can also increase or decrease glow radius for changing the effect of shadow.
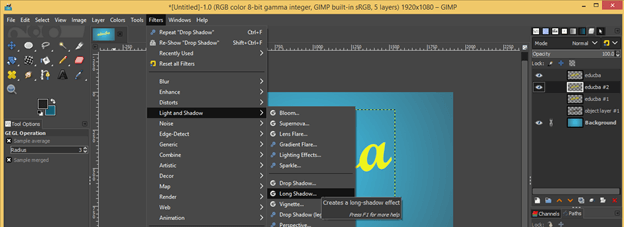
Now let us try another filter for shadow, so make one more duplicate layer of the original layer and move it below to the original layer.
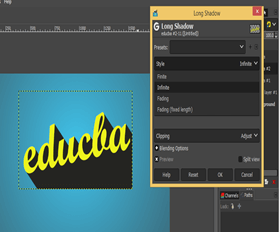
Again go to the filter menu, then the Light and shadow option and choose the Long shadow option from the new scroll down list.
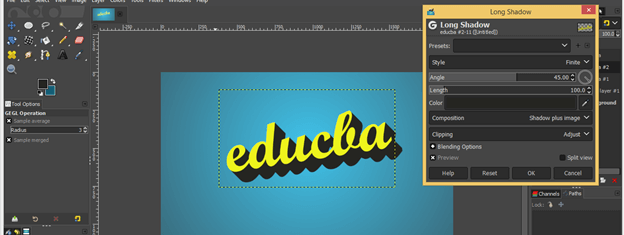
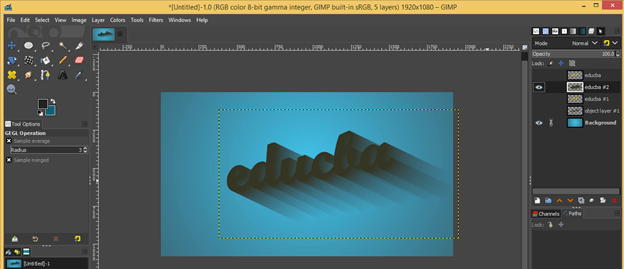
And you will get this type of effect with a long drop shadow.
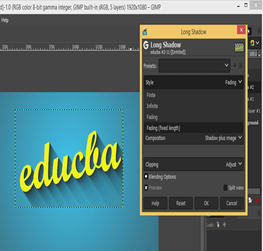
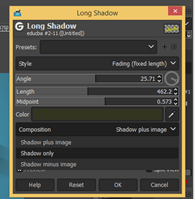
You can choose a different preset option for the long drop shadow effect from the Style option of this dialog box.
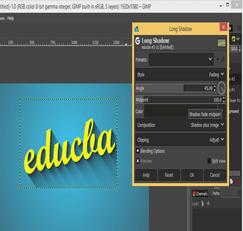
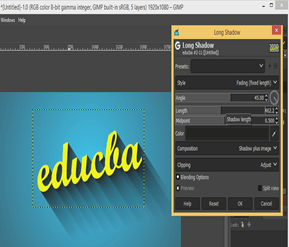
You can go with anyone of the above effect.Here we can also set the angle of the shadow as per our choice by changing the value of the angle option of this dialog box.
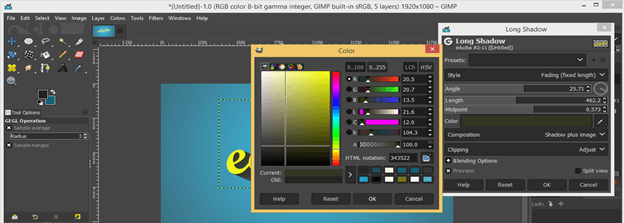
This dialog box also offers you to change the color of the drop shadow; just make click on the Color scale and change the color from the Color box.
Choose the Shadow only option from the Composition option of this dialog box so that you have the only shadow on an applied text layer.
You can see it by unhide the top text layer by click on the eye button of it.
Now merge the top layer with the below shadow layer for having them in one layer. For that, click on the Merge button of the layer panel of GIMP.
This way, you can create a nice shadow for your text.
Conclusion
Now you can use shadow with your text because you have good knowledge about the parameters of creating a shadow for text after this article. You can go with anyone of the method we discussed above and command them to get the best result in your work.
Recommended Articles
This is a guide to GIMP text shadow. Here we discuss How to create Text Shadow in GIMP and find out both of method through which we can have shadow for our text. You may also have a look at the following articles to learn more –
