Updated August 28, 2023

Overview of After Effects Software
The development of After Effects software was originally started in 1993 from the Company of Science and Art in Rhode Island. They had created versions 1.0 and 1.1. It can only be opened in Mac-based computers when it was first started. After that Aldus Corporation added new features like motion blur, multi-machine rendering, and time layout window and launch its new version 2.0. In November 1997, Animated GIF output and Path Text Effect features were released free for the users. Version 4.0 release in January 1999 and added a number of improvements. 5.0 was released with the introduction of Photoshop 6 vector mask import, PDF import, 3D layers and lights, dynamic previews, etc. In January 2002 its version 5.5 was released with import camera data and multiple 3D views. After the introduction of Creative Cloud, this software is released in the market with added features Maxon Cinema 4D Lite & Cinewar3e integration. The most current version is CC 2020.
Adobe After Effects Software is the most popular application software developed by Adobe Systems. It helps in creating special effects during the post-production of films. This software is also used for composting application Motion Graphics made with this software that looks like a real-time motion. Adobe After Effects software help the artists to create wonderful motion tracking of the objects.
How to Group Layers in After Effects?
Here our concern area is to tell about how to group Layers using Adobe After Effects Software. Adobe After Effects provides a pre-composting system through which a user can create multiple audio and video clips and blend them together to compose wonderful clips. We can add and edit our graphics images and objects into clips to make it more interesting. To show how to group multiple layers in this software, we need to make or import multiple layers, and then we can group or blend them in one file. To do that, follow the below steps:
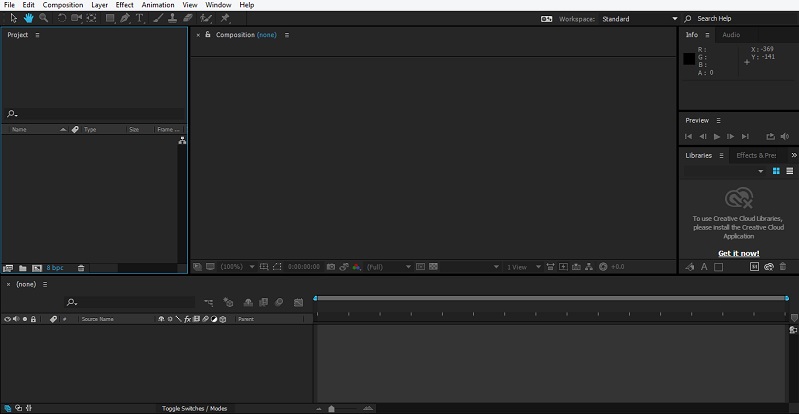
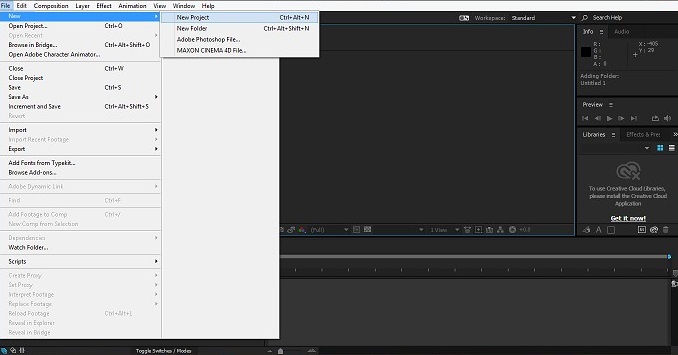
Step 1: To do this first, we need to create a new file by clicking on the new icon on the toolbar at the top left corner of the screen.
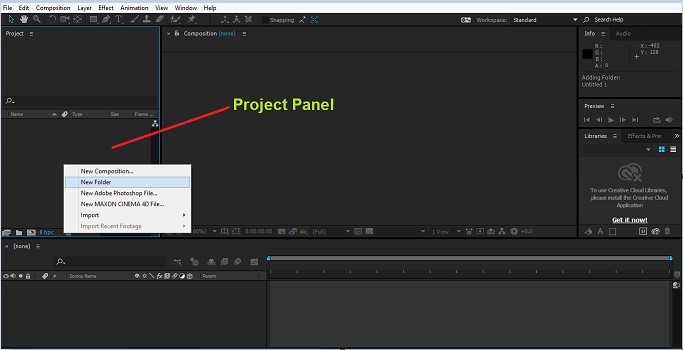
Step 2: Now go to the project Panel present on the left side of the screen. Right-click on it and then click on a new composition.
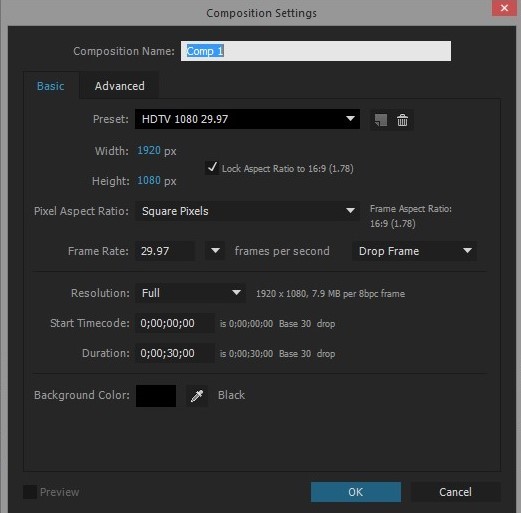
Step 3: A pop up will appear to indicate some basic settings of our composition, such as preset, width and height in pixels, frame rate, resolution of the image, etc. Fill in all required settings and click enter to start your composition.
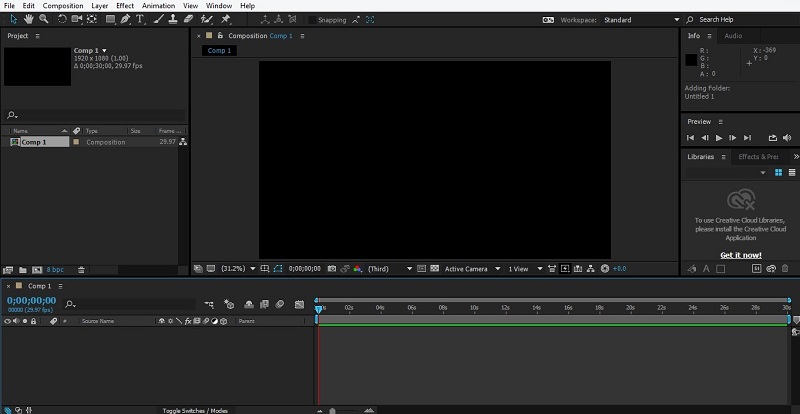
After pressing on OK, the below window will open.
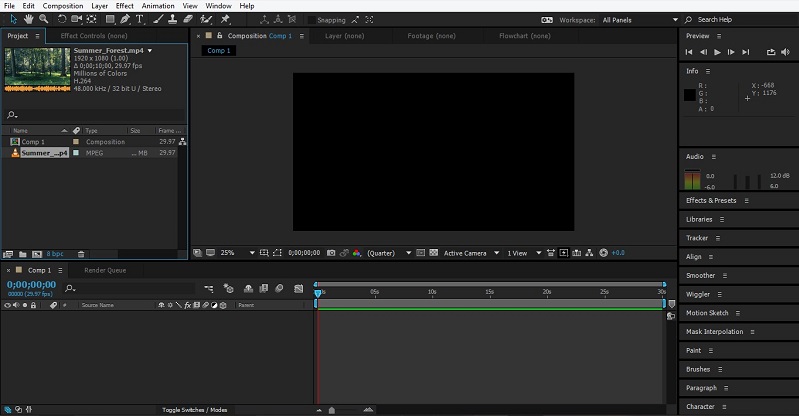
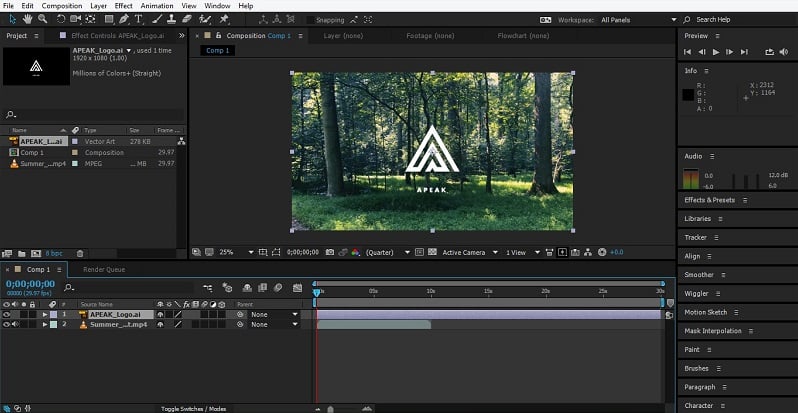
Step 4: Now import the files from your system that we need to use in our composition. To do this, right-click on the project panel and browse the location of your file. The file will appear in your project panel. Make it active by clicking on it.
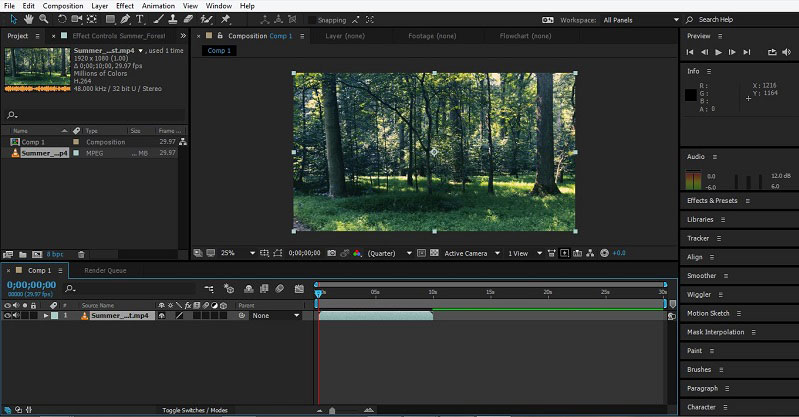
Step 5: Now, to add that file to your composition, drag that file into your composition folder. This will become part of your project. It will also start to appear in your timeline and composition window.
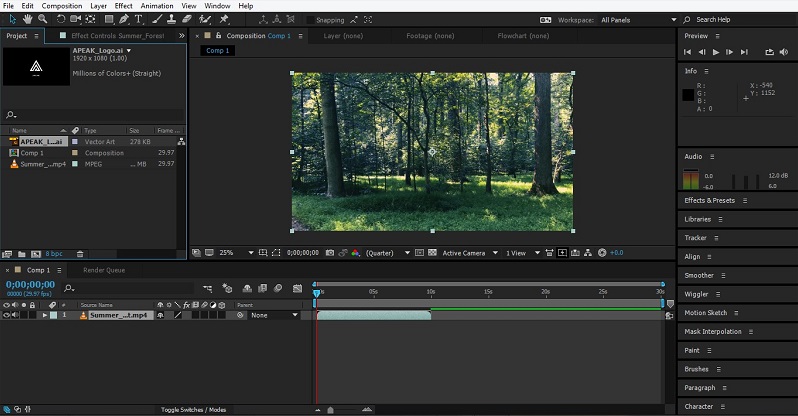
Step 6: You can now add another file or logo to our composition. For this import that already created logo or file by right click on the project panel and browses its location.
Step 7: Now, to make that logo as part of our composition, follow the same step as in Step 5. The logo will start to appear in our composition and timeline.
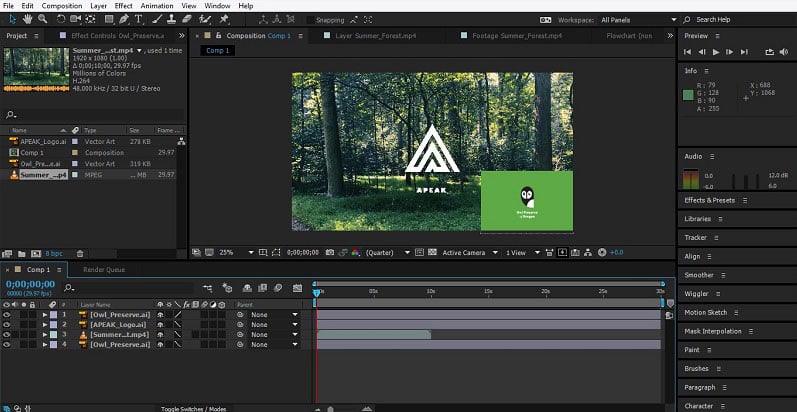
Step 8: In this way, we can add multiple audio, video files to your composition and change their time frame according to our requirements.
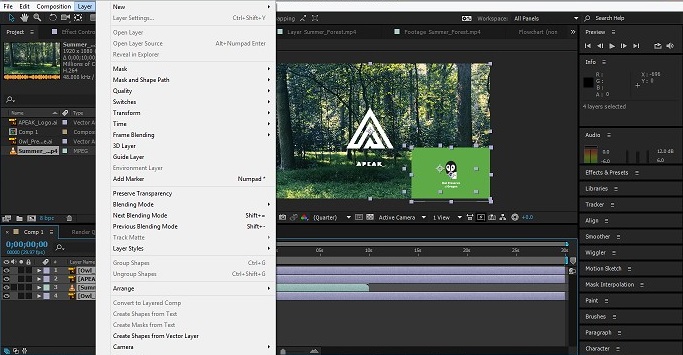
Step 9: Now, our next task is to group all the layers in the timeline into one layer. To do this, select all the layers that appear in the timeline by clicking on each layer and pressing the Ctrl key.
Step 10: Now click on Layers and select “Pre Compose” from the appeared panel.
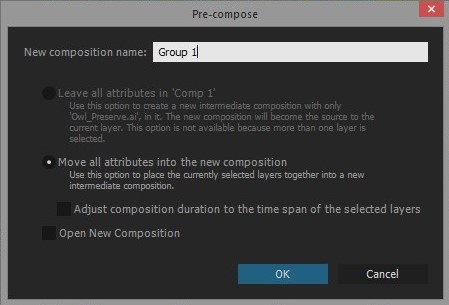
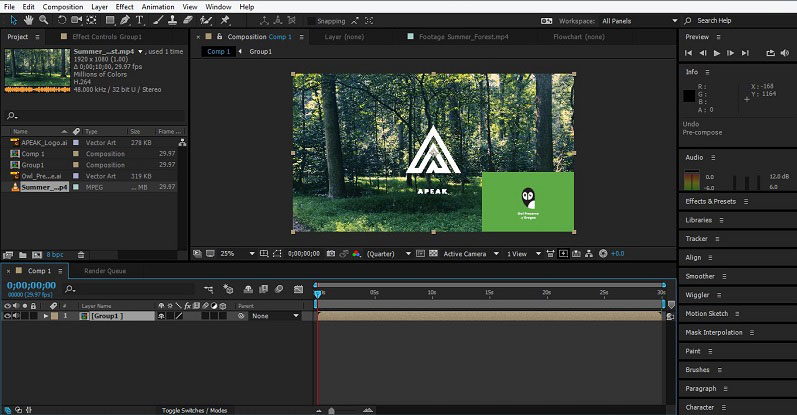
Step 11: A pop-up window will appear to name the new composition in which all the layers will come as per your requirement. In this, we named it “Group 1” and then click ok.
The name of a single layer as Group 1 appears in your timeline.
Conclusion – Group Layers in After Effects
Above, it has been explained how we can group layers in Adobe After Effects software. We can also create full animation using audio and video clips by controlling frames speed and the time at which the audio and video clips should be synchronized to produce the desired clips. This software supports many video and audio format files. This helps in importing any file save in various software formats and making your composition.
Recommended Articles
This is a guide to Group Layers in After Effects. Here we discuss an Overview and looked at various steps on How to group the layers in after effects. You may also look at the following articles to learn more –
- Know the Top 9 Plugins Used in After Effects
- Introduction to Advantages of VFX Softwares
- How to Add Keyframes in After Effects?
- Oil Paint Filter in Photoshop
- Create Glitch Effect in After Effects
- How to Create Composition in After Effects?
- Guide to After Effects Transitions
- Slider Control After Effects | Examples
