Creating Logo in Illustrator
Adobe Illustrator is the ultimate designing software for creating logos. Illustrator is a vector graphics editor that helps designers around the world to create logos the way they want with its wide array of industry-standard tools and features. You can create logos using Illustrator for multiple media such as digital, print, and video. In this article, we are going to learn how to create amazing logos in Adobe Illustrator. If you are looking for some inspiration or ready-made logo templates, many websites offer a wide range of options to kickstart your creative process.
Using Rulers in Illustrator
Below are the steps to use Rulers for creating a logo in Illustrator in an easy step by step manner:
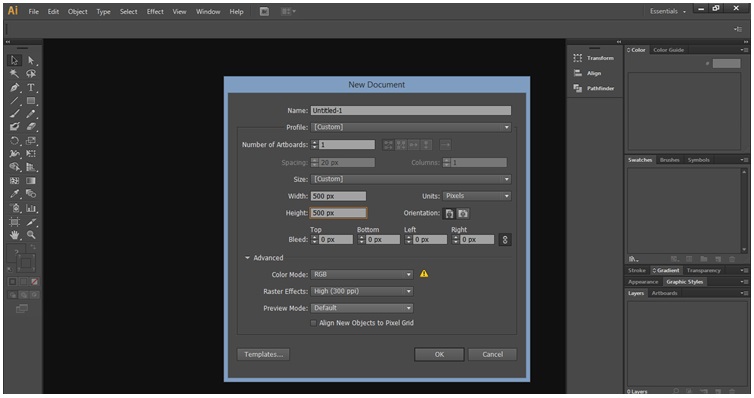
Step 1: Open Adobe Illustrator. Start by opening Adobe Illustrator on your computer.
- From the top menu, select Files.
- Next, click on New.
- After that, give a name to the file.
- Finally, click on Ok.
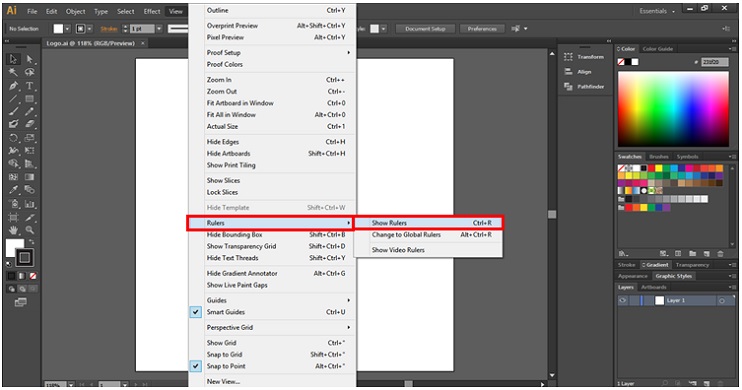
Step 2: Activate the Rulers. Using rulers will help you to align the contents on the artboard properly. From the rulers, you can click and drag a guide on to the artboard either from the left or from the top, below the steps to turn on the rulers.
- Select View from the menu bar on the top of the window.
- Pick Rulers from the drop-down list.
- Finally, select Show Rulers.
Creating Logo Designs from Basic Shapes
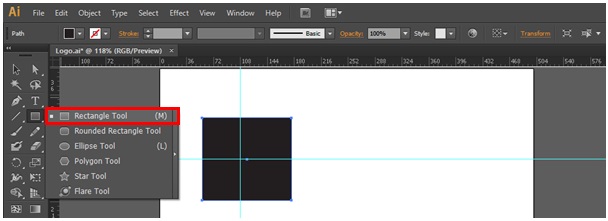
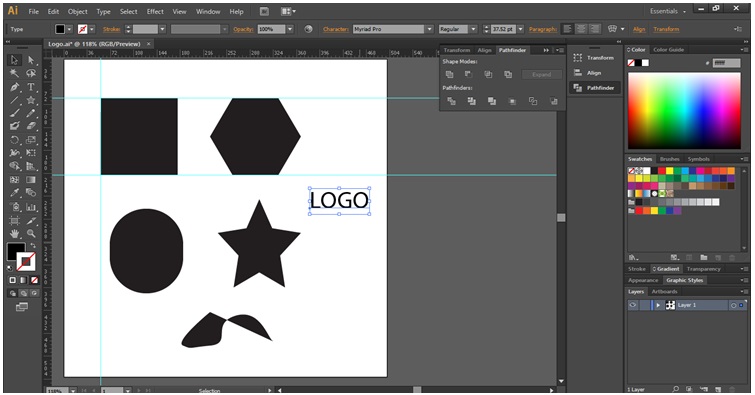
- Using basic shapes such as rectangles, circles, triangles, and other freeform shapes, you can create amazing logos. To select the shapes tool, select the rectangle icon from the left toolbar. It activates the rectangle tool. If you want to use any other shapes, you can click and hold on the rectangle icon and choose the shape you want from the list. Press and hold the ‘Shift’ key to proportionally place the objects.
Let us start to create logos in illustrator. Below, I will create a logo using shapes.
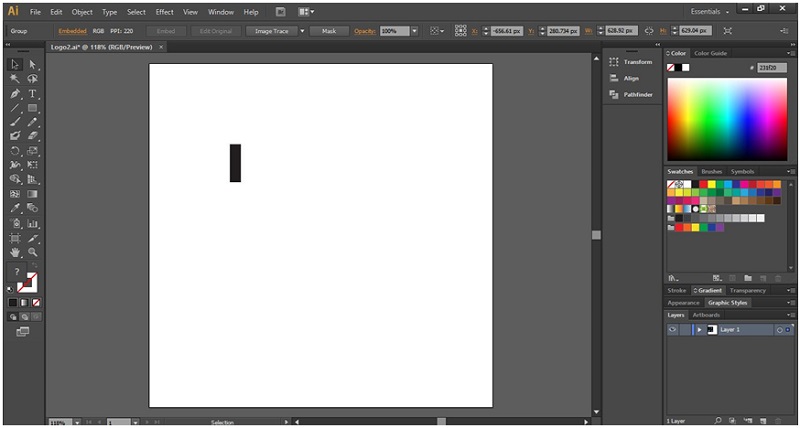
Step 1: Create a rectangular box for the Logo.
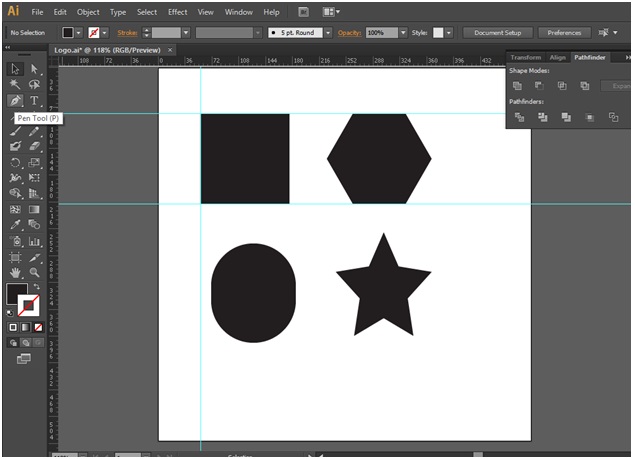
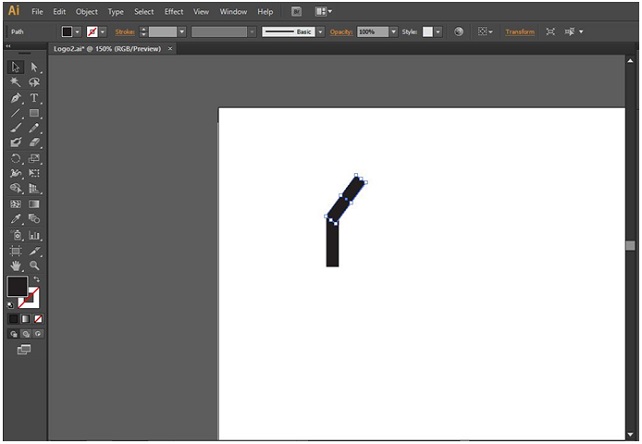
Step 2: Place another shape as shown below.
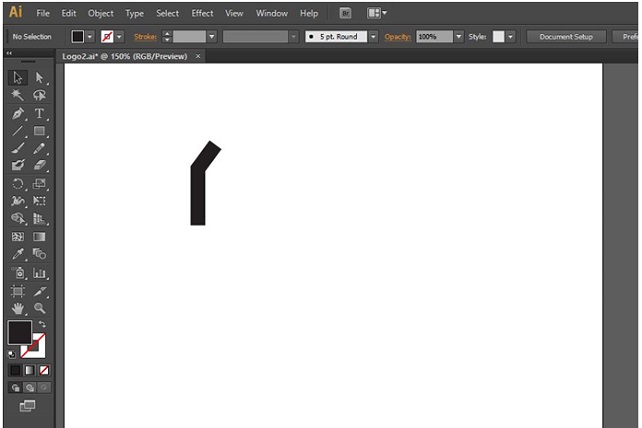
Step 3: Resize the shape for the logo.
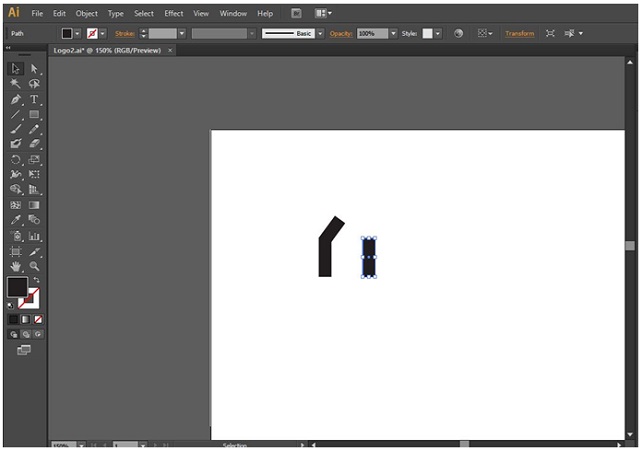
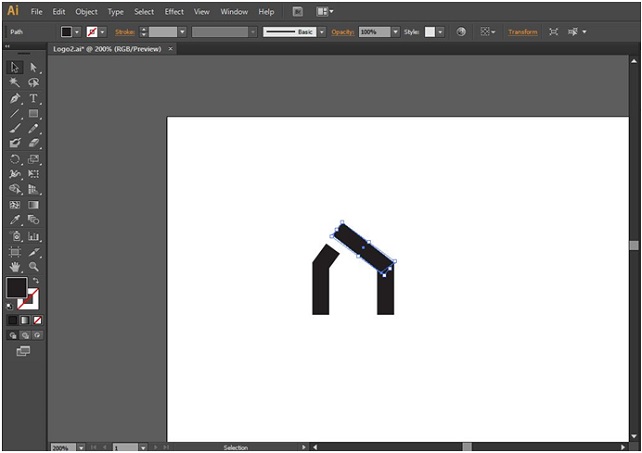
Step 4: Create a new shape, as shown below.
Step 5: Place another rectangle box on to the design.
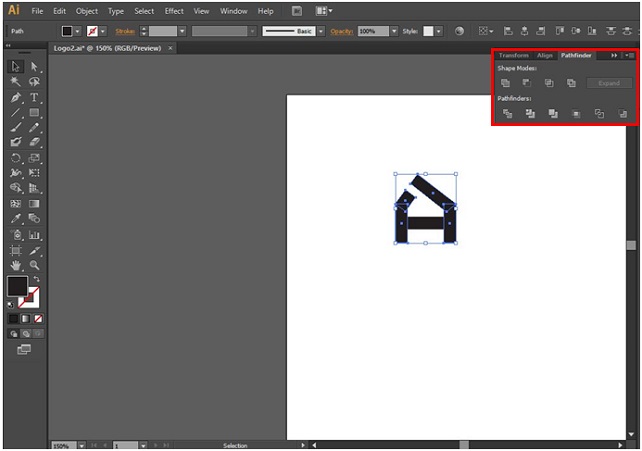
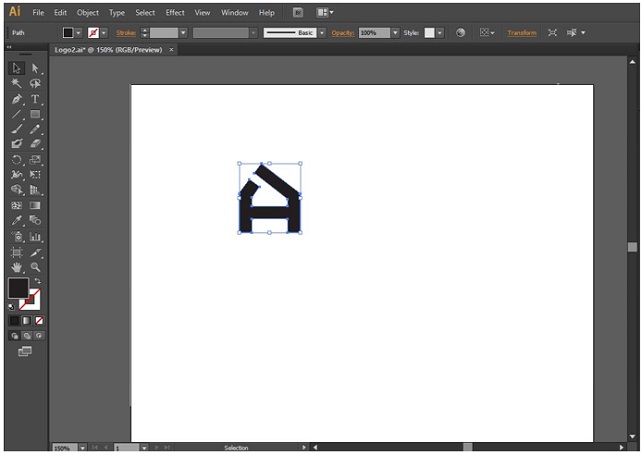
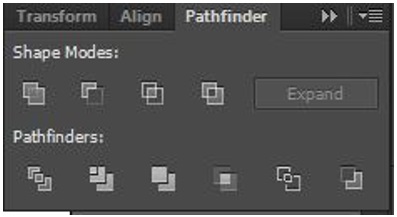
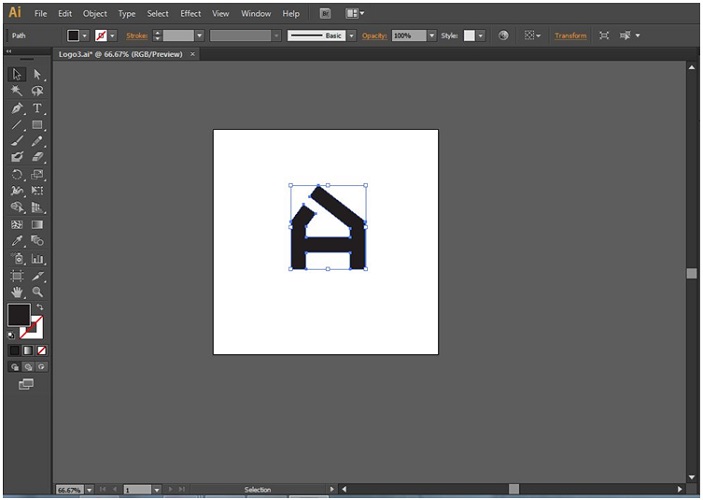
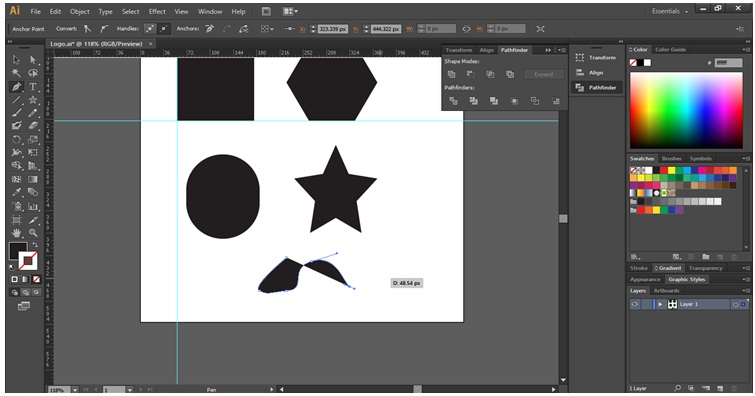
Step 6: Using the pathfinder tool, unite all the shapes into a single unit.
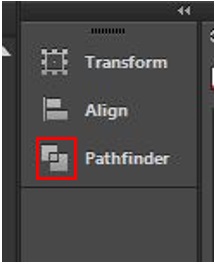
Let’s see how the pathfinder tool is used. The pathfinder tool icon resembles the square overlapping another one on the right side of the document. If the pathfinder tool is not visible on your document, you can activate it by going on to the Windows menu.
Step 7: Click on Windows from the top menu bar and select the Pathfinder tool.
Step 8: The Pathfinder can be used to create complicated and interesting shapes. Below are some options from Pathfinder that allows you to create elements for your logo.
- Unite: It merges the selected shape into a single one.
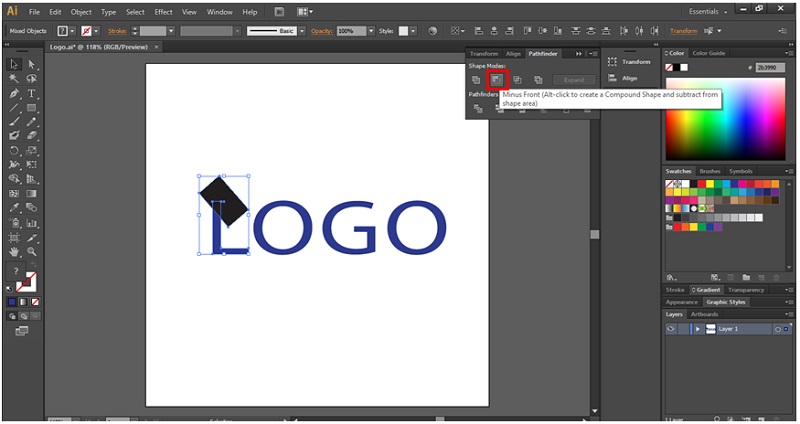
- Minus Front: This eliminates the shape on the top and retains the bottom shape. Its icon is a square with a cut-out corner.
- Intersect: This removes everything except the overlapping areas of the two shapes. Two squares merging to a small square in the middle resembles its icon.
- Exclude: It removes the overlapping area of the two shapes. It is the one with two squares and the corner cut out in the middle.
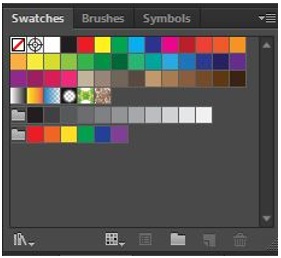
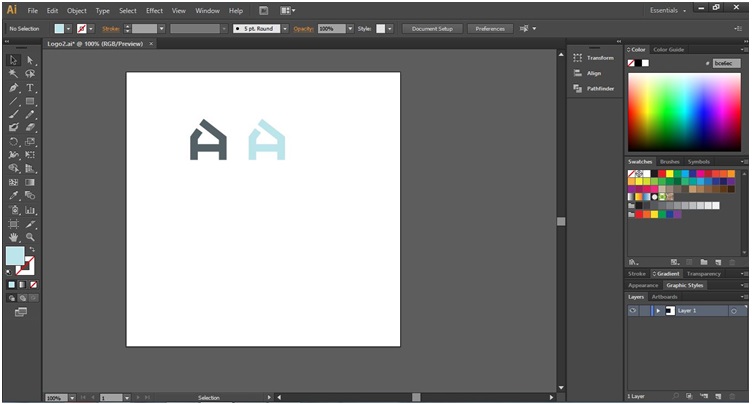
Step 9: Using the color swatches panel, add colors to your logo.
- For that, select the logo element.
- Next, pick a color from the color swatches.
Add Colors to Your Logo:
Step 10: For adding colors to the logo, click on the swatches menu on the right side of the artboard. You will see several square squares or tiles under the swatches. You can turn on the swatches from the Windows menu. Go to the Windows menu and select Swatches.
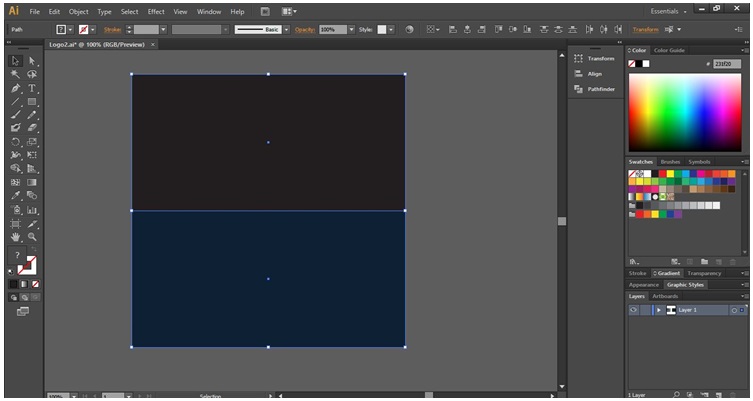
Step 11: Next, I will create a background for the logo. For that, I have used two rectangle shapes.
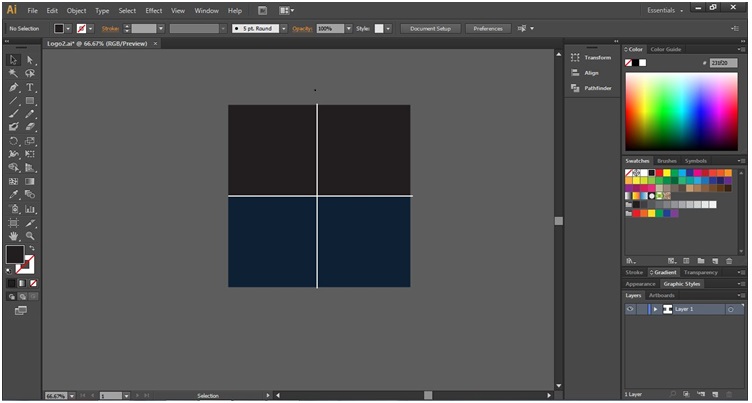
Step 12: I have divided the shapes into 4 parts using the line tool.
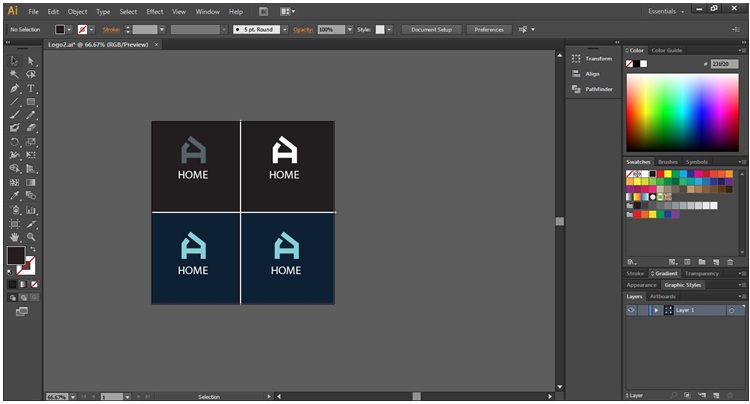
Step 13: Place the 4 color version of the logo as below.
Using the Pen Tool:
- While making logos, the pen tool is one of the most popular and frequently used tools in Adobe Illustrator. For the beginners, it might be very tricky to master its full potential. Once you crack the usage of the pen tool, you will realize that it is a very important tool and learning it will also enhance your skills in other applications such as Photoshop pen work.
Adding Text to your Logo:
- For adding texts to your logo, you can use fonts from the top toolbar in Illustrator. It is you can also use formats such as regular, bold, Italic and so on from the next box.
- For adding the text, you have to select the text tool and click on the area where you want the text to appear. Next, start typing your text for the logo. If you want to stylize each individual word in the logo, then you can consider creating a separate text object for each word.
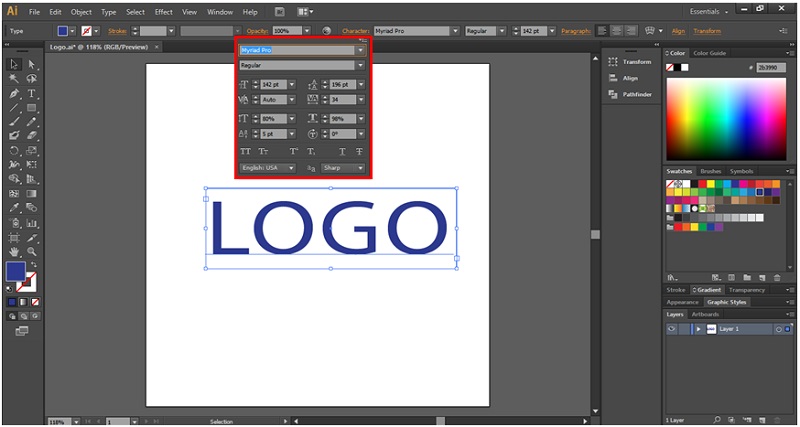
- You can further adjust the size and spacing of the text using the character menu at the top of the screen.
Vectorizing the Text Font
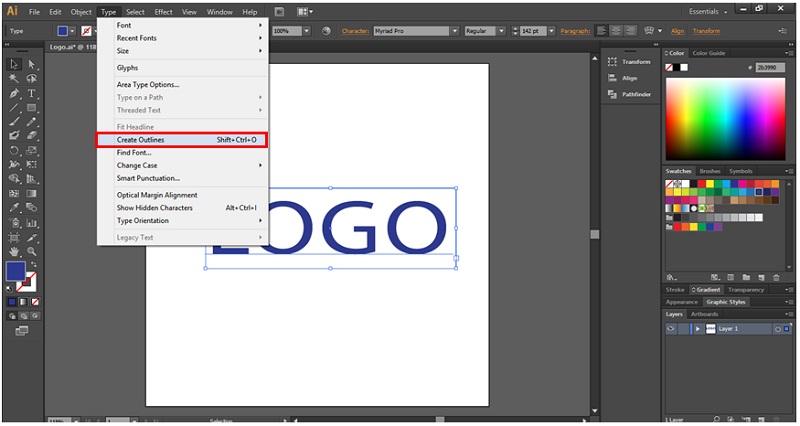
The next part that comes is to vectorize the font. This is done in order to ensure that all devices can access the font used for your logo. After finalizing the text, you need to vectorize the font. This process transforms the text elements into a vector graphic rather than just a text element suitable for logos. However, you need to know that you cannot edit a text once it is vectorized.
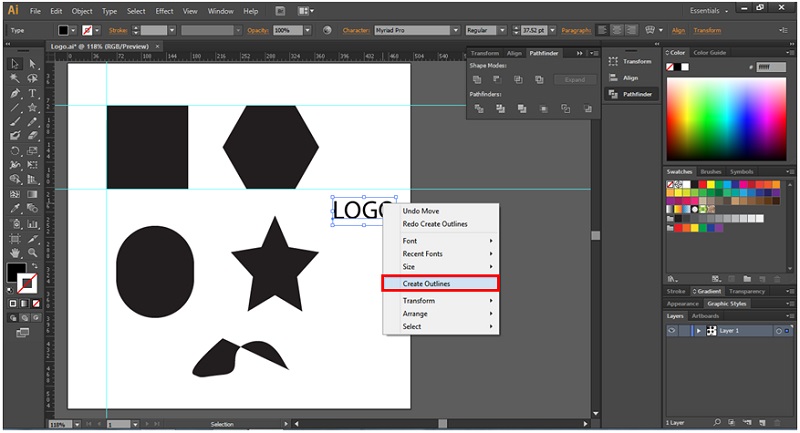
- Right-click after selecting the Text.
- Select Create Outlines.
Below is an example of creating a logo using the above method.
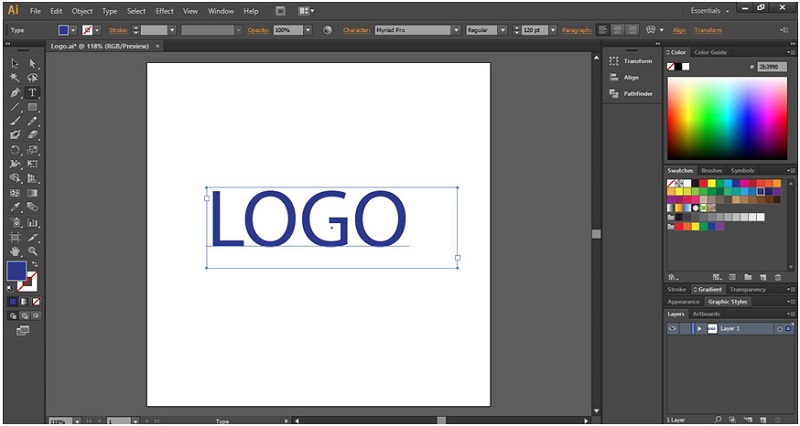
Step 1: Using the type tool, type a text for the logo.
Step 2: Using the character panel option, you can stylize the logo as shown below.
Step 3: Convert the text objects to the outline.
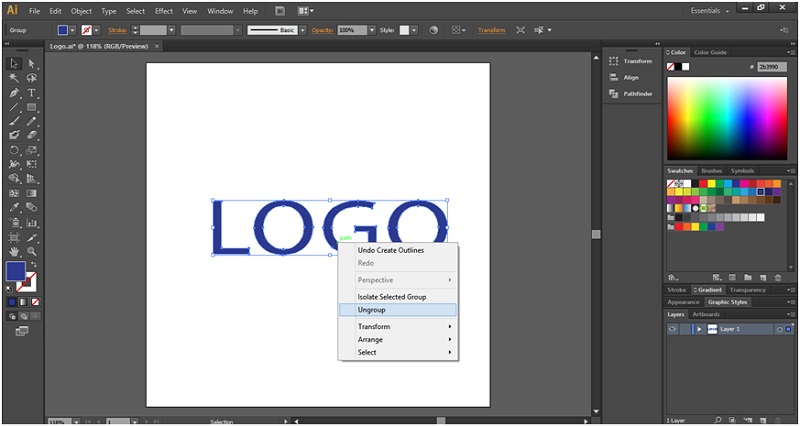
Step 4: Ungroup the logo fonts.
Step 5: Using the pathfinder tool, you can design the logo further. Place a rectangle box over the letter ‘L’ and select Minus front from the pathfinder tool.
Step 6: Using shapes add complexity to your logo. While creating a logo, you might want to explore various resources for inspiration or additional design elements, like the Filmora logo PNG. This can help you integrate professional and sleek design elements into your projects. While creating a logo, you might want to explore various resources for inspiration or additional design elements, like the Filmora logo PNG. This can help you integrate professional and sleek design elements into your projects. Below, I have placed a circle in the center of ‘O’ letters to create the logo.
- Preview and Save Your Logo: You can check how your logo looks in the real world by placing it on mockups like t-shirts, business cards, or shop signboards. Once your logo is finalized, consider organizing it as part of your brand asset management strategy. Properly categorizing and managing your brand assets ensures consistency and easy accessibility for future projects.
- Present Your Logo: Once you have a logo ready, the next thing you can do is to put it in a nice presentation for your clients. You can also be creative here by adding various versions of your logo in different colors and templates.
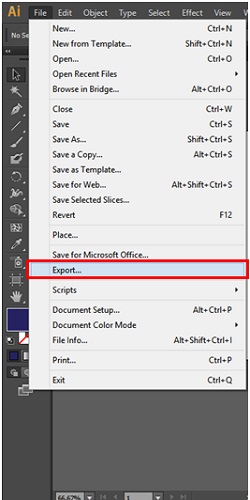
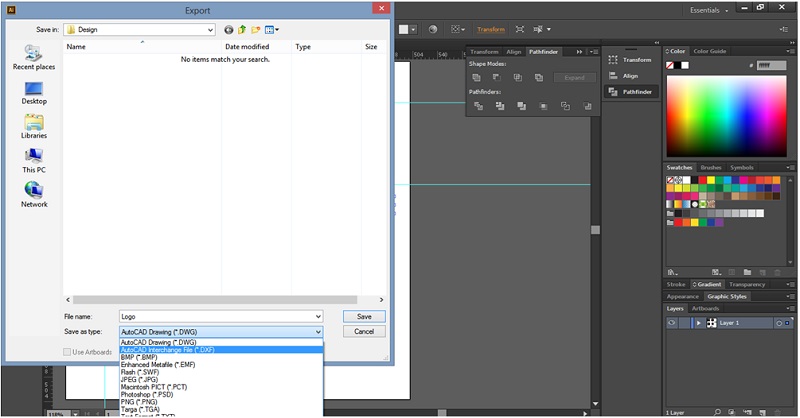
- Export the final files: Once you have a great looking logo design, the next thing will be to export the files so that they can be used on multiple platforms. You need to be careful that you have a copy of all the possible logo variations such as black and white, horizontal and vertical versions, and in various export formats.
For Exporting the File,
- Go to the File menu
- Select Export
Conclusion
Creating the perfect logo may, at times, seem quite a challenging process. However, it can be a fun and creative process if you learn the right tools and procedures. Whatever is the need for the logo, be it print, digital, multimedia, etc. Illustrator has your back. Once you learn this process, you can create your own unique workflow to create designs for logos in Adobe Illustrator. You can try out new things and explore the world of creativity.
Recommended Articles
This is a guide to How to Make Logo in Illustrator?. Here we discuss how to create a logo with changing effects, design, color, and text in a step by step manner. You can also go through our other related articles to learn more –
