Introduction to Paint in Photoshop
Adobe Photoshop provides users with different tools for painting and editing any image. In the traditional way, pencils and brushes, tools were used in which the user applies colors with the different stokes of brush and pencil. After that user applies eraser, blur and smudge tools for providing the finishing touch to the image, these tools are also used to modify the existing color in the image. These tools are also used to modify the existing color in the image. To modify the already created image user can use any of the erasers, blur and smudge tool. He/She can also take help from Photoshop online tutorials to learn in deep about the tools. A tutorial can help the user to know the exact use of the tools.
How to Paint in Photoshop?
Follow the below steps to apply and use paint in Photoshop:
Step #1
Select the background color according to the requirement. Choose a suitable color from the toolbox.
Step #2
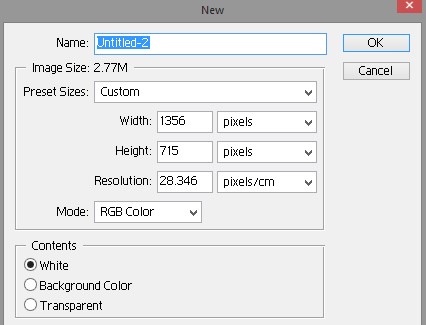
Now insert the image in which you want to paint. We can also draw an image using the Photoshop tool. We can use the pencil tool to draw a straight line. For that, click on the starting point of the image. Hold down the Shift key and click on the endpoint of the image.
Step #3
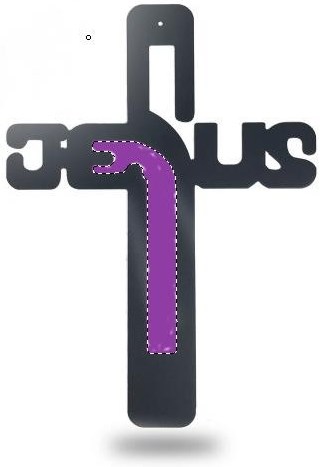
Now select the brush tool or pencil tool. For using the brush tool as an airbrush, hold your mouse button and apply color. The brush and the pencil tool also help in painting the current background image. With the brush tool, the user can create soft strokes of color, and the pencil can create sharp-edged lines.
Step #4
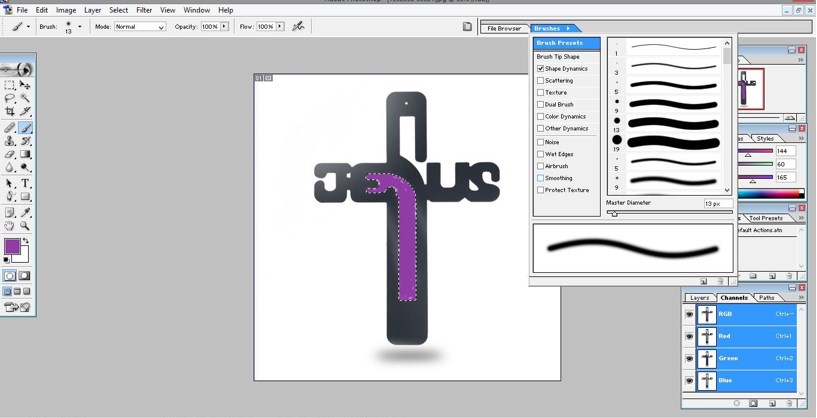
Select a brush from the Brush Presets panel. This will ease your task. Users can quickly access frequently used brush characteristics by setting some brush options as a preset. This software provides samples for brush preset. Users can access these already developed presets and can also modify them according to the requirement.
Some brush presets available online, and we can download them from the web. Users can quickly access presets from the brush presets picker available in the options bar. This will allow the user to temporarily modify the thickness and hardness of the brush. We can also save and store the customized preset options along with their settings like opacity, color, and flow.
Step 5
Now adjust the texture of the image by changing mode, opacity and so on from the option bar. Brush tip options control how color is applied to any image. Users can use color slowly with soft edges, with varying brush speed, by using different dynamics of brush, using different blending methods, and with different sizes of the brush. Users can apply the texture to any image using brush strokes to adjust the environment according to canvas or paper. We can also adjust spraying paint using the airbrush tool. We can also use a brush panel to adjust brush tip options. If we are using a tablet for drawing any artwork user can control pen pressure, rotation, angle or a stylus wheel to apply color to any image.
Various Tool Used to Paint in Photoshop
There are various options available in the options bar to adjust the image. There are various options available for each tool.
1. Mode
Blending Mode tells about the effect of pixels on changing the painting and editing tool. The following terms should be kept in mind while adjusting the blending mode. The base color is the color already present in the image. Blend Color is the color that is to be applied using a painting or editing tool. Result color is the resultant color obtained by blending the image. Blending mode tells how each layer interacts with each layer beneath it. We can link each layer by adjusting the opacity of each layer. Blending modes available are normal, darken, lighten, contrast, comparative, and color.
2. Opacity
This tells about the transparency of color in the image. When the user paints over any area, the opacity level does not increase the set level, no matter the number of times the user had moved the pointer on the specified area until you remove your hand from the mouse button. If you again apply, the color changes will be applied according to the set opacity.
3. Flow
This tale about the rate or speed at which the color is applied to the paint area. When users move over the paint area while holding down the mouse button, the quantity of color applied depends on the flow rate and also on opacity settings.
4. Air Brush
This tool work as a simulation tool. When the user moves his/ her cursor on the painting area, paint builds up as we keep holding the mouse button.
5. Auto Erase
This tool paints the back-ground background color on the area which contains the foreground color. To use this tool, select the foreground color we need to remove and the background color we need to change.
The paint tool provides the user with three cursor options. Standard cursor, a crosshair +, and the cursor matches to the size and shape according to the brush tip. To use it, click on the Edit. Then go to preferences > Cursors. We can use the suitable cursor both in the painting Cursors area and another area. We need to select a suitable size while using the Brush tip cursor. Normal Brush tip bound the cursor size to the brush stroke areas, which is having 50 percent or more opacity. Full-size Brush Tip allows moving cursor to the full area, which is affected by the brush stroke.
Conclusion
Before starting any design project, a designer should exactly know about his target audience. The designer should frame his artwork by completely understanding the end client. By using various possible options of the Color tool in Photoshop software, a designer should create the artwork. Color plays an important role in any design work.
Recommended Articles
This is a guide to How to Paint in Photoshop. Here we discuss simple and easy steps to create paint in photoshop and knowing various options available to paint. You can also go through our other related articles to learn more –


