Indesign
It is more than a decade since Adobe InDesign entered the publishing arena, and it is not hard to believe that InDesign has been leading the markets right from the day it struck the world. InDesign is a much better and extended version of Adobe’s previous counterpart Pagemaker. But the latter took publishing to the next level providing features, tools, and additions that added more value to the publishing Industry.
InDesign is a comprehensive software designed to design requirements for diverse domains of the Multimedia Industry. InDesign’s well-structured and handy features can be used for newspapers, books, newsletters, magazines, advertisements, and the best for the publishing industry. In its recent versions, the software took a giant leap in accommodating layouts for new age technologies such as smartphones, tablets, and iPads.
Through this article, “A beginner’s guide to InDesign”, we aim to provide sophisticated information about the InDesign software that helps those who are fairly new to the field.
Creating a new document and print settings
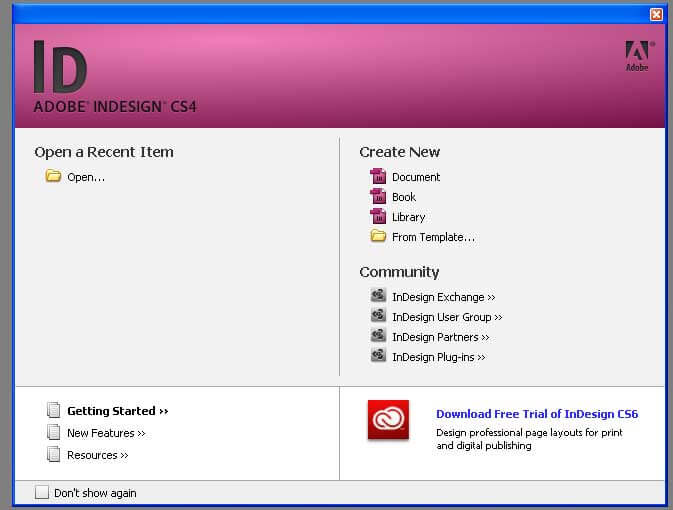
To create a new document, open Adobe InDesign. As soon as the software is loaded, the introduction window pops up, allowing you to access existing or recently closed files. However, you can also create new documents and access Adobe’s help files from the bottom left of the window.
Creating a new document according to our print requirement is unavailable by default, so you should find your way through it. InDesign allows you to work in points, millimeters, inches, and more units as per your convenience. In this case, I want to work in inches, and I will prepare the document.
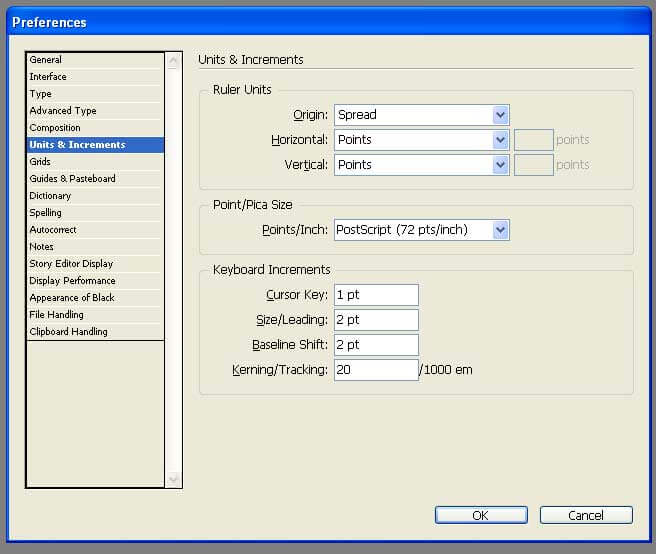
Edit > Preferences > Units & Increments
Under Units & Increments – Select Rulers and Units – Change the Horizontal and Vertical fields as per your requirement. Here, I am changing them into Inches.
You can now start creating a new document in two ways
- You can use the shortcut keys by typing Ctrl+N
- Click on the Document link on the ID Introduction window
You will now find in the window the units are displayed in Inches, as we already made the adjustments to the document.
Layers
You can never master InDesign without understanding the workflow of Adobe’s most famous Layers palette. In the recent versions, InDesign Layers palettes are added with valuable changes, mostly borrowed from the Vector software Adobe Illustrator. If you have previous knowledge of Illustrator, it will help you understand the part easily.
Open an existing Indesign document. To open the Layers palette,
Click F7 or Window > Layers
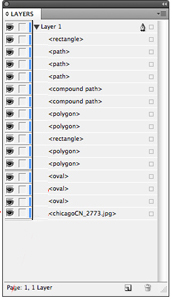
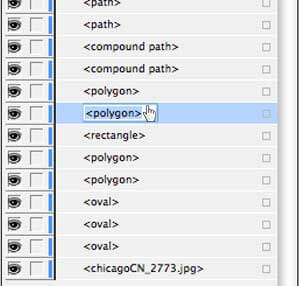
The layers palette pops up, and you will notice the drop-down arrow on layer 1. When you click on the arrow, the layers palette opens to arrays of sub-layers predefined with individual items as text, shape, and imported graphics.
Change layer name
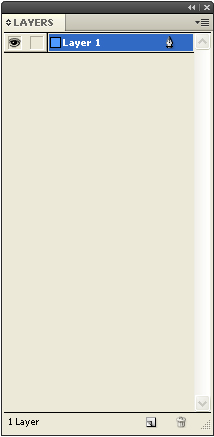
To change the layer’s name, double-click on the existing name. The cursor arrow is changed into a finger cursor, and the text is selected in Blue. Type the name you want to give the layer.
Lock the Layer
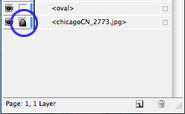
Like every other Adobe layers palette, the lock and visibility icons are arranged just before the layers palette. You may click on the lock symbol to activate the layers lock, so you will not disturb the contents of the layers. You can also hide the layer’s content by disabling the eye symbol and placing it in hidden mode.
Group Layers
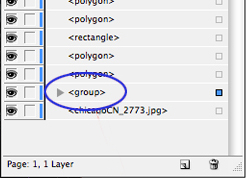
In case you want to group the content into two or more layers, you may choose to place the required layers and create a group. It allows moving, hiding, and locking layers together, saving you time working on them.
By default, InDesign will name Group Group 1, Group 2. You may choose to rename groups in the same way as mentioned in the Layers column.
Rulers and Guidelines
In every part of the Designing world, precision perfection is essential. When it comes to publishing, the need is more intense. And the best way to achieve this is by using the Rulers and Guides to arrange your design elements in a perfect alignment. Rulers and Guides aren’t just crucial for print layouts but are also highly relevant for creating a seamless web design or layout for digital platforms. For example, consistency in spacing and alignment is just as important when crafting a responsive web design as it is for print publications.
Turn Rulers on & off
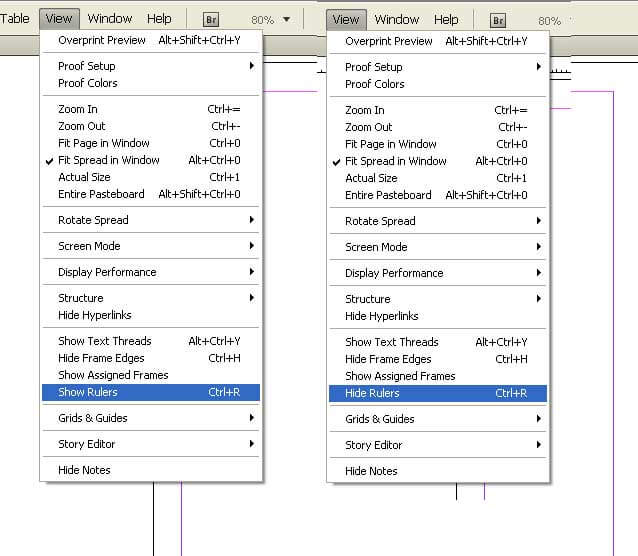
By default, InDesign opens a document with the rulers turned on. But working with rulers on is not always comfortable and not essential when you are not working with them. You can turn rulers on and off in the following ways
- Toggle between Rulers on & off options by using Ctrl + R shortcut
- You can manually do the same by
View > Show Rulers
View > Hide Rulers
Change Units
It is essential to change the units of your ruler as per your requirement, especially when working for a print-based or publishing job.
To change the units of the rulers, choose one of the following methods
Right-click on the ruler’s bar – You can see a pop-up window with the list of the units mentioned in it – Click on the required unit to change the rulers as per your requirement. Do not forget to change the horizontal and vertical ruler units individually, as changing the units of one ruler is not applied to the other.
Edit > Preferences > Units & Increments >
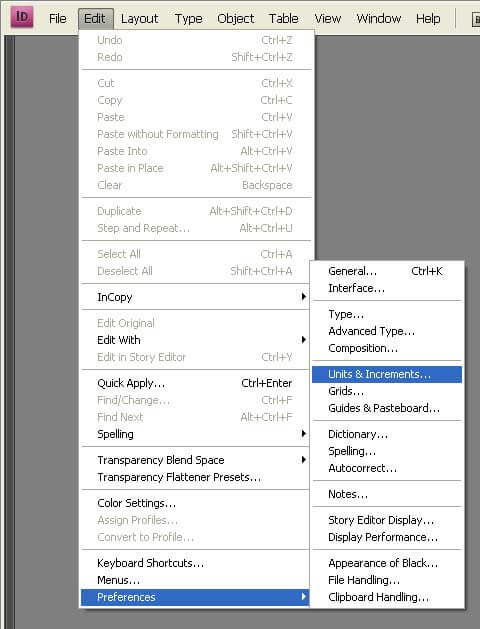
It will take you to the Preferences window. Under the Ruler Units > Change the Horizontal and Vertical units.
Zero Point
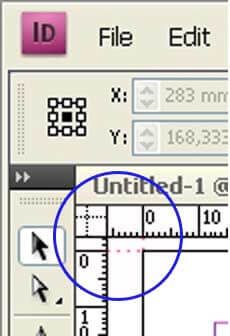
By default, the 0 points on the ruler are arranged to the top left of the document. InDesign perceives that your document starts on the top left side, where the ruler should start counting the width and height.
In case you want to set your preferences of where to start counting the documents, follow the below methods
Click on the top left corner, where both horizontal and vertical rulers intersect, and drag the rulers to the point where you want the units to start.
Guides
If you have an idea of Photoshop or Illustrator, there is not much to know about the Guidelines, as they work much like the same in every software.
Guidelines are used to align objects precisely in your work area. With the help of guidelines, text, objects, and every other element can be placed uniformly, maintaining the design’s coherency.
To show the guidelines click on the ruler and drag it onto the required area. A horizontal ruler sends a horizontal guideline, and a vertical ruler sends a vertical one.
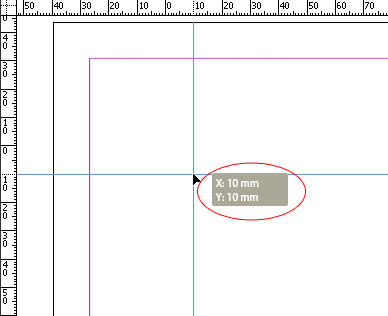
To know the document’s X & Y coordinate values while adjusting the guidelines, press ctrl/cmd and drag the lines to see the unit values of the guide position.
If you work with the facing pages in InDesign, your guideline will cut through both pages. Some designers do not like it, as guidelines can obstruct their work, diverting their concentration. In such cases, you can limit the guidelines to one page where you intend and use both pages where it is required.
Setting the guidelines is a very simple task
Click and drag the guide outside the document to set a guideline across the facing pages.
To set a guideline on a single page, click and drag the guide inside the document area.
Importing Type
Importing type content is never seen as a complex matter. The text is the only object that can easily flow from one platform to another without any obstruction. Simply copying and pasting the text is one step everyone knows and saves ample time. However, it is not the only way to copy the text in InDesign. It opens more possibilities with import options for the user to control the type.
Importing a text document
If you already have your typo readily from a Word doc file, you may choose to place it directly into your InDesign document.
Follow the process to copy a Word doc typo
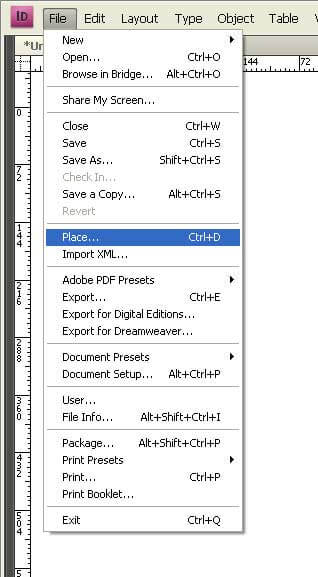
File > Place
Start navigating toward the Word file you want to place.
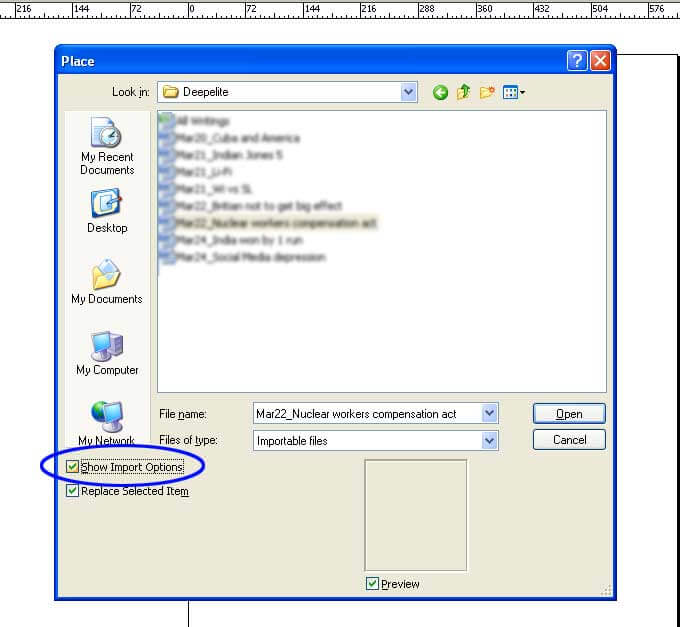
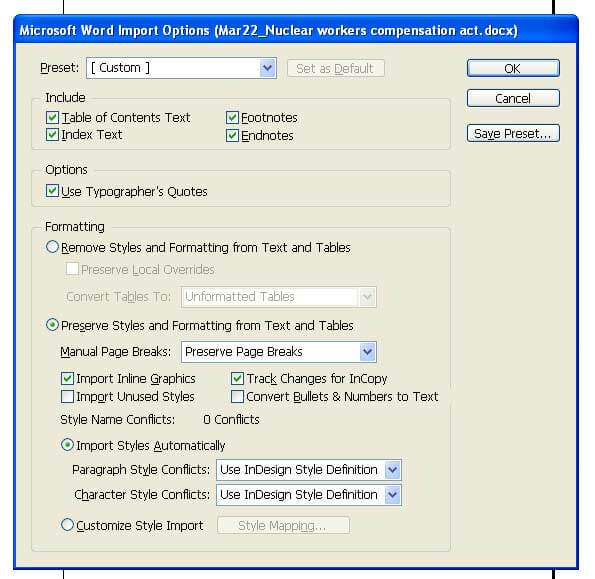
Before opening the Word file in your document, select the file to activate the show import options. Check the box and click open. A new window appears on your screen with various importing options divided into three parts.
Include
It shows the options of what parts of the Word document you want to include in your InDesign document.
Options
Checking the box will allow the curly quotation marks in with the typo
Formatting
It is common to format your Word documents in various styles. Importing the document as it is may cause several obstructions in the typo, especially in the places where there is formatting that InDesign may not decode.
If you want the clear text to be read, select the tick options and gain total control over the text.
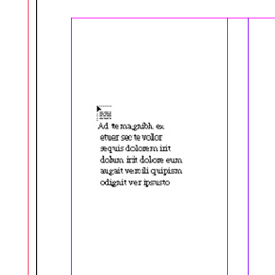
Once you pass this stage, you can import the type into your document with a single click. You can already observe the change in your cursor as you find it much sharper with few lines beside it. Click on the area where you want to place your type and adjust it as required.
Importing Images
Indesign can open all popular formats of images such as JPEG, TIFF, EPS, PDF, and every Adobe format. But what you think you are importing and showing on your document is not a copy of the image you created, but only a preview is taken from the link you obtained.
Importing Images is a different process in InDesign compared to Photoshop and Illustrator. We will discuss a few methods you will use to import images.
Before creating a document, you should remember that Adobe InDesign is software for publication, typesetting, and layout designing. It is not possible to create professional graphics with this software. Whatever image of graphic you want to input into the layout should be prepared in other software like Photoshop, Illustrator, or Coreldraw and brought into InDesign readily. So keep your images and graphics ready before you reach the layout stage.
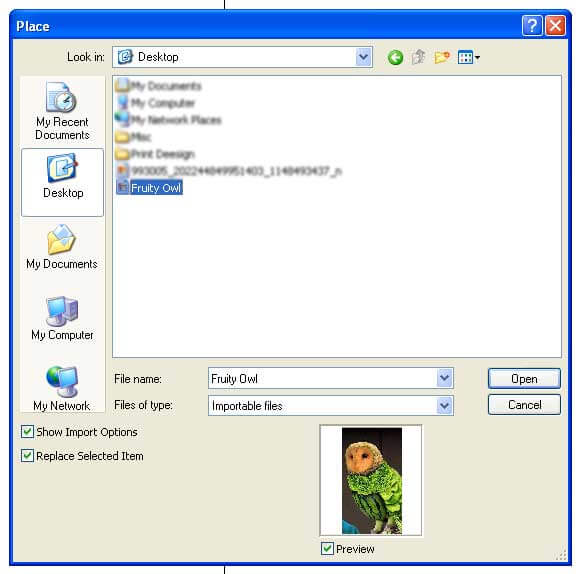
You can place an image by using the shortcut Ctrl + D or by following through
File > Place and navigate the folder where your graphic is located.

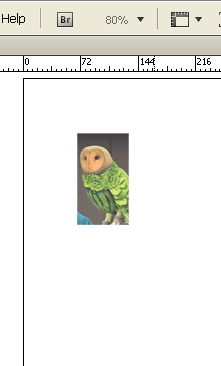
You will see the cursor changed into the face of the graphic. Click the icon where you want to place it and adjust the size.
You place the image directly to the size you want to obtain. Click and drag the image in the layout as much as you want. This avoids the burden of resizing your image in the case of larger image sizes.
Threading Text in InDesign
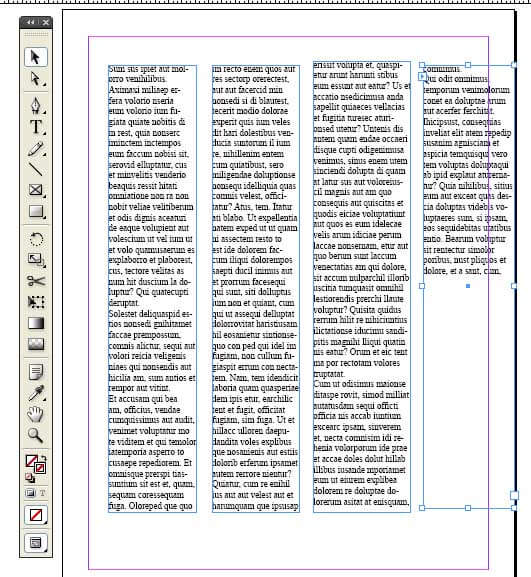
Before InDesign introduced the Threading Text feature, playing with text was a huge task requiring numerous type frames. With threading text, Indesign links text frames and allows the text to flow from one frame to another as soon as the former is filled. The process is controlled manually by drawing the following text frames in the shapes and sizes required by the designer.
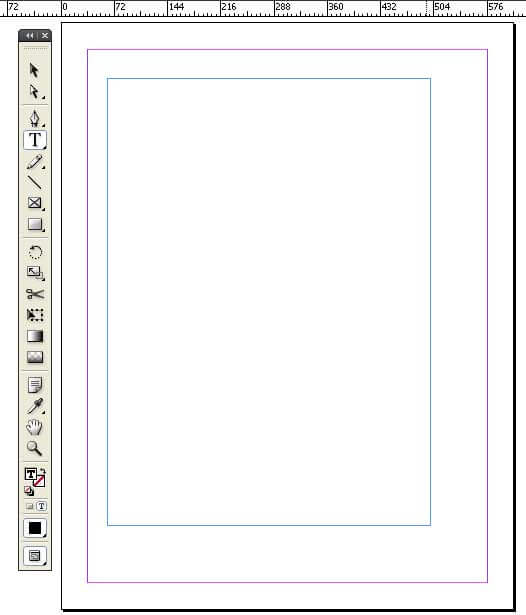
Create a new document and draw an empty text frame.
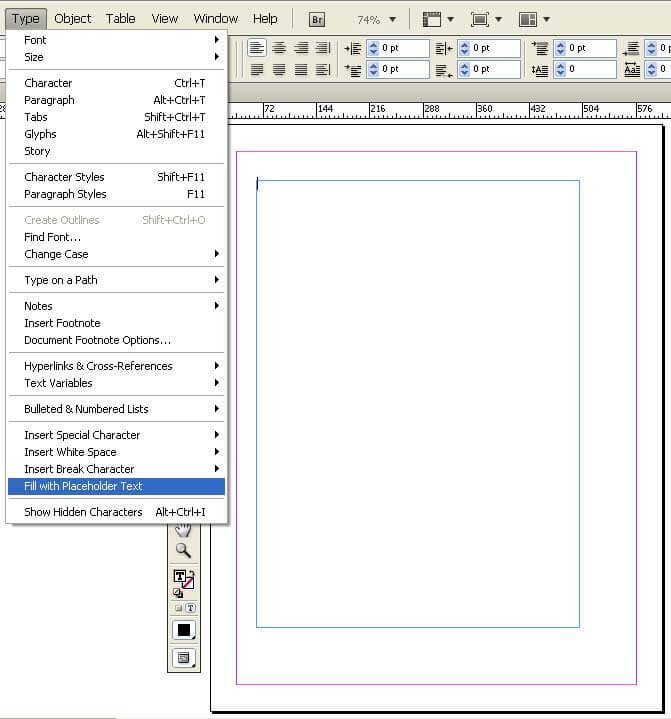
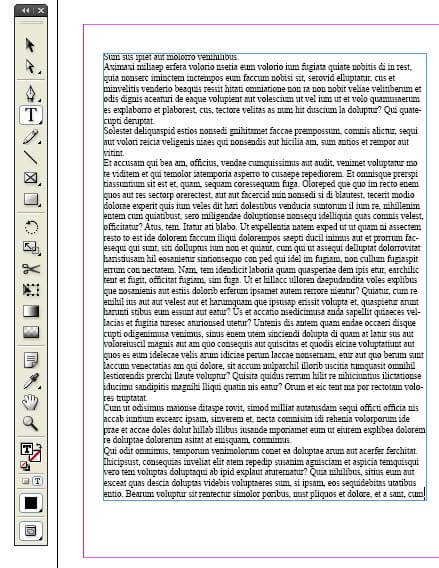
Go to Type > Fill with Placeholder Text
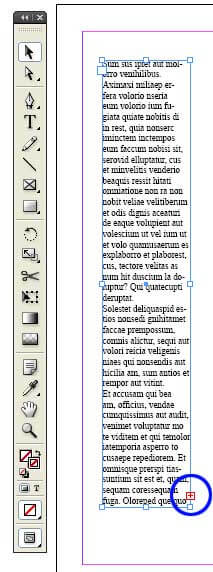
Shrink the text frame to half its size
You will immediately observe a red box in the lower right corner of the text frame. It indicates that there is more text to be displayed and overflowing out of the text frame.
Click on the red box and observe the change in the cursor. You will see the cursor changed into a paragraph. Click and drag the cursor where you want the remaining text to appear.
InDesign is a comprehensive software with many important elements you can use at every corner. Defining and fitting the best tools in a single post is impossible. This is an attempt to give the fundamental information required for every fresher. We hope you find the article helpful and start your InDesign with the abovementioned tools.
Recommended Articles
Here are some articles that will help you to get more detail about How To Use Indesign, so just go through the link
