Introduction to InDesign Arrow
InDesing arrow is the same as we used in adobe illustrator for different types of purposes and in InDesign we use it for many types of indication works when we use the arrow in the form of stokes. We can create shapes of arrows also with the help of some tools of tool panel as well as some option of menus of the menu bar. Here in this article, I will tell you about both types of arrows so that you can use them according to your requirement. You will find many adjustable parameters during creating arrows by using the Strokes panel. So let us analyze these parameters.
How to create and use Arrow in InDesign?
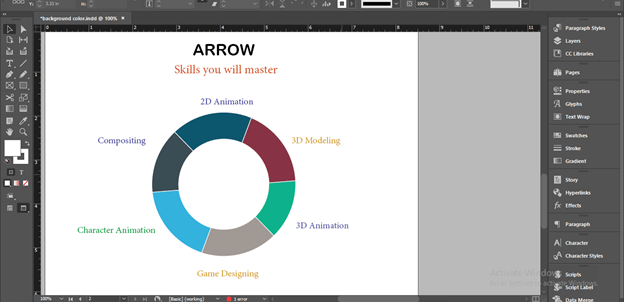
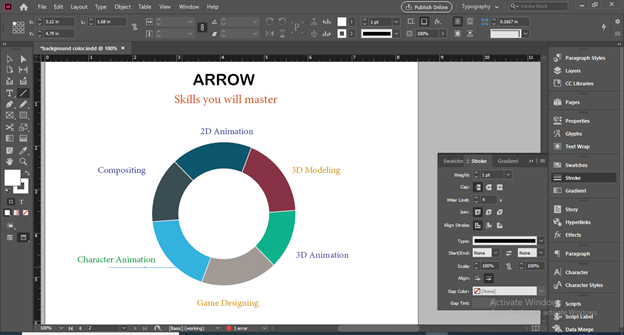
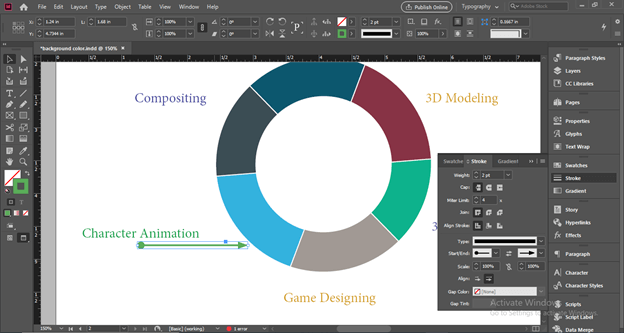
I will explain to you about the arrow on this design layout. You take a new document for this purpose or take your own design. So I want to indicate these labels on the circle which has a fractional area for each label.
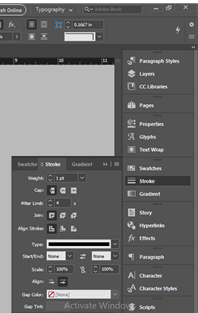
So for that, we navigate the Strokes panel on the working screen of this software. You will find this Strokes panel at the right side of this working screen in the panel’s sections because it is Typography workspace mode.
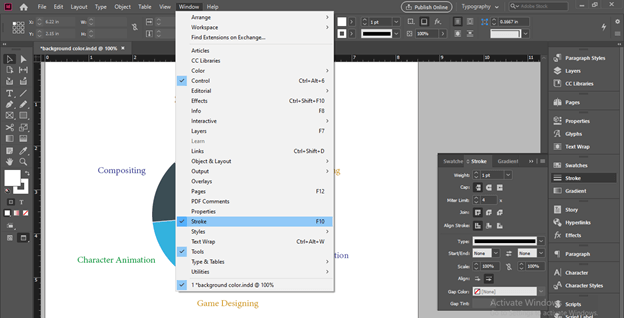
If you are unable to find this panel on your working screen then go to the Window menu and click on it. In the scroll down list of it, you will find the Strokes panel so click on it for enabling it or you can press F10 functional key of keyboard as its shortcut.
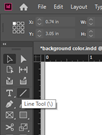
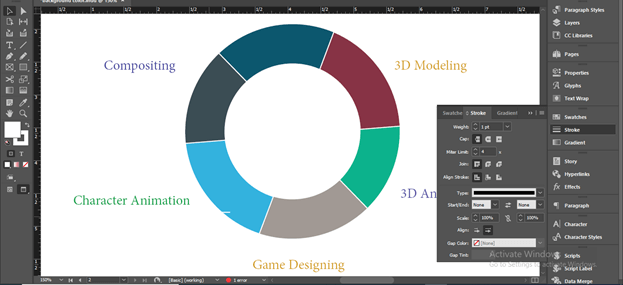
For creating an arrow using the Stroke panel we have to draw a line or curve which is a stroke. So I will take Line tool from the tool panel. You can do this with a pen tool also.
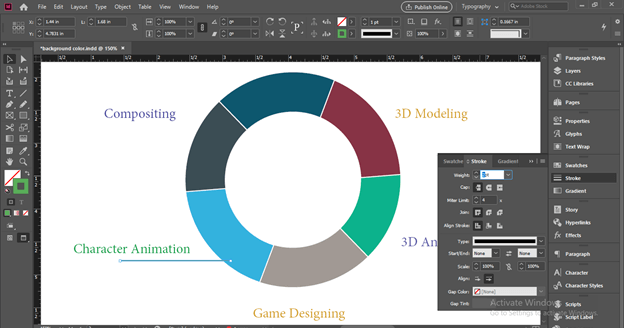
I will draw a line near the Character Animation label with the help of the line tool.
But you can see it is not visible to us. The reason is that the strokes color is white so make sure you have a stroke color different from the background color of the design layout.
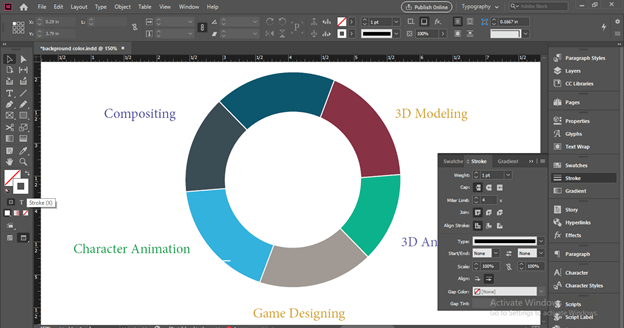
So I will go to the tool panel and off the fill color from the color square box.
Then select the Stroke color box by clicking on it.
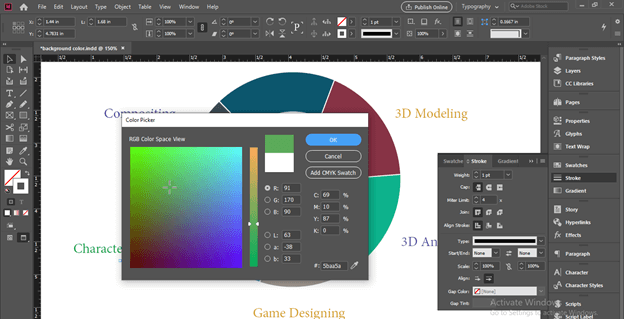
And choose some other color for the stroke from the color picker dialog box. Color may be according to labeling or different.
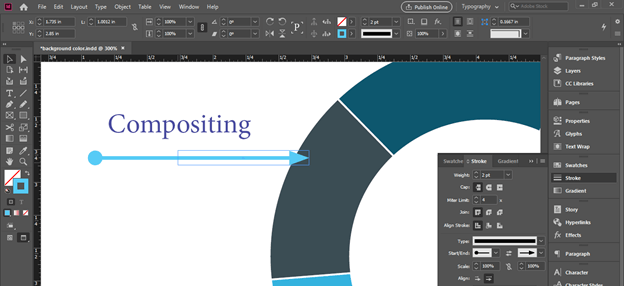
Now I will go to the Stroke panel which is at the right side of the working screen and increase the width of this line a little bit by increasing the value of the Weight option of this panel. I am increasing the width so that you can clearly see it. There is no connection between the arrow and changing of the width of the stroke.
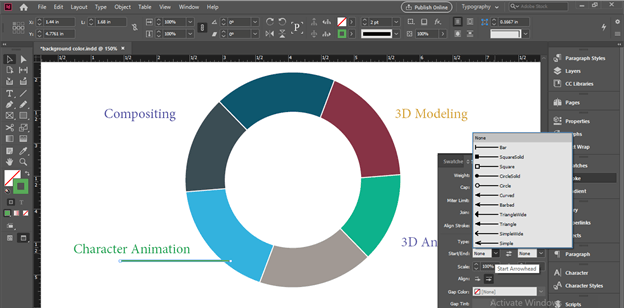
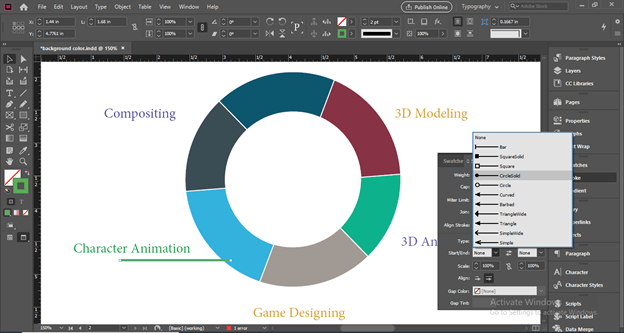
Here when you click on the down arrow button of the Start/End option of this panel you will have a list of arrowheads such as Bar, Square, Curved, and so on.
I will choose this one for the starting point of this line. You can choose anyone from the list just by clicking on your desired one. One thing i would like to tell you is that the left side box will add an arrowhead at the starting point of the line and the right side box will add an arrowhead at the endpoint of the line.
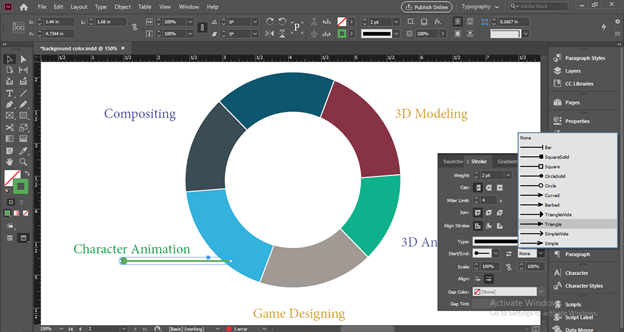
And once you click on any arrowhead it will apply to the chosen end like this. Now I will choose this arrowhead for the endpoint of this line.
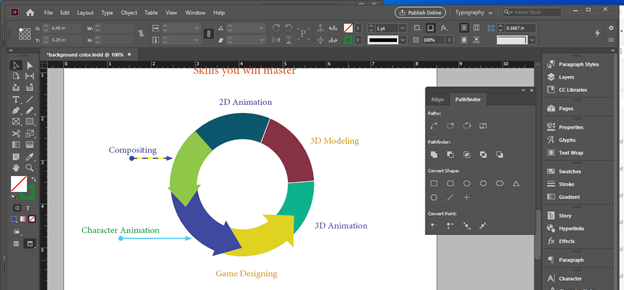
And you can see it is a nice arrow that you can use for indication purposes. You can also apply these arrowheads on curved strokes.
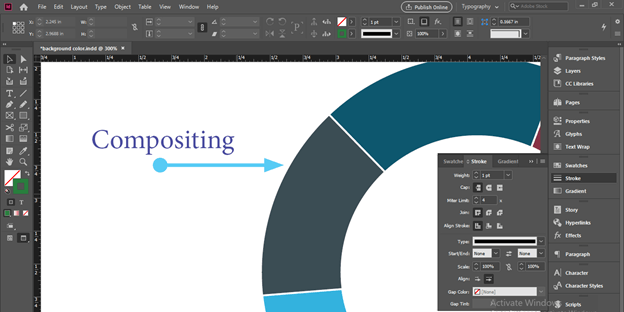
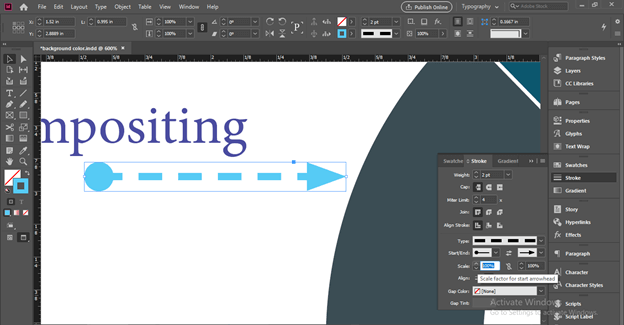
Now let us analyze other parameters of this panel. I have made a copy of the first arrow for the next label and when i scale it down from any side.
You can see the proportion of arrowhead is maintained so there will be no effect on arrowhead if we scale the stroke. It will only change if the width of strokes changes.
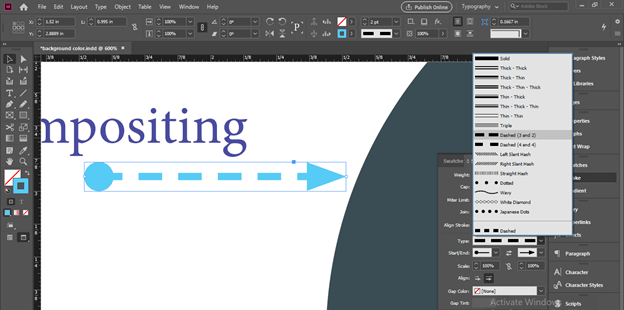
It will work with dashed lines also or any other stroke line type which we can choose from this list.
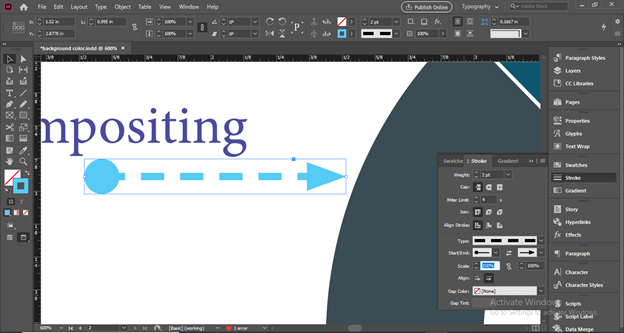
There is a plus point with this arrow that we can scale the arrow head from the stroke panel separately.
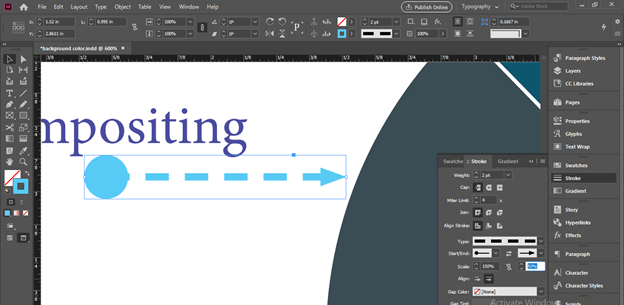
For example, if I change the value of starting arrowhead to 150% then you can see the size of starting arrowhead increased as 150%.
Same as we can decrease the size of the arrowhead also. For example this time I will enter 50% as the value of the end arrowhead.
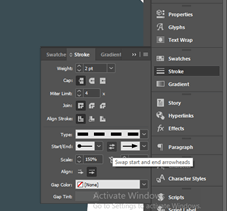
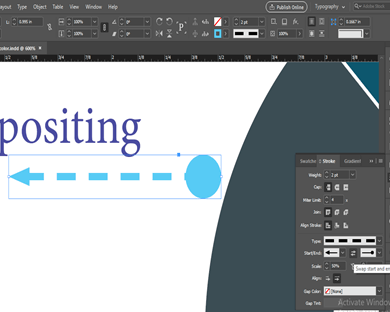
By clicking on ‘Swap start and arrow heads’ button we can interchange both arrow head quickly with each other.
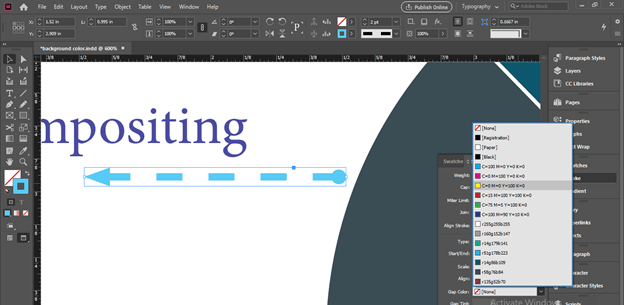
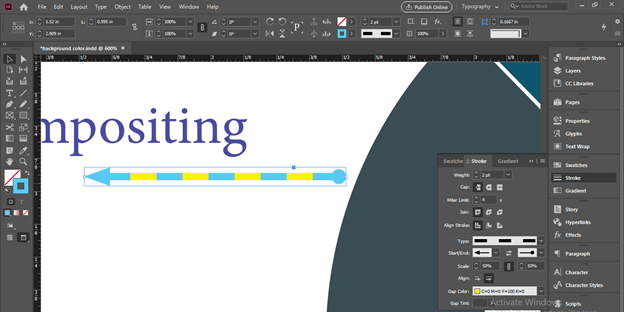
If we want we can change the color of gaps between this dashed line of stroke. You can choose a color from the Gap Color option of this panel.
And it will give you a very nice arrow.
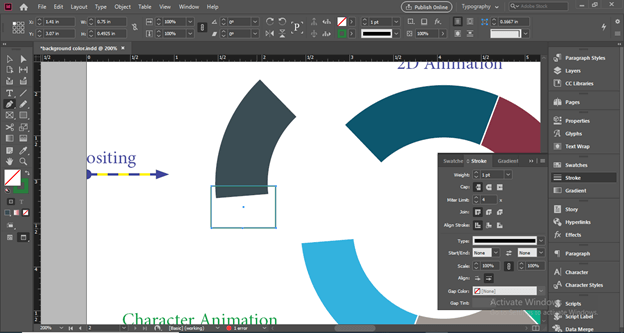
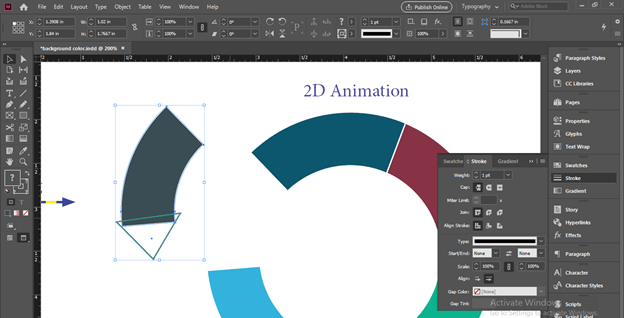
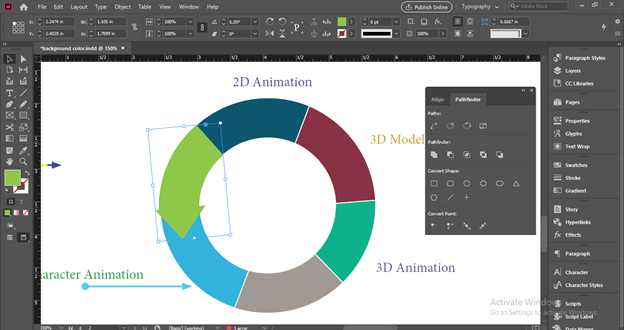
Now let me tell you how you can create a custom arrow for any shape. I want to make an arrow with this part of the circle. So I will take a rectangle tool and make a rectangle like this.
I will add an anchor point at the center of the lower edge of this rectangle and then delete corner anchor points so that they become a triangle.
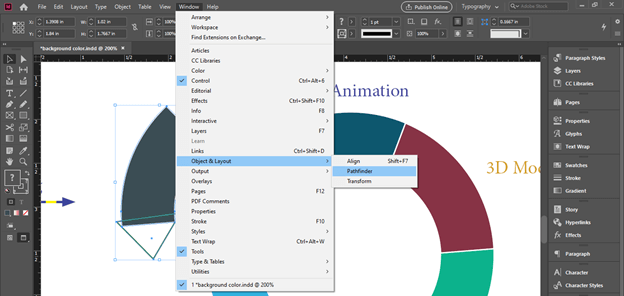
Now I will go to the Window menu for having a Pathfinder panel. So go to the Object & Layout option then choose Pathfinder.
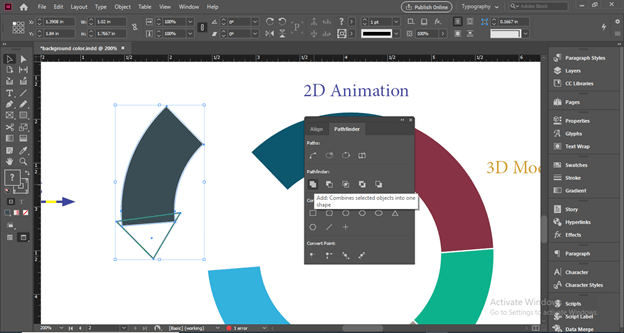
Now I will select both of the shapes and then click on the Add button of the Pathfinder panel.
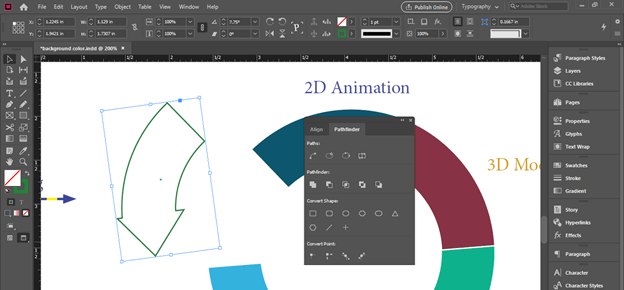
And it will convert these two shapes into one shape.
And I will place it here like this.
The same way I have to create two move arrows and you can we can use this custom arrow for different designing purposes.
Conclusion
Now you can understand both ways for creating arrows in InDesign which we discussed above. You can create more custom arrows on the basis of your own idea and manipulate them as per your design layout requirement. Just practice on both types of arrows so that you can have an idea about where you can use which type of method for creating arrows.
Recommended Articles
This is a guide to InDesign arrow. Here we discuss How to create and use Arrow in InDesign and both ways for creating arrows. You may also have a look at the following articles to learn more –
