Introduction to InDesign Background Color
InDesign Background color is very useful and good feature for making any layout design very effectively or making it relevant to the theme of design or purpose behind that layout. In this software we can explain background color in two ways first one is set background color for only visual appearance that means we can see that color only with our design for understand how that decide look when print on same type of colored paper. The second one is set background color that can be print with design, it doesn’t matter what color paper is on which you want to print your layout design.
Now we are going to discuss both of the ways and understand their purposes.
How to create and use Background color in InDesign?
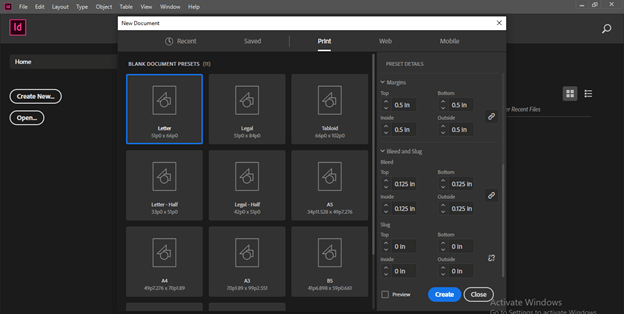
I will first take a Letter size document page from New Document dialog box of this software and i will set margin as well as bleed for the all four sides of document page.
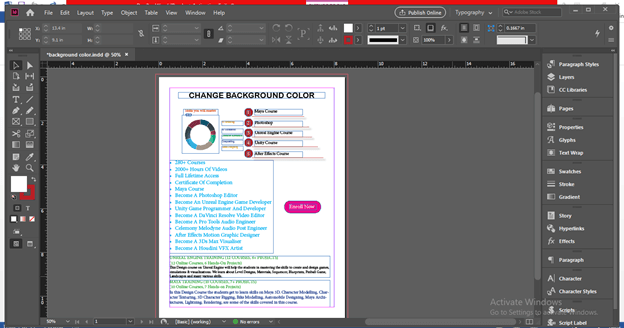
I have created a layout design already and we will set background color for this.
First we will set background color that will only for visual purpose and it will not print on paper during printing of layout. We set this type of background color only for understanding how our design will look like if we print it on the specific colored page. So it plays very important role because appears of any layout design changes with background color theme.
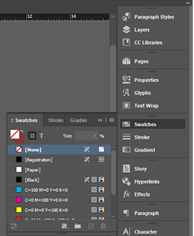
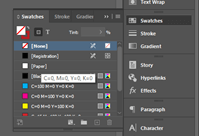
For this purpose we have to open Swatches panel which you can find at the right side of working screen in different panels sections.
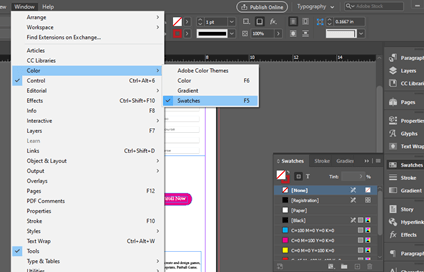
If there is no such panel on your working screen then you can go to Window menu of menu bar then go to Color option of drop down list and in new drop down list of Color you will find Swatches panel option or you can simple press F5 functional key of keyboard.
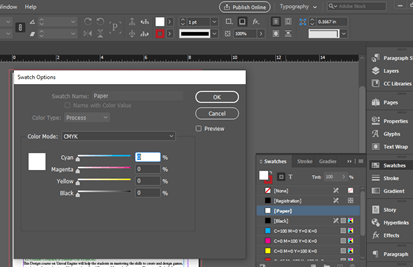
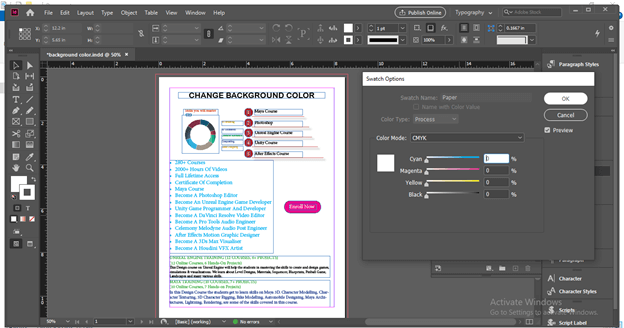
Here in this Swatches panel we have Paper layer so make double click on it.
Once we make double click on it we have a Swatch dialog box like this and in this box we have color slider scale for CMYK mode.
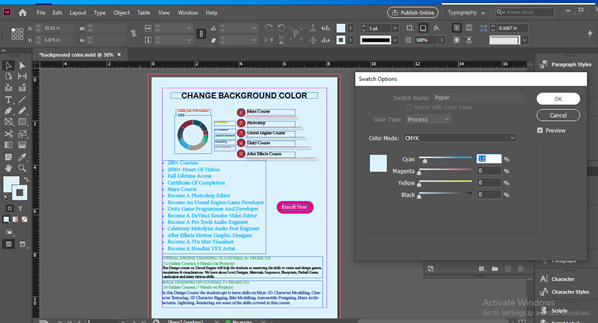
I will make change in value of Cyan color and you can see the color of background of document page changes according to this. It will not affect design element as well as content of design layout.
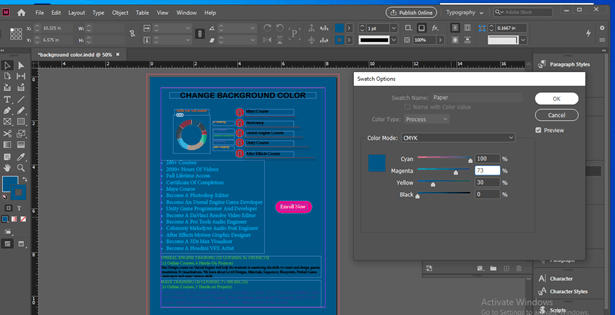
Not only light color shades we can also change to dark color shades. It totally depends on our design layout appearance.
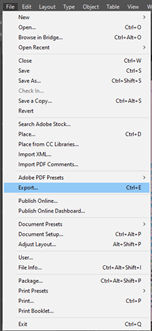
I will set background color to light shade for my design layout and then go to File menu for saving it as PDF and after that let we see what will happen with my design layout. So click on Export option of drop down list of this menu.
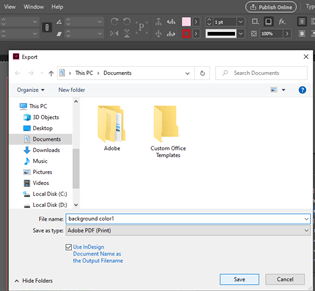
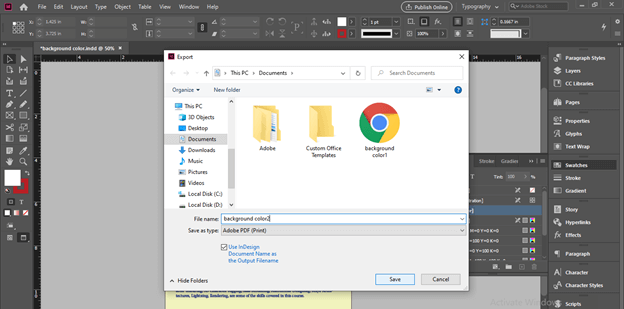
In the Export dialog box name your design as per your choice. I will name it as Background Color 1 then click on Save button of this dialog box.
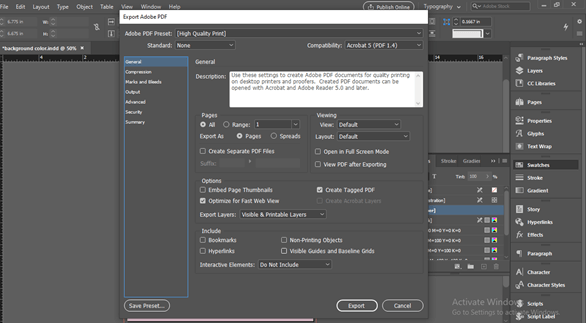
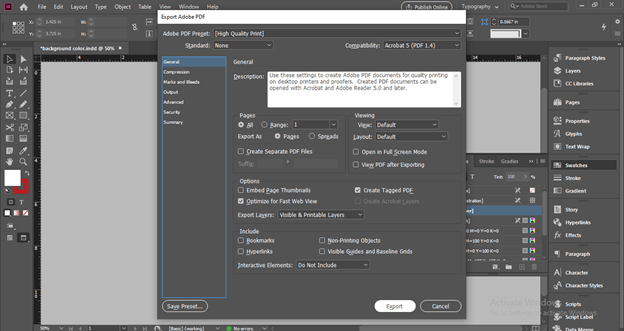
Once you make click on Save button a dialog box for Export Settings will be open for making settings of PDF format for your design as per your requirement. For this time i will not disturb any parameters of this dialog box and go with default settings.
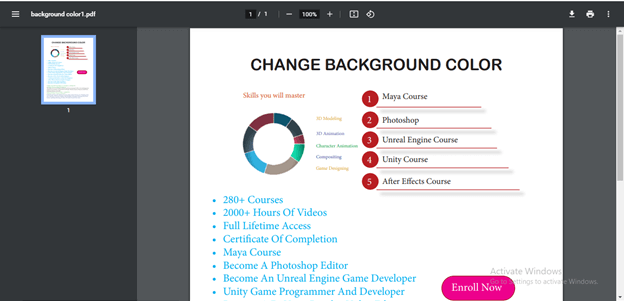
Now when we open our saved PDF design you can see there is no background color that we have taken during saving it. The reason is that we use ‘Change color of Paper from swatches panel’ method which only shows you color in InDesign software for visual purpose and i will not come with design after saving it.
Now is will open Swatch dialog box of paper and make values of CMYK as zero.
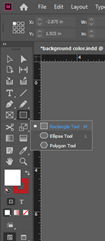
Now i will take Rectangle tool from tool panel or you can press M as shortcut key.
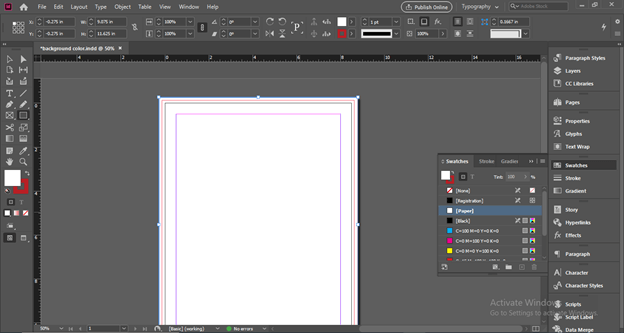
I will create a rectangle like this. During creating a rectangle keep some points in your mind that is create a rectangle of size bigger than the bleed area because when you take it in printer for print then there will be no minor white line show at the edges of document page.
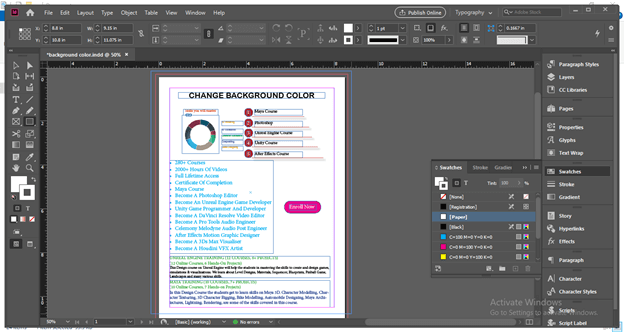
Once i create this rectangle it will cover all the elements and content of my layout design. You can see the size of my created rectangle is bigger than bleed area. You can identify bleed area with red rectangular lines.
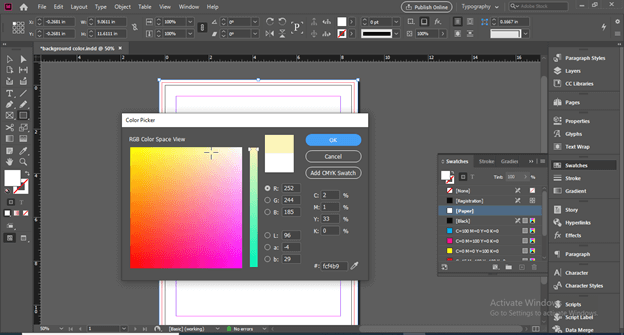
Now i will change the color of this rectangle and for this purpose i will make double click on the Fill box of color box in tools panel.
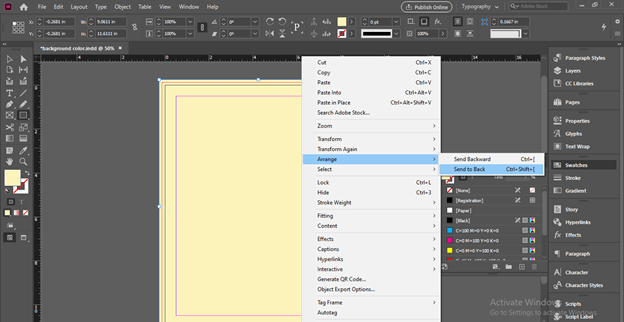
After having my desired color on the rectangle i will make right click on it then a scroll down list will be open. Go to Arrange option of this list and click on Send to Back option of it or you can simply press Ctrl + Shift + [ for sending selected element back to the all content of the document page.
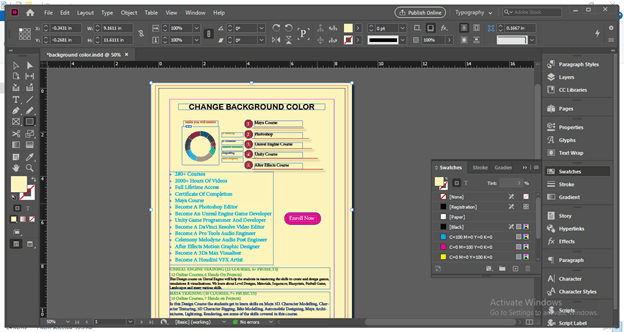
And our selected rectangle will go behind all the content. You can see now our document page has colored background.
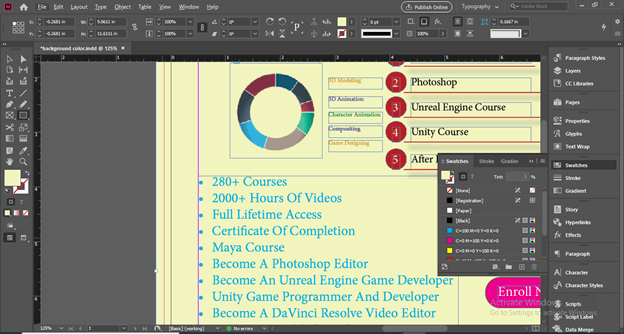
Here you can see there is extra part of rectangle which is out of the document page area.
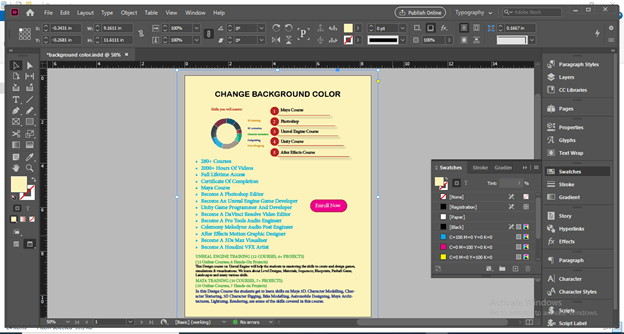
You need not to worry about it just click on Preview button to see how your design will look on final output. You can press W for preview mode also.
So this is final output which gives you a safe design layout for printing purpose.
Now let us save it also as PDF and this time i will name it as Background Color 2.
I will go with default settings of export.
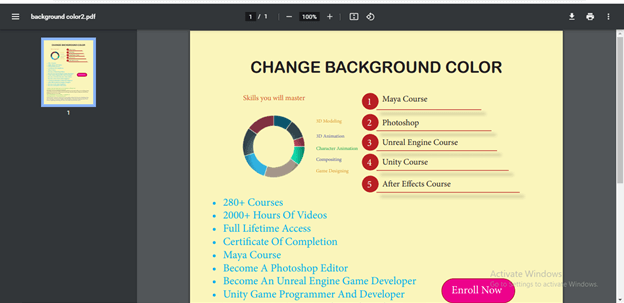
Now when i open my saved PDF layout design you can see it has background color now.
Conclusion
Now i am sure you can understand when you use paper color method for setting background color and when you go with shape color method. It is totally depends on end use of requirement of your designed layout, so you can practice on both and understand them deeply for having more knowledge of them.
Recommended Articles
This is a guide to InDesign Background Color. Here we discuss How to create and use Background color in InDesign along with the steps. You may also have a look at the following articles to learn more –
