Introduction to InDesign columns
InDesign Column is a very useful feature of this software through which we can arrange text content of any design layout into columns to provide them an effective look as well as managing them into given space. Here in this software, we can do this by some techniques or by using options of the menu bar. You can create a number of columns for arranging your text content in a better way. I will tell you all the important parameters of the column option so that you can handle them smoothly for having your desired result. In the latest version of InDesign we have one more option through which we can add rule (dividing) lines as a design element of the column. So let me tell you all about these features.
How to Create and Work with Column in InDesign?
We can create Columns in InDesign by going through few simple steps and after that, we can start working with columns for arranging our text in a readable way.
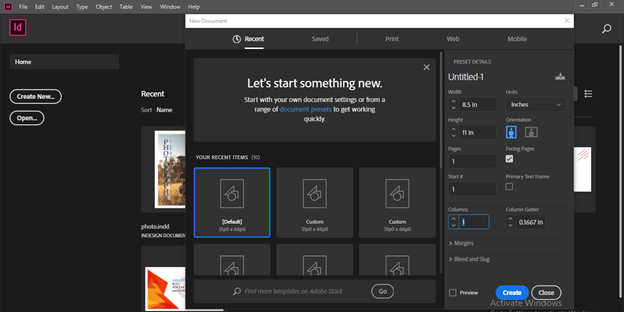
So let us first take a new document by clicking on Create New button on the welcome screen of this software. In the New Document dialog box you can see there is an option for the column but for this time I will go with default settings.
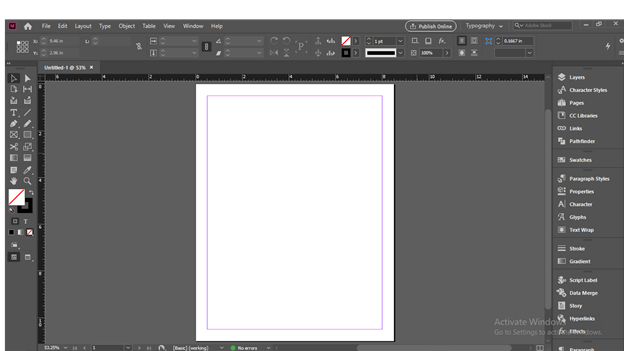
You can see there is no column on our document page area. It only has margins.
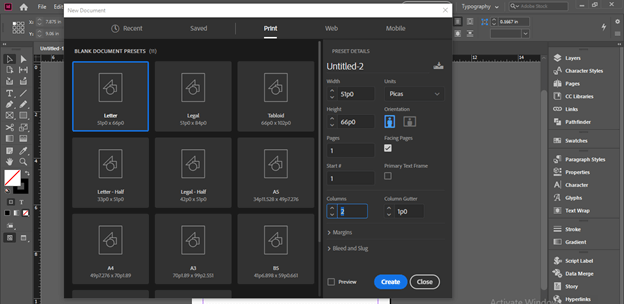
Now i will again take a document by click on the Document option of the New option of the File menu.
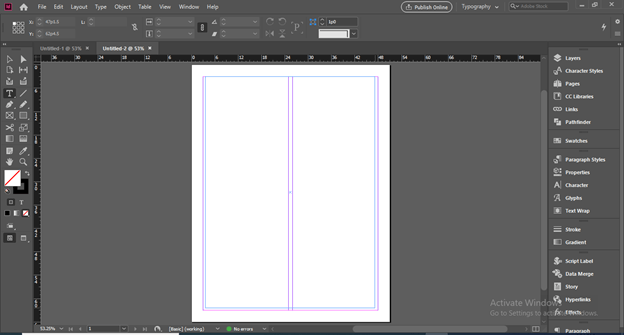
This time I will enter 2 as column number in the Column option of this dialog box because I want two columns for my text content.
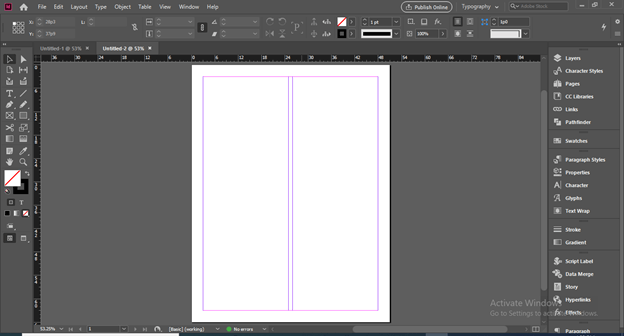
Now we have our document separated into two columns.
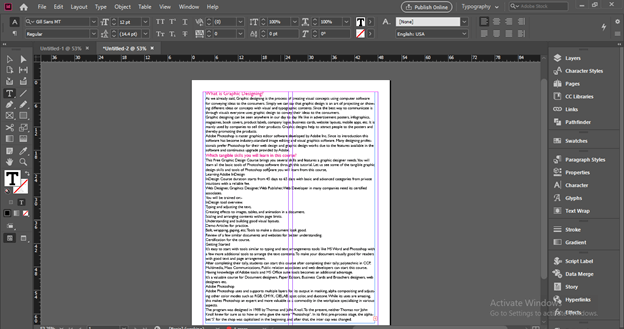
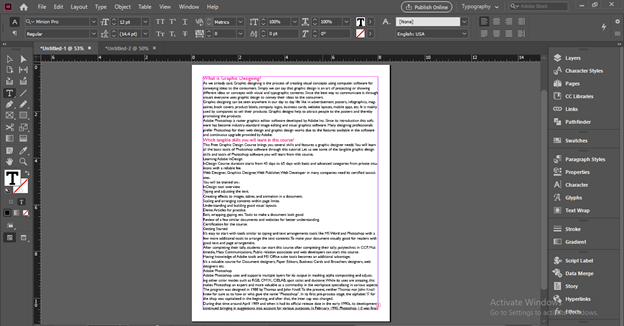
Now I will take the Type tool from the tool panel and draw a text frame that will cover the whole document page inside the margin area.
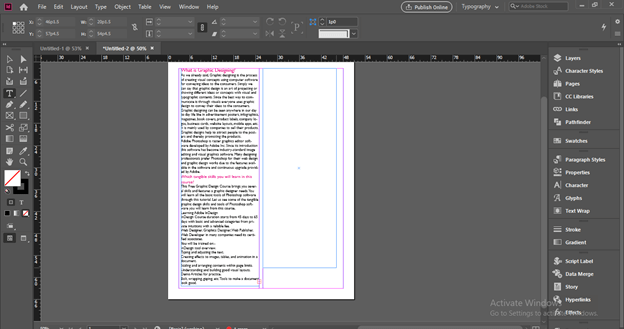
And i will paste this text content here but you can see it is not arranged into these two columns.
So for that, we can set the text frame according to column.
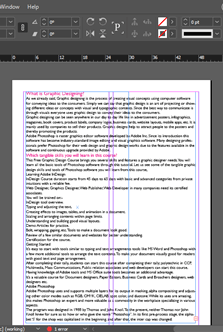
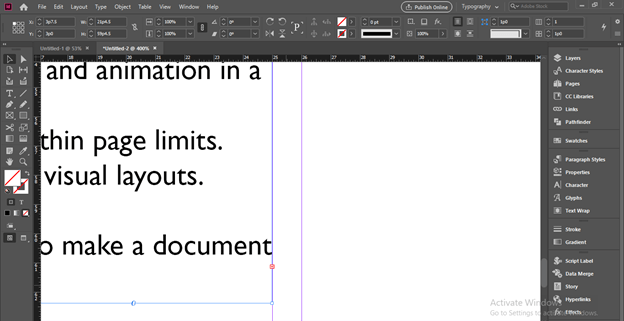
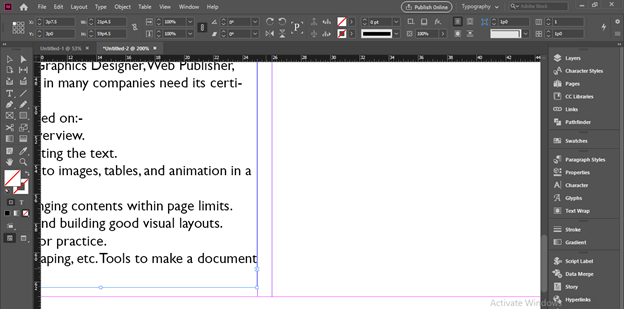
You can see the text is in the overset situation.
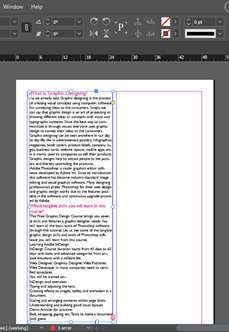
So for that, I will create a new text frame and click on this red plus button.
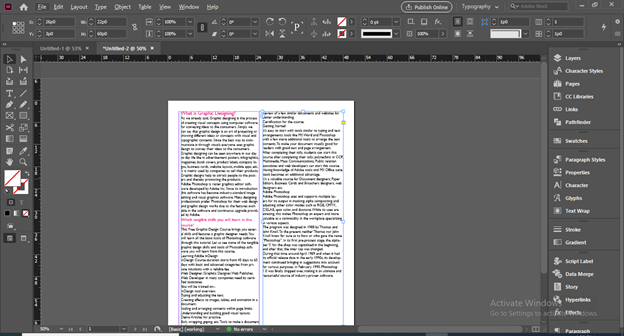
Once we click on this button overset text will come on the cursor of the mouse.
And I will click on the next text frame for adjusting this extra text in it. This way you can set text into columns but this is a traditional way for doing this which needs lots of adjustment.
So let us move to the intelligent way that InDesing can do automatcally for us. Here i have this text content on a new document without any column section.
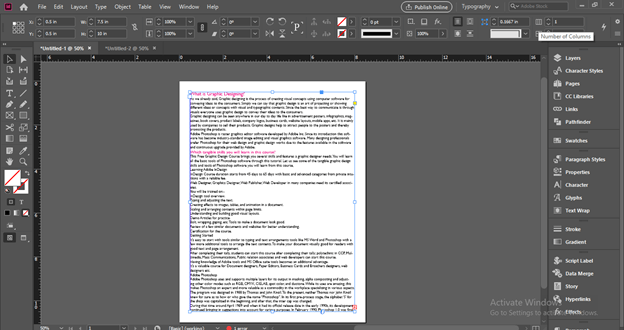
Now select this text frame and at the upper right corner of the Properties bar of this software we have ‘Number of Columns’ option.
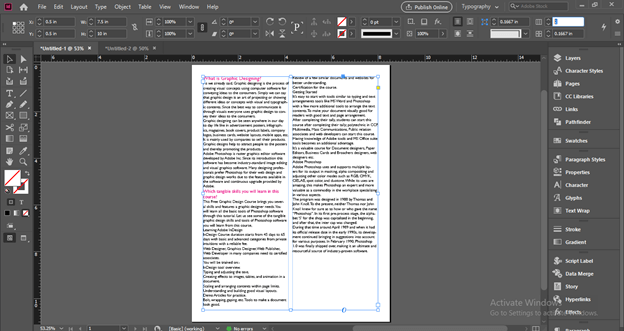
And if we increase this number, InDesign will automatically add columns to our text content and also arrange it according to column settings.
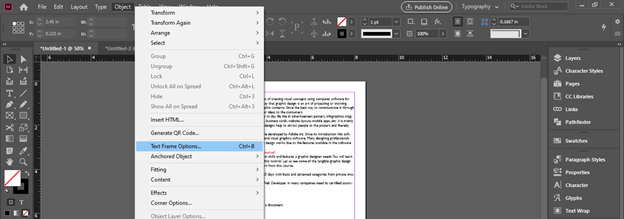
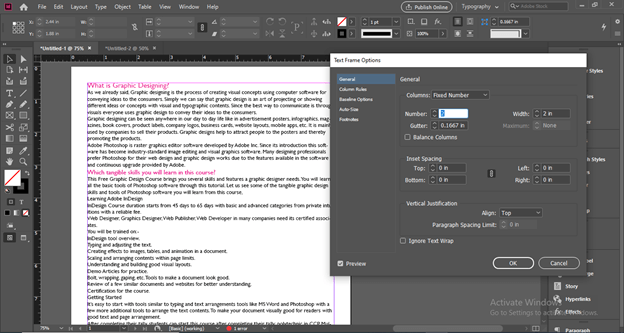
You can have more control on column setting by ‘Text Frame Options’ of Object menu of the menu bar. To enable this option from this menu or you can press Ctrl + B as its shortcut key.
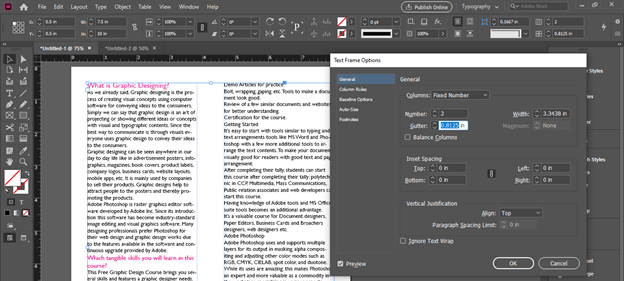
Once you click on it a dialog box of this option will be open and in the General option we have parameters of Column. You can see here I have increased the value of column number but there is no change with the text content of the document area. The reason is that my text content is not selected this time. So be careful about these silly mistakes.
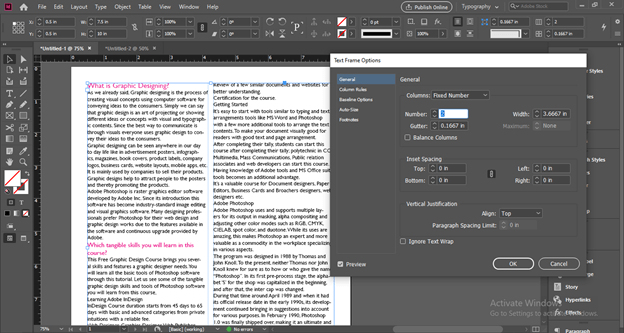
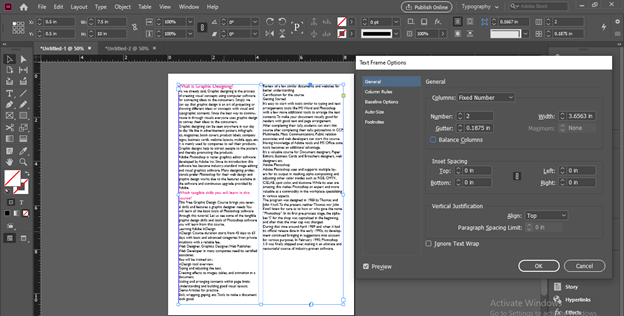
Now i will select the text content and increase the number of columns and you can see InDesign add column to this text content automatically.
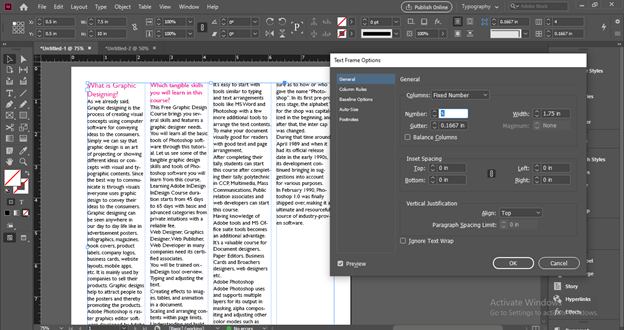
You can increase numbers of the column as per your choice and it will adjust the text in that given column numbers itself.
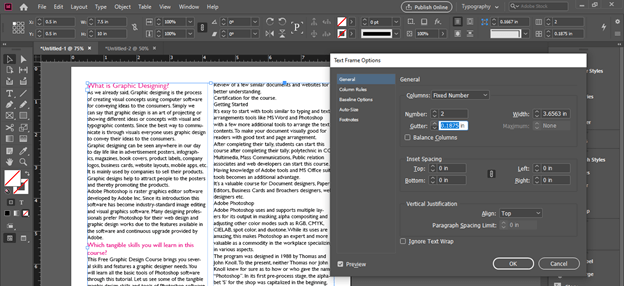
The next option of this column is Gutter. Gutter is the gap area between two columns so from the Gutter option of this dialog box you can adjust it too.
It totally depends on your design layout that how much gap you want between columns in which you will arrange your text content.
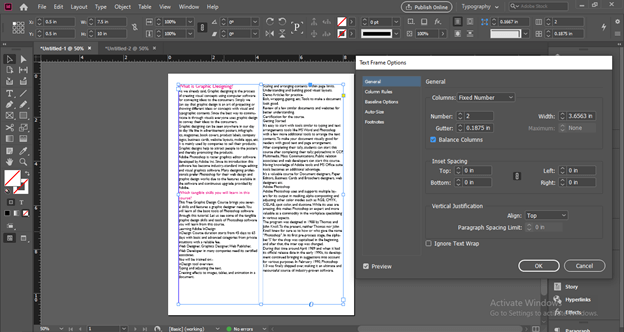
There is a Balance Columns option in this dialog box.
And if we enable it by clicking on its check box then it will balance text content in all columns for making their height equal at the end.
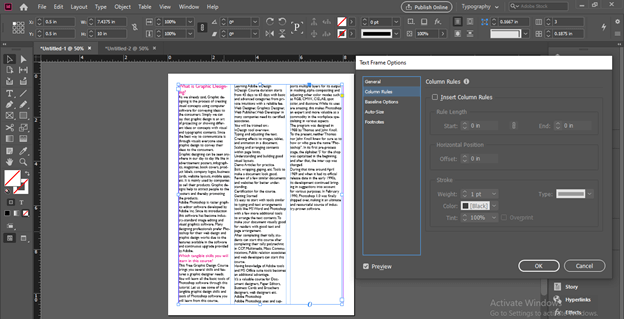
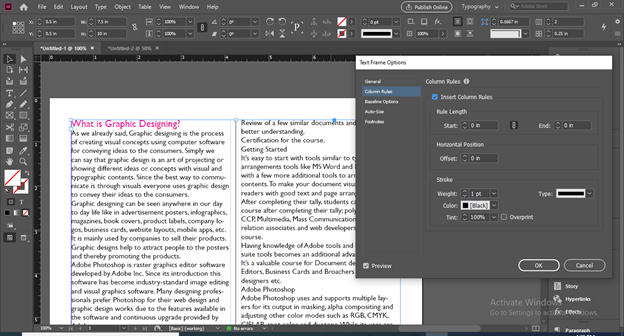
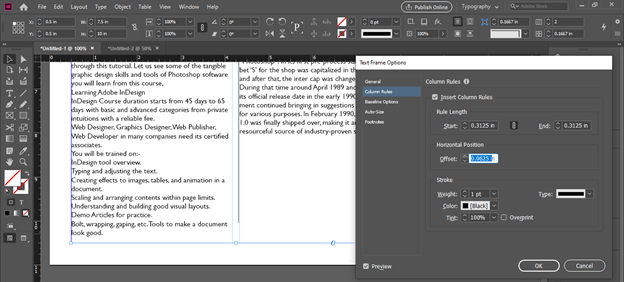
Here is one more exciting feature that is related to the column. This is the Column Rules option in the same dialog box of Text Frame Options. So click on it for having its parameters.
Now enable the Insert Column Rules option by click on its check box. You can see once we enable it a rule line comes at the gutter area of the column.
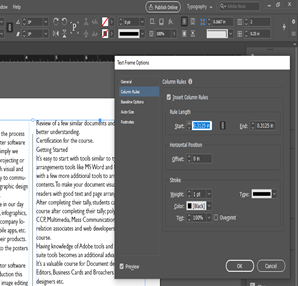
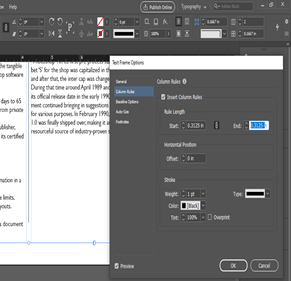
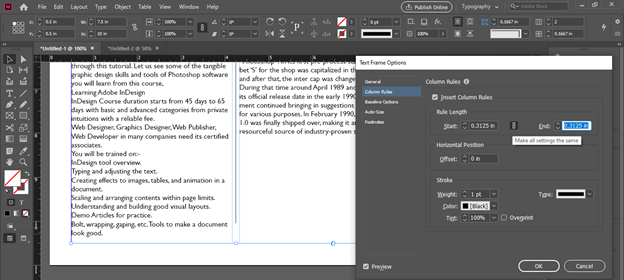
We can adjust the length of this line from starting point as well as the endpoint of it from the Start and End option of Rule Length.
There is a chain link option for this two option so we can change rule length separately from starting or ending point of it if we want.
We can set the offset distance of the rule from the column between which it is.
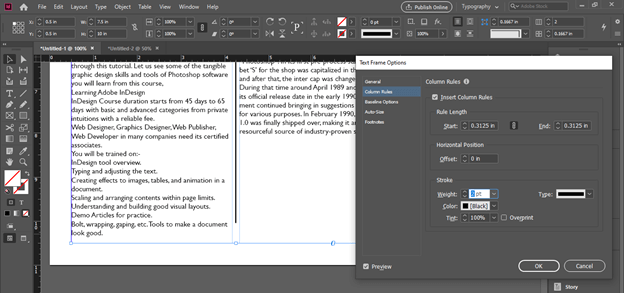
By changing the value of the Width option of this dialog box we can change the thickness of the rule line.
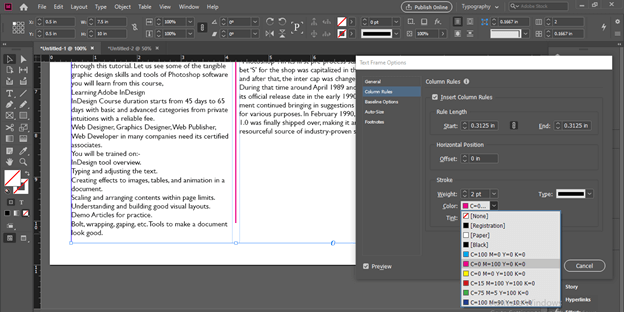
If we want we can change the color of the rule line also from the color option.
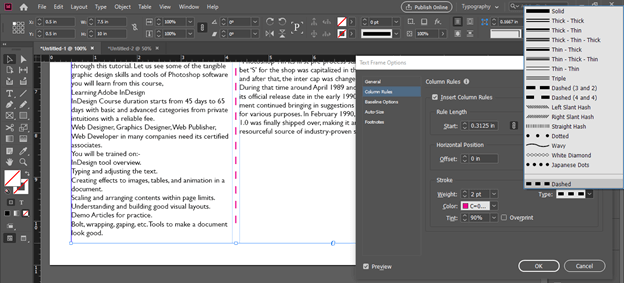
There are several styles for the stroke of this rule line so we can choose anyone from this also as per our choice.
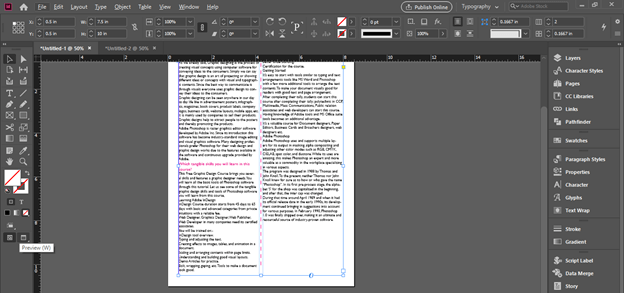
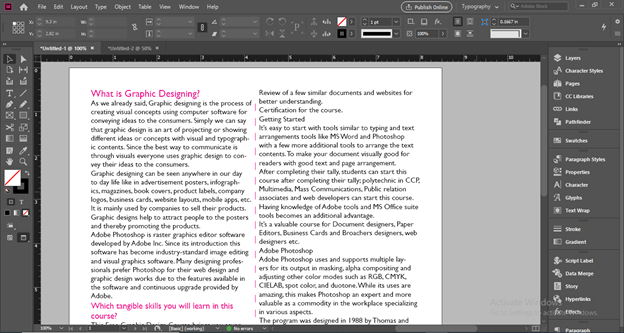
Now let us change to the Preview mode by clicking on this Preview button or you can simply press W as its shortcut key.
And you can see our text is beautifully arranged in columns.
Conclusion – InDesign columns
Now you have a good understanding of columns of InDesign and its purpose. You can easily create and use columns in your design layout during working on any project of this software after going through this article. You should practice each parameter of this feature so that you can analyze it deeply.
Recommended Articles
This is a guide to InDesign columns. Here we discuss How to create and work with Column in InDesign along with the step by step. You may also have a look at the following articles to learn more –
