Updated February 22, 2023

Introduction to InDesign drop cap
InDesign Drop Cap is one of the types of text formatting and we can understand it as making first letter of paragraph different from other text content of that paragraph so that the content of the design looks eye-catching to its viewer. There are some parameters in the paragraph panel of this software through which we can create drop cap. We cannot only create drop cap using paragraph panel but also use a separate letter with some design elements as drop cap. Create drop cap for making your content attractive depends on your way of creativity. So I will explain you drop cap here in this article through an example.
How to Create Drop Cap in InDesign?
We create drop cap according to theme of the design layout so here I will explain you basics of drop cap so that you can have basic idea about it and after that you can use design element with it as per your choice.
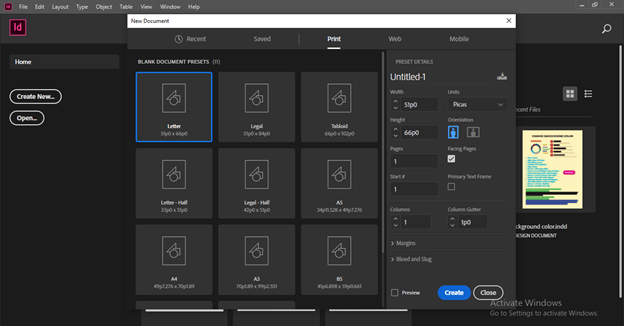
So let us have a new document first and for that make click on Create New button of the welcome screen of this software and I will take Letter size document page and leave other settings of this New Document dialog box as it is.
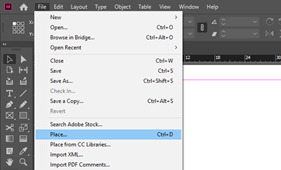
First I will place an image for creating a design layout here. So go to File menu of menu bar and click on it. Here in is drop down list we will find Place option so click on it or we can press Ctrl + D as its shortcut key.
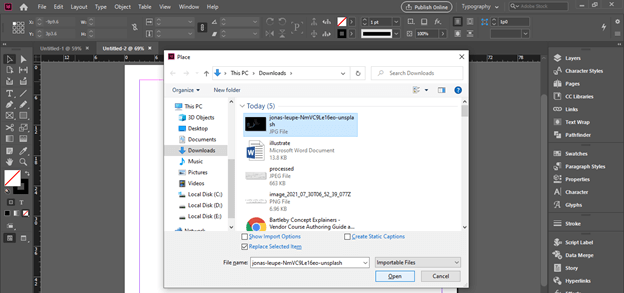
Once we click on it a Place dialog box will be open. I will choose an image from its saved location. I have downloaded this beautiful image from unsplash.com.
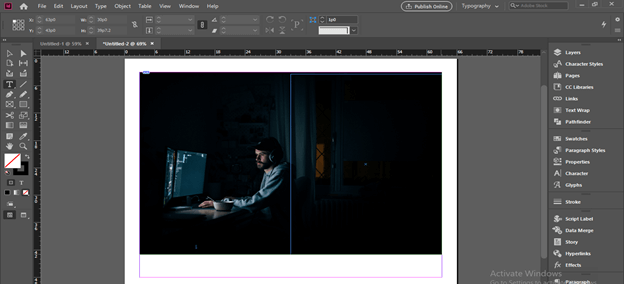
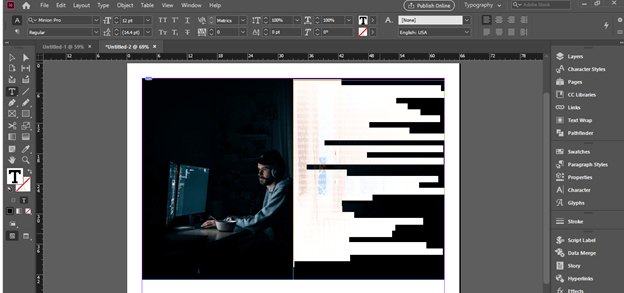
I will now drag mouse cursor for placing this image in the document area like this.
Next I will take Type tool from tool panel and draw a text frame then paste this text here. I will select this text.
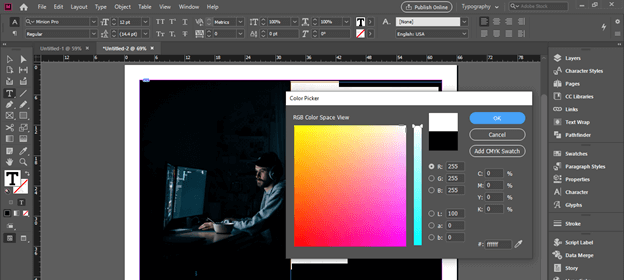
And change its color to white color so that it can has contrast from background.
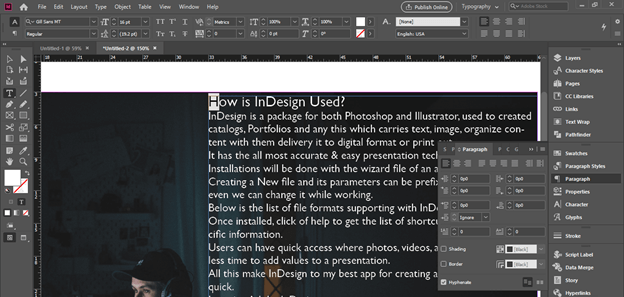
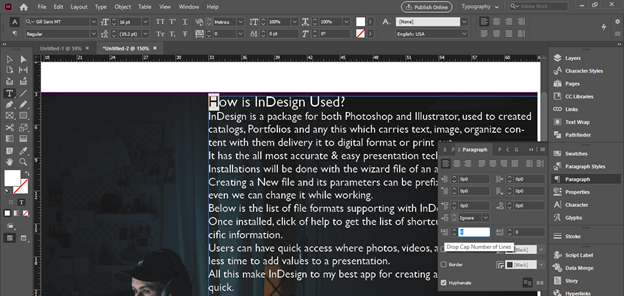
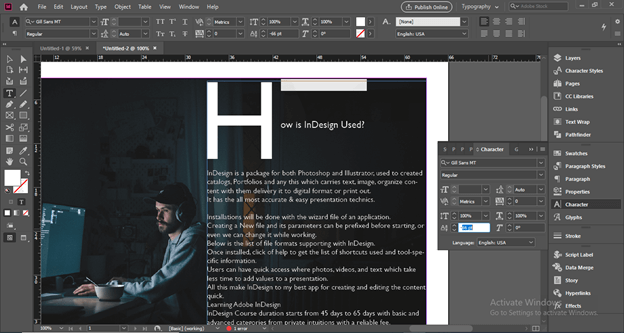
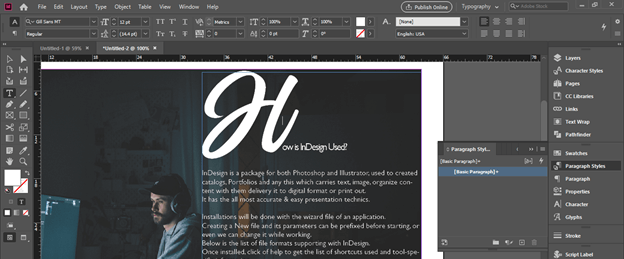
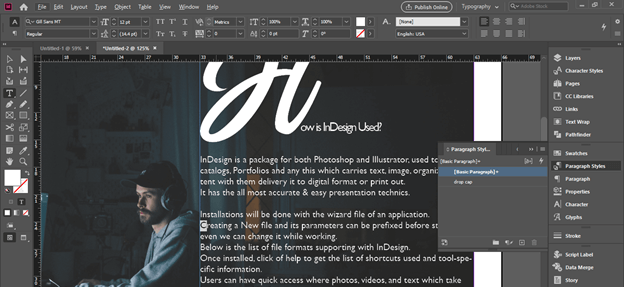
Now let me tell you about drop cap feature of this software. I want to make the first letter of this conent as drop cap letter and here it is H. So for making any letter drop cap we have to select it with type tool and then open Paragraph panel. I have Paragraph panel at the right side of user screen of this software in panels section.
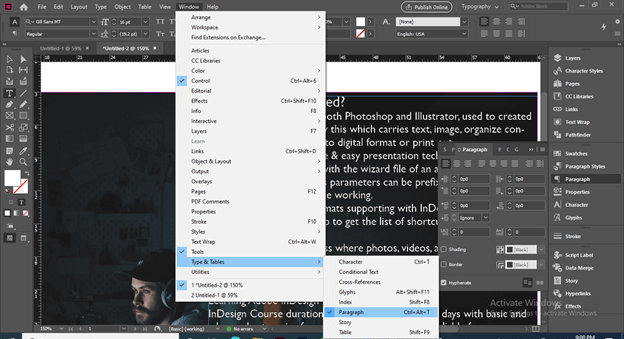
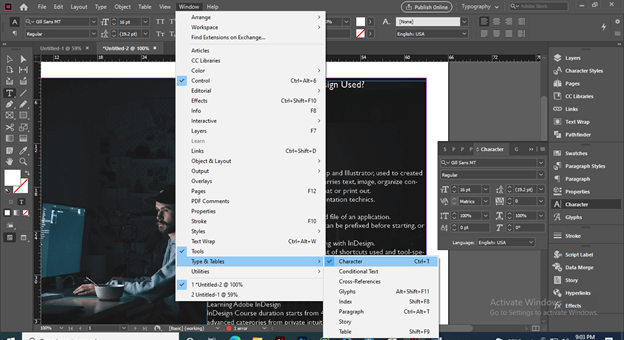
You can find this panel in the drop down list of Window menu. So go to Window menu and in the Type & Tables option we have Paragaphs panel option or you can press Ctrl + Atl + T for its quick access.
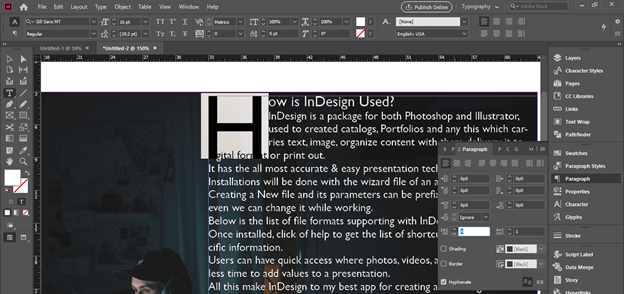
Here we have ‘Drop Cap number of Lines’ option in the Paragraph panel. This option change the height of the letter according to number of line we take as a value of this option.
For example if we have 4 as value of this option then it will set the height of first letter along with the four lines of the paragraph.
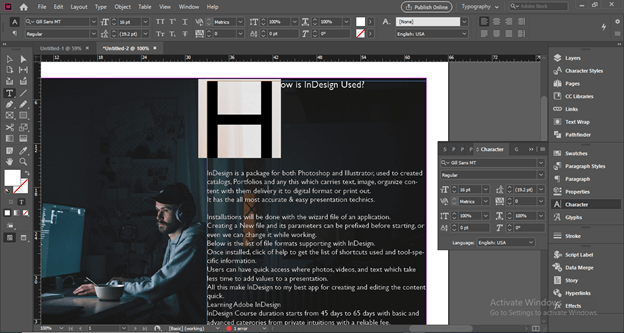
Now let us open the Character panel for understanding other settings which we need to set during creating drop cap.
You can find this Character panel in the same option of Window menu where we have fond Paragraph panel or you can simple press Ctrl + T as its shortcut key.
I have separated paragraph from the heading part and we can change the value of Leading option of Character panel for maintain gaps between this letter and line of paragraph so that It looks better. Here I want to set the other text of this heading at the bottom of this letter so I will change its leading value too.
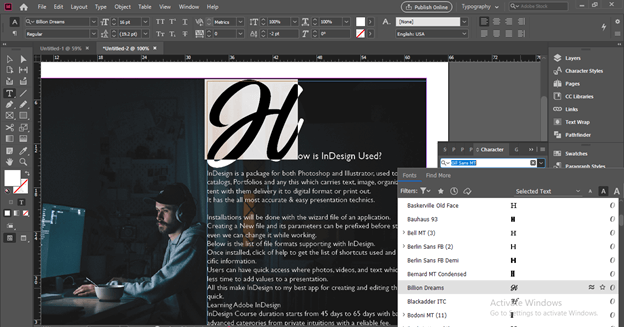
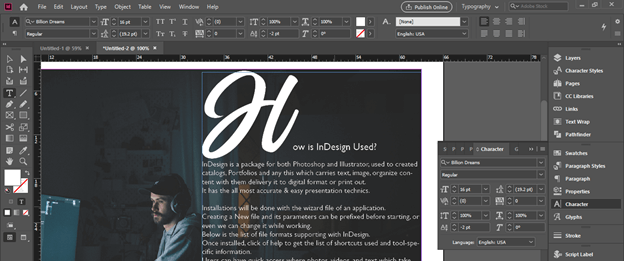
Now I will go to font style and change it to something stylish font like this so that it will make my text content attractive. It is not necessary that the font style of drop cap must be same as font style of other text content of paragraph.
You can see it is looking nice drop cap for this text content.
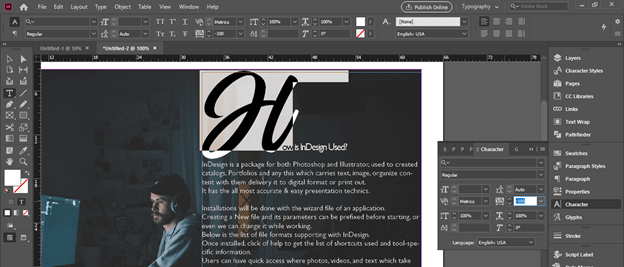
By making changes in the tracking value we can adjust the gaps between letter and the other text of its line. So there are number of adjustment that you can do for having good adjustment of drop cap with other text.
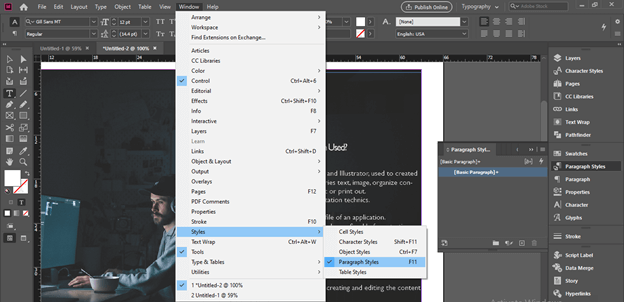
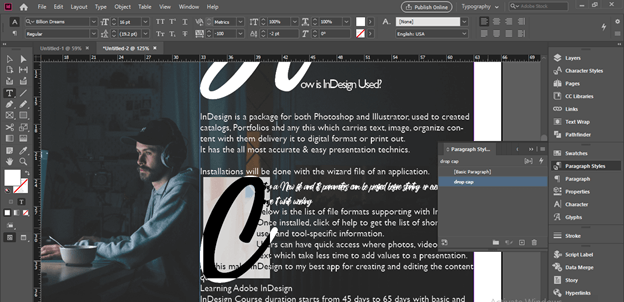
If you want you can save the drop cap style for using that futher use in other part of paragraphs in whole doucment. For that we have to open Paragraph Style panel.
If you have no Paragraph style panel on your working screen then you can go to Window menu of menu bar and in the Style option of scroll down list of it you can find Paragraph style option. You can use F11 functional key of keyboard as its shortcut key.
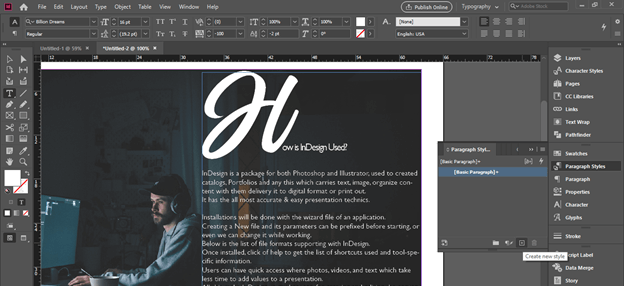
Now go to paragraph panel and click on Create new style button of it. You can find this button at the bottom of this panel.
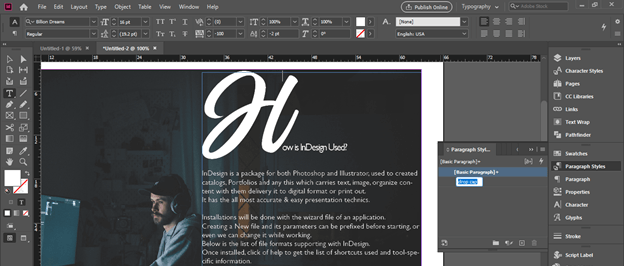
And I will name it as Drop Cap.
Now let us select other letter of this text content.
And after selecting it I will click on the Drop Cap layer of Paragraph style panel and you can see it will change into drop cap as we have at the top of the text content. So this way you can save your created drop cap and use it further with different text.
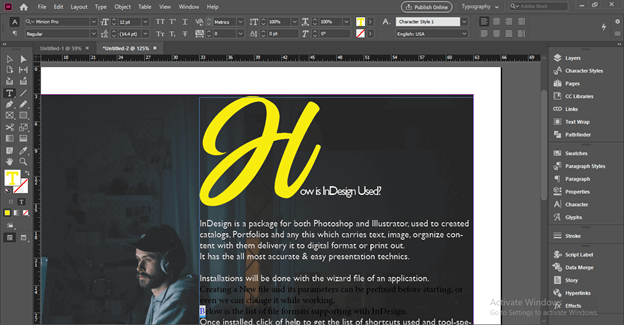
If you want you can change color of the drop cap which is different from color of other text and it is not necessary to use same color for both text content and drop cap.
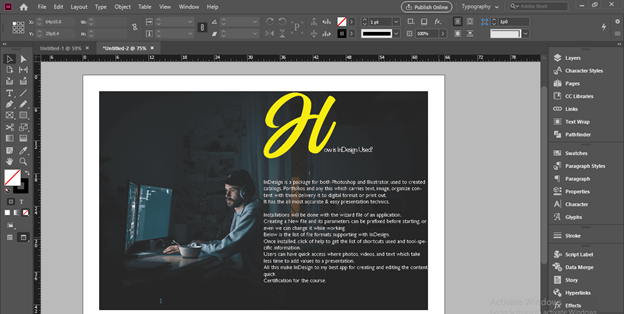
You can see it creates a nice impact with the text content.
Conclusion
I explained to you the all-important aspect of the drop cap feature of this software so that you can have a good understanding of it and you can start using it in your design layout for making it more and more effective. You can practices in a different manners to having good variation in drop cap styles.
Recommended Articles
This is a guide to InDesign drop cap. Here we discuss all the important aspects of the drop cap feature of this software so that you can have a good understanding of it. You may also have a look at the following articles to learn more –
