Introduction to InDesing Embed Images
InDesign Embed Images are those types of images that are saved with the InDesing document itself, and it is not connected with the source file of it that means if you want to save any placed image in InDesign with the document, then you can convert your placed image as Embed image and when you send Indesign Document to the client for sample purpose, it will open with your document, but the file size will increase. So there is one more term that comes with an embed image: a Linked image, and a linked image only for Indesign use; it will not save with a document.
How to create and use Embed image in InDesign?
Generally, we go with a Link image for making our saved document size not very bigger, but sometimes we need to display the used image with our document so we convert that linked image into an embed image, but it will be not affected by any changes which we make in source image after converting it. So let me tell you both linked images and embed images because it is necessary to understand linked images and understand embed images well.
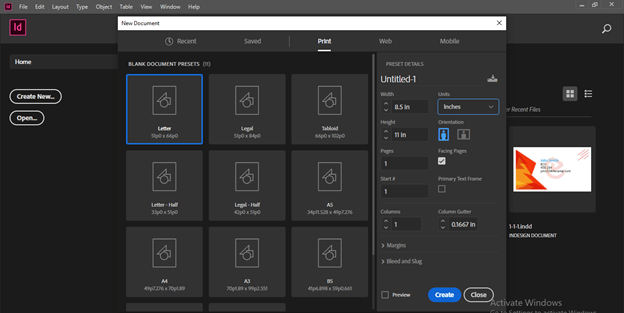
First, I will create a new document, and for this purpose, I will click on Create New button for the welcome screen of this software then choose the Letter size document page.
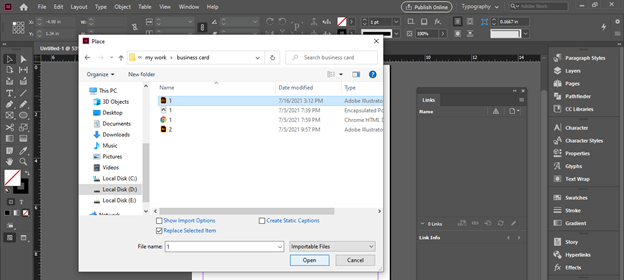
You can have any raster image or vector image in this software for creating an effective layout design. The image files may be in jpg, PSD, or ai file format. I will take an ai file for exampling you about embed images. So I will go to the File menu of the menu bar and click on it. From its scroll-down list, i will choose the Place option, or you can directly press the Ctrl + D button as its shortcut.
A Place dialog box will be open for choosing the desired file. I will choose this ai file from its saved location. You can take anyone of your own image file to learn about this.
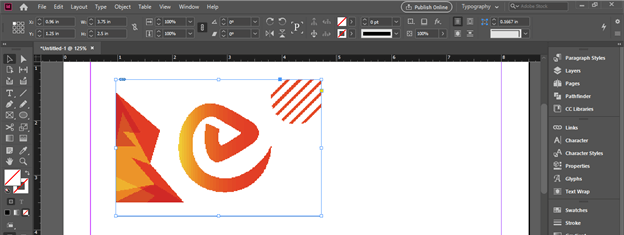
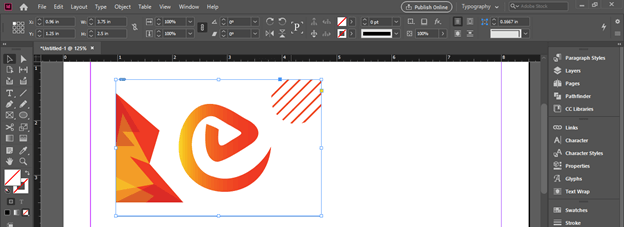
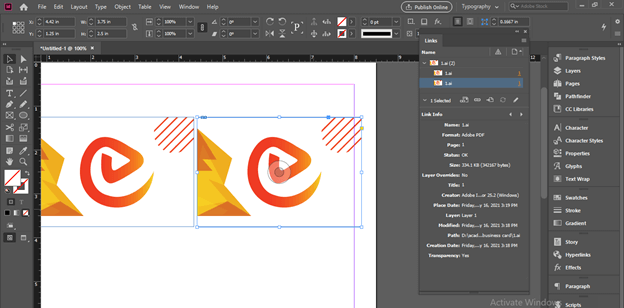
I will place this vector image here like this.
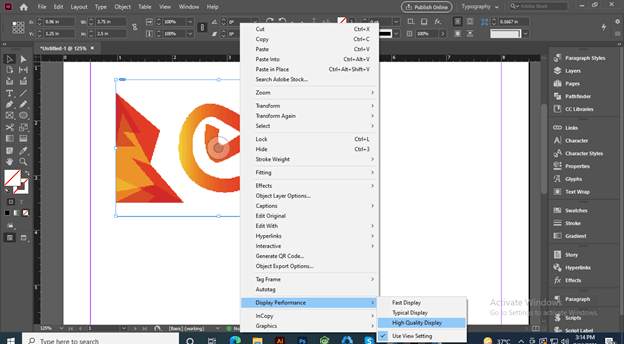
You can see it is a little bit pixelating. It is nothing; it is just View mode, and if you want to see an actual image, then just make a right click on it and go to the Display Performance option and choose High-Quality Display. This display mode may make your software processing slower if your document has content in bulk.
Now you can see it is in its actual pixels.
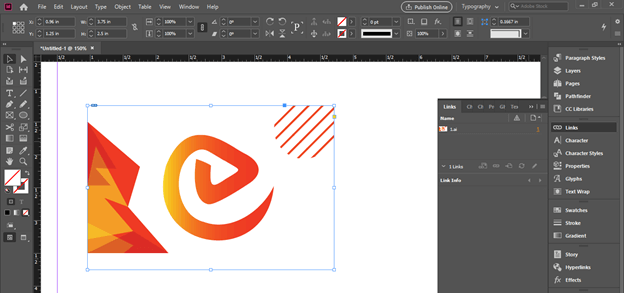
Now go to the Links panel of this software. In Typography workspace mode, we can find this panel at the right side of the user screen in the panels section.
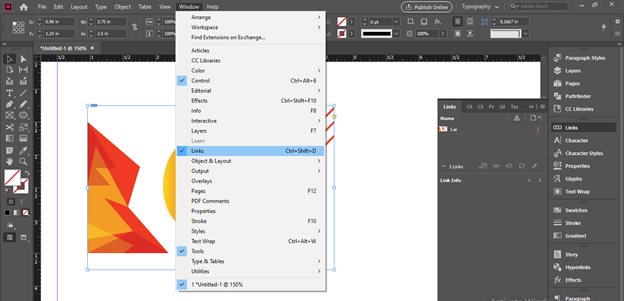
If you cannot find this panel, you can go to the Window menu of the menu bar, and here in the scroll-down list of it, you can find the Links panel. You can press Ctrl + Shift + D as its shortcut command.
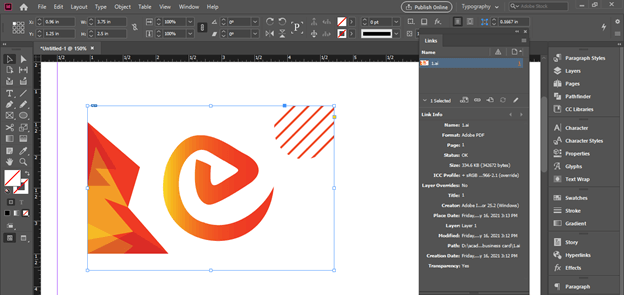
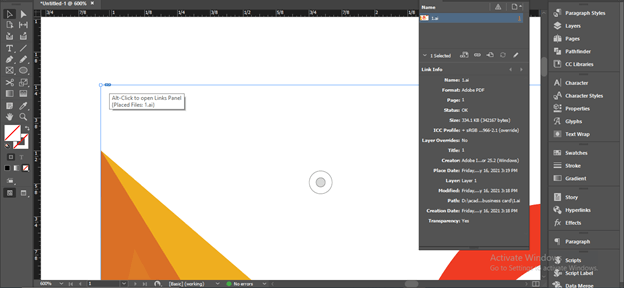
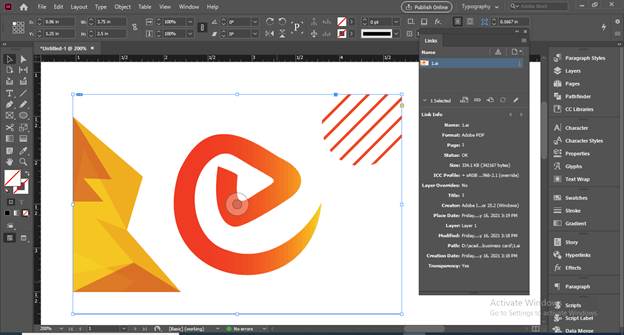
Here in the link panel, if I click on the layer of this placed image, you can see it show me also information related to it, such as name, size, color profile, saved location, and so on. This information helps us for making any editing in this image.
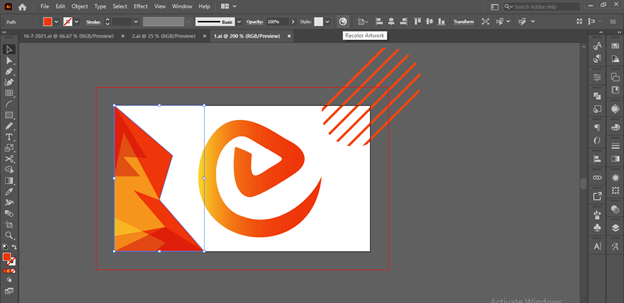
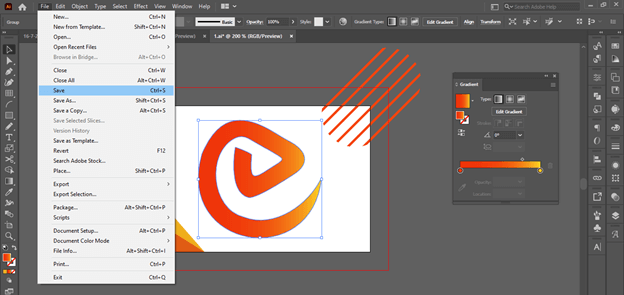
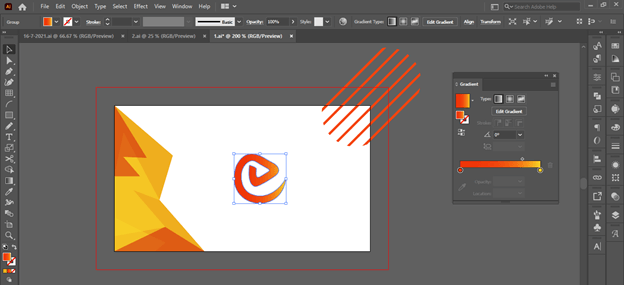
For example, I will make some changes in this image from the illustrator because I have created this vector image in illustrator. So go to its saved location and open it in illustrator. Here I will select this vector-designed part.
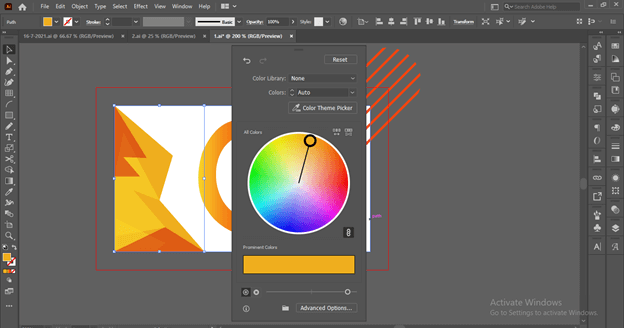
And change its color a little bit. To change its color, I will click on the Recolor art work option of the properties bar and choose it.
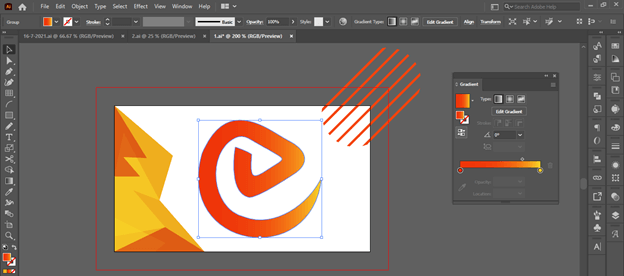
I will also reverse the gradient in the logo of EDUCBA from the gradient panel.
And save it again.
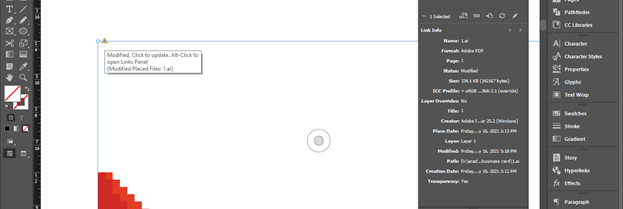
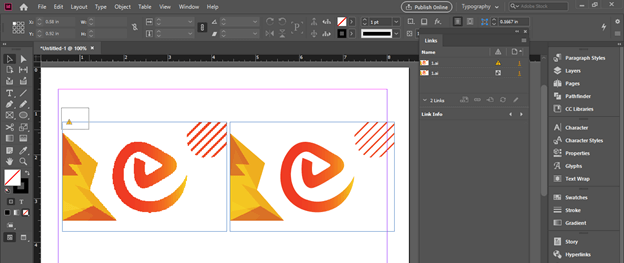
Now I again switch to InDesign, and you can see there is a little icon come on the top left corner of our placed image.
This shows there is some modification done with this image on its source file. So if I want to update it with those changes, then I will click on this icon.
You can see the icon changed to the normally placed image icon.
And this image has all updated those I did in the illustrator file.
Now I will hold the Alt button of the keyboard and drag this image to make a copy of it.
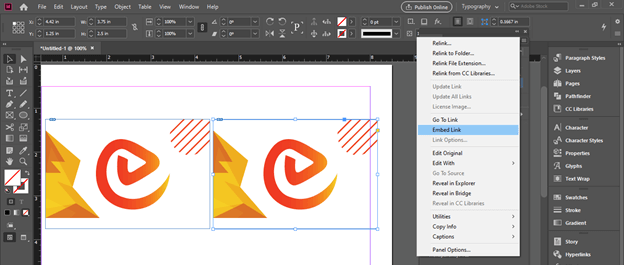
Now being selected for this image, I will click on the top right corner button of the Linked panel. Here in the list of this panel, we will find the Embed Link option. So I will click on it and let us see what will happen.
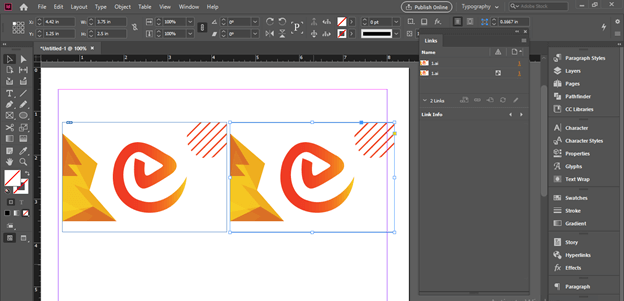
You can see there is no more link icon on the top left corner of this image that means it is no more linked with the source file.
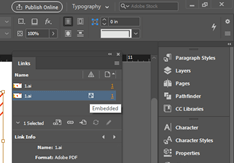
You can identify Embed images by this icon also.
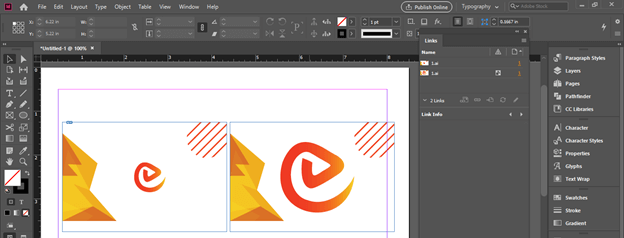
Now let us again switch to illustrator and scale down this EDUCBA logo and save changes in this file again.
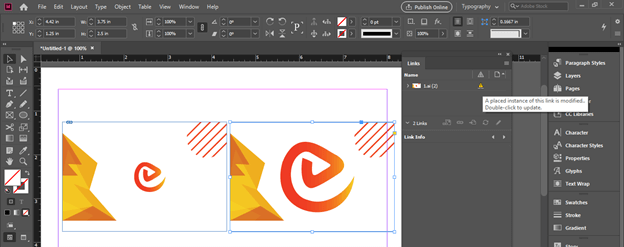
Come to InDesign again, and you can see there is a Modification sign on the top of the linked image, but there is no such icon on the embed image. So that is the difference between these two images that means you cannot update the embed image.
Now when I click on to modify the icon, it will update like this.
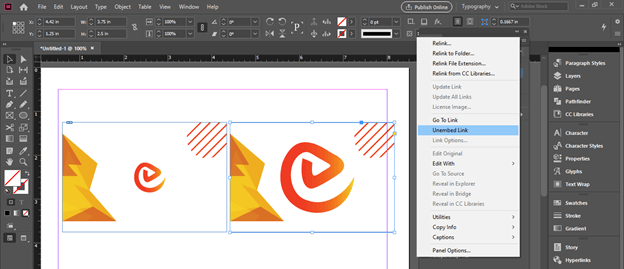
If you want, you can again convert the embed image to a linked image and choose Unembed Link option from the same list of Linked panels.
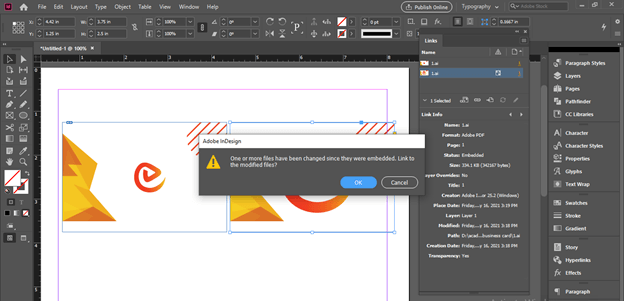
It will ask you to link with the original file, so click on the Yes button.
It will show you that modification has been done with the original image so click on the Ok button for updating it.
And you will have to modify the icon in the layer of this image in the link panel, so click on it.
And it will also update like this.
Conclusion – InDesign embed images
I am sure now you can understand Embed image clearly and easily differentiate it from Linked Image in the context of various purposes. It totally depends on your work requirement, which type of image you want in your document, and how you want to manage the document’s content.
Recommended Articles
This is a guide to InDesign embed image. Here we discuss How to create and use Embed image in InDesign step by step in detail. You may also have a look at the following articles to learn more –
