Introduction to InDesign Fonts
InDesign fonts can be understood as typefaces of the text content we use to make our text content readable and expressive. In InDesign, Adobe offers many typefaces with several font styles. Some of them are already installed in your Adobe software, and some can enable by the cloud server of Adobe InDesign. Apart from Adobe fonts, you can also install and use external fonts in this software. Today in this article, I will tell you all possible aspects of InDesign fonts and how you can add an external font to them and start using them to impact your designed document positively.
Overview of InDesign Fonts
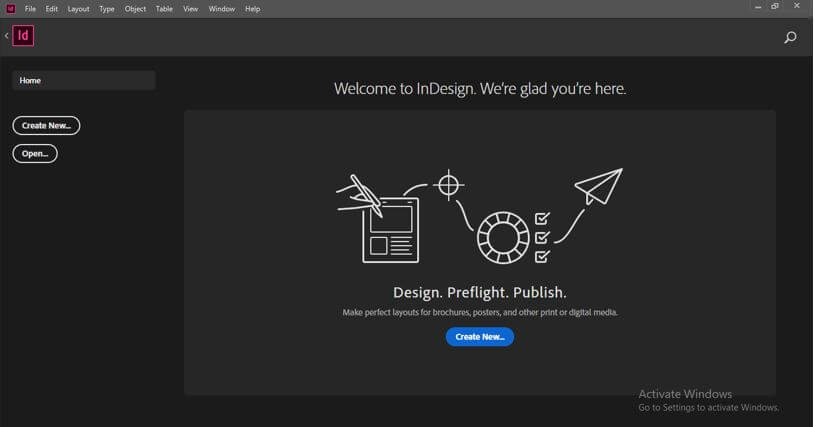
Now let us go through an overview of InDesign fonts so that it will be easy for you to interact with other aspects of this software. To explain this, I will create a new document, so click on the ‘Create New’ button on the welcome screen of this software.
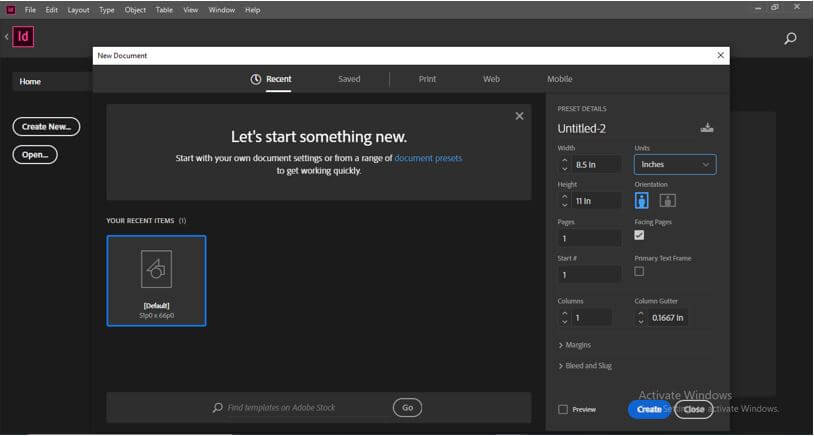
Once you click, you will have this ‘New Document’ dialog box. For this time, I will leave the settings of this dialog box and click on the ‘Create’ button.
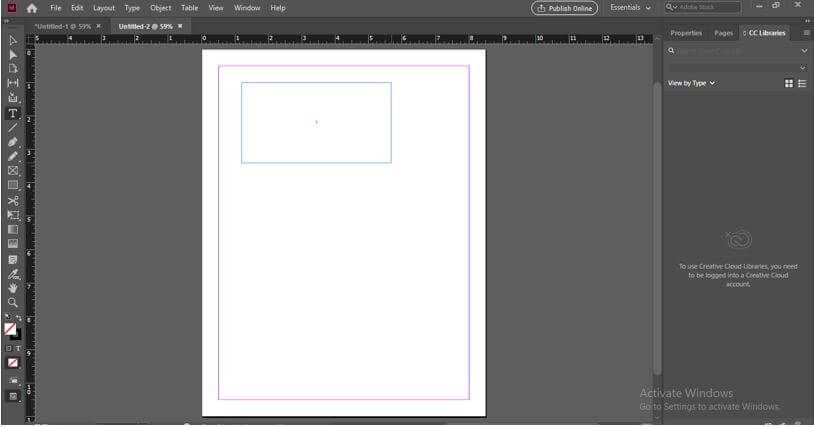
Now on the document window, I will come into the Tool panel on the left side of the working screen and choose; this Type Tool or you can press the T button on the keyboard as its shortcut key.
Now drag the mouse cursor to create a text frame like this.
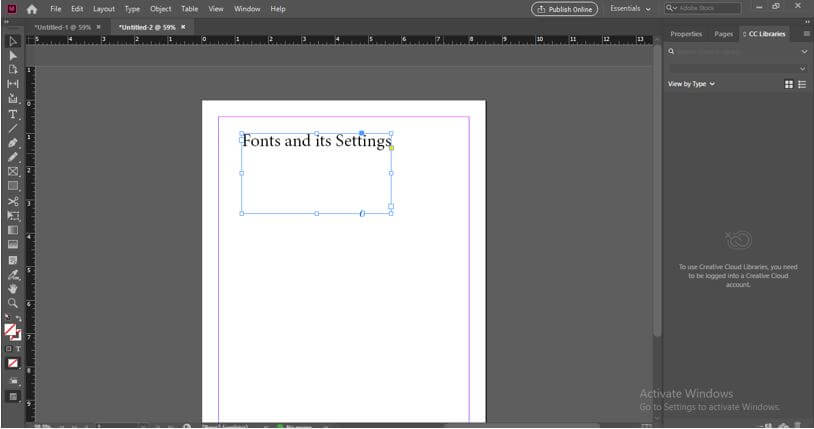
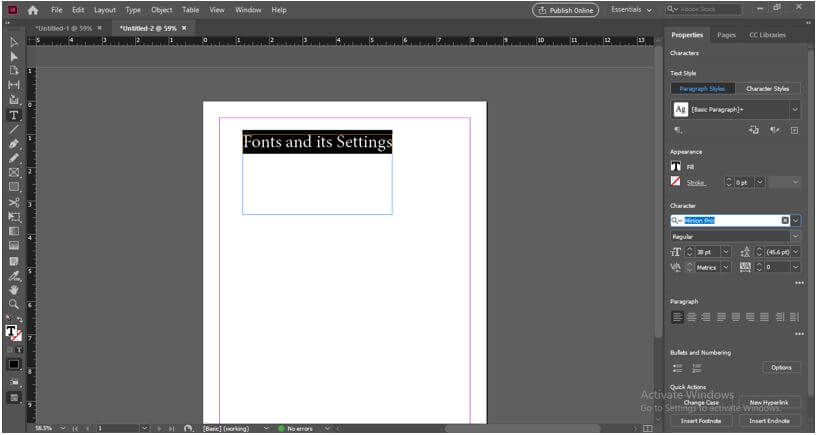
With the help of the Type tool, I will type some text here.
Now on the Type tool, select your typed text content, and you can see its parameters in the Properties Panel of this software.
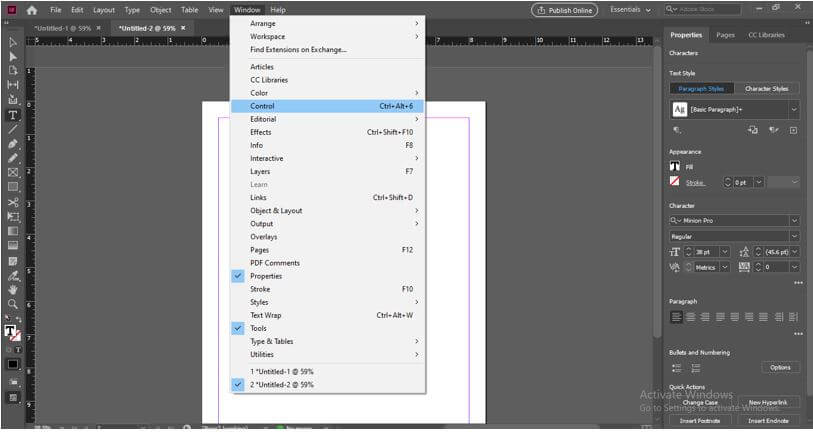
You can enable properties options of text content by enabling the Control option from the menu bar’s drop-down list of the Window menu.
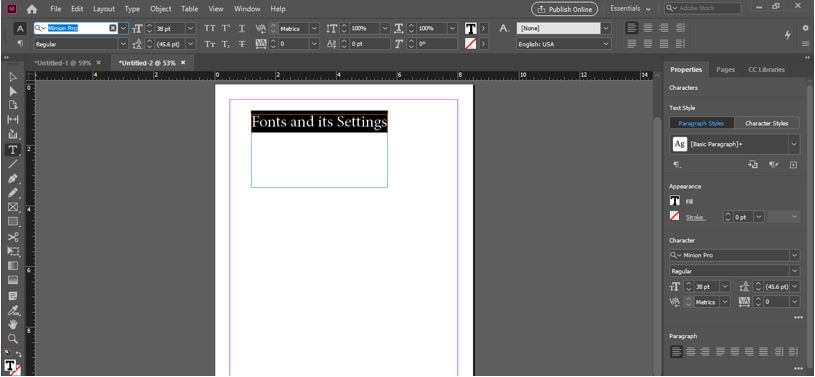
You will have a Control panel of selected text content at the top of the working area.
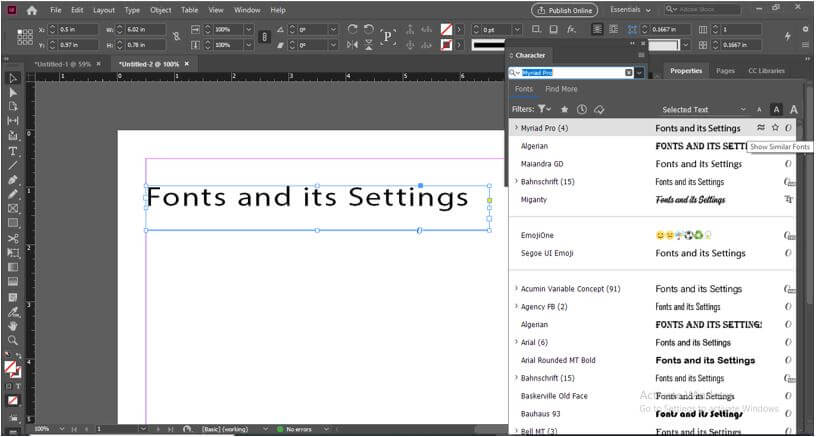
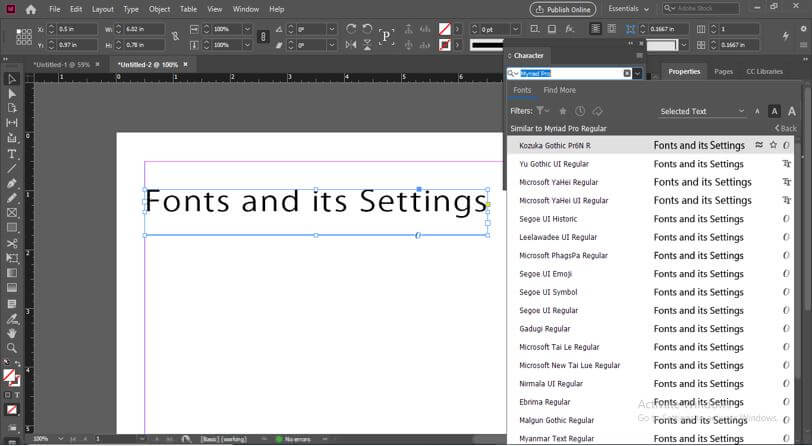
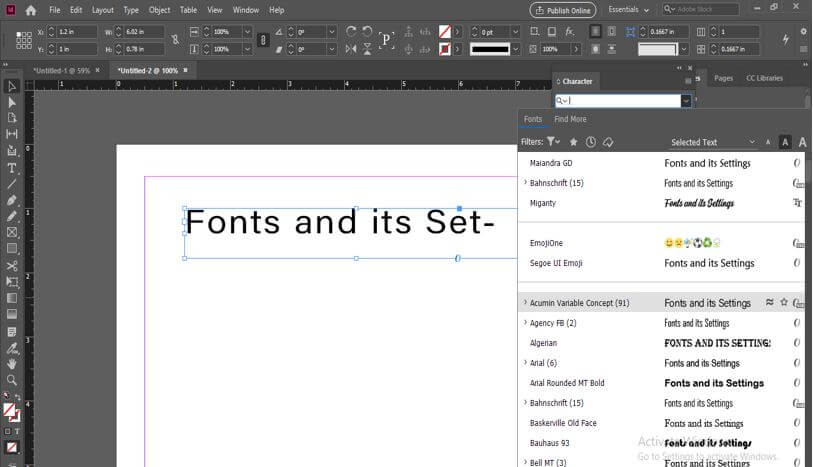
You can also change the typeface of selected text content into your desired font style from the Character panel. In the Character panel in front of the typeface, you will have an icon of ‘Show Similar Fonts.’ If you click on it, you will have a list of all similar fonts to the selected fonts.
You can see here we have all similar fonts’ list of Myriad fonts.
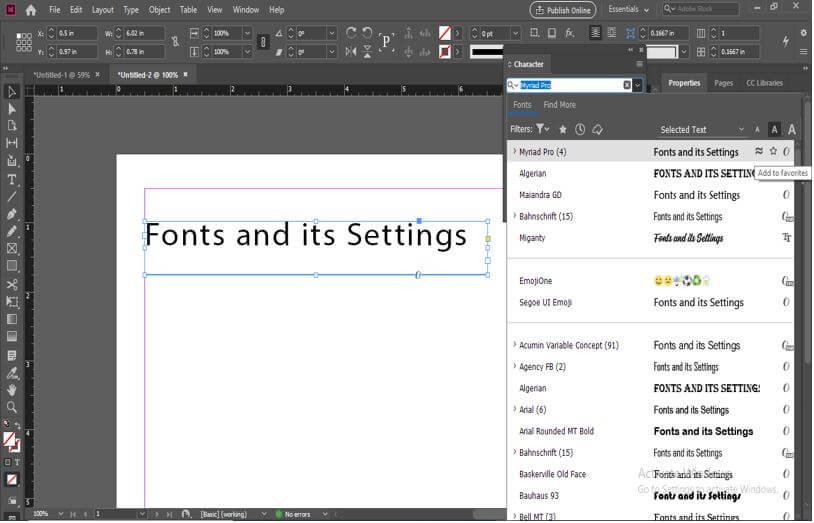
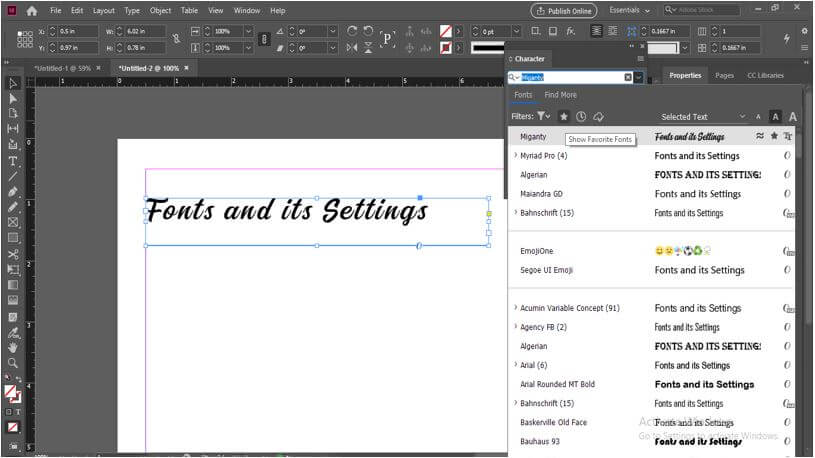
Now next option for the selected font style is ‘Add to Favorites,’ By clicking on it, you can save your frequently used font in your favorite list.
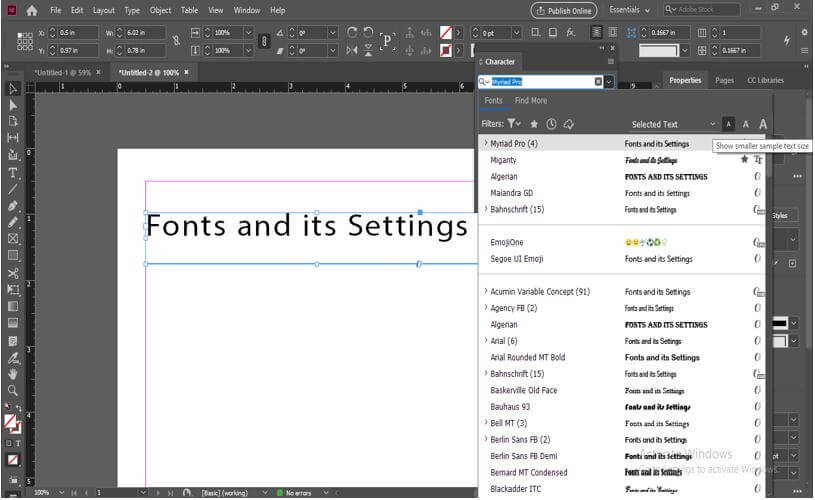
By the option given on the top right corner of the fonts’ list, we can increase or decrease the font size shown in the list of characters panel.
How to Add InDesign Fonts?
You can access Adobe fonts from the Character panel of this software if you want, but now I will tell you, apart from Adobe fonts, how you can have external fonts in this software.
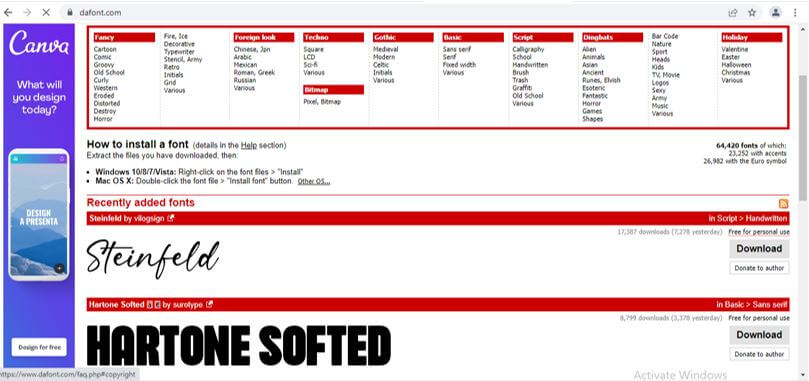
First, you must browse for any website that offers graphics fonts. I find this website very useful in this context. You can go with anyone as per your choice. Here you can go with a Free for commercial use font or with paid one also as per your choice.
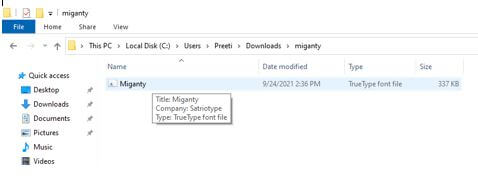
I have downloaded this one which is a free font. Once you download any font, you will have a zip file, so unzip it.
And open its folder from its saved location.
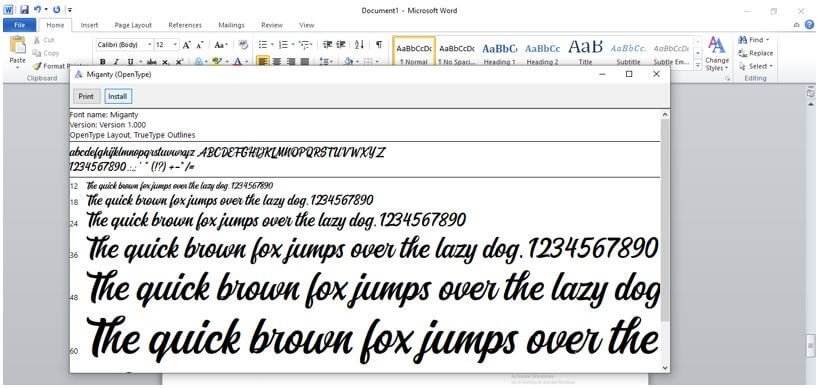
Then install it by double clicking on its file and then on the Install button of the opened file.
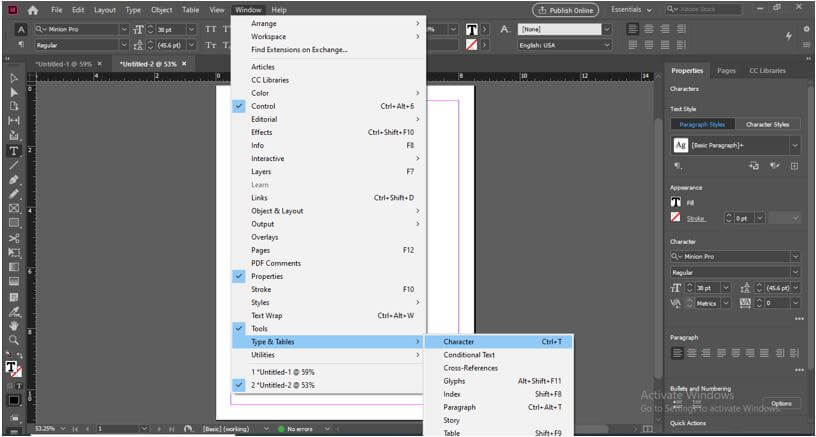
Now jump into InDesign and go to the Windows menu for having a Character panel. In the drop-down list of this menu, you will have the Type & Table option; in the new drop-down list, there is the Character option, or you can press Ctrl + T as its shortcut key.
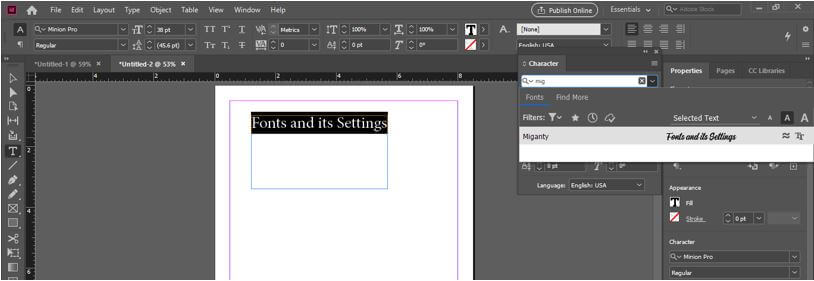
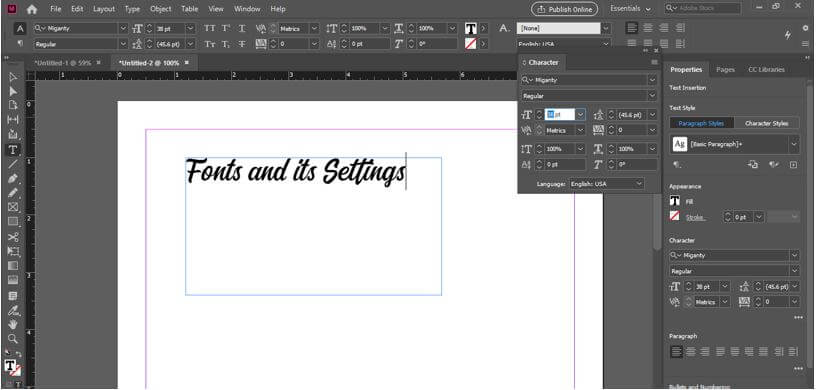
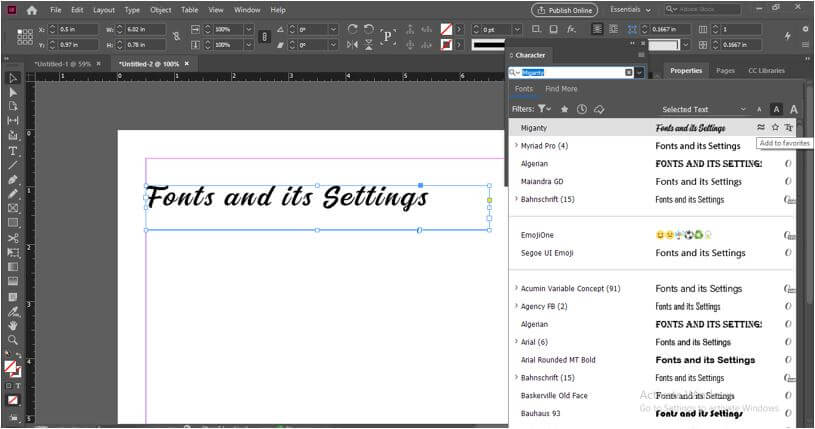
Here in the search box of this panel, you can type the name of the downloaded font or type a few starting letters of the name of the downloaded font, and you will have it in the list of typefaces of the Character panel. You can select text content with a Type tool like this for applying your desired text to it.
Or select it with a selection tool also like this
New Add InDesign Fonts
I will tell you how you can use newly added fonts in InDesign. There is no special instruction for using newly added fonts. You can use these fonts the same as we use the inbuilt font of InDesign. Now let us discuss it.
I have selected this text content and went to the Character panel again. We can change the font size from this option as per our requirements.
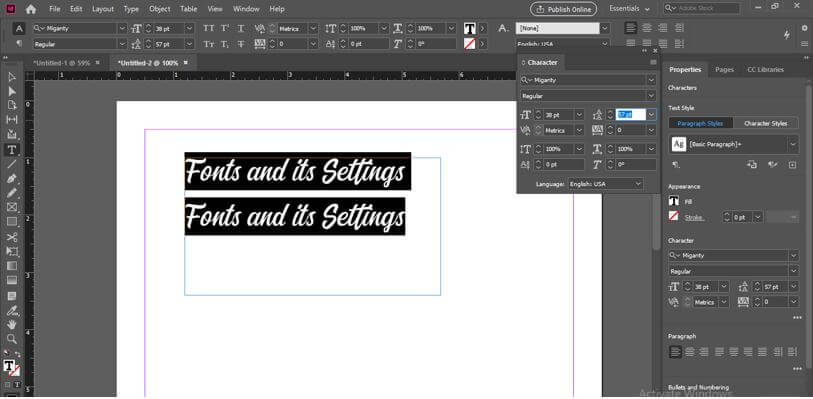
The next option of this panel will maintain spacing between the lines of any paragraph.
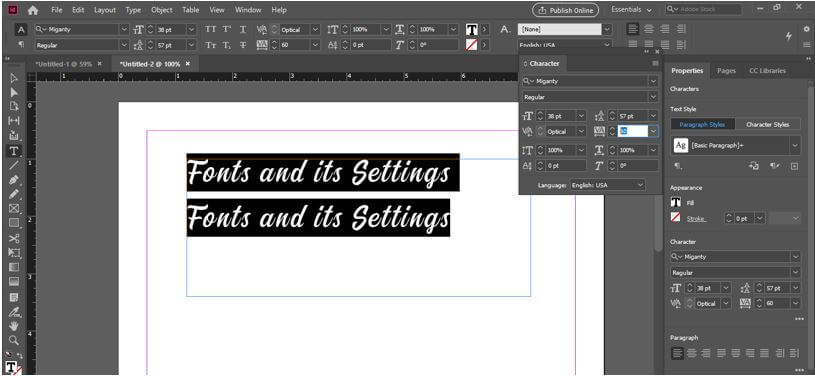
We can use the tracking option to increase or decrease the space between text content. It will maintain equal space between text characters.
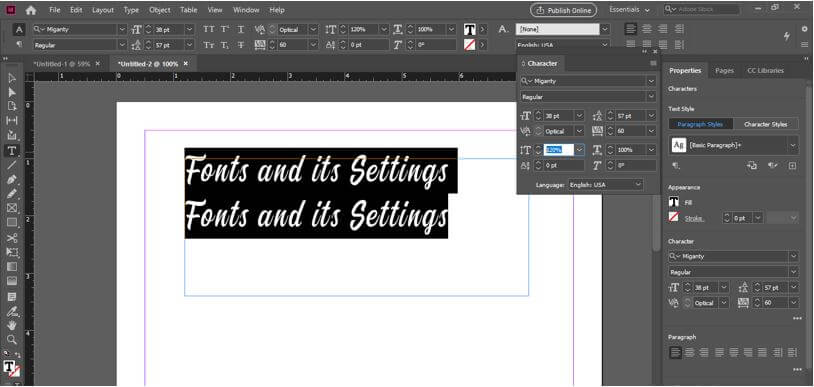
With the help of the next option, we can increase or decrease the height of selected text content.
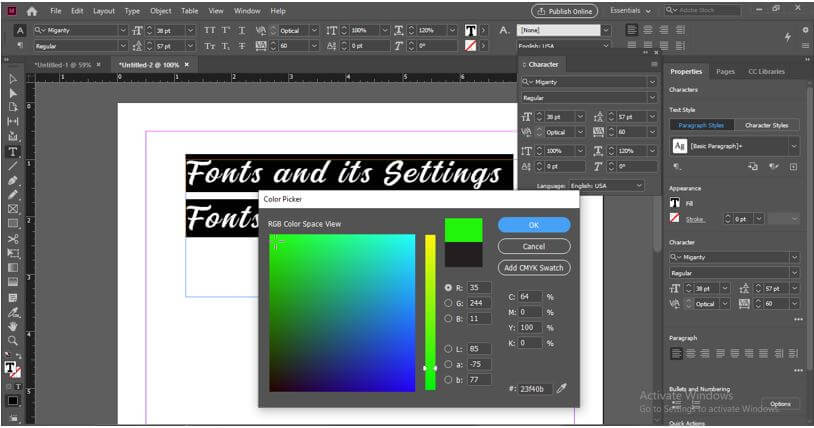
You can change the font color by double-clicking on the text color box after selecting the desired text. You can find this box in the tool panel.
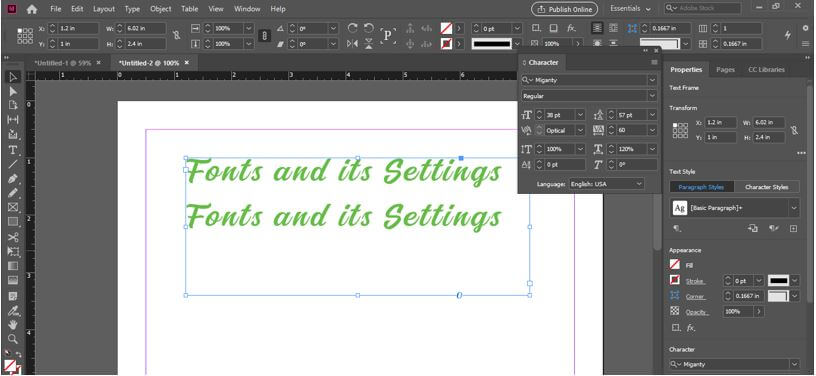
And the color will change like this.
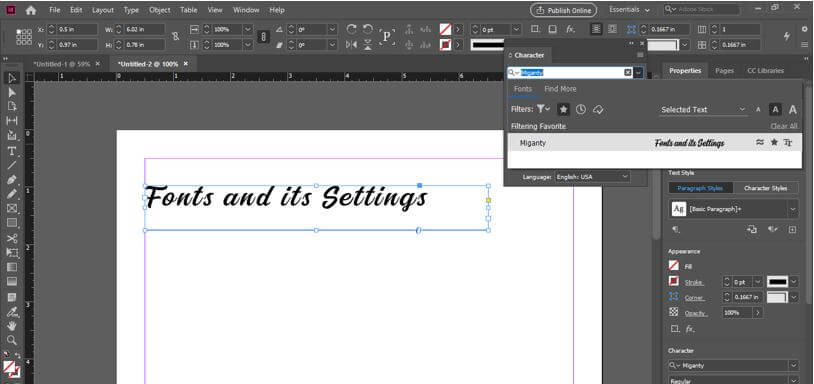
You can add this newly installed font to your favorite list as we add any font to our saved list of fonts.
You can click on this button to see your saved list.
And it will show you all saved fonts as your favorite font. Unfortunately, I currently saved this font only, so there is only one.
This way, you can use the externally installed font in InDesign.
Conclusion
Now you know almost every important fact about fonts of InDesign software, and after going through this article, you will use fonts in your work more beautifully. Therefore, I suggest you start playing with each parameter of fonts so that you can understand them and get the best result in your work.
Recommended Articles
This is a guide to InDesign Fonts. Here we discuss the introduction, overview, and how to add InDesign Fonts, along with a detailed explanation. You may also have a look at the following articles to learn more –
