Introduction to InDesign Hyperlink
InDesign Hyperlink can understand as inserting or attaching links with the text content of our designed document that we have designed in InDesign. The link will redirect the reader or viewer to our desired location. This location may be any page or document, any content of a document, any URL, and so on. For inserting any link in our document in InDesign we need to go through some steps as well as set some parameters. So today I am going to tell you how you can create a hyperlink in your designed document of InDesign.
Overview of InDesign hyperlink
Before we start our discussion about creating hyperlinks in this software let me give you an overview of this for your better understanding. During creating a pdf of our designed document many times we need to redirect our viewer or reader to any other location and this location may be inside the document or outside of it. So for this requirement, we insert a link to that location with our text font and you can understand this link as a hyperlink font. Inserting hyperlinks helps us in many ways for managing the content of a document so it is good to work with it.
How to create InDesign hyperlink?
Now let us start our discussion about how to create hyperlinks in InDesign. For this, I will create a new document.
Now go to the tool panel which is on the left side of the working screen and take the text tool from it.
Drag the mouse cursor to draw a text box like this.
I will type a text here on which I will create a hyperlink.
Now select this text content with the selection tool and after selection make right-click on it. Once you make a right-click you will have a drop-down list. In the list, we have a Hyperlinks option so click on the New Hyperlink option of the new drop-down list of it.
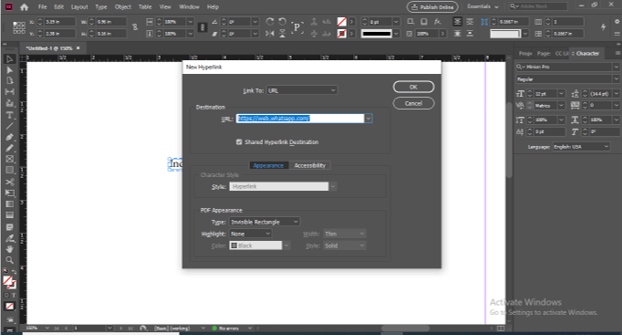
Once you click you will have a New Hyperlink dialog box.
Here in the ‘Link To’ option of this dialog box, we have some options for creating hyperlinks such as URL, File, Page, and so on.
Below this option, we have the Destination option in which we can define the destination address where we want to redirect our reader through an inserted hyperlink.
In general, I will give a destination address here as https://web.whastapp.com. It is just an example. You can add your website location here, or any other destination as per your choice.
At the bottom of this dialog box, we have some other options. Such as PDF Appearance. Here in this option, you can choose how your hyperlinked font will look in your pdf of the designed document.
In the Type option, I will choose the Invisible option.
And in the Highlight option, I will choose the Outline option. But it will not work because our hyperlink will be invisible. So there is no means to choose this option.
Once you have done all your settings click on the Ok button of this dialog box.
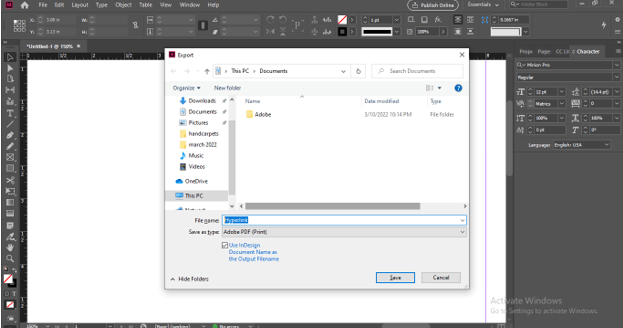
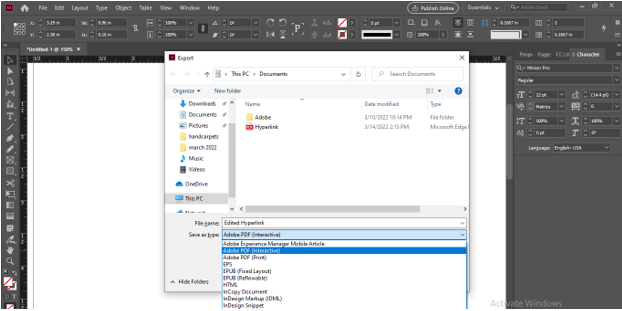
Now let’s save it as pdf and for that go to the File menu of the menu bar then choose an Export option from the drop-down list of it or you can per Ctrl + E as its shortcut key.
Once you click on this option a dialog box will be open for choosing its save location.
I will name it Hyperlink
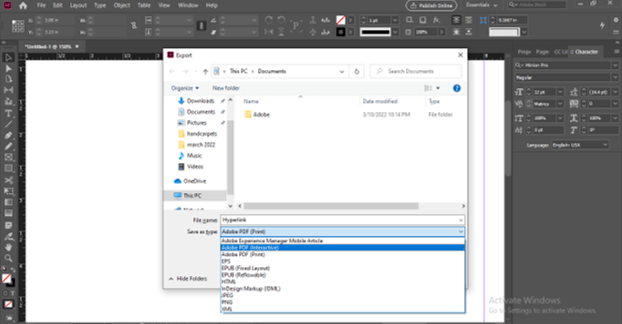
And in file type choose PDF(interactive) otherwise hyperlink will not work in your created pdf.
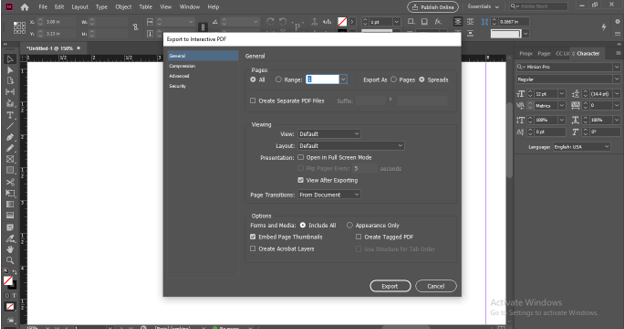
Once you click on the Ok button of the Export dialog box a new dialog box will open for making settings in the parameters of pdf. For this time, I will leave it as it is and click on the Export button of this dialog box.
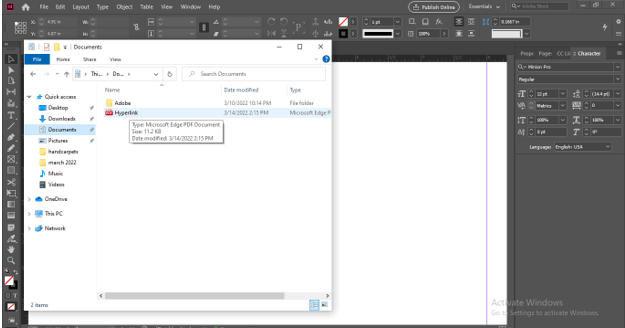
Now let us open our saved pdf.
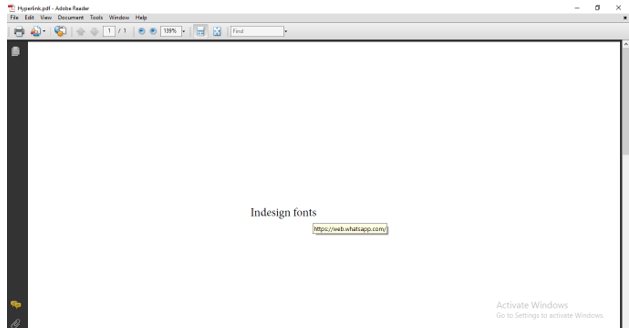
And you can see it’s showing me the attached hyperlink when I am moving the mouse cursor on this hyperlinked text font.
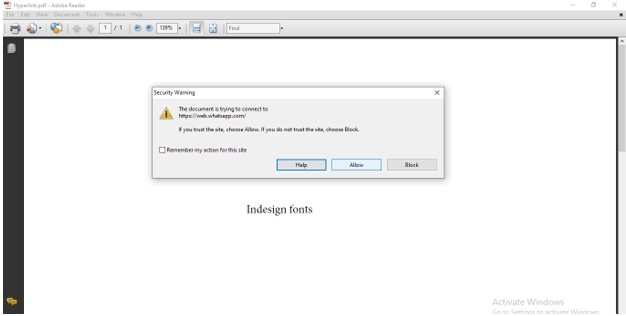
Now make a click on this text to open the linked destination. Once you click on it, it may ask you for confirmation so click on Allow button.
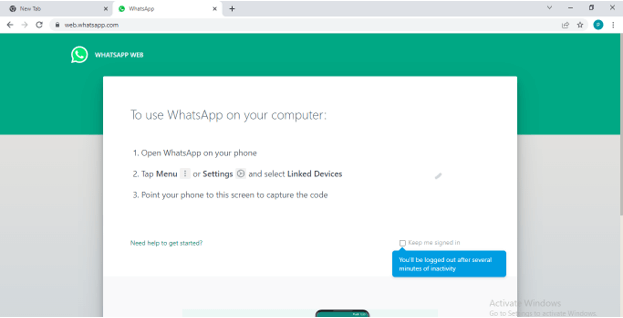
And it will take me to the website of WhatsApp web application.
How to edit InDesign hyperlink?
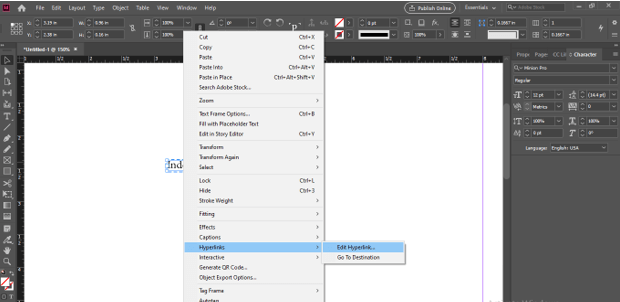
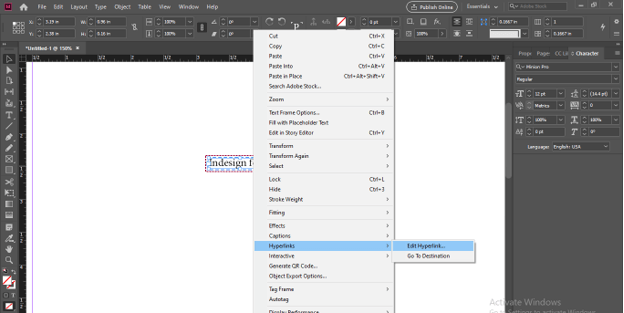
For editing hyperlink in InDesign select that hyperlinked text that you want to edit than make right-click on it and go to Hyperlinks option in this option you will have two options this time one is Edit Hyperlinks and the other is Go to Destination. So click on the Edit Hyperlink option.
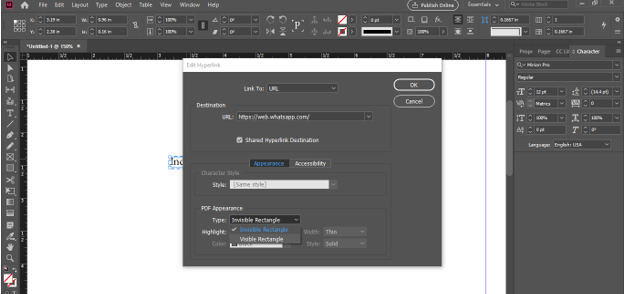
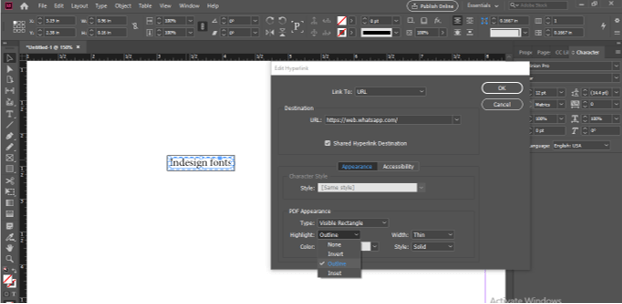
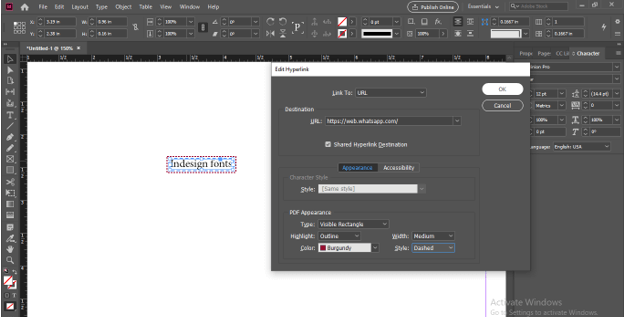
Once you click you will have the same box of Hyperlinks as we have at the time of creating a new hyperlink. Here this time I will change the pdf appearance to Visible Rectangle.
You can see live changes around your hyperlinked text. I also choose the Outline option in the Highlight option.
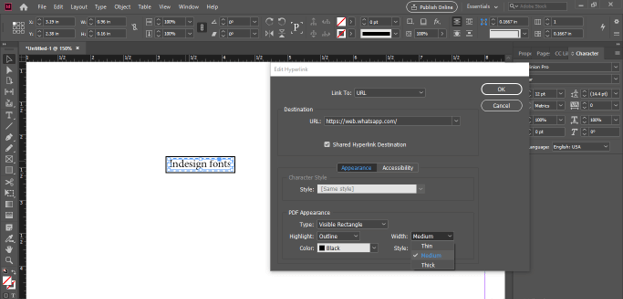
You can set the width of the stroke of the outlined rectangle around the hyperlinked text.
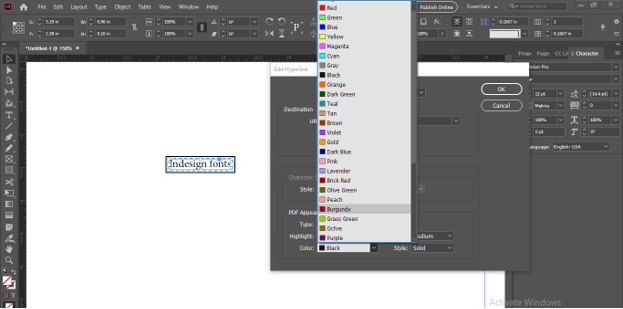
From the color option, you can choose the color of the rectangle.
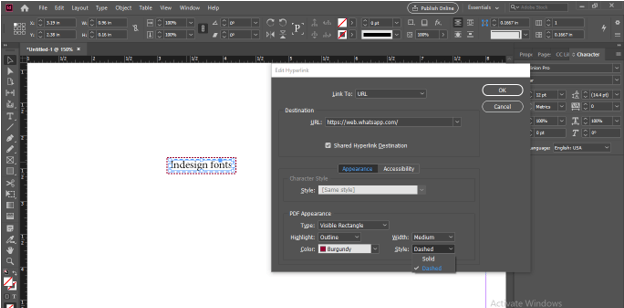
The line of the outlined rectangle can be dashed or regular which you can set from the Style option of this dialog box
Now click on the Ok button of this dialog box.
I will save it as Edited Hyperlink.
After exporting it you can see the change in the new pdf.
How to Change InDesign hyperlink?
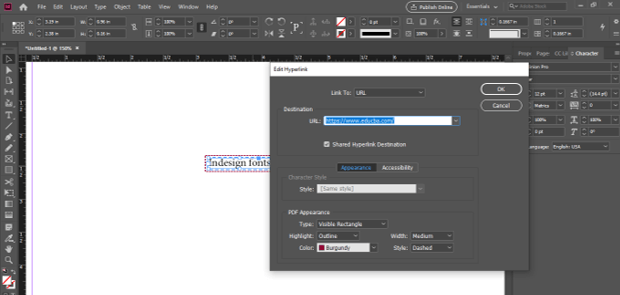
Now I will tell you how you can change hyperlinks of any text content. So again select the hyperlinked text of which link you want to change and make right-click on it then again go to the Edit Hyperlink option.
Here go to the Destination option and I will change the URL to https://www.educba.com.
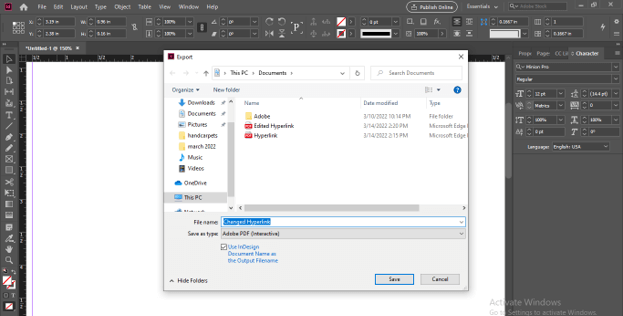
And save it as Changed Hyperlink.
Now you can see the hyperlink has been changed to www.educba.com.
Once you click on this link it will take you to the educba website.
Conclusion
Now I am sure you have knowledge about all the important aspects of hyperlink font of InDesign software and you can insert it in your document with the desired text. You can not only add a URL as a hyperlink but also set any other destination as the location where you want to redirect your reader.
Recommended Articles
This is a guide to InDesign Hyperlink. Here we discuss the Introduction, overviews, How to create InDesign hyperlink, How to change InDesign hyperlink?. You may also have a look at the following articles to learn more –


