Introduction to InDesign line spacing
InDesign Line Spacing is a feature of this software through which can adjust space between lines for giving a pleasant and eye catching look to our layout design. Many times we need to adjust spacing for covering any content to one document page so it becomes necessary to have a good understanding about line spacing feature of this software. In design language we call this spacing as Leading that means Leading is a term that defines space between two lines of text of any paragraph. There is number of thing with line spacing which I will tell you in this article and after that, you will have good command on it. So let us start our discussion.
How to Use Line Spacing in InDesign?
Using Line Spacing in InDesign is not a big deal but we have to understand that how we should use it in a proper way for having an effective design layout.
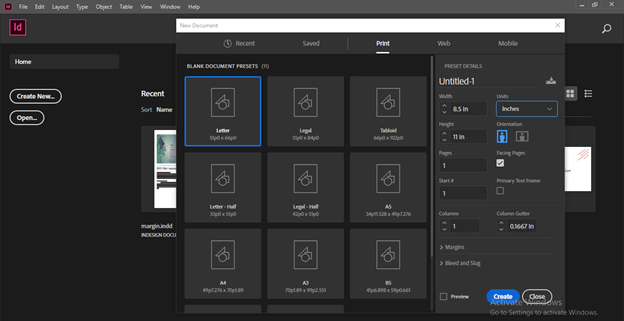
For starting our discussion I will take a new document from the Create new tab of the welcome screen of this software.
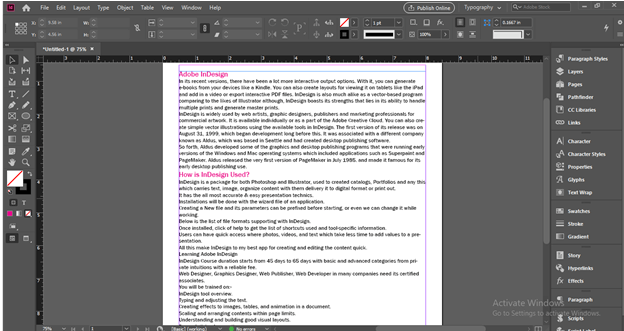
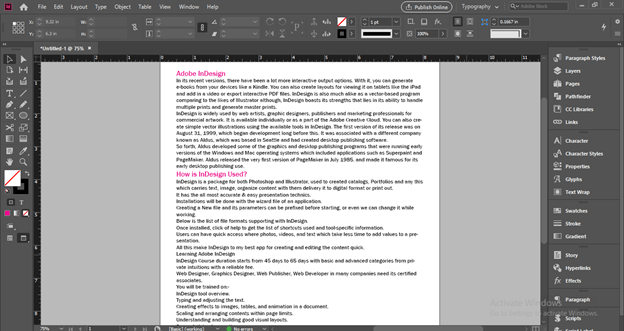
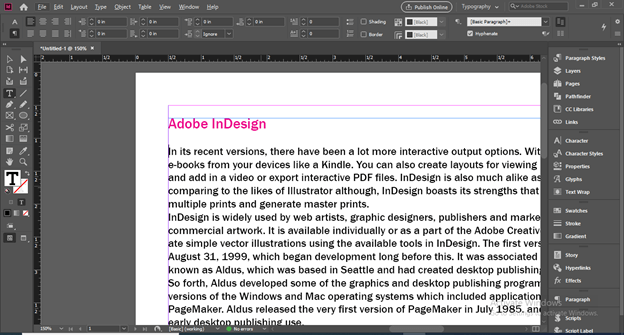
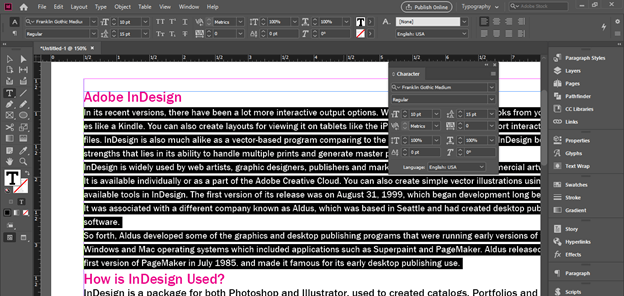
I have some text content here which I have separate in Headings and simple paragraph.
You can see if we change to preview mode then it is not very pleasant to see this type of settings for text content. So what we need this time? We need to set spacing between text so that it not look very clumpsy.
You can press enter button of keyboard for having some spacing between heading and paragraphs or for lines also but I don’t want this large spacing, I want something less than it.
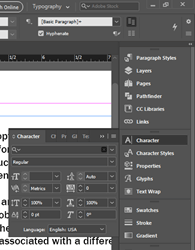
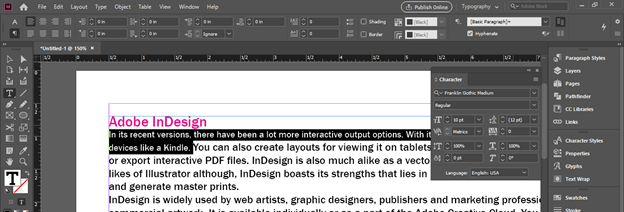
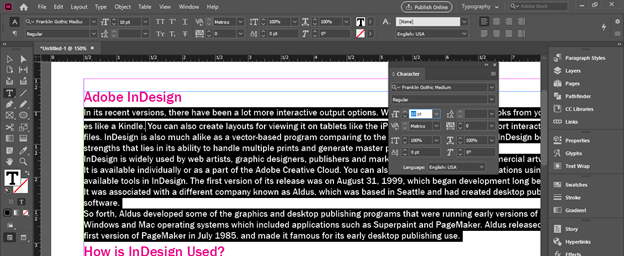
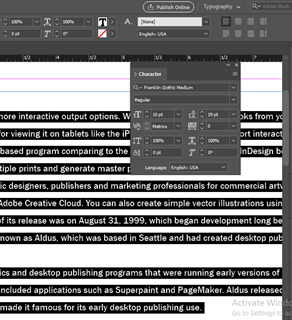
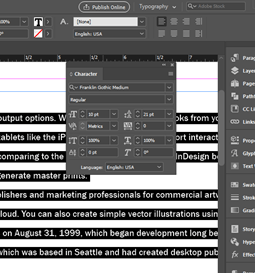
I will open this Character panel for this purpose.
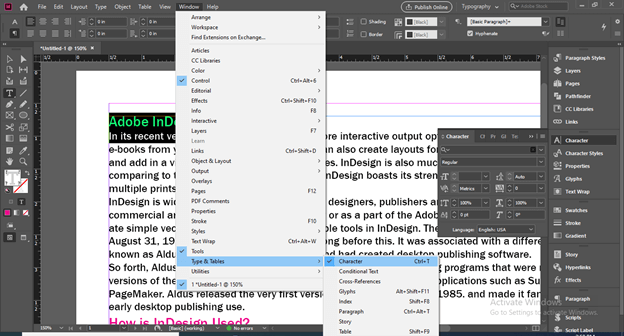
If you are unable to find this panel you can find it in the scroll down list of the Windows menu. So go to Type & Tables menu option of it and here is Character option or you can press Ctrl + T as its shortcut key.
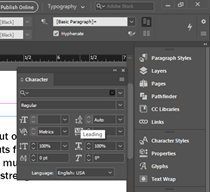
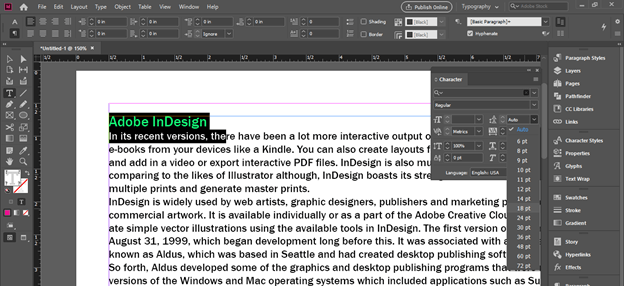
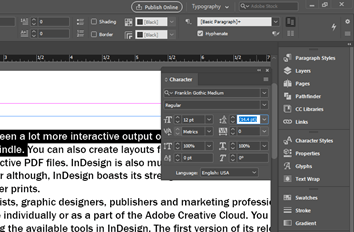
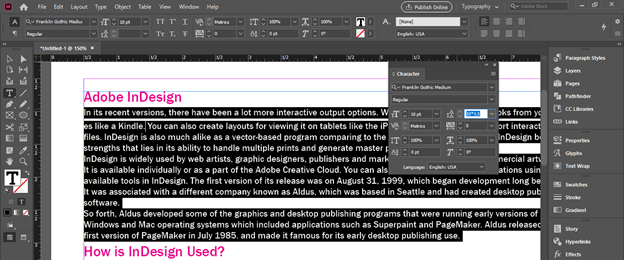
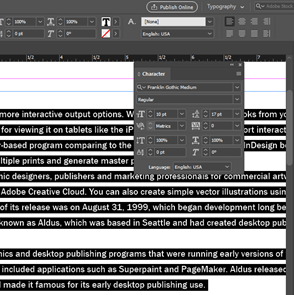
Now in this Character panel there is Leading option.
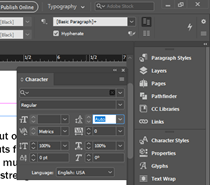
Here in this box of Leading option we have Auto option that means InDesign set the leadings between lines itself on the basis of font size.
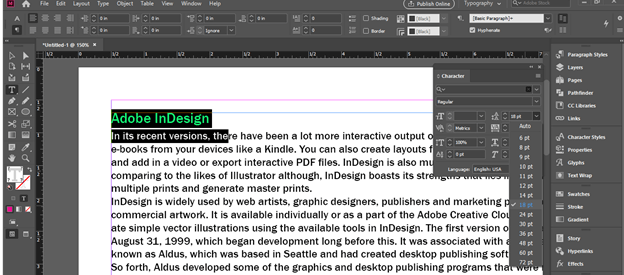
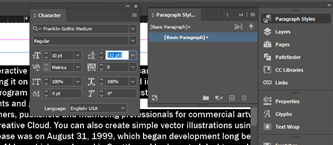
I will select this heading and line of this paragraph and when I can click on down arrow key of Leading box then I can choose any point size for spacing between lines.
For example if I choose 18 point then the spacing will be 18 point for these two lines.
You can enter your desired value manually also.
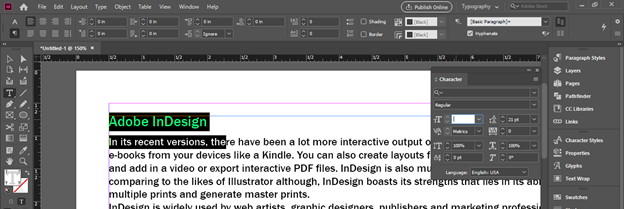
You can see there is no font size showing in the font size box of this panel. It is because we have selected two text of different sizes.
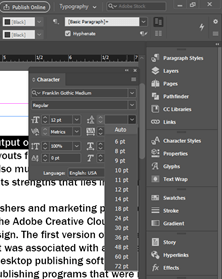
Now let us select text line of same font size and now here font size is 12 point in Character panel.
I will choose Auto option for Leading this time and when you click on it, it will show you a specific point value. This value is 120% of font size.
If we change font size as 10 then you can see leading will change as 12 which is 120% of 10. So Auto spacing will be at 120% of font size of text.
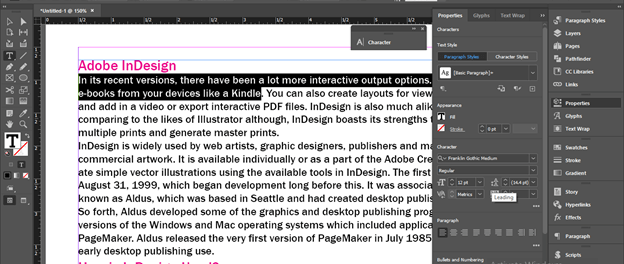
The same option of Leading you can also find in the Properties panel which you can find in the panels section, right side of working screen. All the options of Leading is same here as we discussed above.
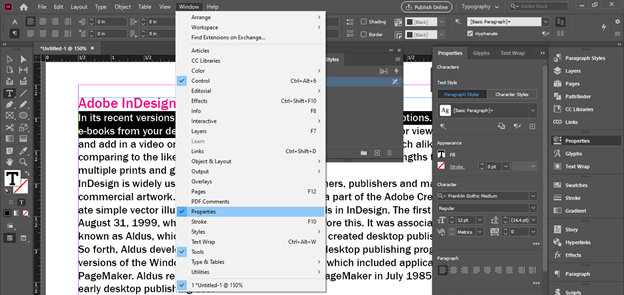
If there is no such panel you can find it in the scroll down list of Window menu. Just go to this list and enable it by clicking on it.
There is one more place where you can find same Leading option which is Character Formatting panel. You can find this panel at the top of the working screen.
You can find this panel in same scroll down list of Widnow menu with name Control or you can press Ctrl + Alt + 6 buttons of keyboard as its shortcut.
Here is the leading option in this panel.
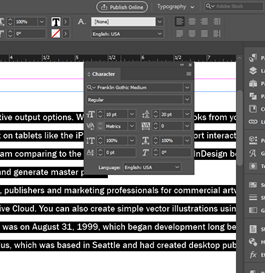
Let us change the font size of these selected line of this paragraph as 10 point.
And If I multiple this font size with leading value then InDesign will automatically set the value of spacing between line. For example the font size is 10 and leading is 1.5 so I will enter 10*1.5 in the leading box and hit tab button of keyboard.
You can see it set the line spacing as 15 point automatically. So InDesign itself calculate spacing for your given values.
There is a shortcut for changing spacing between lines without changing it manually from Leading box that is hold Alt button of keyboard and press Up Arrow key of keyboard for increasing value or Down Arrow key of keyboard for decreasing value.
Here you can see if we do this the spacing jumps at the gap of 2 points.
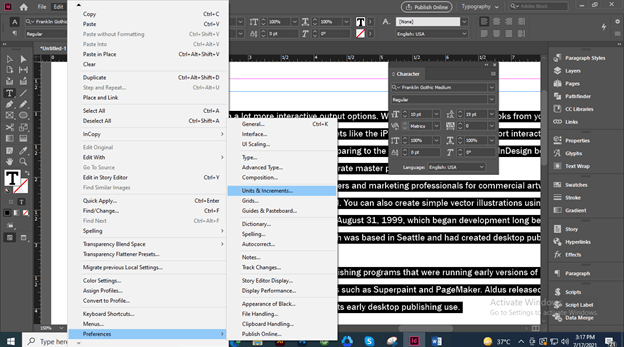
But if you want you can set this gap you can go to Preferences option of Edit menu and here in the new drop down list of click on Units & Increment option.
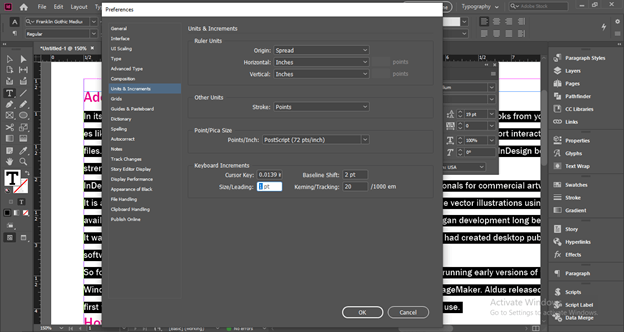
Here in the Preferences dialog box we can change the value of Size/Leading of Keyboard Increments option.
And now when we change the spacing by the same way this time it will change only with one gap.
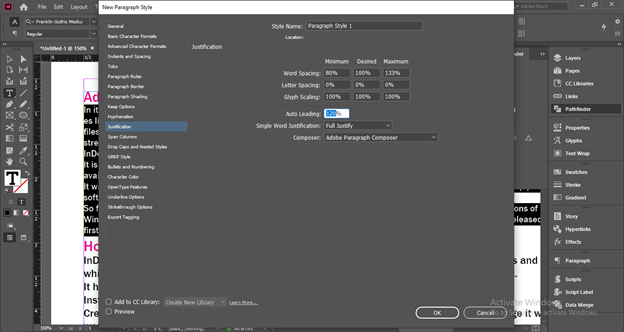
We discussed above that the auto leading value is about 120% of font size and you can set it too accoridng to you.
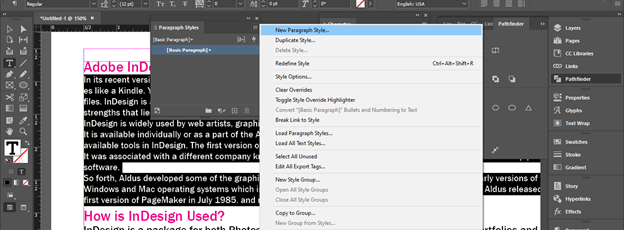
For this purpose open Paragraph Style panel and click on the top right corner button of it. Here in opened list choose New Paragraph style option.
Here in the New Paragraph Style box we have Auto Leading option from where we can set Leading percentage.
Conclusion
I am sure Line spacing will no more unknown word for you and you can also know what we called it in design language. Here I told you all possible aspects of this features which you can handle according to requirement of your work and can create a very effect layout design with lots of text content.
Recommended Articles
This is a guide to InDesign line spacing. Here we discuss How to Use Line Spacing in InDesign along with the step by step in detail. You may also have a look at the following articles to learn more –
