Introduction to InDesign Link Text boxes
InDesign Link Text boxes can understand as text frames of overset text that are connected to each other with a link line. In this software we work with large amount of text content so we need to arrange them when it not fit into our drawn text frame. There are many ways through which we can arrange text into linked text boxes and the way we used for arranging them is totally depends on the density of the text content. Here I will tell you how you can link text boxes for less amount of text content as well as large amount of text content for having them different type of purposes.
How to Link Text Boxes in InDesign?
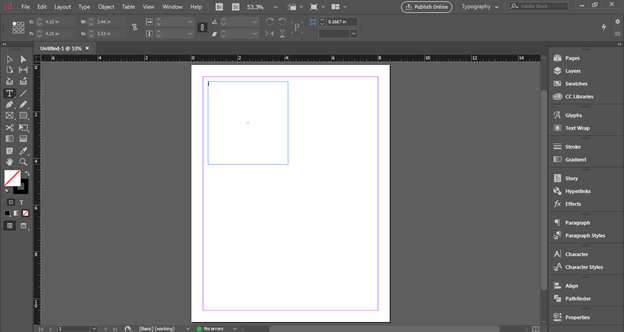
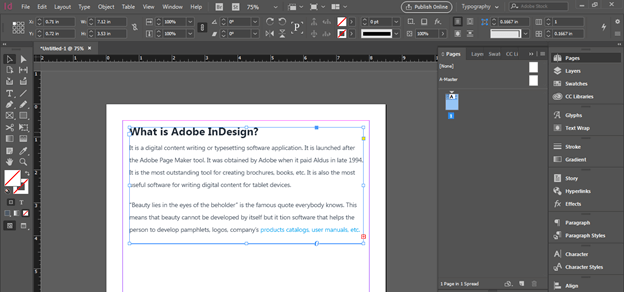
We need to link boxes of text frame for arranging our text content into different manners and I am going to tell you how you can do this in this software. So for that I will create a document of Letter size and have only one page in it. I will choose Type tool from tool panel and draw a text frame like this.
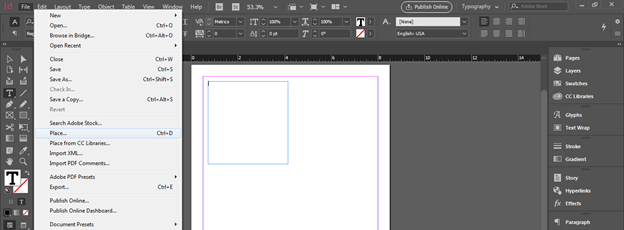
Now I will place some text content into this text frame and for that being selected this text go to File menu of menu bar and click on it. Here in the scroll down list of it I will choose Place option or you can press Ctrl + D keys of keyboard as its shortcut command.
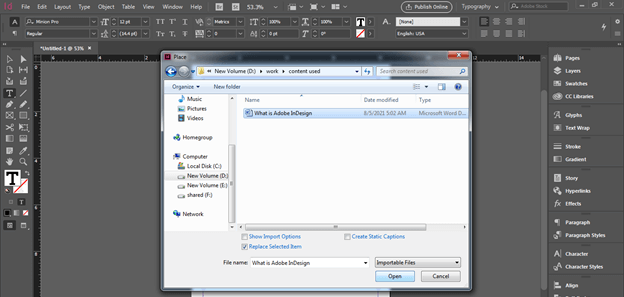
A Place dialog box will be open. I will navigate my text content in my computer and choose it from its saved location then click on Open button of this dialog box.
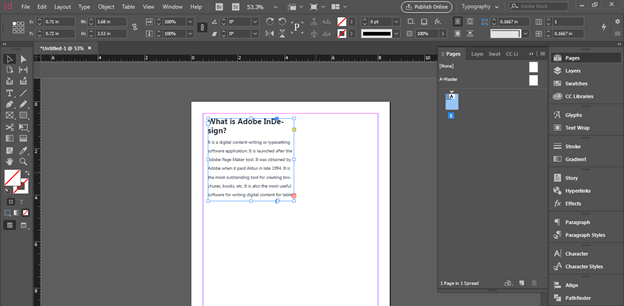
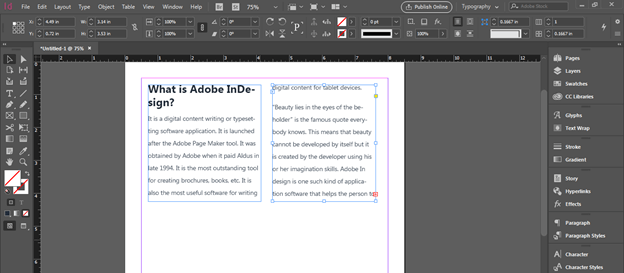
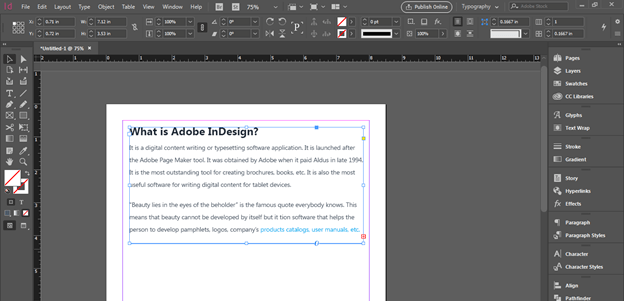
And I have the text content in the text frame like this.
If you want you need not to draw text frame before placing text content just choose text content from place option which you want to place in this software and once you choose text content it’s indication will come on the mouse cursor. Then you can draw mouse course to draw text frame and it will place in that frame automatically.
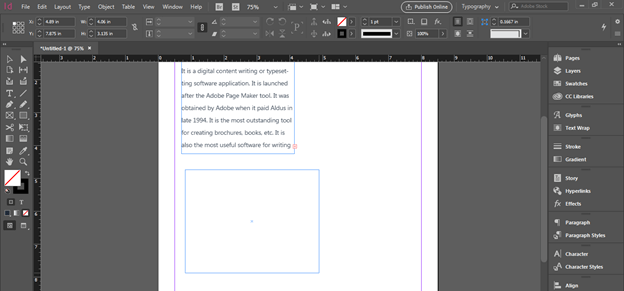
Here you can see there is red plus button at the bottom right corner of text frame that indicates the text content is not fitted in current text frame. We called it as overset text in this software.
I will click on the red button and extra text indication will come on the mouse cursor and sign will change into this arrow like button.
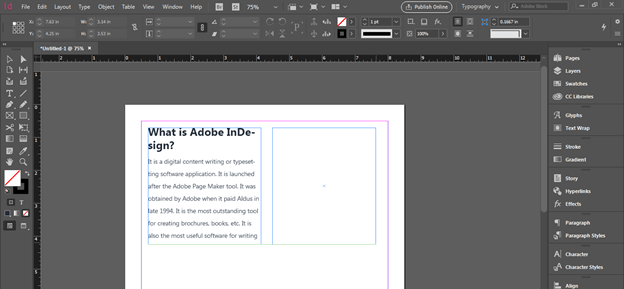
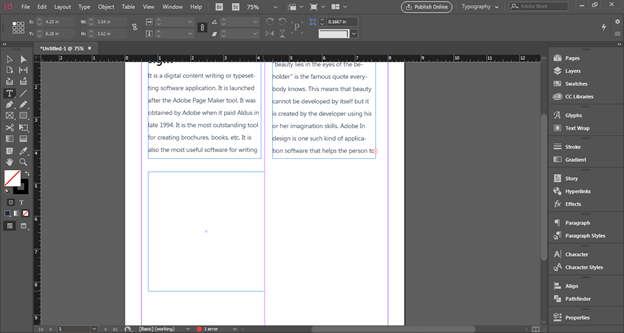
Now with same mouse cursor that have extra text indication we can draw new text frame.
And once we release mouse cursor after drawing this frame extra text of previous text frame will come into the drawn text frame.
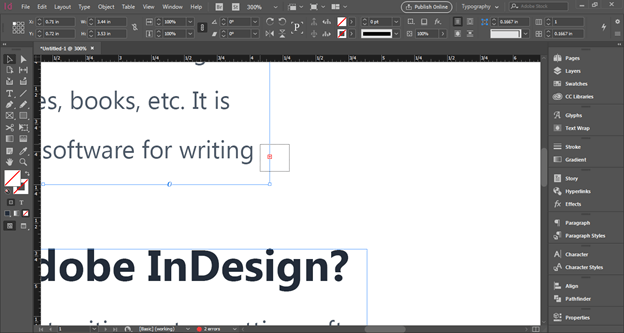
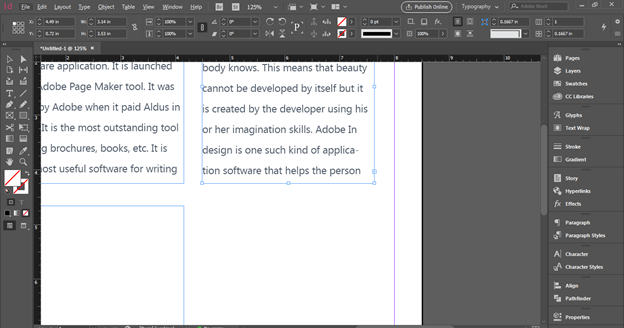
You can also link this extra text into already drawn text frame. For example this time I will take Type tool from tool panel and draw a text frame.
Now click on overset text button of second text frame.
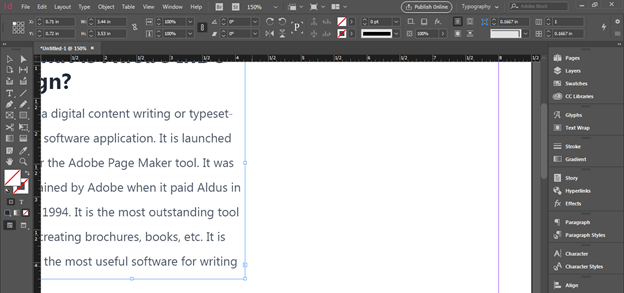
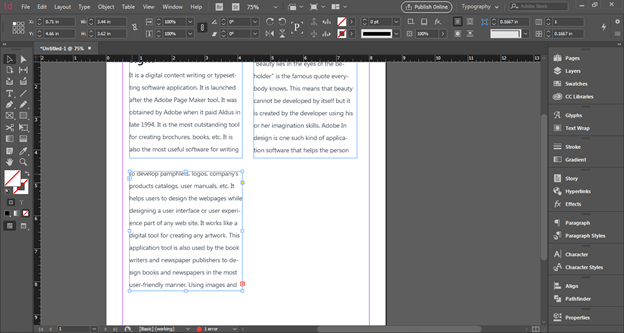
And make click on third drawn text frame and once I make click extra text of that frame come into this frame.
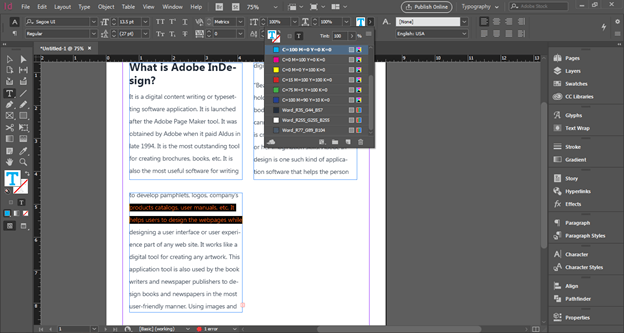
Now let me change the color of this selected line for explaining you about next term of this topic.
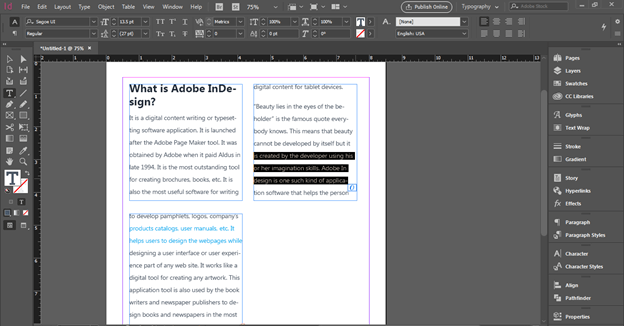
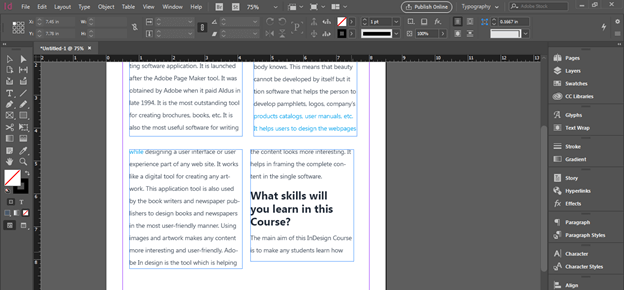
And now I will delete some lines from the second text frame.
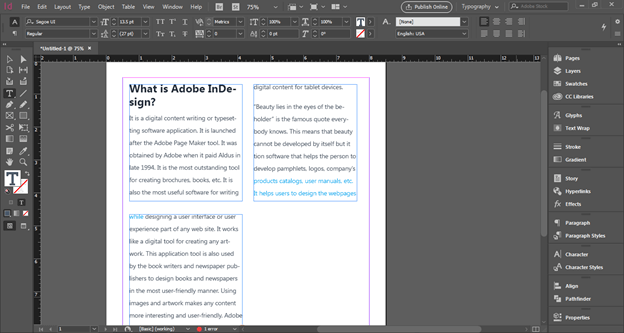
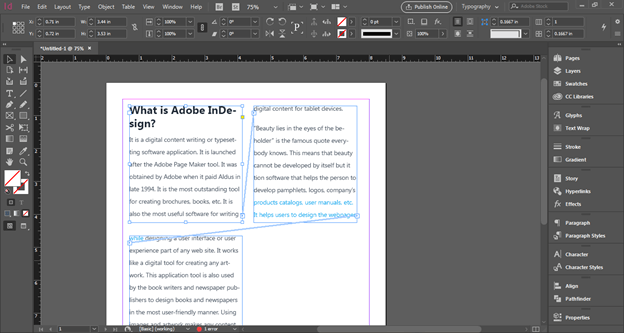
And you can see text of third frame shifted up in the second frame that shows these text frames are linked with each other and when we make changes in any of the linked frame text content of the other frame will affects.
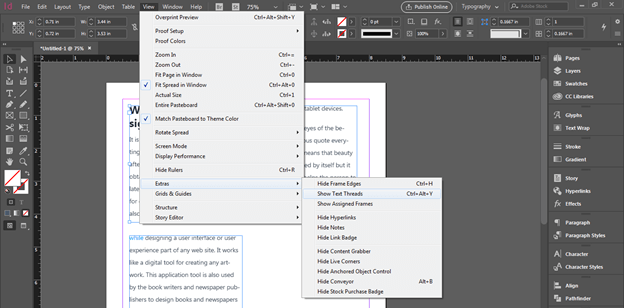
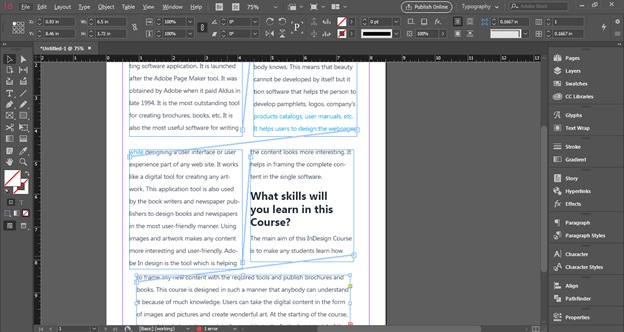
If you want to see the link thread between these text frames you have to go to View menu of menu bar and go to Extras option of the scroll down list. In the new drop down list of this option choose ‘Show Text Threads’ option.
And you can see these text frames are linked with each other like this.
If you don’t want to click on red plus button of overset text again and again so you can do one thing that is first click on the red plus button of overset text frame and then hold Alt button of keyboard then draw next text frame in which you want to place extra text. When you release mouse button after drawing text frame extra text will come on the drawn text frame and mouse cursor automatically have extra text if there is more extra text.
And you can see the links between text boxes will continue in that sequence you drawn text frames.
Now let me tell you one more way for auto flow of text content. Here I have placed this text again in this text frame.
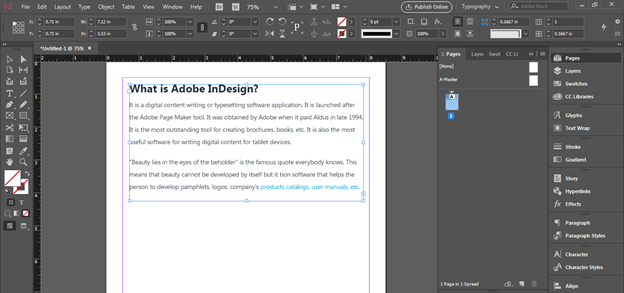
And you can see in the Pages panel of this software that we have only one page in our document currently.
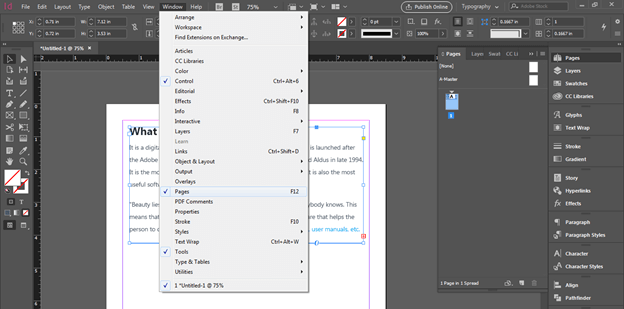
If there is no such panel on your working screen then you can find this Pages panel in the scroll down list of Window menu of this software or you can press F12 as its shortcut key.
Now I will click on the red plus button of overset text of this text frame.
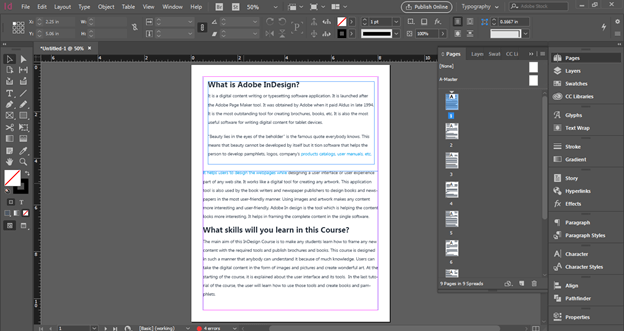
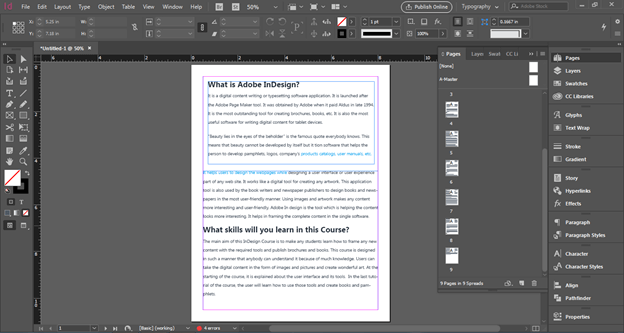
And holding Shift button of keyboard I will make click out of this frame on the document area. Once we make click the extra text content will spread into other pages of the document. In this condition InDesign will automatically add required pages for the extra text content and we need not to add pages manually.
You can see it added 9 pages so that my text content fits completely in our document.
Conclusion
Here in this article, I told you all the important aspects of the link text boxes feature of this software and now you can make it part of your work for having proper and organized management of your text content for different types or purposes. You learned about both how you can manage a small amount of text content as well as a large amount of text content into the document area of this software.
Recommended Articles
This is a guide to InDesign link text boxes. Here we discuss the important aspects of the link text boxes feature of this software and now you can make it part of your work. You may also have a look at the following articles to learn more –
