Introduction to InDesign Master Pages
InDesign Master Pages can be referred to as Parent page that means if you want to have some type of element on each pages of your document layout design then you can create that element or paste that element on the Master page only and it will apply to all your selected pages of a document. There are some other things which we can do for having different variations although we applied our desired element on all pages using the master page. The element which we have used on the master page is not editable on the normal pages of documents directly but there are some ways through which we can edit them for a specific page only. So let us analyze all possible aspects of Master Pages so that we can understand its working methodology.
How to create and use Master Pages in InDesign?
There is one master page by default on the Pages panel of this software and we can use it for creating master elements but if you want you can add a number of master pages as per the need of your design layout and for proper organization of your designed layout work. Today in this article I am going to tell you how you can work with the master page and add new master pages in InDesign.
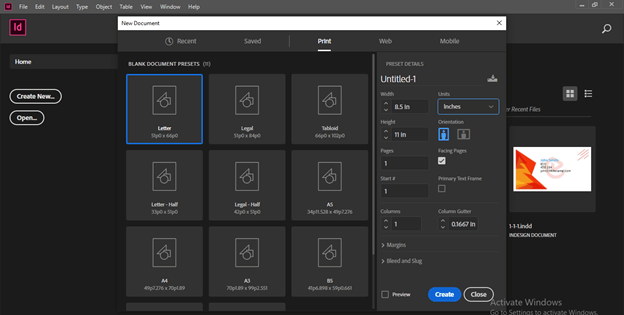
So first I will create a new document page of Letter size and for that, I will choose a Letter page size from this New Document dialog box.
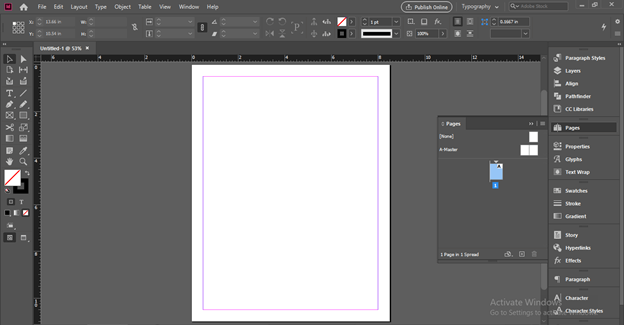
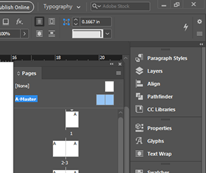
Here on the user screen of this software on the right side, we have different panels and in this section, you will find the Pages panel if the workspace is in Typography mode.
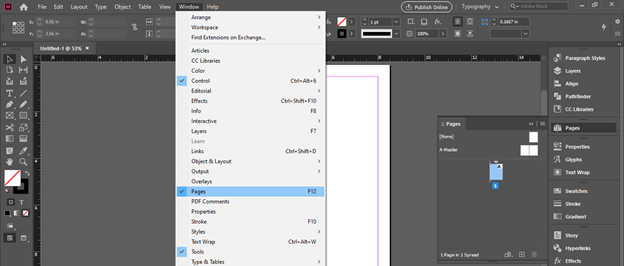
If there is no such panel, then don’t worry about it just go to the Window menu, and here in the scroll down list of it you will find the Pages option or you can press the F12 functional key of the keyboard to have this panel on your user screen of this software.
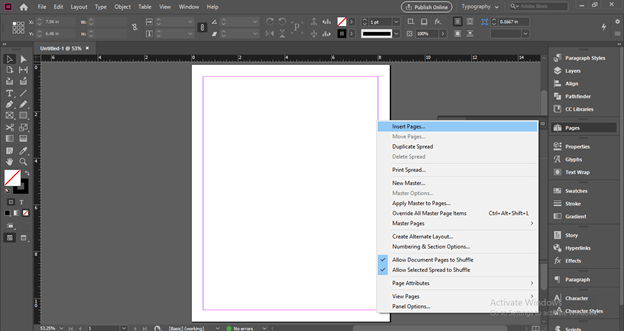
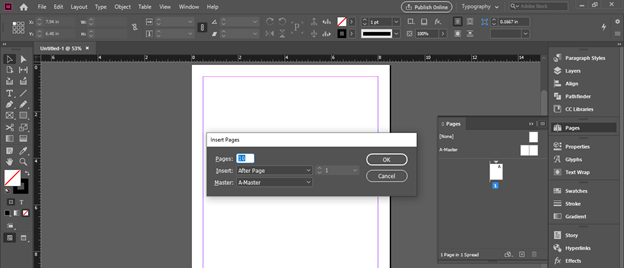
Let us first insert some page here in our document and for that click on the top right corner button of the Pages panel and click on the Insert Pages option of scroll down list.
I will insert 10 pages.
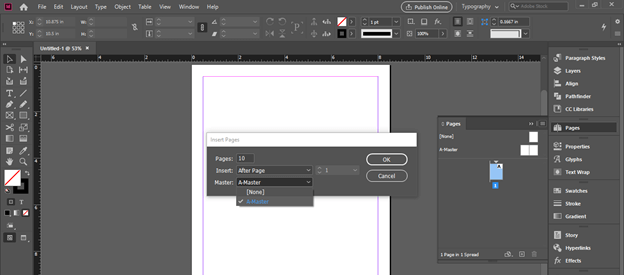
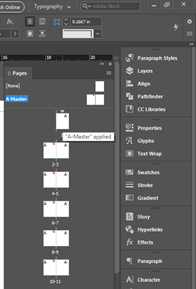
Here in this box, you can choose A-Master as the master page for inserted pages. I have currently only Master Page A so I will go with it.
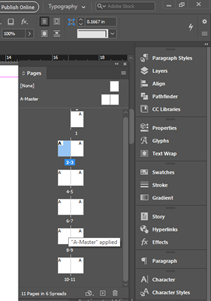
You can see all inserted pages have the letter A written on them which means all pages are linked with Master Page A.
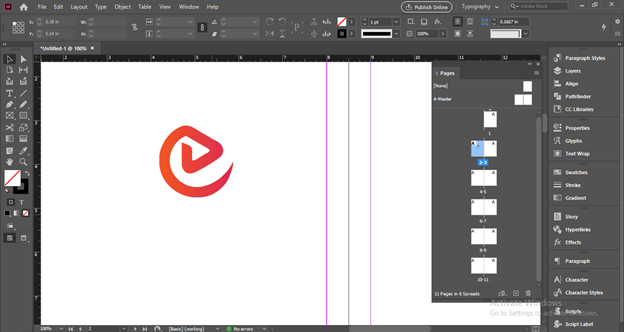
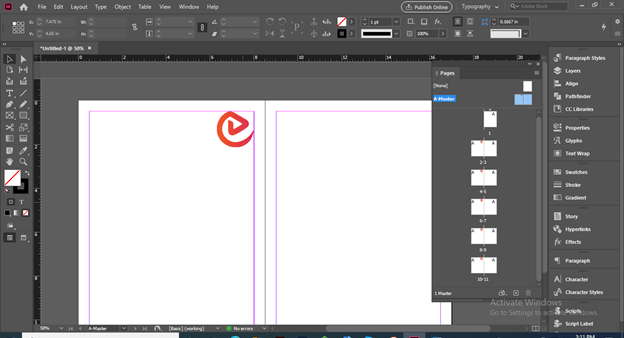
Let us have some content on any page of the document. I take this EDUCBA logo for this purpose and I want this on the all pages of this document.
So for having it on all pages go to the Pages panel and make double click on pages of A-Master for selecting it.
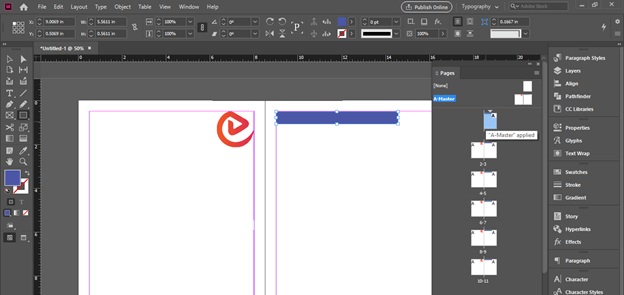
And now I will paste this logo on the left side page of A-Master and you can see when I paste it here it will automatically come on the other pages.
You can see it is not applied on the page 1. So let me tell you a reason for this.
I will first take a rectangle tool.
And create a rectangular shape on the top of the right side page of A-Master. Now you can see it is come on the page 1 also. So you should keep in mind that on which side of the page you want to use your desired element.
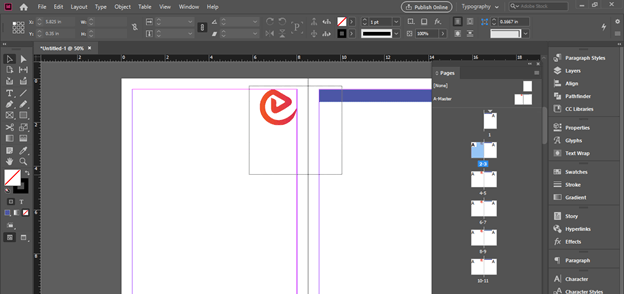
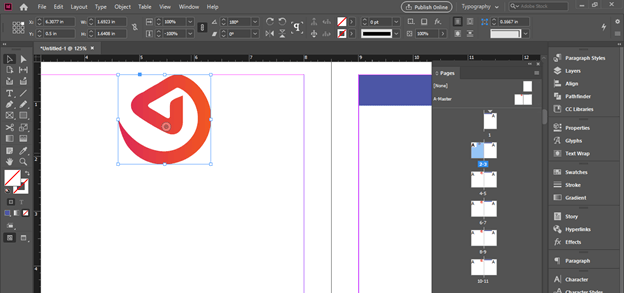
Now I am on page 2 and want to make some modifications to this logo but you can see I am unable to select it because it is an element of the master page and can edit only from the master page.
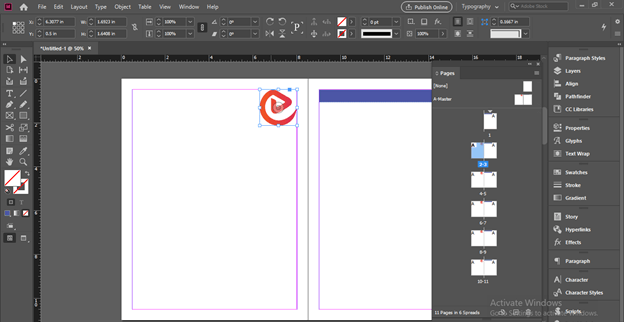
But there is one shortcut key through which we can modify this element only for the selected page. The shortcut is, hold Ctrl + Shift button on the keyboard and then make click on an element of the master page of your selected page. Once you make a click you will have a transform box around your object and now it is editable for this specific page.
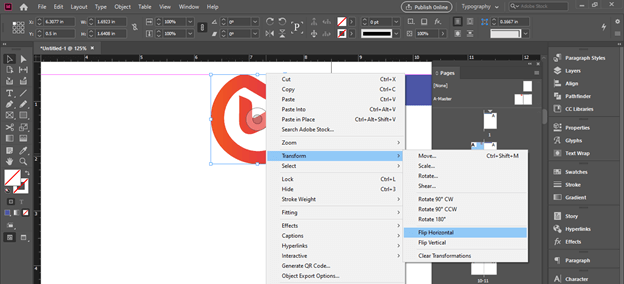
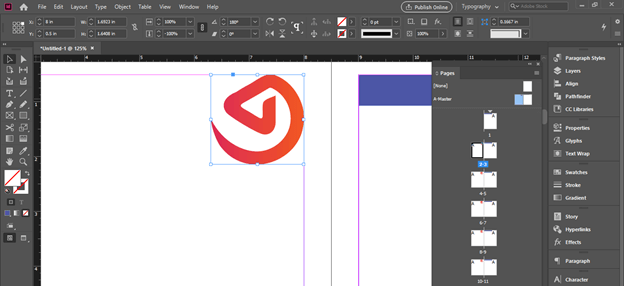
If I flip it horizontally.
Then you can see this change apply on the current page, not on all pages that have the master page elements.
If you are not satisfied with your editing and want to make it again master page element, then simply pick the master page that has this element from the master page layer and drop that on this page with the help of the mouse button.
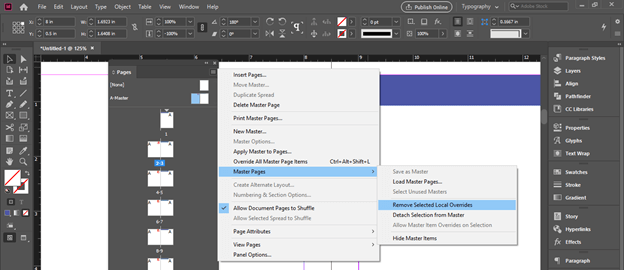
And it will again become a master page element. You can also retrieve all changes for the master element in one click and for that click on the top right corner button of the Pages panel. Go to the ‘Master Pages’ option of this list and choose ‘Remove Selected Local Overrides’
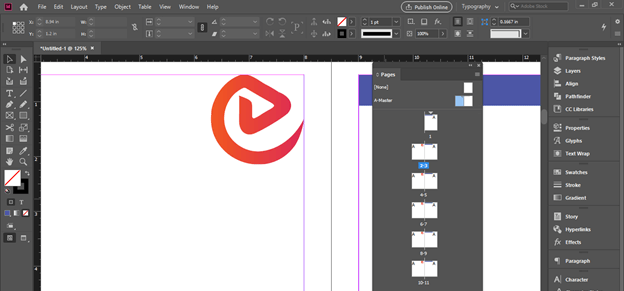
And all editing will remove from normal pages.
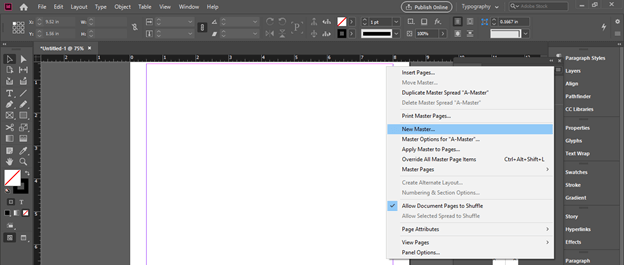
Not only one master page but you can also have more than it. For having one more master page click on the top right corner button of the Pages panel and from the list choose the ‘New Master’ option.
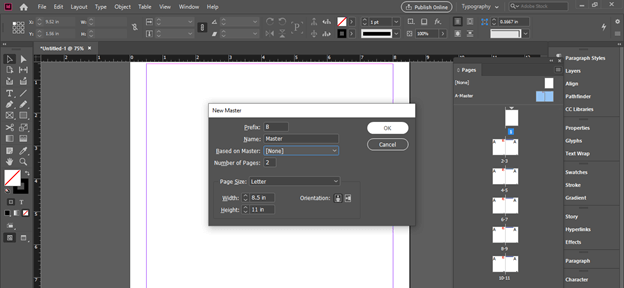
Once you click on it a New Master Page dialog box will come. Here you can name it according to you, set its size, and so on. For this time I will go with a default setting of this dialog box.
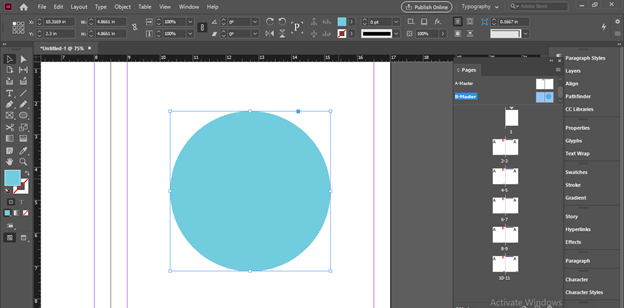
And we have a new master page here in the master pages section with the name B-Master. I will create a circle on it but you can see it is applied on the pages of the document.
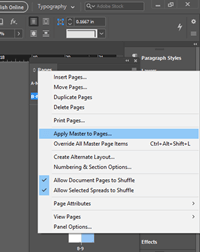
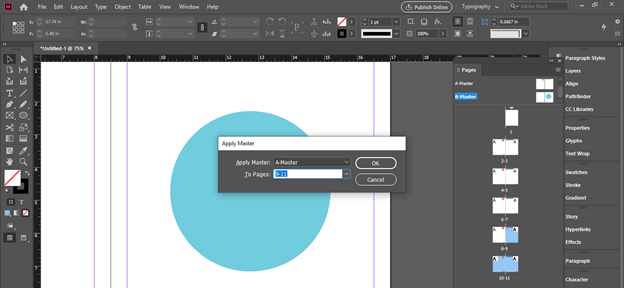
To apply this element you have to link pages with B-Master. For that select pages which you want to link with B-Master and make right click then choose ‘Apply Master to Pages’ option.
An Apply Master dialog box will open and it shows you the number of selected pages.
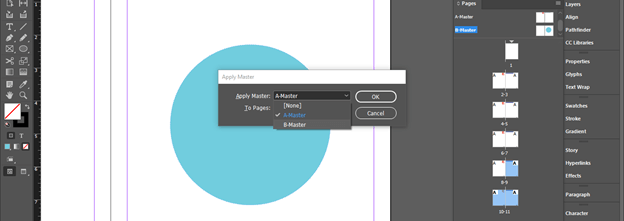
Here from the apply master list choose the B-Master option then click on the Ok button.
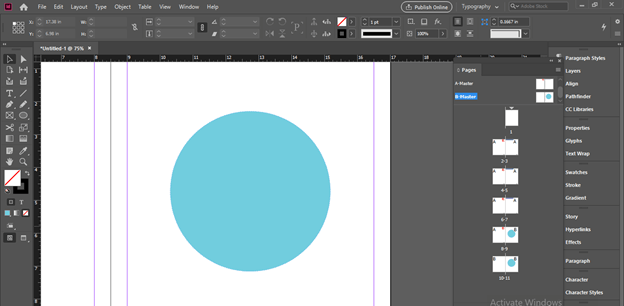
Now this element will be on our selected pages.
Conclusion
This way you can create a number of master pages and assign them to different pages of documents for having a good organization of several elements of your designed layout. You can explore other parameters of Master page sections for having more understanding as well as more command on it.
Recommended Articles
This is a guide to InDesign master pages. Here we discuss How to create and use Master Pages in InDesign step by step in detail. You may also have a look at the following articles to learn more –
