Introduction to InDesign Missing Fonts
InDesign missing fonts can understand as the typeface of any particular font that is not installed in our InDesign software during working on any specific document. This document may be our own designed document or we have been taken from any other source. So when we open those documents there may be many chances that we have not installed some of the fonts that are used in our opened document and that is the reason InDesign shows us messages for missing fonts. It is up to you that you want to resolve missing fonts at the time of start working on opened document or you can do it later.
Overviews InDesign Missing fonts
Today I am going to tell you how you can find missing fonts in your document but before that let us have a quick discussion about missing fonts. There may be many reasons for missing fonts in your document such as may be you have updated your operating system to another operating system, you are using an external document, and so on.
How to find InDesign missing fonts?
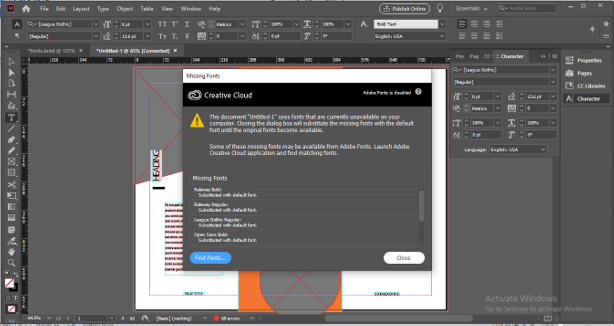
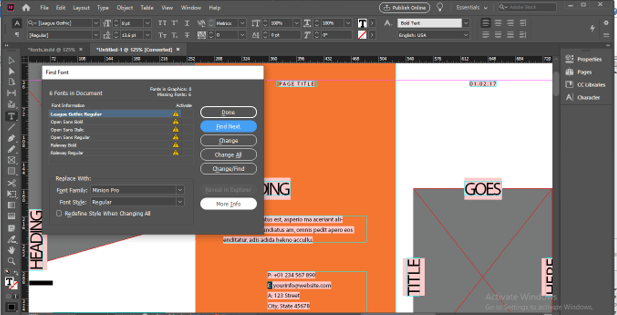
Now let me tell you all the important facts about missing fonts. Here I have been downloaded a template design from the Adobe collection and when I opened it you can see it is showing me a message box that contains a list of missing fonts. You can use your own document for learning about this topic.
If you want to find missing fonts in your document, then you can click on the Find Fonts button of this message box or if you want to do it later then click on the Close button of it.
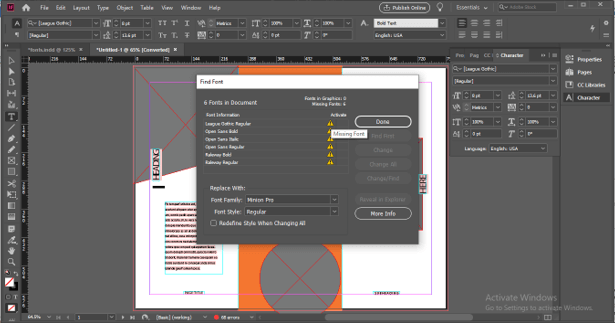
During working on the document if you want to find missing fonts at any time then you can go to the Type menu of the menu bar which at the top of the working screen and go with the Find Font option of the drop-down list. You can see there is no shortcut key defined for this option so if you want you can create your own shortcut key for this option.
Once you choose this option you will have the same dialog box of missing font that we have at the time of opening of the document.
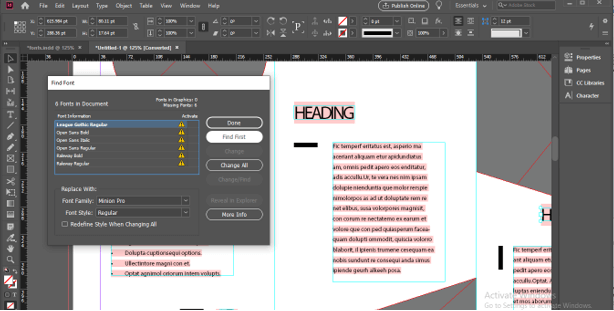
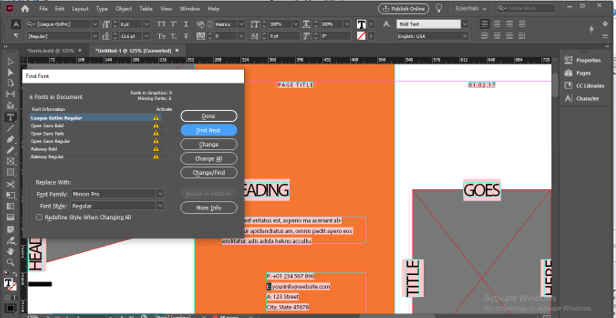
There may be one or a number of fonts that are missing in your document so select that one which you want to find in your document first then click on the Find Font button option of this dialog box. You will find this button on the right side of this dialog box.
And it will highlight in your document where it was used the first time. Here letter ‘t’ is highlighted with a black mark and it shows that our selected missing font is used on this letter. Now if you want to find the next word in missing font then click on Find Next button. You can do it many times.
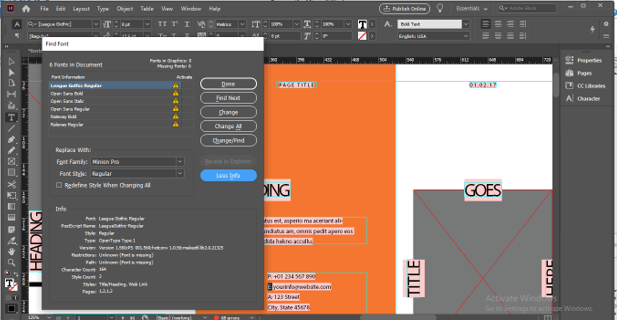
Here we have the More Info button at the bottom right corner of this dialog box. So click on it.
Once you click on it you will have details of selected missing fonts at the bottom section of this dialog box and from these details, you can get an idea about how many times this font is used in the current document, how many styles of this font is used and so on.
InDesign missing fonts Error
Sometimes there may be an error shown about missing font after installing a file of that font so we need to fix it by downloading its fresh installation file from another source. So let me give you an overview of this that how you can overcome this problem.
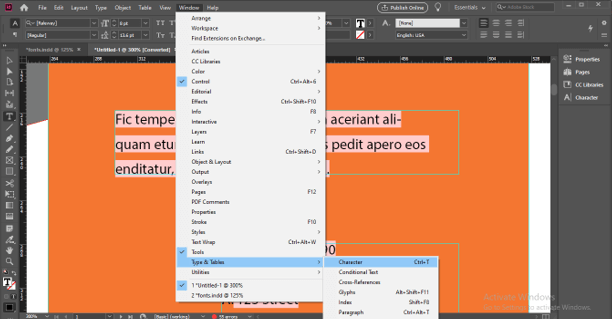
First, go to the Character panel of this software which you can find in the new drop-down list of the Type & Tables option of the Window menu or you can press Ctrl + T as its shortcut key. From this panel get information about the name of the missing font.
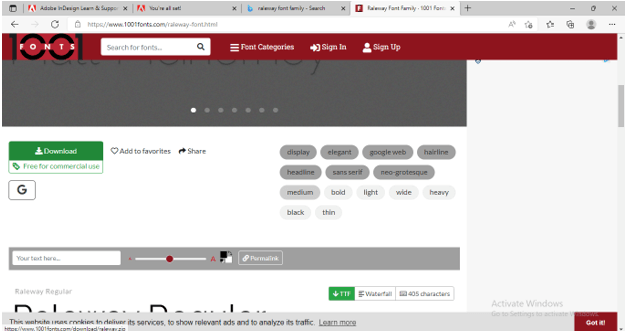
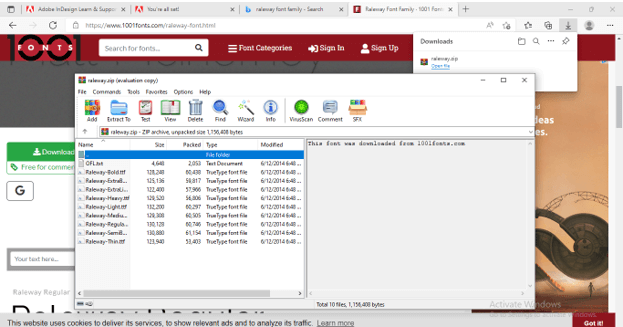
And navigate it on any browser. I have found this website useful for the missing font. You can go with any of your desired ones. I will download it by clicking on the download button of my desired font.
Once you download it you will have a zip file so unzip it and open its folder then make double click on the installation file. There are many styles of Raleway typeface in its folder. You can install all styles one by one.
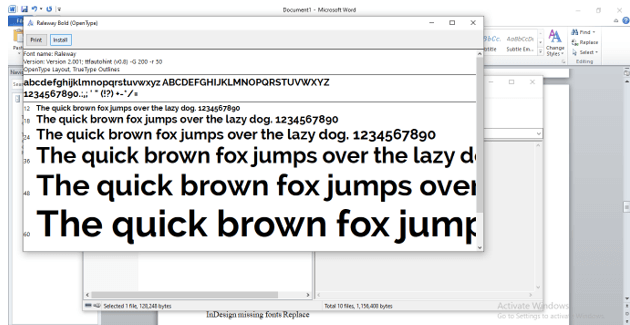
For installing any style just double-click on its installation file and you will have this dialog box. Click on the Install button of it and in a few seconds your font will install.
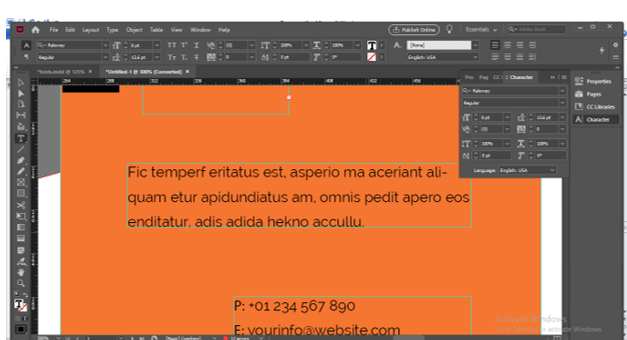
Now jump into InDesign and it will automatically remove the error highlight for missing font.
InDesign missing fonts Replace
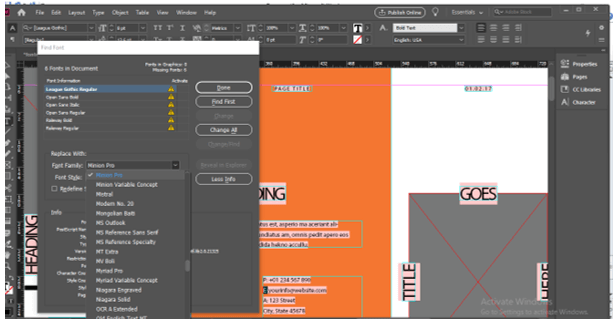
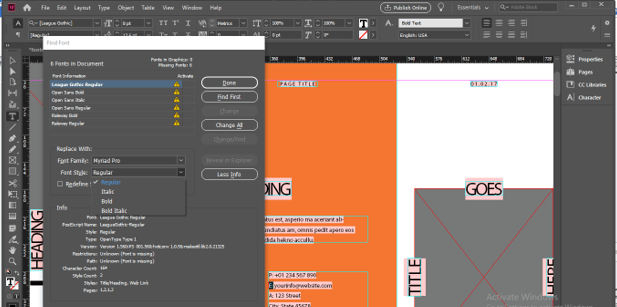
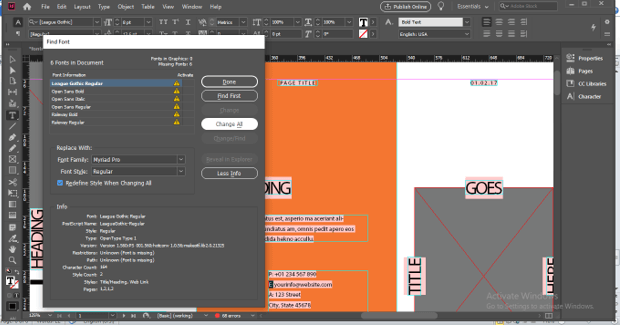
If you want to replace the missing font with another desired font then you can do it also in this software. For doing this again open the Find Font option from the Type menu and then select the font which you want to replace. After selecting the missing font to go to Replace With a section of this dialog box and click on the drop-down button of Font Family option. You can choose your desired font from the drop-down list.
You can also specify the font style to choose typeface of the font.
Now click on Change All button of this dialog box for replacing the selected missing font with the chosen font.
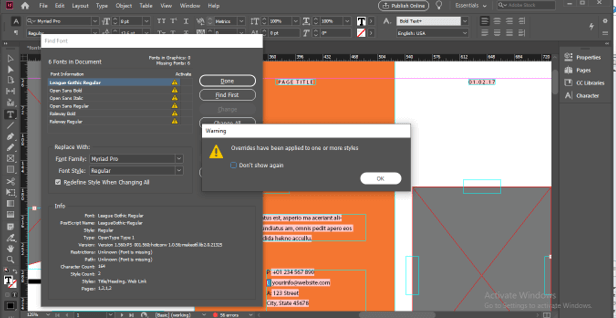
It will show a message that your chosen font will apply to all styles so click on the Ok button of this dialog box.
Once you replace the missing font it will be removed from the list of a missing fonts. You can do it for other fonts too.
This way you can work with missing fonts of InDesign and resolve issues related to it at any time of your work.
Conclusion
I am sure missing fonts in InDesign will no more an unknown feature for you after going through this article. Now you can easily find missing fonts in your document as well as replace them with your desired font from the Adobe font collection. If you want you can also install external fonts for using them in your document.
Recommended Articles
This is a guide to InDesign Missing Fonts. Here we discuss the Introduction, overviews, How to find InDesign missing fonts, InDesign missing fonts Error. You may also have a look at the following articles to learn more –

