Introduction to InDesign Paragraph styles
InDesign Paragraph styles can understand stand as making parametrical adjustments in the style of paragraphs of text content and we have a whole paragraph style panel separately in this software. This panel has many different types of features that helps us do our typesetting work very quickly and we need not apply our desired styles to each and every part of paragraphs or text content after making settings for Paragraphs panel. It works on several layers of style for each type of text paragraph content and helps us understand different attributes of paragraphs style. So today we are going to learn some of the effective techniques from this paragraph’s style panel.
How do Paragraph Styles work in InDesign?
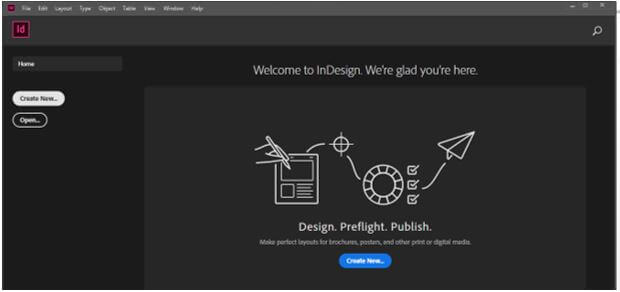
Working with Paragraph styles in InDesign is a very good feature and after taking it into our use we can organized text content very easily as well as in a professional manner. So let me explain to you about the Paragraph Styles panel of this software. For this purpose, I will first take a new document page and for that, I will click on Create New button of the welcome screen of InDesign.
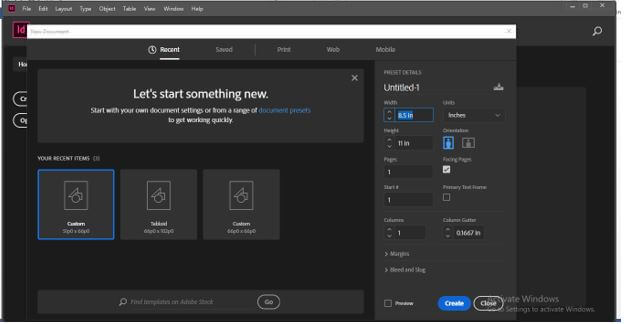
I will take the default custom size of the document page from this New document dialog box and click on Create button.
Now I will take the Type tool from the tool panel or you can press T as a shortcut key of it.

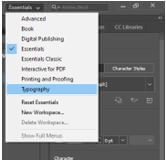
Now I will change the workspace into the Typography mode by choosing the Typography option from the workspace type. I am changing to this mode for having all required text formatting panels on the top of the working screen. You can work with any workspace with which you are comfortable.
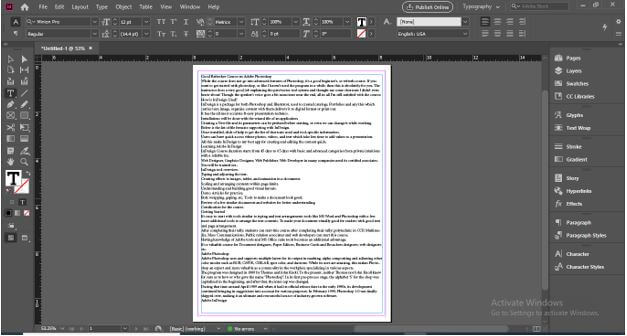
And I will paste some text content in the drawn text box.
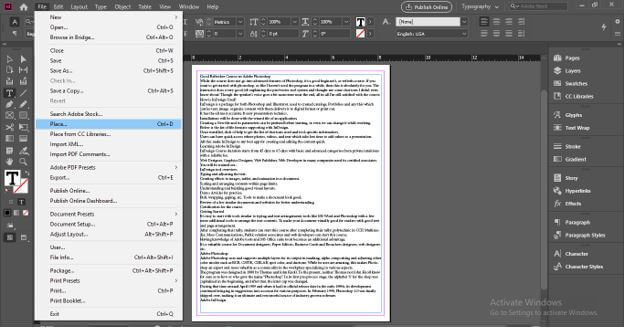
You can also go to the Place option of the drop-down list of File menu for placing text into the text box and the shortcut key of Place option is Ctrl + D button of the keyboard.
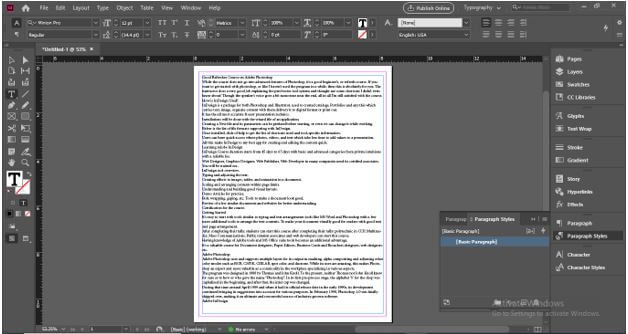
You will have a Paragraph style box at the right side of the working screen in this Typography workspace layout.
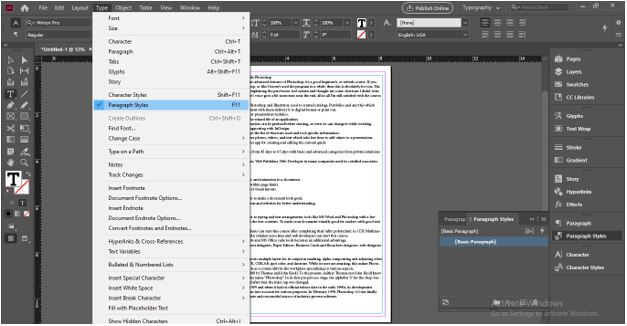
If there is no such panel in your working screen then you can have it from the drop-down list of Type menu of the menu bar or you can simply press the F11 functional key of the keyboard for having it on the working screen.
At the top of this working screen, you will find Character formatting controls.
And just below it, there are Paragraph Formatting Controls and we are going to use both of them during working with the Paragraph style panel.
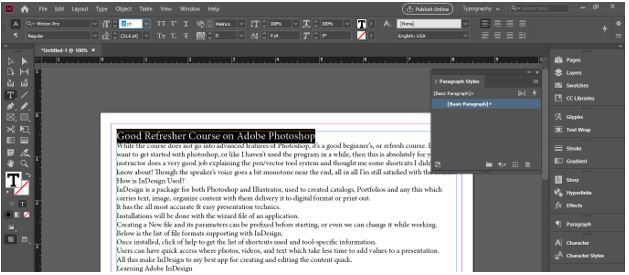
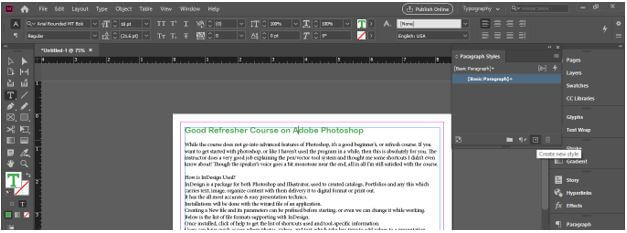
Now I will select the first line of this content for making it as Heading of this textual content and increase its size from the font size option of the Character formatting bar.
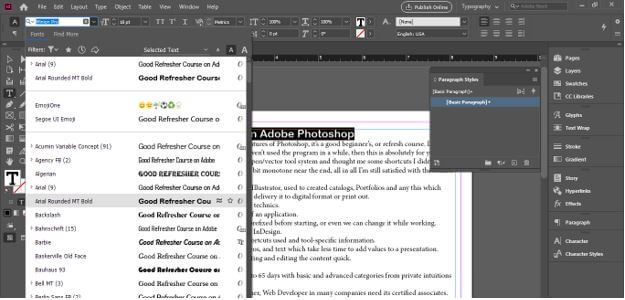
I will also change its font style from this list.
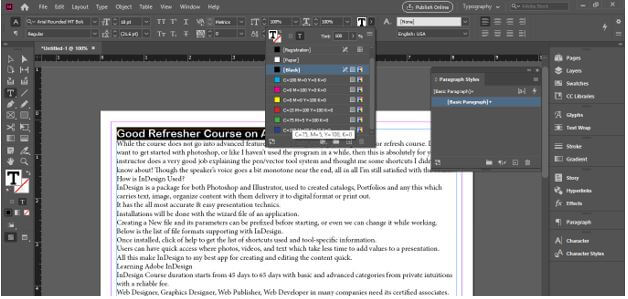
Now I will change its color to green from this color text box.
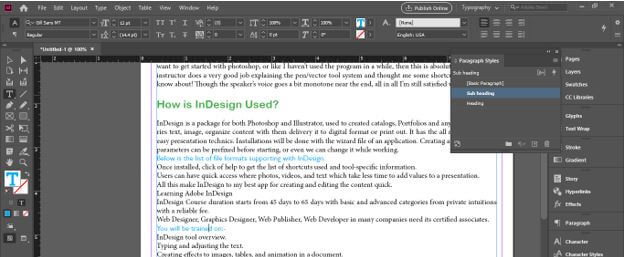
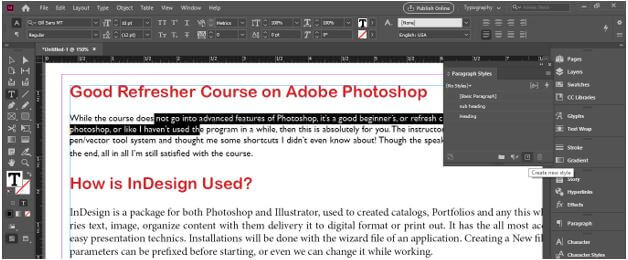
Now come to the Paragraph style box and click on Create New style button of this box which is at the bottom of this box. Make sure text is selected and you need not select the whole line of this paragraph just the blinking cursor of the text tool should be there.
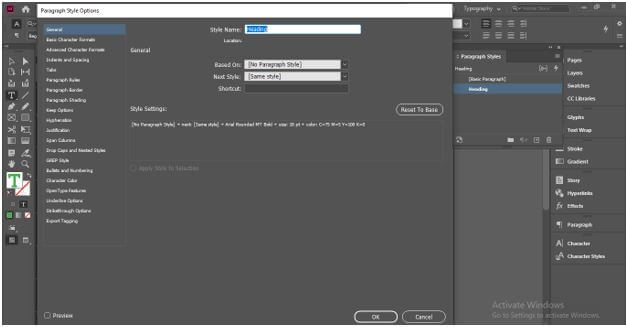
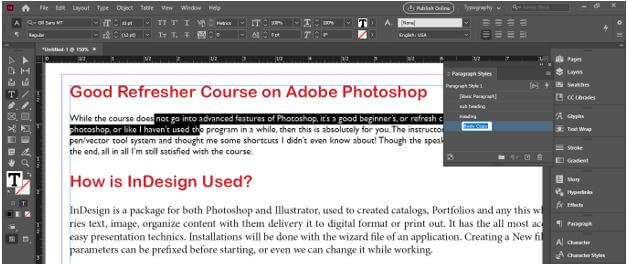
Now I will make double-click on the name of this layer and name it as Heading.
When you make double-click on this style layer it will show you paragraph formattings that your selected paragraph has currently.
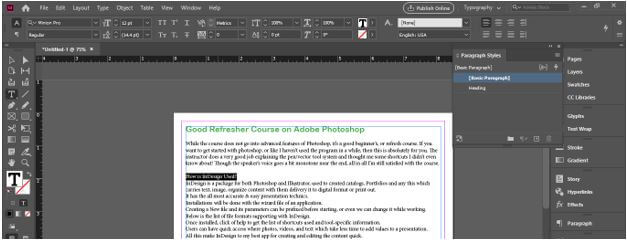
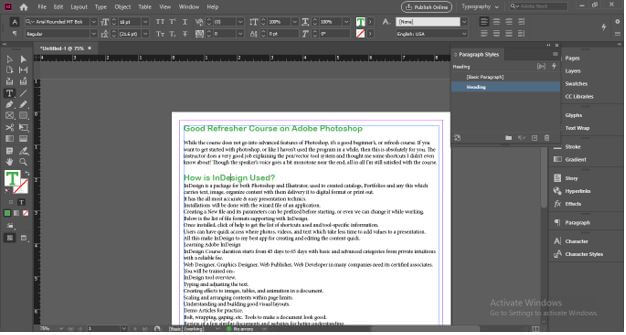
Now the magic of this paragraph style panel is if you want to apply the same formatting to the other heading of text content then you can do it in just one click. So select that paragraph which you want to make heading with the same formatting or you can just place the blinking cursor there.
And click on the layer style of the previous heading in the paragraph style box. In my case, I will click on the Heading layer and it will apply all the same formatting with the selected paragraphs also.
Same as we can make a subheading layer and apply it to two or more subheadings.
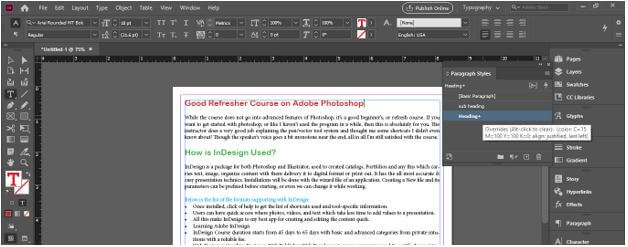
Now I want to do some other formatting in the Heading of this text content so let us see how we can apply this changed formatting to all same type of headings? I will select this paragraph.
And changes its color to red.
And you can see when we make any change to a particular paragraph style there will be plus sign into its layer that shows this particular layer has some other formatting.
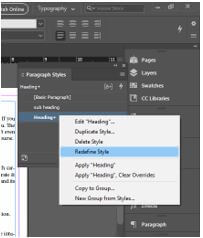
And for apply this to all same types of heading just make right-click on this layer and click on Redefine style option.
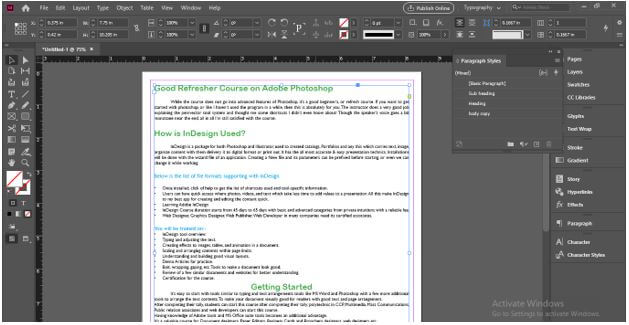
And all the same types of heading will update automatically with changed formattings.
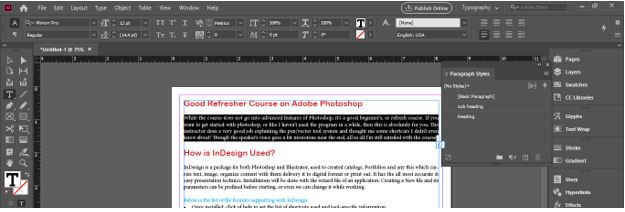
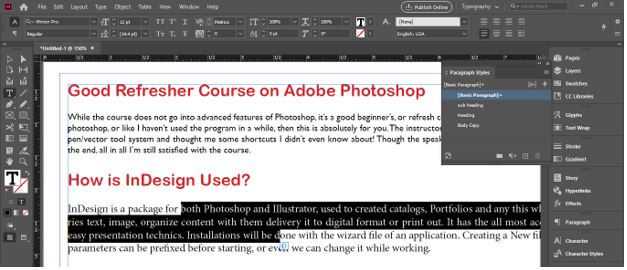
Let us make a body copy style and for that, I will select this paragraph.
And change its font style.
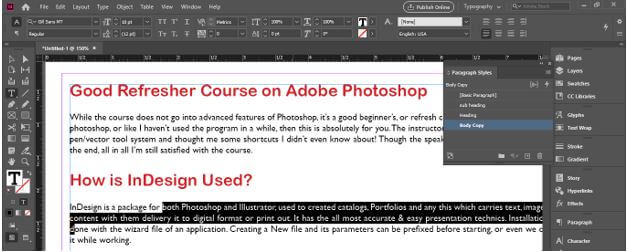
And create a new style layer for it also.
I will name it Body Copy.
And apply it to another paragraph same as we do in the heading case.
And it changes according to body copy formatting.
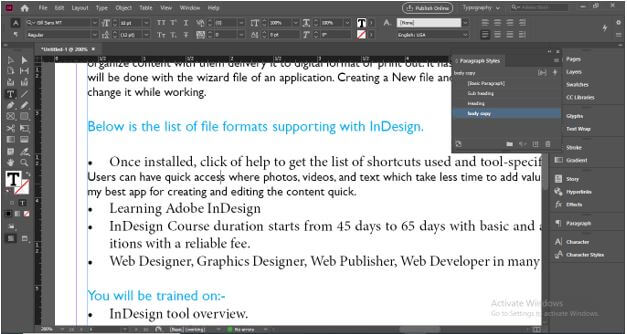
But when I apply it to the bullet point of the paragraph then you can see it changes only one line and removes bullet point because there was no bullet style in our body copy and it changes only one line of all bullet point paragraph because one line of bullet point is whole paragraph itself.
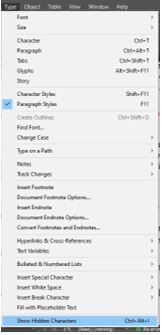
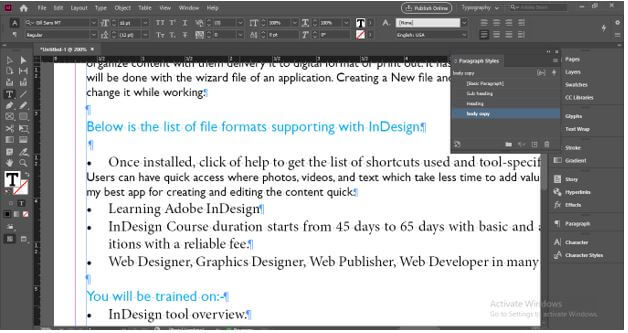
You can check the paragraph by enabling the ‘Show Hidden Characters’ option from the drop-down list of the Type menu or you can simply press Ctrl + Atl + I as its shortcut.
And this symbol shows that the paragraph ends here.
And with the help of a Paragraph style box, we can do effective formatting settings for our text content like this.
Conclusion
I am sure now you can start using the Paragraph Style box for making different types of paragraph formatting in your InDesign project work. With the Paragraph Style panel you can do more work in less time and also can get rid from apply your desired formatting to each and every paragraph again and again.
Recommended Articles
This is a guide to InDesign paragraph styles. Here we discuss how to work with paragraph styles in InDesign step by step in detail in detail. You may also have a look at the following articles to learn more –
