Introduction to InDesign reset preferences
InDesign Reset Preferences helps us for settings different parameters of the user interface in this software according to our requirement and by settings the parameters of different options of Preferences panel of this software we can set user interface and its feature that makes our work smooth according to our requirement. InDesign offers us a whole panel of Preference under the Edit menu of the menu bar with a number of options that deal with several settings of the User interface of this software. Generally we change few of the parameters of these options and leave rest options as default because that default parameters are good enough to give effective result.
How to Reset Preferences in InDesign?
Many times we need to reset preferences parameters for having working environment of this software according to our suitability. So today I am going to tell you how you can reset some of the parameters of this panel.
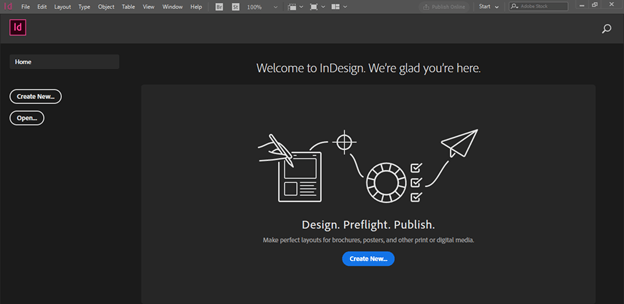
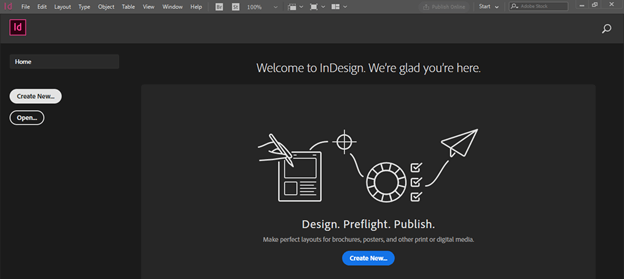
This is the welcome screen of this software.
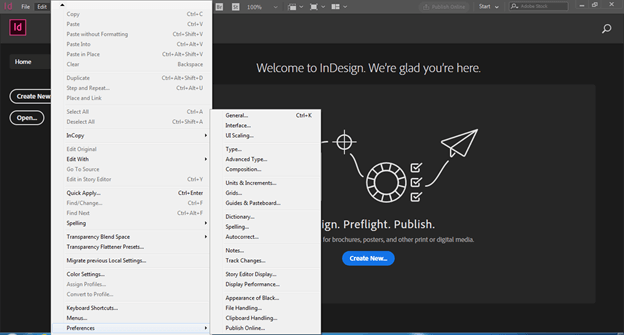
And there is a menu bar at the top of this user screen of InDesign. So I will click on the Edit menu for having its scroll-down list. At the bottom of this list, we have the Preferences option and once we go to this option we have a list of options that we will find in the panel. You can click on any of the options listed here for having the Preference panel at your working screen or press Ctrl + K on the keyboard.
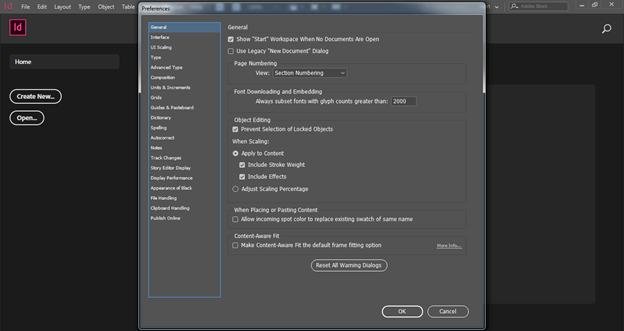
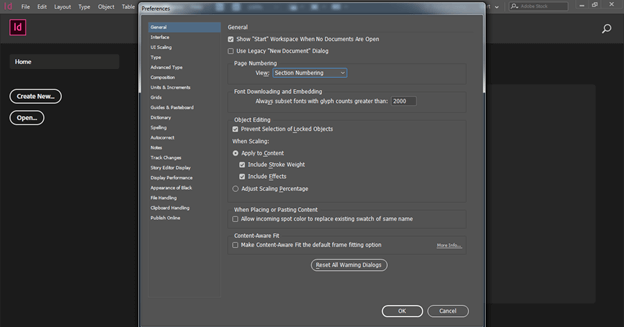
Once we click on any option we will have this Preferences panel. You can see there is the same list in this panel that was in the Edit menu under Preferences.
Generally, we need not to make any changes in the parameters and settings of the General option so I will leave it as it is.
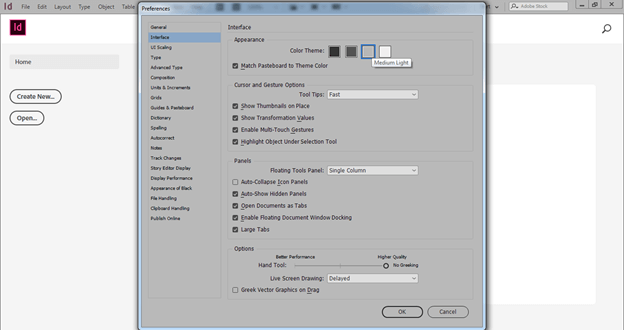
Now come to Interface settings and parameters by clicking on this option. Here in this option we can change the theme of user interface such as by default it is in dark grey color and we can change it other three-color theme that are given here. Once we click on any theme you will notice the color of the interface will change automatically. For example if I will choose this Medium-light theme then the color of my user interface has changed like this.
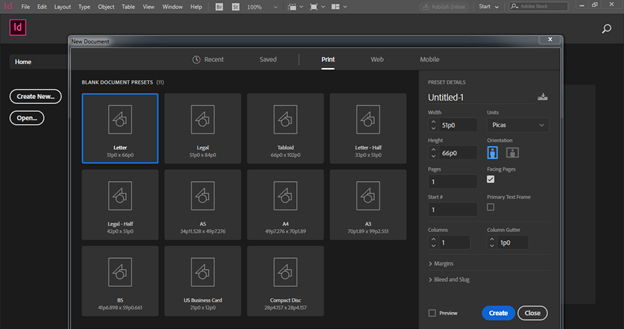
Now for explaining about other settings of this option I will create a document and for that purpose I will click on Create new button of the welcome screen of this software.
And I will go with the default setting.
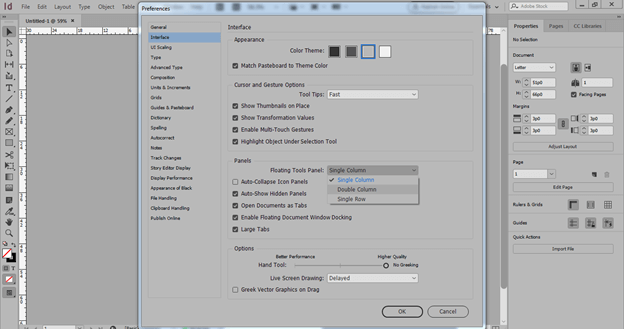
Here is the setting for the Floating tool panel and there is some option under it. If we select the Double column option and hit on the Ok button.
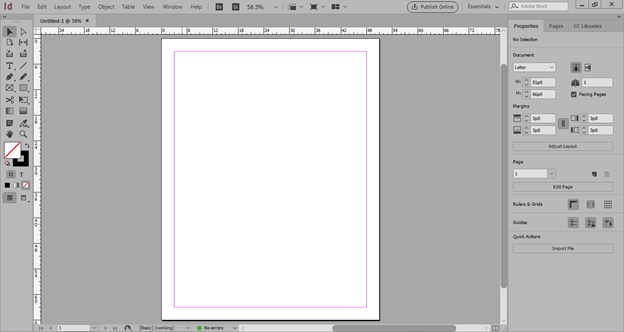
Then you can notice that the tool panel has its entire tool arranged in two columns.
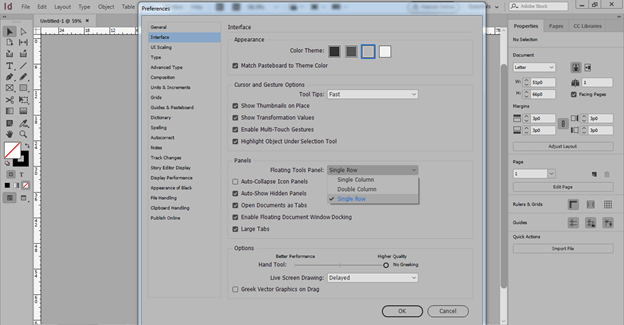
Now let us see what will happen if we choose the Single Row option from this list.
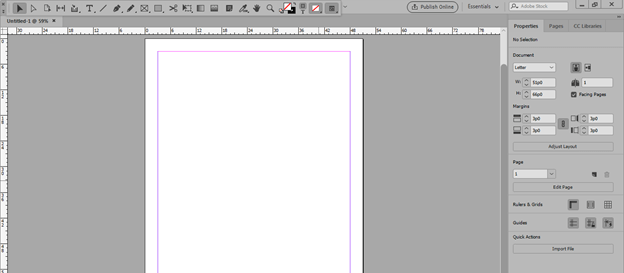
You can see the tool panel shifted on the top of the user interface. So according to your suitability, you can set it on the user screen.
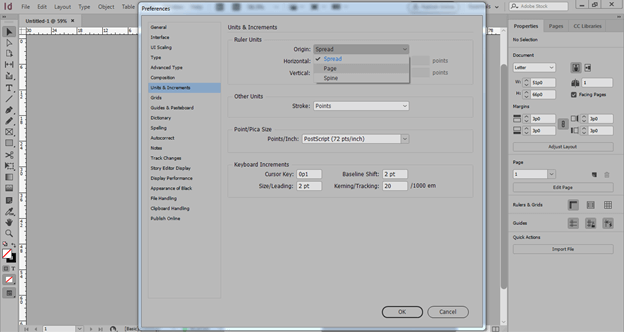
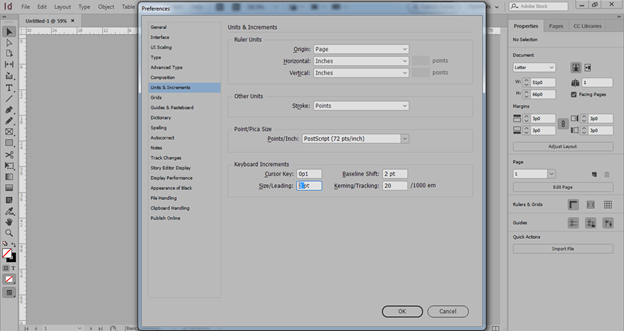
The next option about which I would like to tell you is Units & Increments. We set units according to our project requirements. There is an Origin option in Ruler units that mean from where ruler scale units will start. If we choose Spread then it will spread on the whole document area but if you have two pages on your document that is left and right side page then you can choose Page option so that you will have ruler on both side separately.
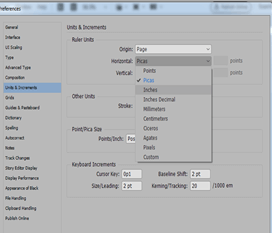
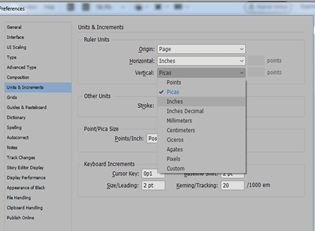
We can set units for horizontal as well as a vertical scale from here also.
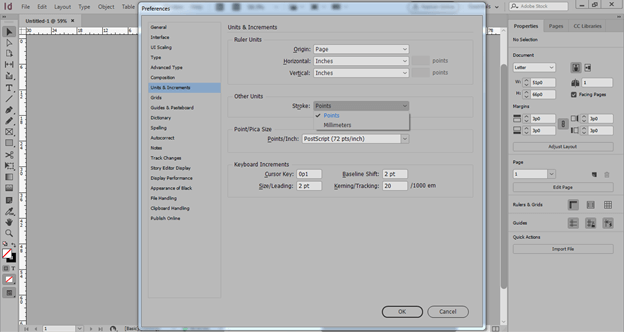
You can choose the unit of stroke width. I will suggest you go with the points unit for stroke or go with the default setting for it. There are many more parameters here in this option that you can change as per your requirement.
You can also change Leading value in context of text from here that means if we change leading value with shortcut key then how much points will it jump for changing its value. Here you can it is 2 point that means when we change leading of text then it will jump automatically 2 points.
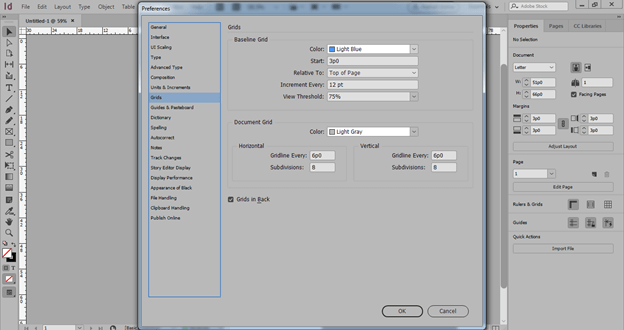
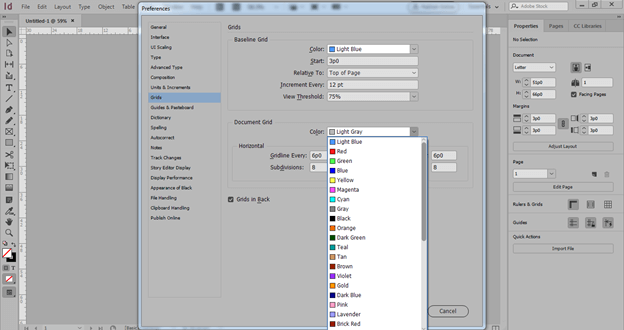
Next is Grids which we use for proper alignment of text content as well as images. So there is a number of settings in this option also.
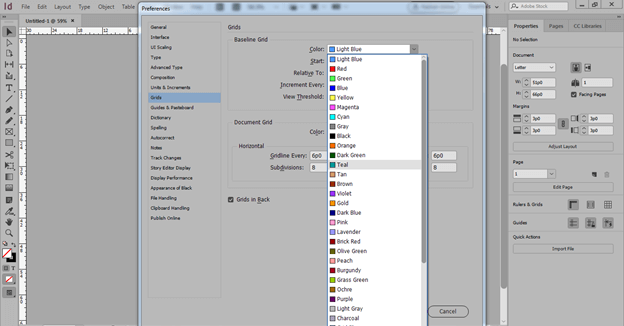
You can change the color of lines of grids.
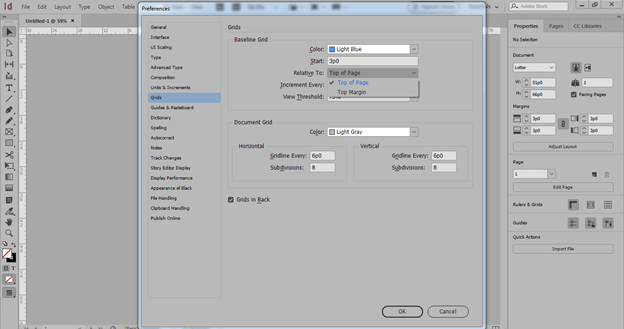
You can choose from where the gird starts that mean it will align with top of the page or top of the margin of document page.
We have two types of gird in this software so we can make changes in Document gird also like its color, and other parameters.
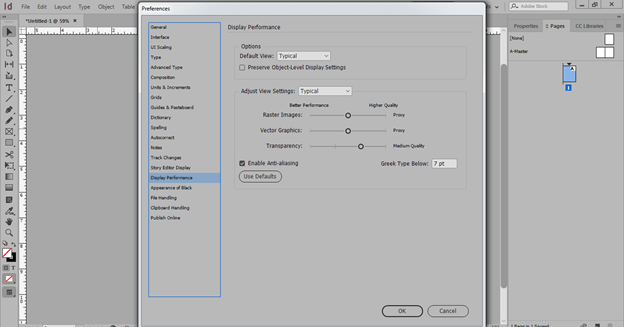
Although we have a number of options here in the Preferences panel the one more option about which I want to tell you is Display Performance. It is important because it adjust the settings of display of raster as well as vector image which we take from any external sources.
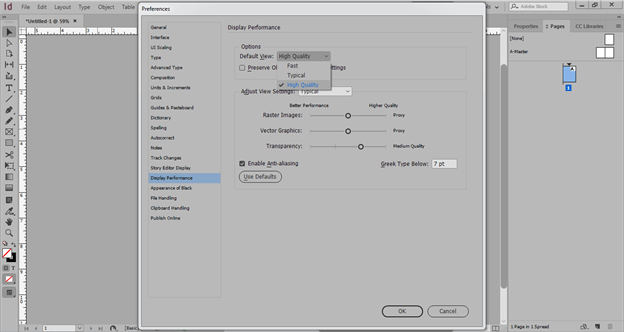
When we place any image into this software by default I will display with pixelated quality because in this Display performance option we have default view setting as Typical but we should choose High Quality option from this list so that it will display original pixels of image when we placed it.
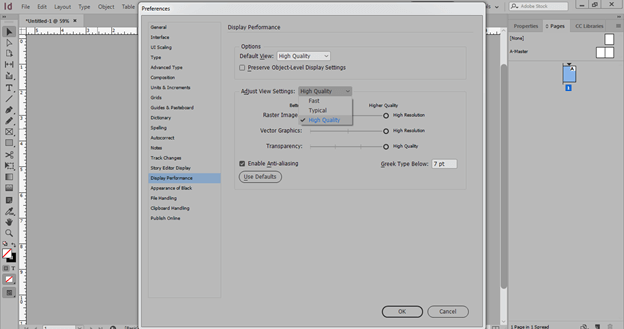
Not only Default View option but we should also choose High Quality in Adjust View Settings option so that we can see original image quality in view mode also.
So these were some important information about how to reset Preferences in InDesign and it totally depends on your work that which type of changes you want to make in Preferences parameters.
Conclusion
Now after this article you can make settings for your own workspace with your desired features of the users interface of this software. I will suggest you to go with default settings for some of the options of Preferences panel because all of them are in highly required settings that can give you your desired result.
Recommended Articles
This is a guide to InDesign reset preferences. Here we discuss how you can make settings for your own workspace with your desired features of the users interface of this software. You may also have a look at the following articles to learn more –
