Introduction to InDesign resume template
InDesing Resume Template is one of the document design which we can do in InDesign very smoothly because there are lots of design elements as well as tools with the help of which we can create a resume template for different professionals. Resume template differes according to profile of any professional and each resume has its own theme to represent identity of that professional person and its working area in the that market. So here I will give you can idea about how you can use different elements for designing Resume template in this software.
If you are a newbie and aren’t comfortable enough to custom-create a resume, you can skip using ready-made, well-crafted professional resume templates. You can pick one that matches your job role, fill in the right information, and your resume will be ready in less than a few minutes! However, if you want to stand out and add your own mark to the design of the resume, follow the steps below.
How to create Resume templates in InDesign?
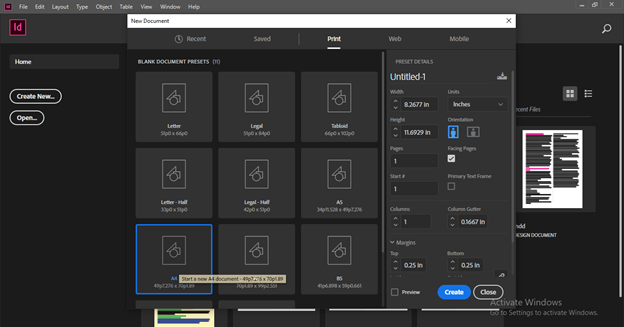
For creating a resume tamplete in this software we first analyze that the resume template which we are going to desing is related to what type of professional person and what is its working area. Here i will create a resume template for a Graphics Designer. So let us take a A4 size doucment page which is generally common page size for resume template.
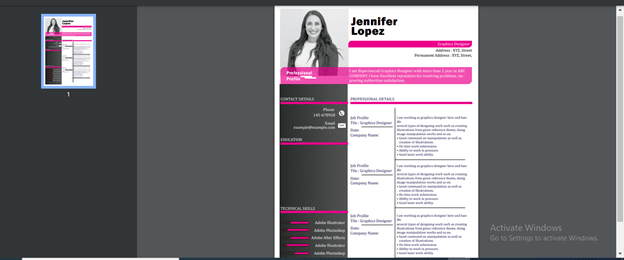
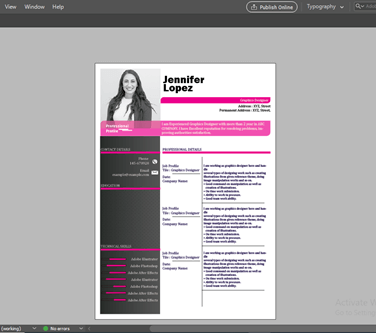
This is the resume template which we are going to design.
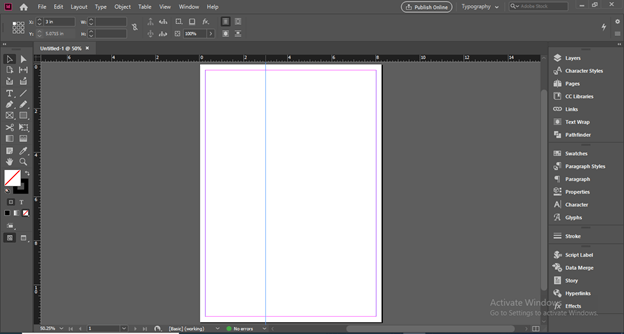
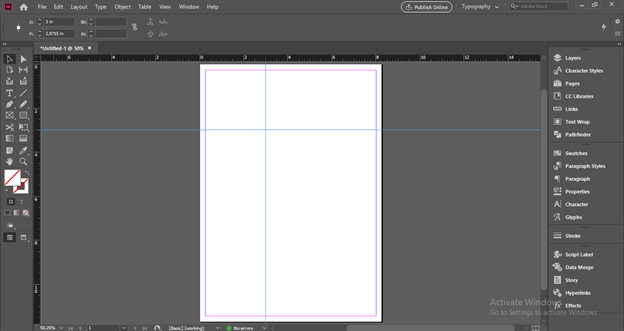
Now I will first divide sections for different purpose. I will drag a vertical ruler and set it at the 2.5 on ruler scale.
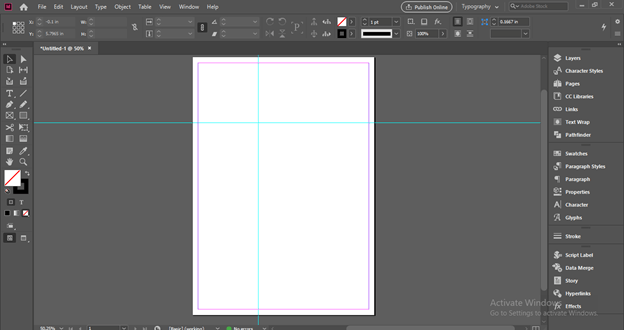
I do the same for horizontal ruler.
Now I have some sections in which I can adjust different design elements as well as text content of this resume.
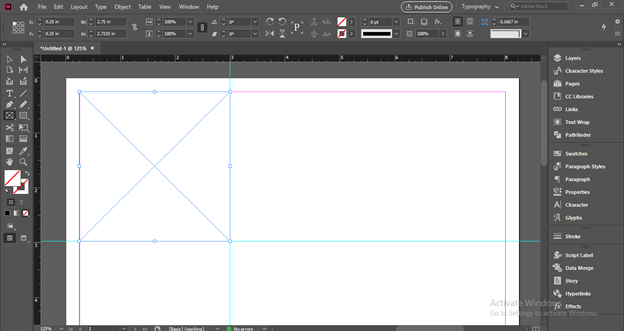
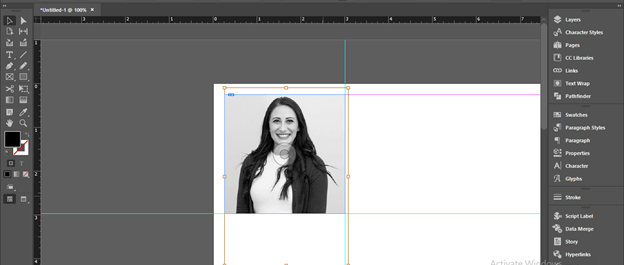
Now I will take Frame tool from tool panel and draw a frame here like this. This section is for placing your profile photograph here. You can take a photo of yours that represents your professional personality.
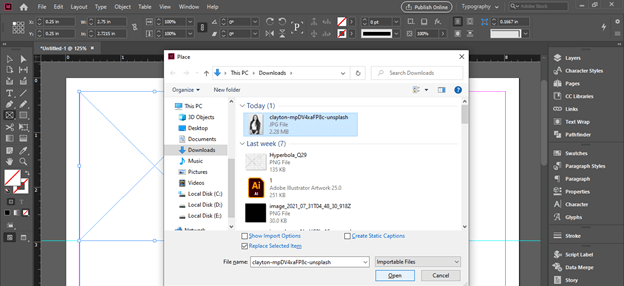
For placing a photo go to File menu and click on Place option of scroll down list or you can press Ctrl + D as its shortcut key.
Choose your photo from its saved location. I have downloaded a professionally looked women photo from unsplash.com.
Now I will adjust it like this. You can adjust your photo in that way which represents you perfectly.
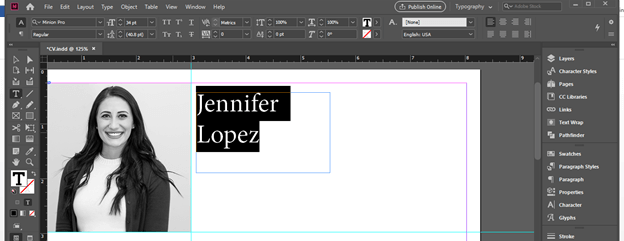
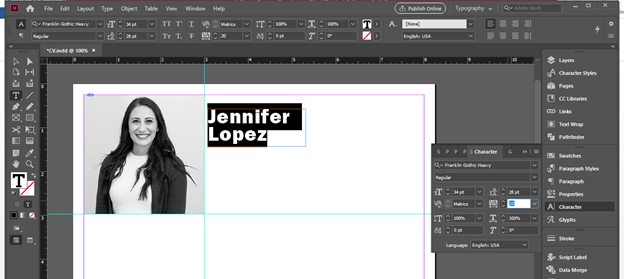
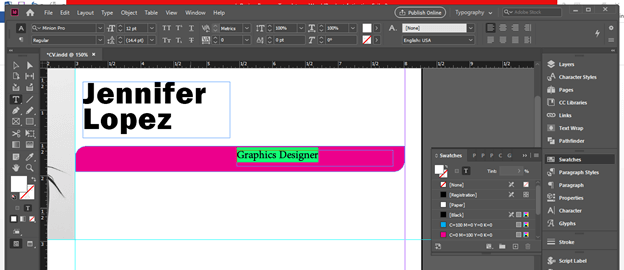
Now I will take Type tool from tool panel and draw a text frame here. Type your professional name here. I will type this name.
And increase its font size for giving it heavy look.
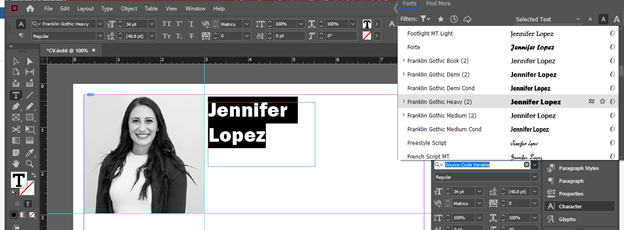
I will choose this nice font for have effective look of name. You can choose any of the font which you consider as good font for this purpose.
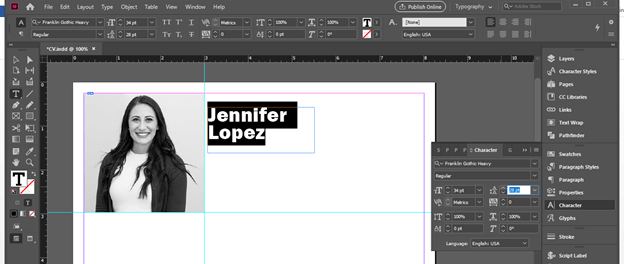
I think the leading (space between lines) should be little bit less. So I will change it from the Leading option of the Character panel.
I will also change tracking (space between letters) value for having some gaps between letters.
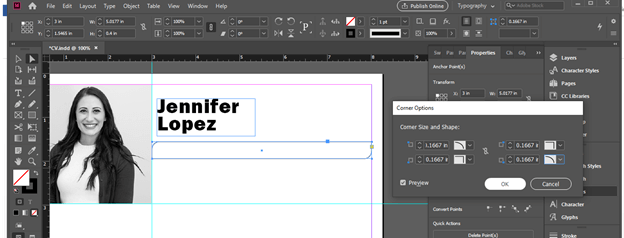
Now I will take rectangle tool and create a rectangle then make its two corners rounded like this.
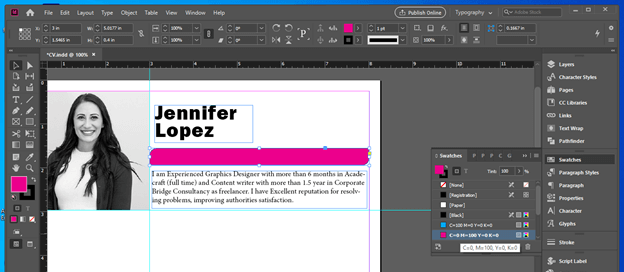
I will go to Swatches panel and choose this color for this rectangular shape.
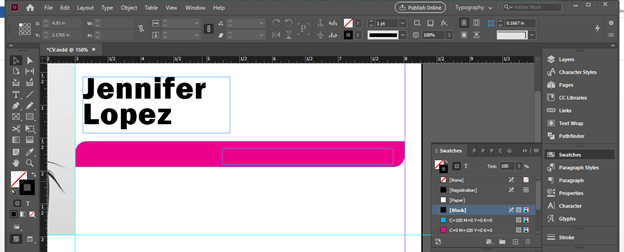
I will off the stroke of this shape and draw a text frame gain here on top of it.
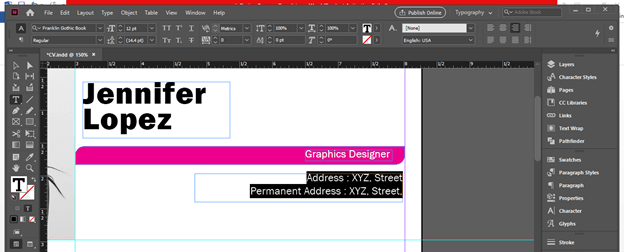
Here you can mention designation of your professional work. I am creating a resume for graphics designer so I will type designation as Graphics Designer and changes its color to white. You must create a good contrast between text and background.
Now add address details here.
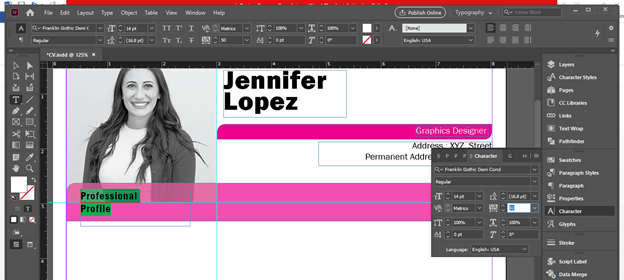
Now I will add some other elements like this using rectangle tool and I have down the opacity of this shape. Then I have added a heading for Professional Profile. This is the next section which describes your profile thoroughly.
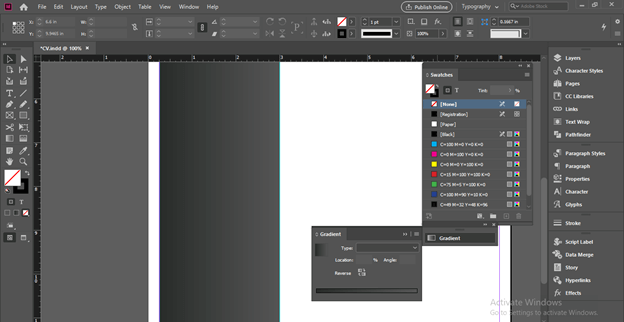
Below this I will create a rectangle again and add a gradient color to it. I am creating these shapes just for showing you that you can use any type of design element for making your resume design layout effective.
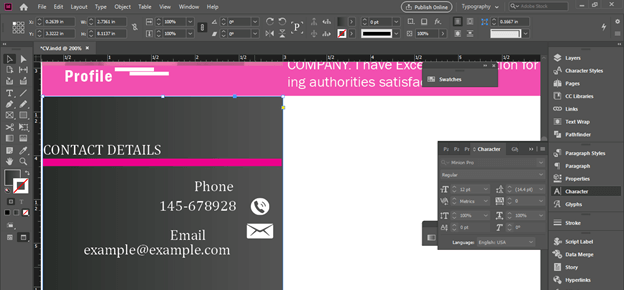
Now starts describing you details. I will start from contact details. You can add some icons also with the specific terms in this details. Like I have placed two icons here such as one for Phone Number and other for Email Address. You can see this is not perfectly align.
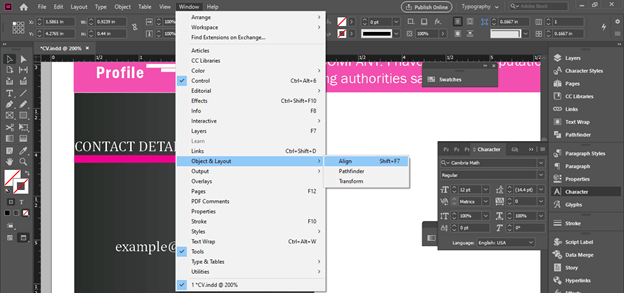
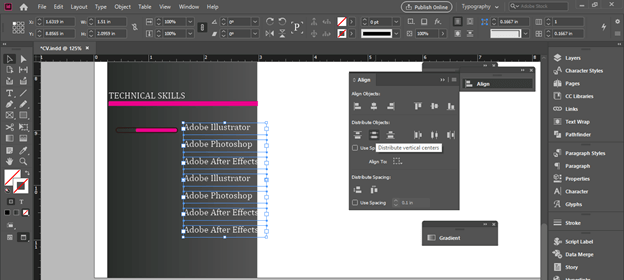
So for that first open Align panel from the ‘Objects & Layout’ option of Window menu.
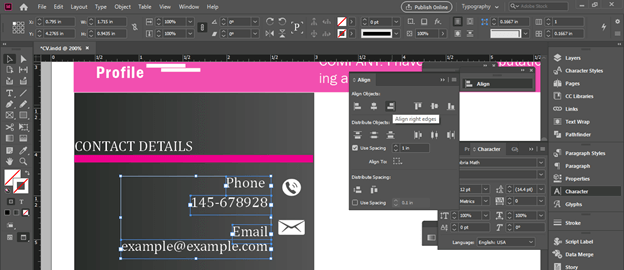
And I will align right edges of the text like this. So you should use align panel for perfect alignment of text as well as design element.
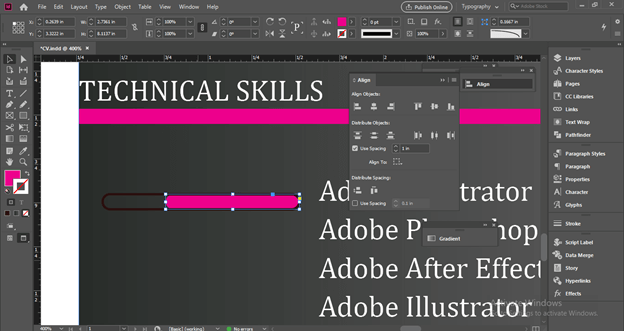
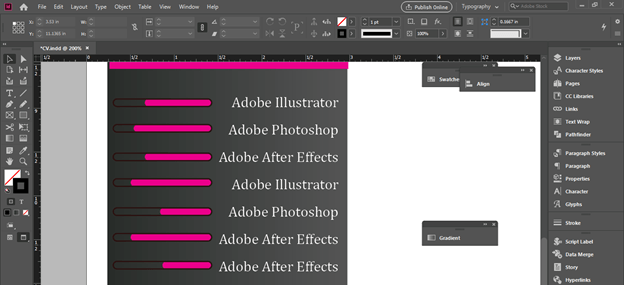
Now I will create a scale which show percentage of skill or expertise of that person in particular software. For this we can use two rounded rectangle and decrease size of one rectangle which represent expertize level.
Add software names about which you have knowledge and you want to show in your profile details.
You can see I have adjusted these software names with expertize scale.
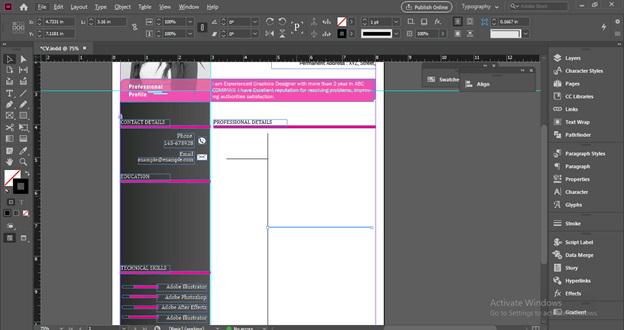
Now I have divided this right section for adding professional details. You can add here all your pervious as well as current employment details. I will take Line tool from tool panel and draw these line which divide this Professional details section in this manner.
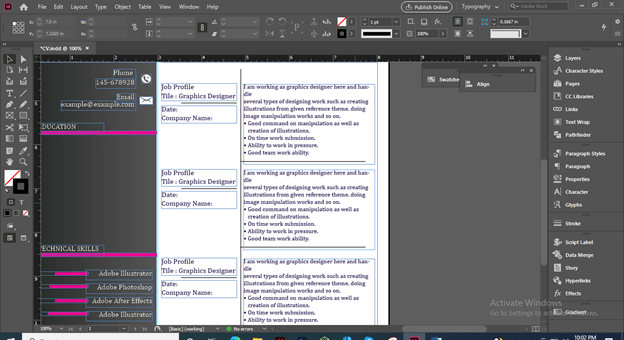
Now you can add these title here such as Job Profile, Title of the job position, Date of joining or time period, Company name and in the right side you can add some details about what you have done in that particular company or what was your working area.
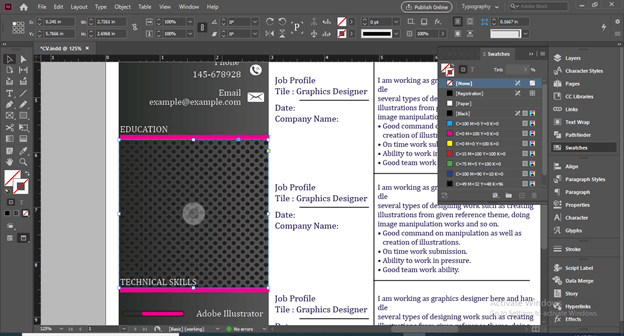
You can also add some patterns to the particular section for having more effective design look. For example a have placed this dot pattern here in this section and sent it back to the text of this section.
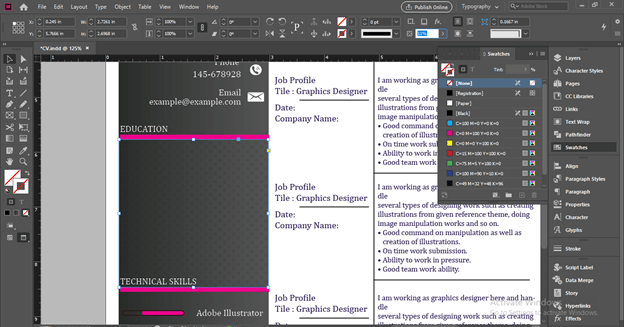
Now I have down the opacity of this pattern so that it gives a nice texture to this section and we have good readability to the text of this section also.
I think it is a nice resume template.
Conclusion – InDesign resume template
I am sure you found this article very useful for learning about how to create resume template by using different features of this software. Design layout of a resume is totally depends on your creativity and here I told you about the basic tools and elements that generally involves in the designing of resume template layout.
Recommended Articles
This is a guide to InDesign resume template. Here we discuss how to create a resume template by using different features of this software. You may also have a look at the following articles to learn more –
