Introduction to InDesign Rounded Corners
InDesign Rounded Corners is a feature of shape or image through which we can make their corner round that means we can provide arc at the corner of the shape. There is a feature in InDesign through which we can make corner round for different purpose. Not only for shape but we can also do this with placed image and with some other things. There are two ways through which we can make round corners. First one is by using Corner option and second use directly by the anchor points of the shape or image. So let me tell you how you can do this?
How to create and use Round Corners in InDesign?
Creating round corners for shape or image that have corner is very easy task in this software. We just have to understand some parameters of corner option of this software and i will tell you one more way that is by handling anchor points of shape or image for doing this.
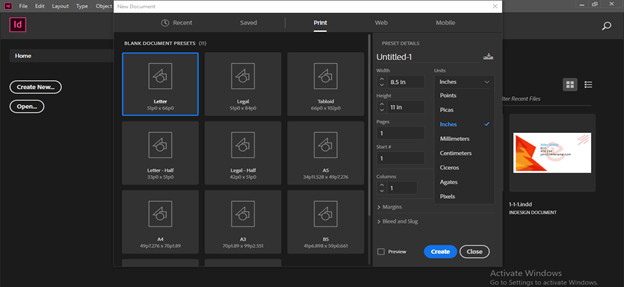
First i will create a new document and for this purpose i will click on Create New button of welcome screen of this software.
And i will go with the default settings of New Document dialog box.
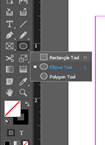
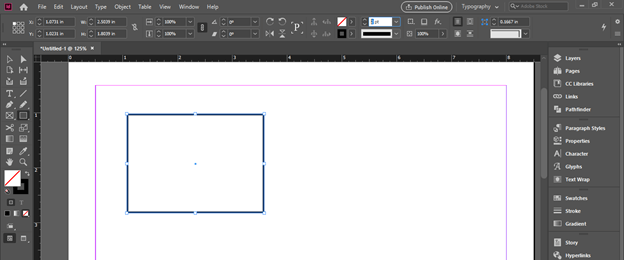
Now let us create a Rectangle shape of which corner we will convert into round shape. For this purpose i will take a Rectangle tool from tool panel or you can press M as its shortcut key.
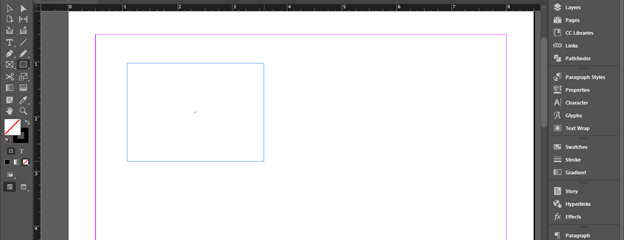
I will create a rectangle like this.
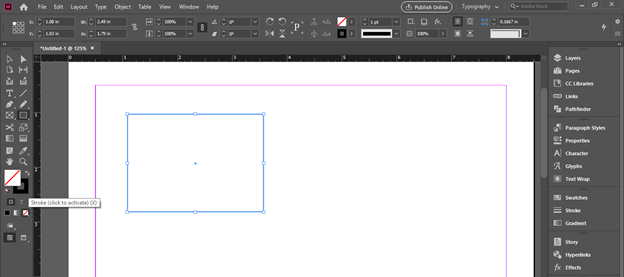
There is no fill color in this rectangle, it has only stroke.
I will increase stroke width as 2 point so that we can see it clearly.
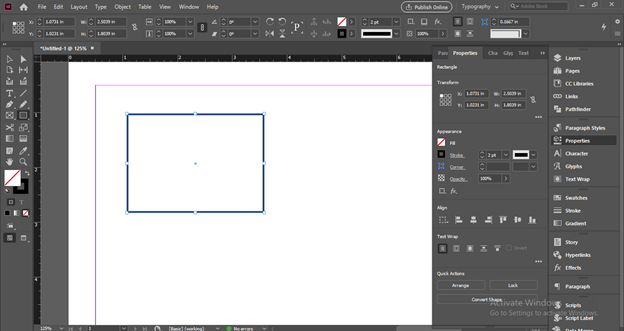
I will open Properties panel for Corner Options which is at the right side of working screen in the panels section.
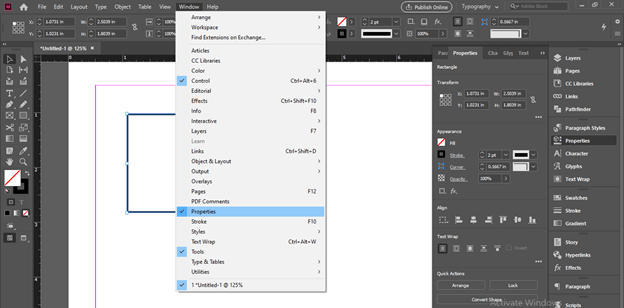
If there is no Properties panel in your working screen then you can find it in Window menu. So go Window menu and click on it. Here in the scroll down list of this menu you can find Properties panel.
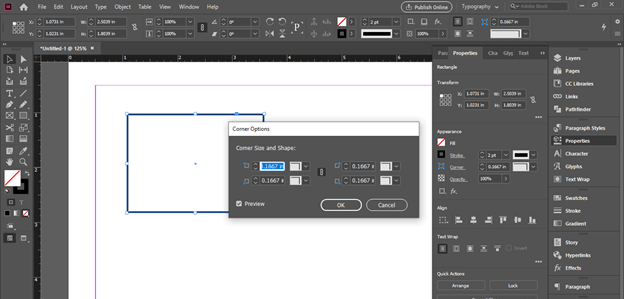
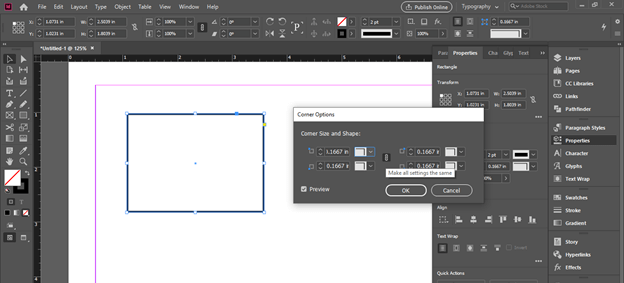
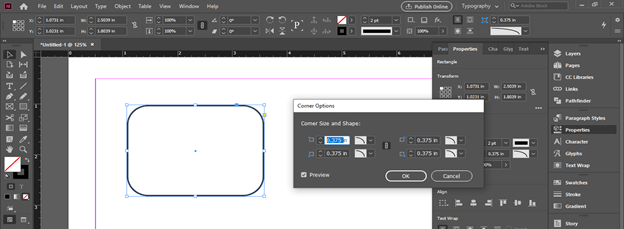
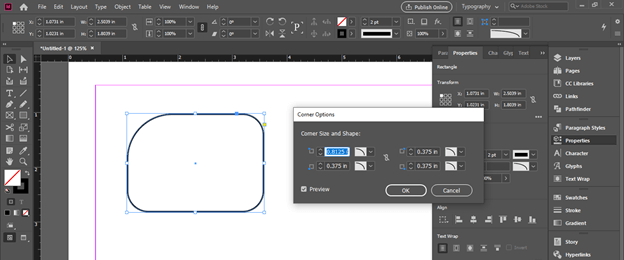
Here in the Properties panel we have Corner option so click on it. Once you click on it a dialog box of Corner Options will open.
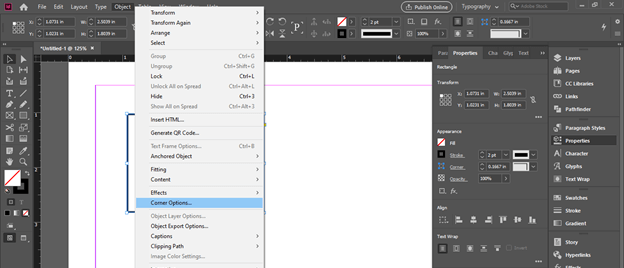
You can also open this dialog box from the Object menu of menu bar. So go to Object menu and click on it. In the scroll down list of it we have Corner Options. Click on it for enabling it.
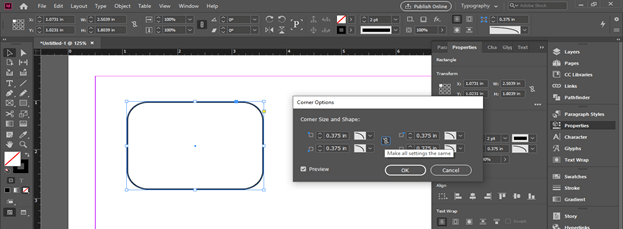
In this dialog box we have four options for all four corners of this rectangle shape so let us discuss them. At the center there is chain linked icon that shows value of all four corner change proportionally if we change value of any one corner. We can unlink it also as per our requirement i will tell you this later section of this article.
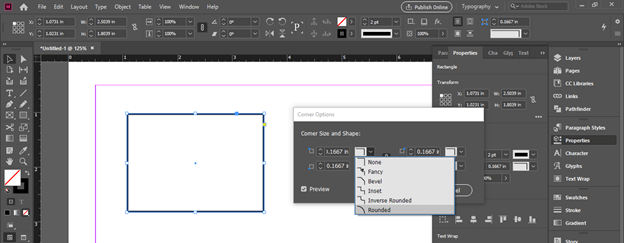
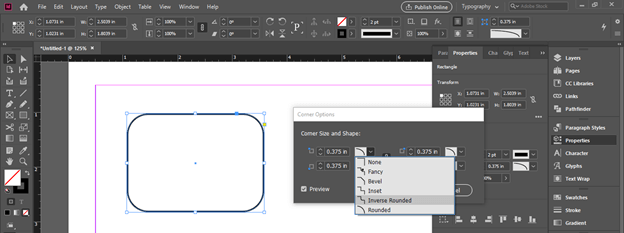
I will click on down arrow button of first corner box option and here in the popup list we have some styles for corners such as Fancy, Bevel, and so on. ‘Rounded’ is at the last of this list so i will click on it for selecting it.
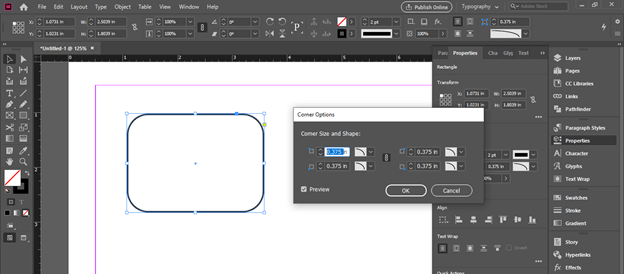
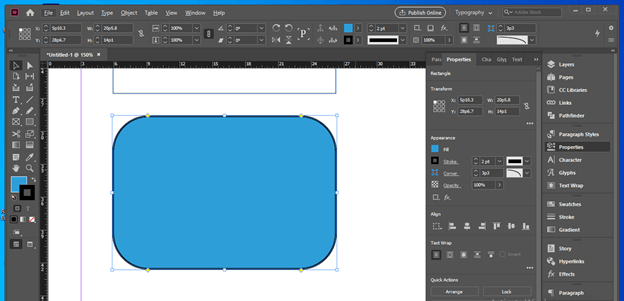
You can see the corners of this rectangle shape turn into round shape. All corners are linked so if we change one corner then rest will change with it also.
You can enter your desired value in the value box also for creating your desired arc at corner.
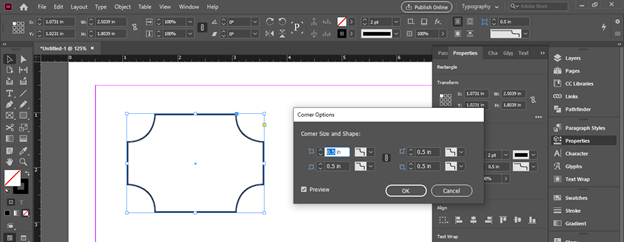
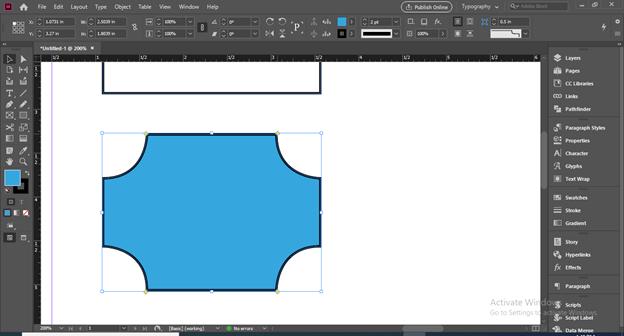
There is one more option for round corner but it will round corners in reverse direction. I will select it this time from the list of corner style.
And you can see it will round the corners in reverse direction. You can change arc value here also.
Now let us see what will happen if we unlink this chain icon. For unlink click on this icon.
Now i will change the round value of first corner only and you can see this time change only applies on the chosen corner because chain icon is unlinked.
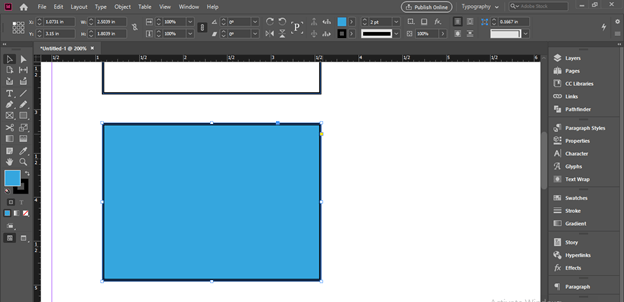
Now i will make a copy of this rectangle and fill some color to it for explaining other way for making round corners. You can apply this method on strokes also.
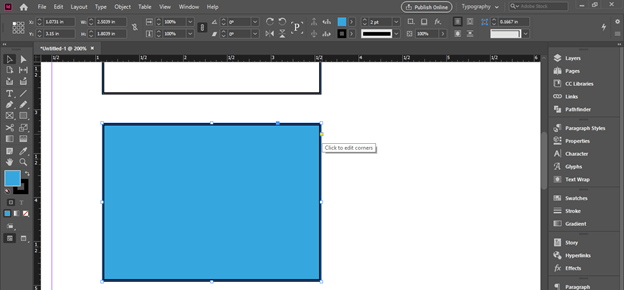
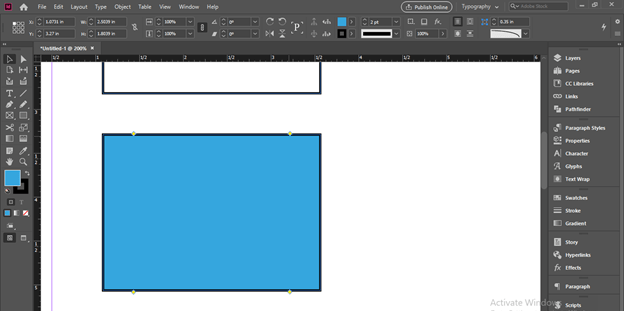
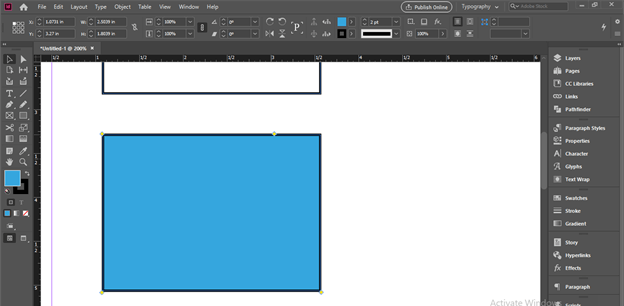
There is a yellow square anchor point at the edge of this rectangle.
Click on that anchor point and it will turn into four anchor point that will be on all corners.
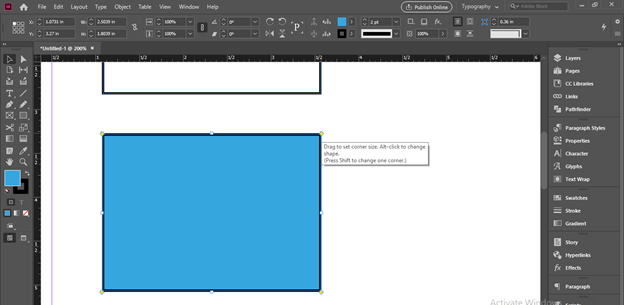
Hold this yellow anchor point with selection tool and drag into inward direction.
And it will around corners as much as you drag the anchor point in inward direction.
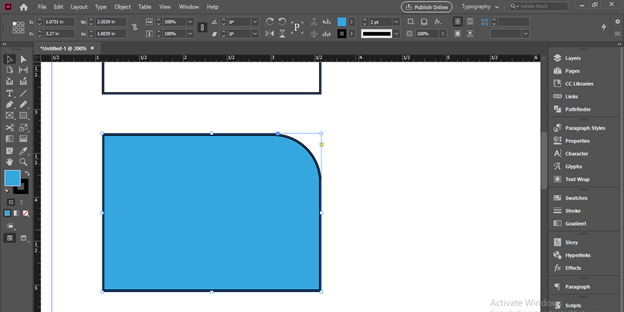
If you want to round only one corner then hold shift button of keyboard and drag this yellow anchor point in inward direction.
And it will turn that chosen corner into round corner.
If you hold Alt button of keyboard and then make click on these yellow anchor point then it will change the style of corner and in this sequence you can have this revers round corner.
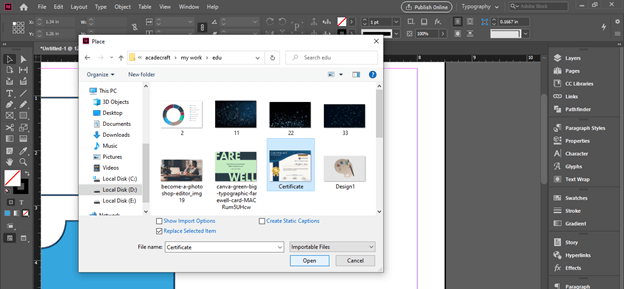
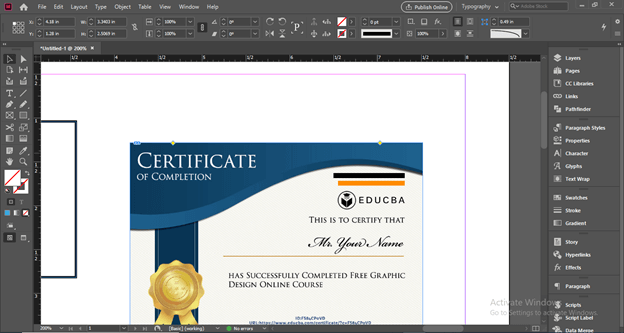
Now let me tell you how this round corner will work with images. For this purpose i will place an image in this software so i will click on Place image option of File menu or you can press Ctrl + D as its shortcut key.
I will choose this image.
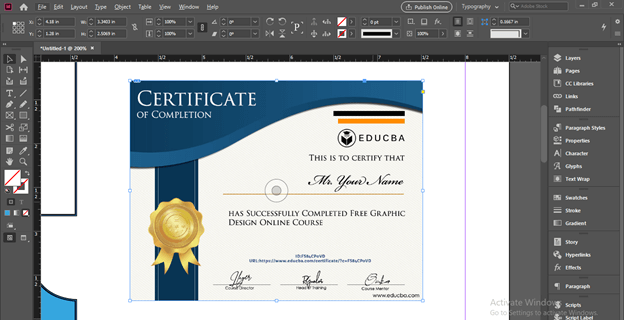
And place it in the document area like this.
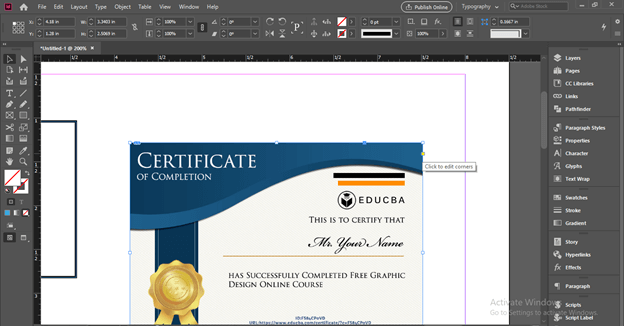
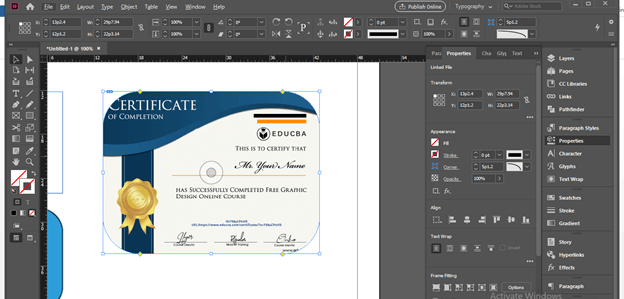
You can see there is same yellow anchor point as we had in shape. So click on it.
And i will drag it in inward direction like this.
And it turns into round corners.
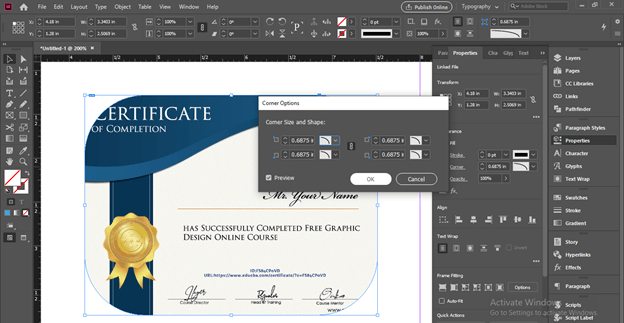
You can do this also from Corner Options as we have used this Corner option for shapes.
These were some important aspects about round corner feature of this software.
Conclusion – InDesign rounded corners
Now Round Corner features of this software will no more unknown word as well as technique for you. You can use it for creating design element in your design layout. After going through this article you can easily handle parameters of Corner Options for having different style of corners of shape or image.
Recommended Articles
This is a guide to InDesign rounded corners. Here we discuss How to create and use Round Corners in InDesign step by step in detail. You may also have a look at the following articles to learn more –

