Introduction to InDesign Table of Contents
InDesign Table of Contents is important part of design layout when we are preparing a design of large content and with these text content we need to mention details of contents of each pages with their page number or any other indication so that we can easily identify that which content is on which page. If there is content table in your document design then reader can easily access through your layout design and it will be an effective layout design. You can create a content table manually if you want but there are some options and settings in InDesign through which we can create table of content automatically.
How to Create a Table of Contents in InDesign?
For creating Table of Contents in this software according to our text content of each pages we have to go through some of the options of this software and play with the parameters and settings of them. So let us start our discussion about these options.
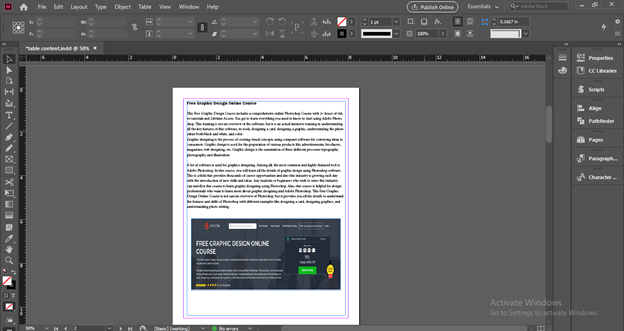
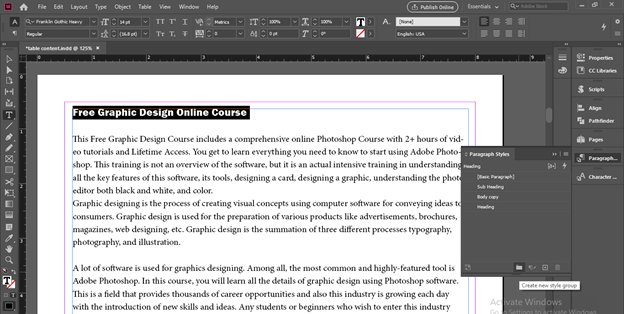
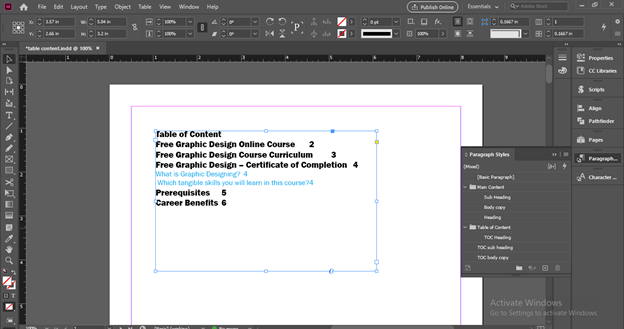
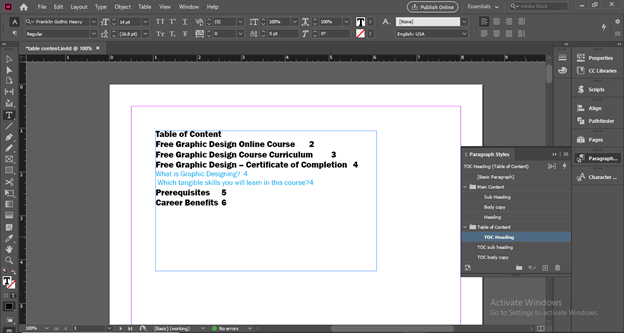
I have these text content in my document.
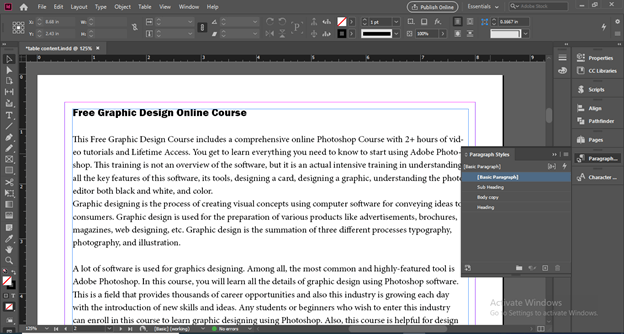
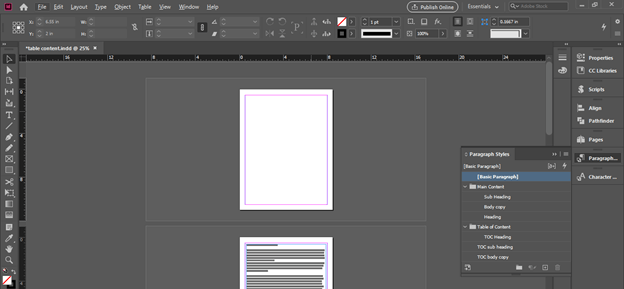
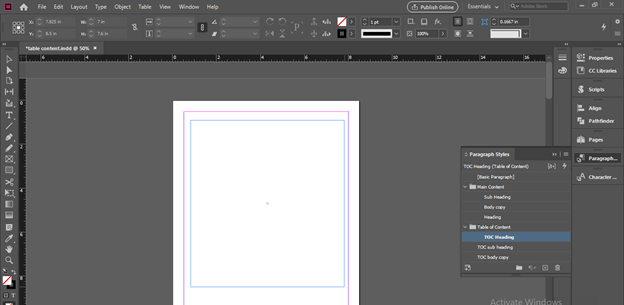
Now I will open Paragraph panel of this software which is at the right side of the user screen in the different panels section.
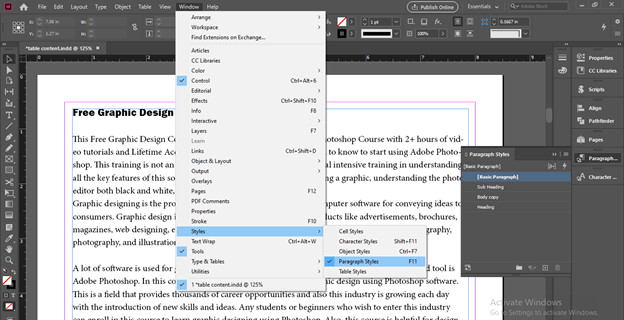
If there is no such panel in your working screen then you can go to Window menu of menu bar and go to Styles option of scroll down list. In new scroll down list of Styles option we can find Paragraph Style panel or you can press F11 as its shortcut key.
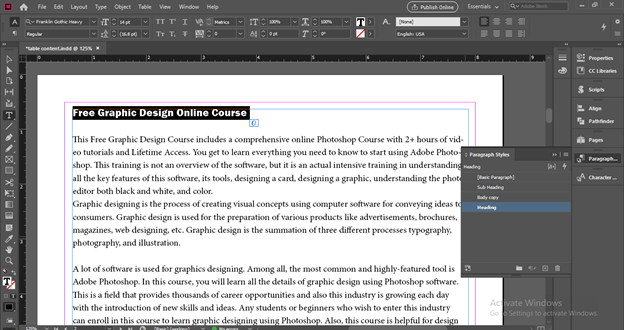
In this Paragraph panel I have created three layer such as Heading, Sub Heading and Body copy and each has different type of text formatting. If I select this top text you can see it is in ‘Heading’ layer of Paragraph Style Panel.
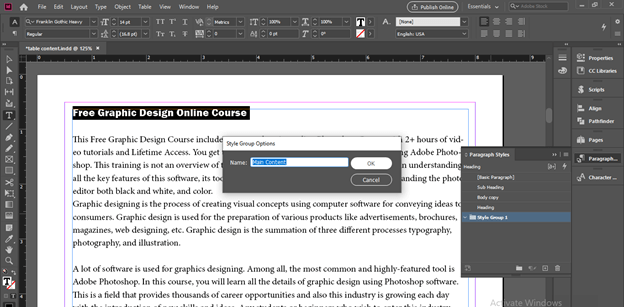
Now I will create group layer for these layers so I will click on ‘Create New Style Group’ button of this panel which is at the button of this panel.
Once I will click on this button a dialog box will be open here you can name it as per your choice I will name it as Main Content.
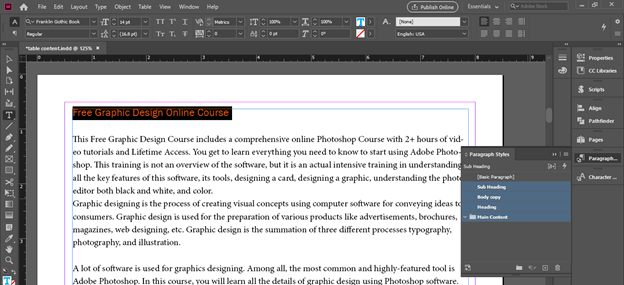
Now I will move these layer into Main Content group folder.
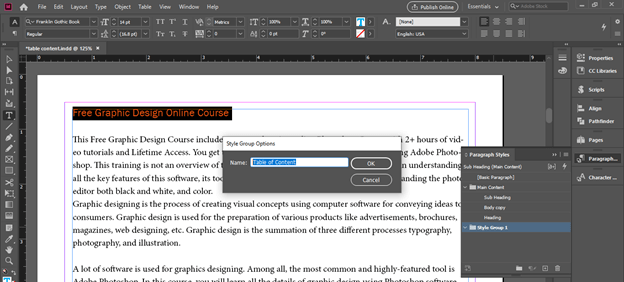
Now I will create one more group which is Table of Content.
Now I will created three layers for Table of Conent as TOC Heading, TOC Sub heading and TOC Body copy.
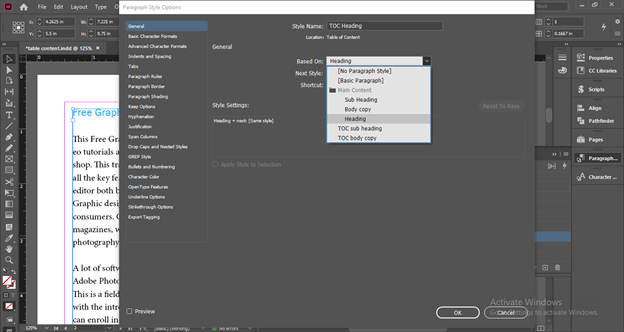
I have chosen Heading layer of Main Content group as Based layer of TOC Heading and I have done the same for other two layer of TOC group. (suc as Sub Heading for TOC Sub Heading and Body Copy for TOC Body Copy).
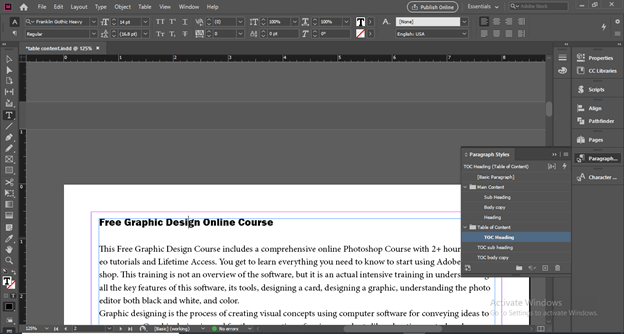
Now I will select this heading and make click on TOC Heading layer for assing this to TOC Heading layer and I will do the same to the all heading.
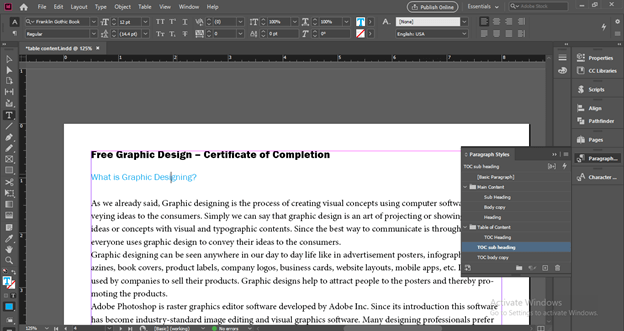
Now do this for sub heading if you want to add this into your content.
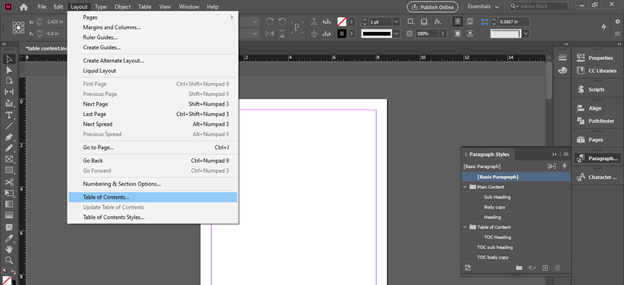
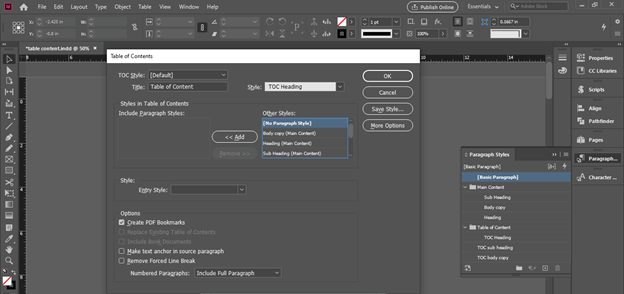
Now go to Layout menu and click on Table of Contents option of drop down list of it.
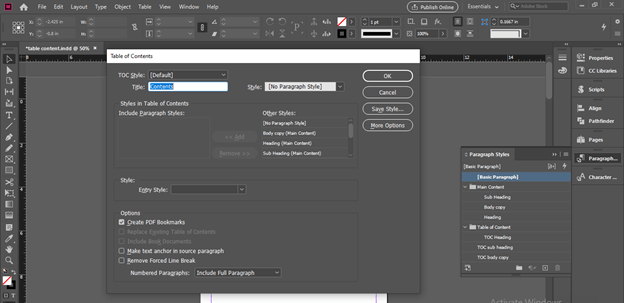
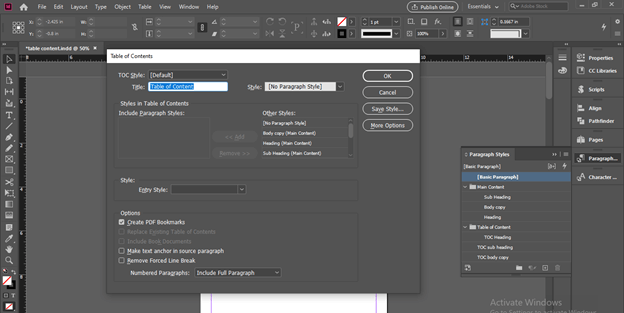
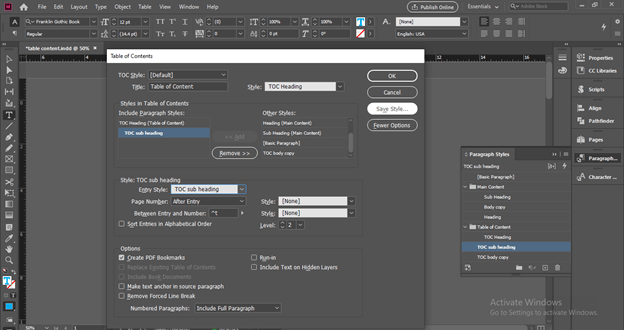
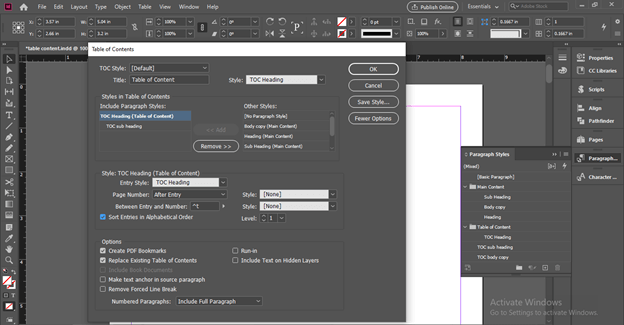
Once we click on this option we have this Table Contents dialog box. Here we can give the tile of the content table in the Title option of this box.
I will name it as Table of Content.
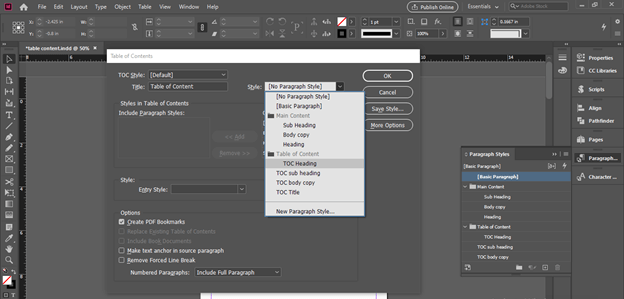
I will choose Style for the Title as TOC Heading paragraph style.
Now come to the next section of this dialog box here you can choose what content you want to add under table of content.
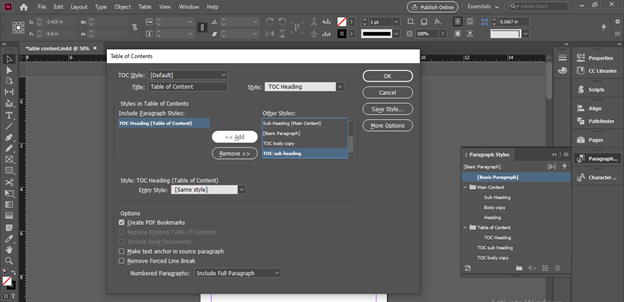
I will select TOC Heading paragraphs style and click on Add button to move this into table of content.
You can add number of list here but I have added only list here.
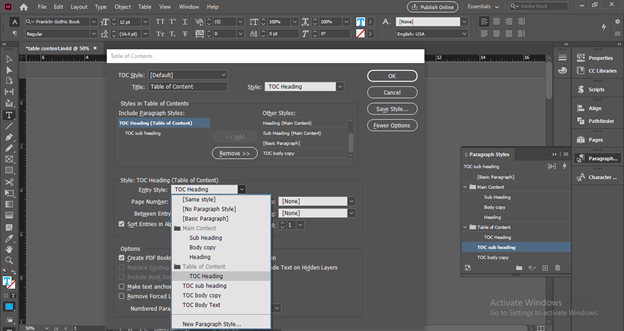
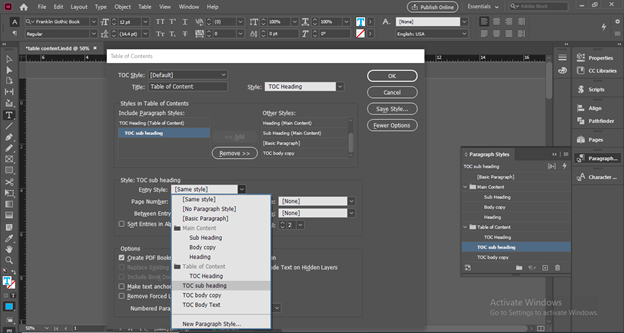
Select TOC Heading in ‘Include Paragraph Styles’ option and choose TOC Heading option from the drop down list of ‘Entry Style’ option.
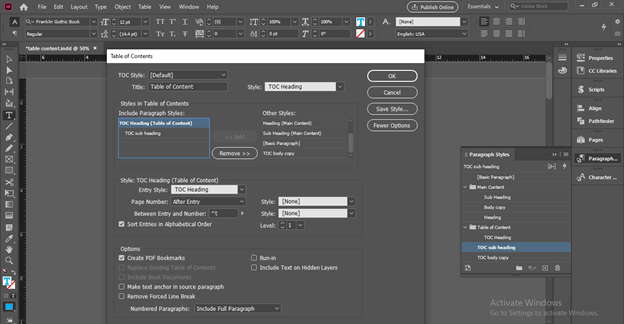
Now Select TOC Sub Heading layer in same option and then I will choose TOC Sub Heading in Entry Style.
You can click on Save Style button of this dialog box for saving this current data for future use.
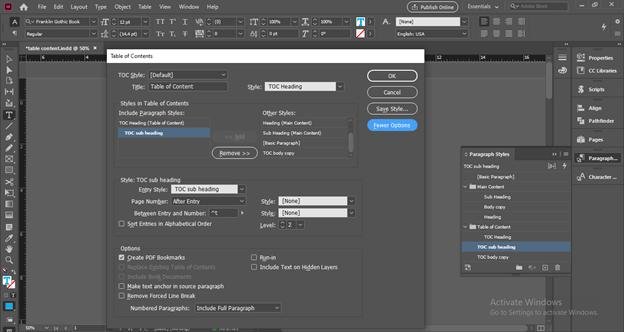
There is ‘Fewer Options’ tab you can click on it for having less option of this dialog box.
Now click on Ok button of this dialog box.
Once we click on Ok button table content details will come on the mouse cursor and we can draw a text box with this mouse cursor.
Once we release mouse button our chosen content will come into content of table like this.
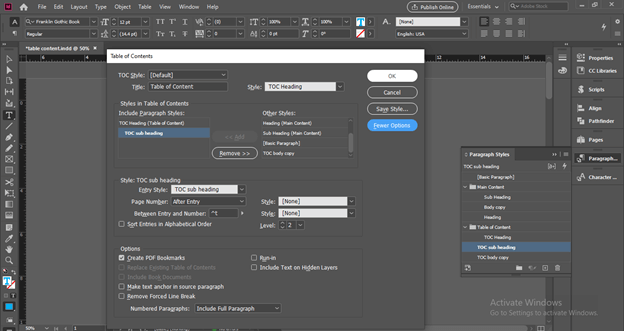
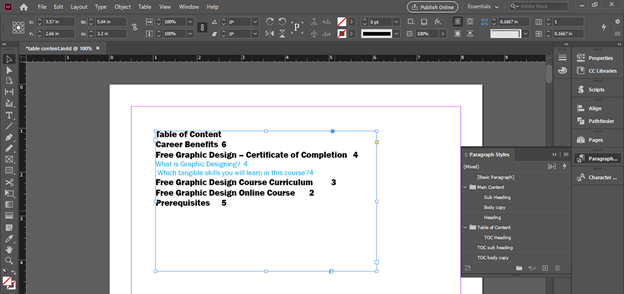
If we open the Table of Contents dialog box again you can see there is ‘Sort Entries in Alphabetical Order’ option so this time I will enable this option by clicking on its check box.
And you can see it will arrange the content according to Alphabetical order.
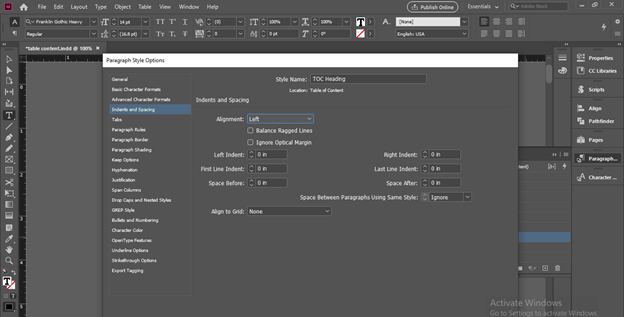
Now if we want to set the page number at the right side of the page then we can do some setting for this. We have these number on the TOC heading layer so making double click on this layer in Paragraph style box.
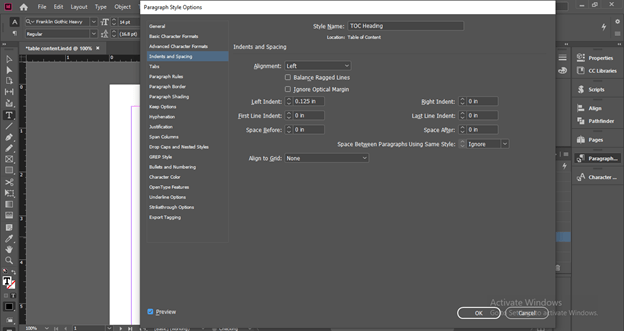
Here a dialog box will be open. In this dialog box go Indents and Spacing option.
Make sure you have enable Preview option of this dialog box.
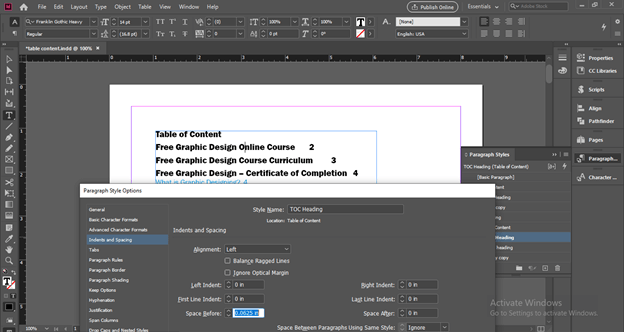
From here we can adjust the spacing of line by changing the value of Space option.
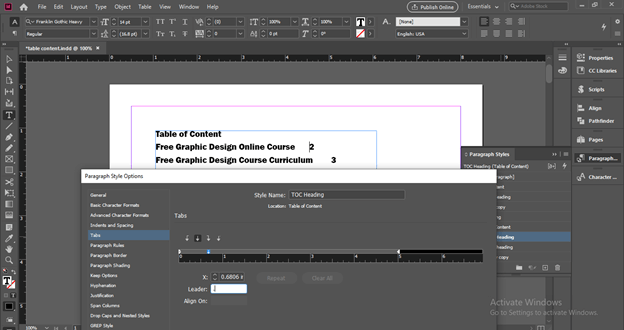
Now select Tabs option and enter tabs value here. I will add right tab value here and enter a dot character into Leader option. You see there is no update here on our Table of Content.
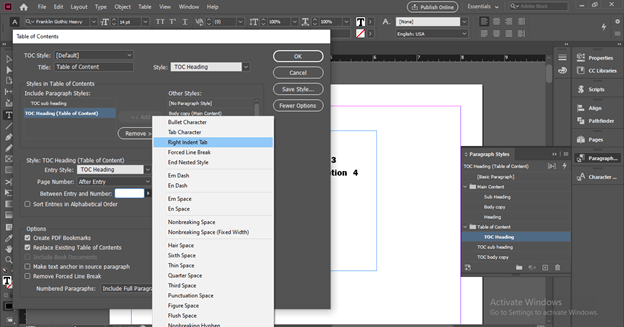
For see that update go to Table of Contents dialog box again and choose Right Indent Tab in this option.
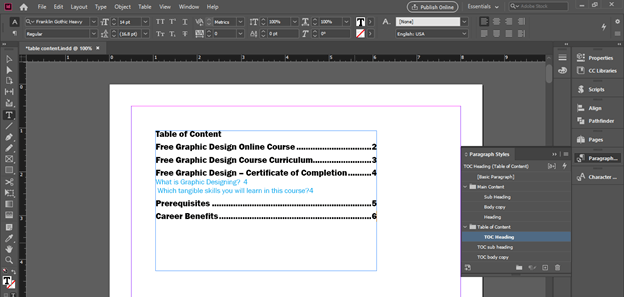
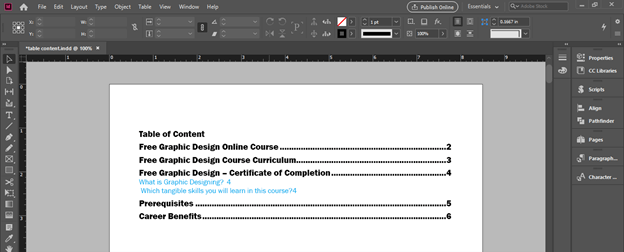
And once you make click on Ok button it will update like this.
You can adjust it according to your page.
Conclusion
In this way, you can create a Table of Content in your document for having a more detailed explanation of your content. You can analyze the other options of the Table of the Content dialog box for having different variations in your table of content and you can create it with your own creative ideas.
Recommended Articles
This is a guide to InDesign table of contents. Here we discuss How to Create a Table of Contents in InDesign along with the steps. You may also have a look at the following articles to learn more –
