Introduction to InDesign Vertical Text
InDesign Vertical Text is a type of text formatting in which we can arrange text in a vertical position. According to my, we can understand vertical text in two ways first one is changing the rotation of the text in a vertical position and the second one is type text vertically. I will explain both in this article and we will use some tools of tool panel, some options of the menu bar, and some other important features of this software for creating vertical text for different purposes. I will also explain to you how you can use it during designing layout for several project work of this software.
How to use and create Vertical text in InDesign?
We can create vertical text in InDesign for making an effective design layout and for managing text in a given text frame or there may be many reasons for creating a vertical text, it totally depends on your work requirement.
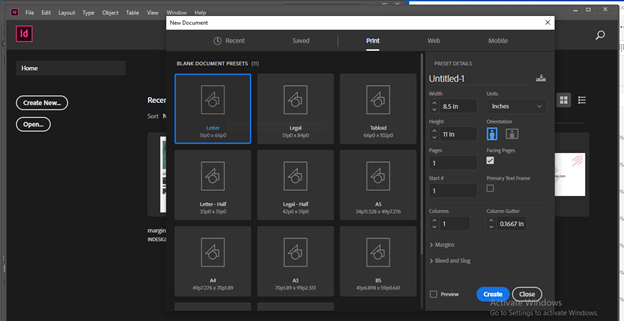
First, let us create a new document and for this purpose, I will click on Create New button on the welcome screen of this software and go with the default settings of the New Document dialog box.
I will now take the type tool from the tool panel.
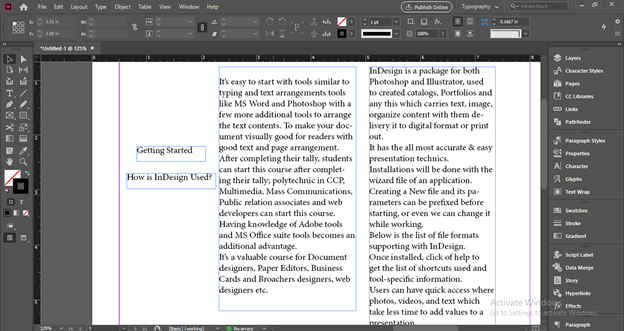
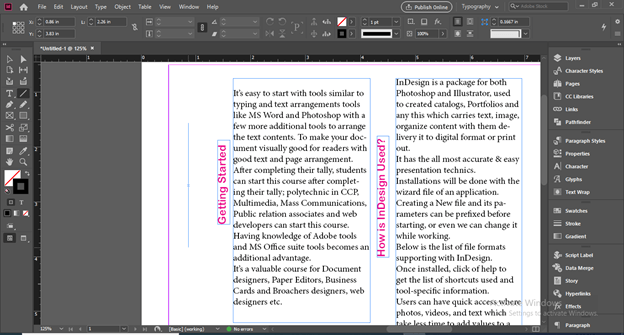
I have this text content here on my document page of this software and I will explain to you vertical text with the help of this text first.
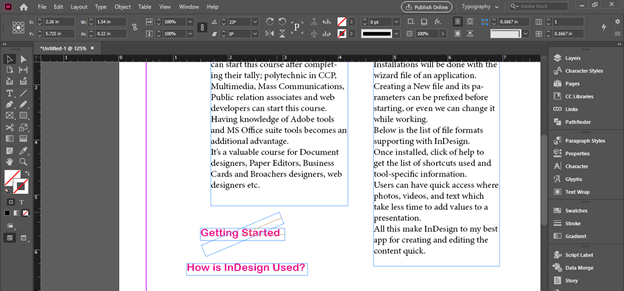
I will change the text style and font size of these two texts.
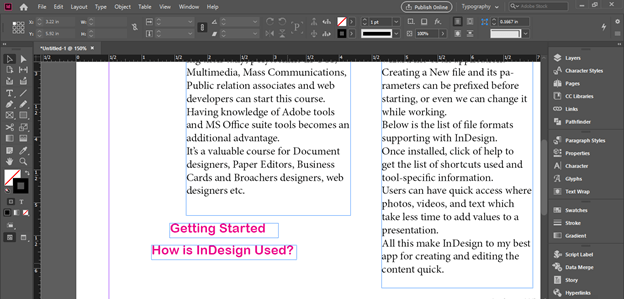
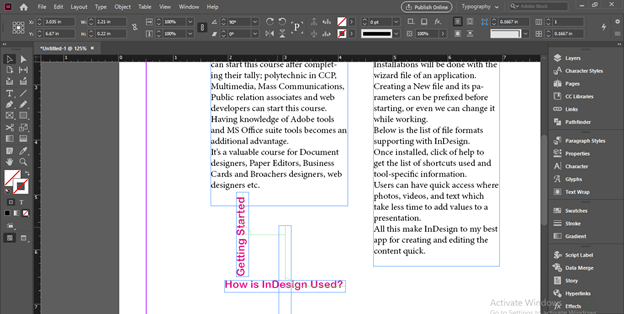
And now with the selection tool, we can rotate it like this. If we hold the shift button of the keyboard and then rotate it then it will rotate on the difference of 45 degrees.
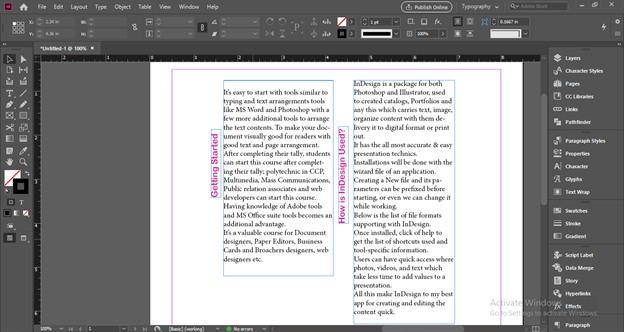
I will do the same with the other same text.
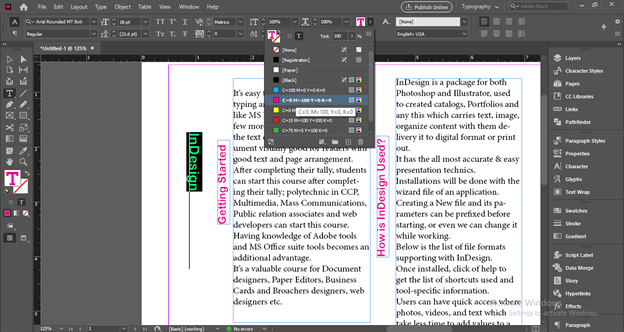
Now you can see both are in vertical position. So this is the first way in which we can rotate text in the vertical direction and set them with other text for making a good typography look.
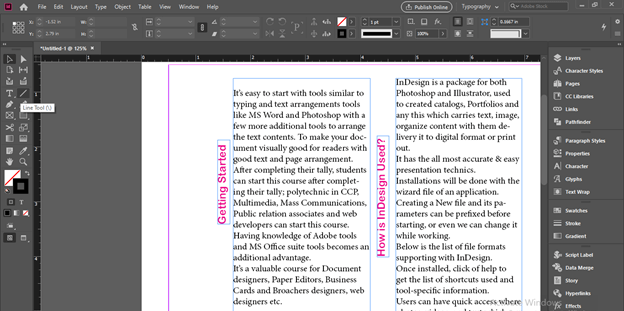
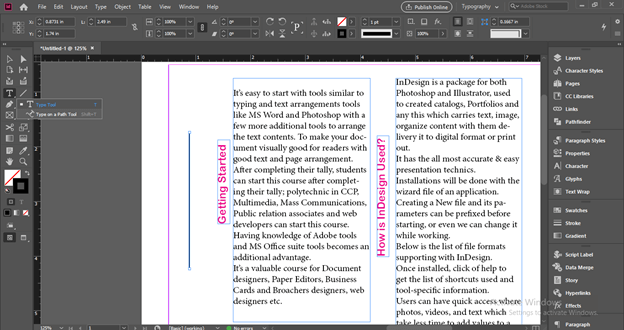
Now let me tell you how you can type a text vertically. For this purpose, we have to take the Line tool from the tool panel or press \ button of the keyboard as its shortcut key.
Now draw a vertical line like this. If we hold the shift key then the drawn line will be vertically straight.
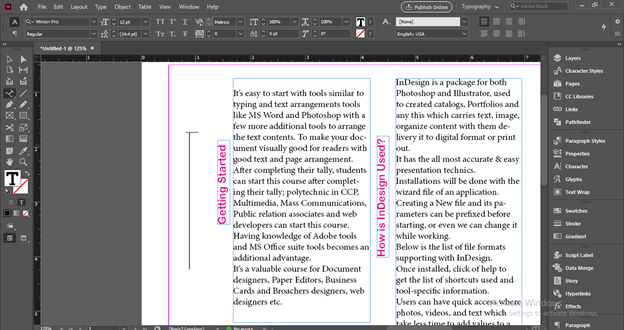
Now go to the tool panel and click on the drop arrow button of the Type tool. Here in this arrow we have Typed on a Path tool so select it. You can use the Shift + T buttons of the keyboard as its shortcut key.
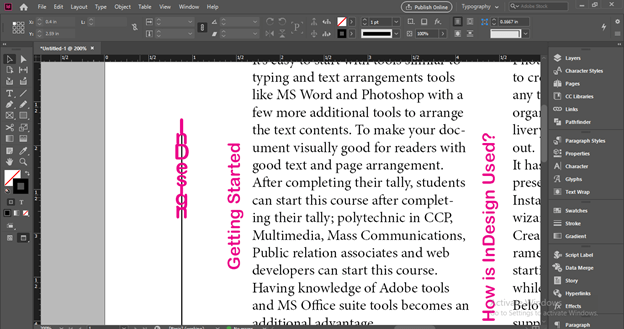
With the Path type tool click on the drawn line and once you click a blinking cursor for written a text will come on the line.
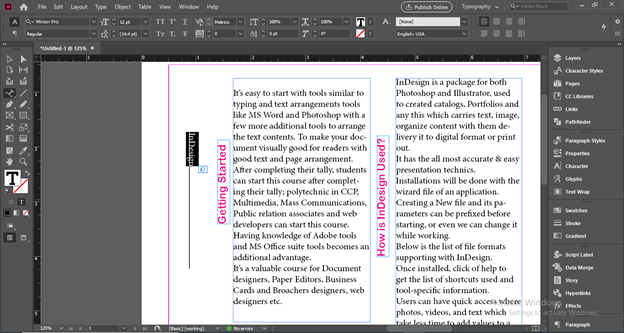
I will type InDesign as a text for this line. You can type your desired text here.
I will increase its font size and also change the font style then change its color also.
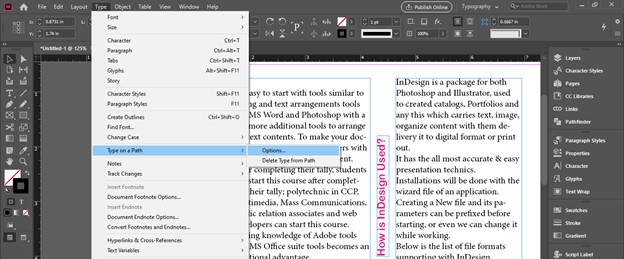
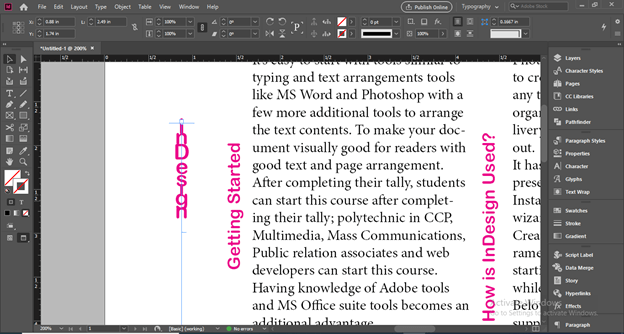
Now for making this text vertical, go to the Type menu of the menu bar and click on it. Choose ‘Options’ from the new scroll-down list of ‘Type on a Path option of scroll down list of Type menu.
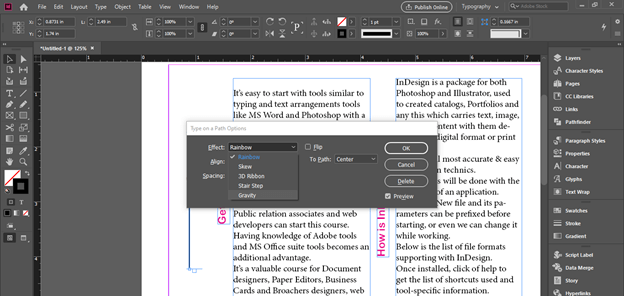
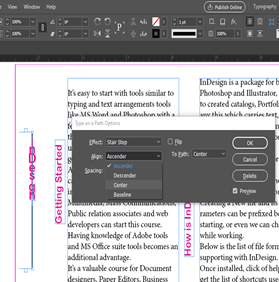
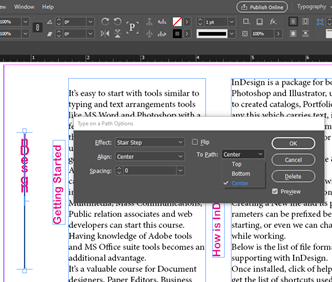
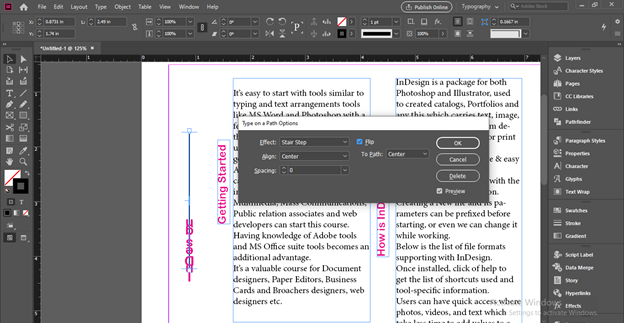
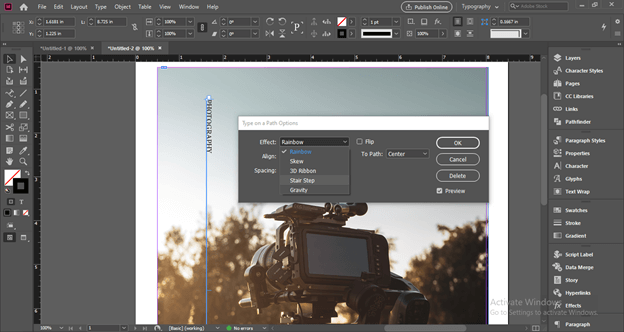
Here a dialog box of ‘Type on Path’ will be open. Click on the drop arrow button of the Effect option of this dialog box.
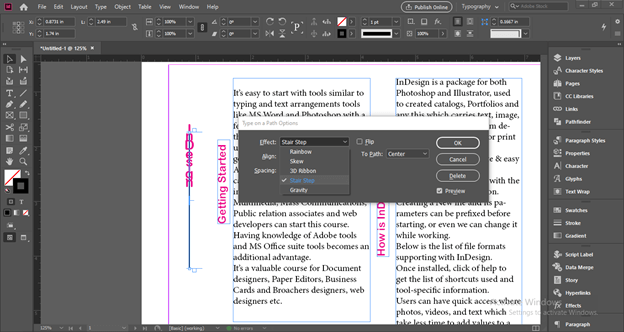
And choose the Stair Step option. Once you choose it you can see text will convert into vertical text.
You can also adjust other parameters to aligning this text with the path. After having your desired settings click on the Ok button of this dialog box.
There is a Flip option you can click on it if you want to flip text vertically like this.
Now if we turn to preview mode by pressing the W key.
You can see there is the visible path of line with this vertical text.
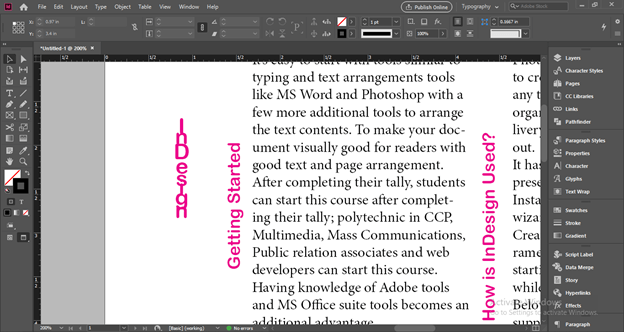
It is because there is a stroke on the line so go to the stroke color box and make the stroke off. Now you can see their only path.
And when you deselect it you can see the vertical text clearly.
You can make changes in text format also after converting it in vertical text.
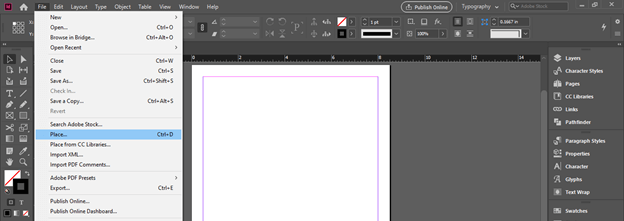
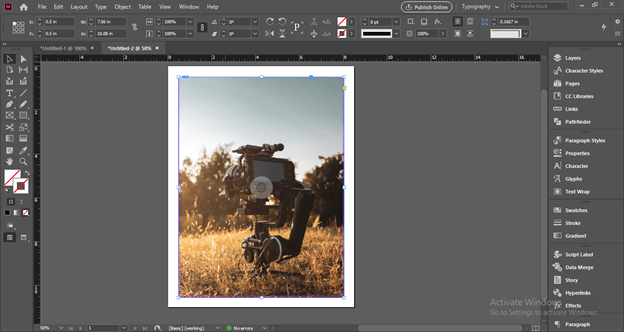
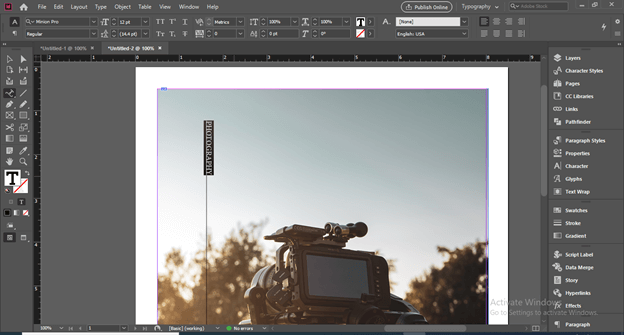
Now let me tell you how you can use this vertical text through an example. For that, I will again take a new document and place an image here. For placing the image I will go to the Place option of the File menu of the menu bar or you can press Ctrl + D as its shortcut key.
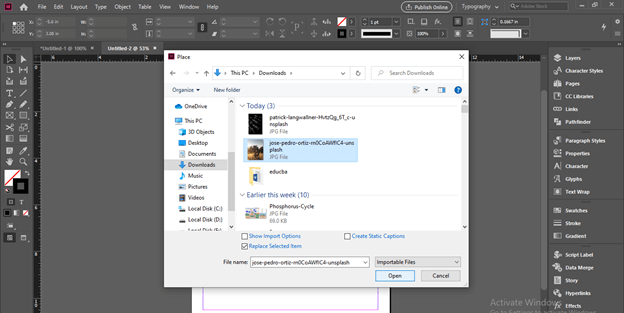
I will select this image from the opened dialog box.
I have downloaded this beautiful image from Unsplash.com.
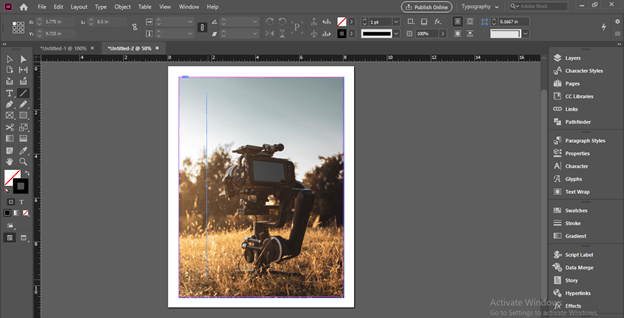
Now i will again draw a vertical line here like this.
And type Photography word here.
Now I will again open ‘Type a Paths Options’ dialog box and choose the same Stair step option as we chosen in the previous step.
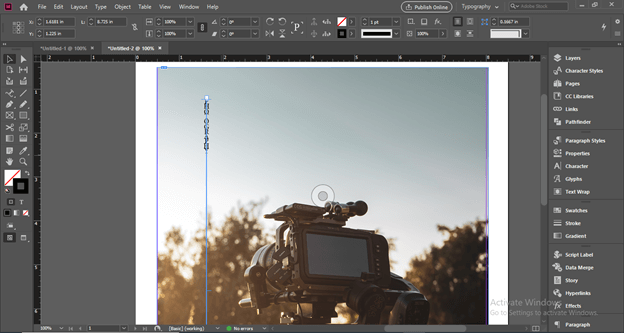
Now it is turn into vertical text like this.
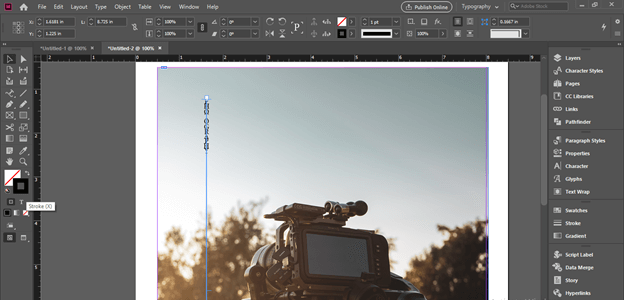
I will off the stroke of line now.
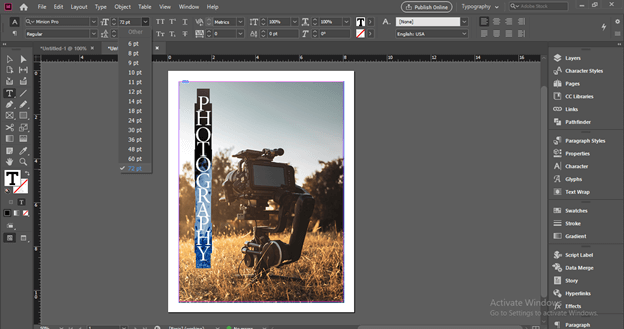
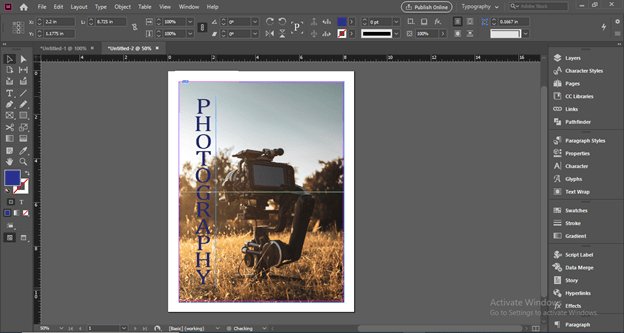
Now I will change the font size of this text.
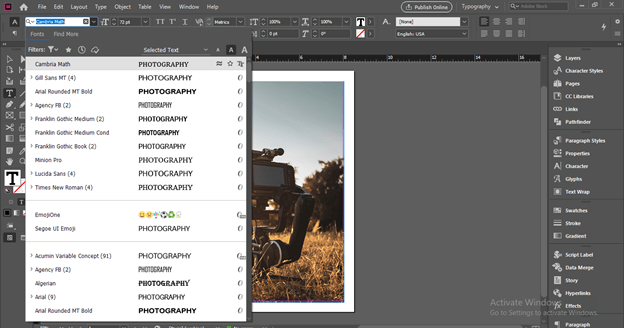
And choose this typeface of Serif font from the font style.
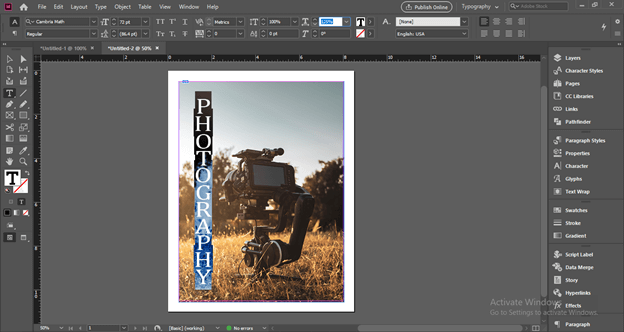
Now i will adjust the space between the letters of this text from the Character formatting panel which you can find at the top of the working screen.
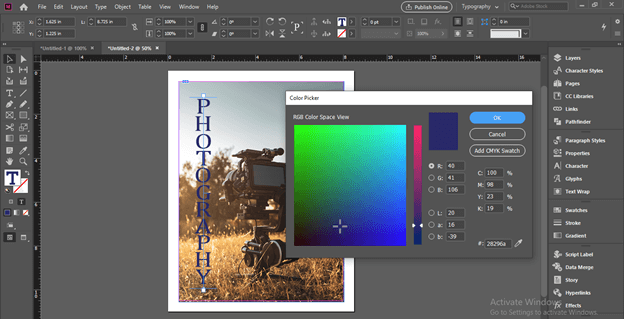
Now I will select a text color box in the color box section.
And change the color of the text to this shape of blue.
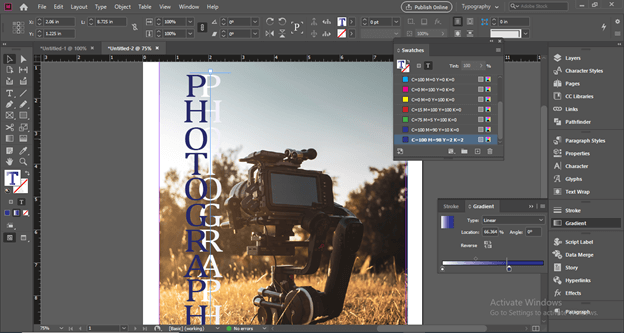
You can make a copy of this vertical text also. For making a copy you just have to select the path of this text and drag it by holding the Alt button on the keyboard.
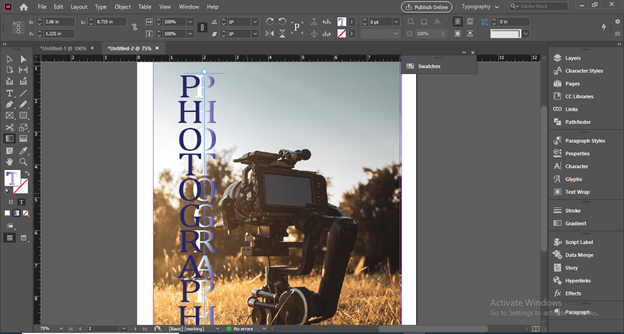
Now I will add a gradient to duplicated text for adding some effect to it.
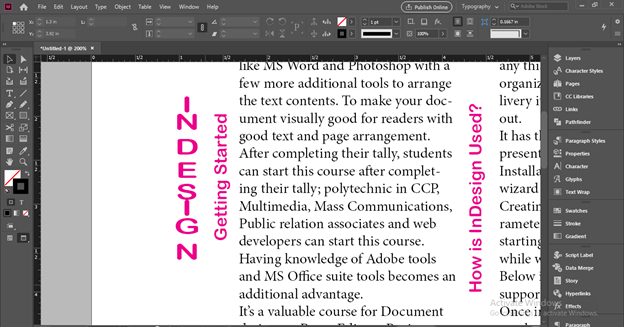
And set this gradient like this. You can see this way we can set a vertical text for making a good design that we can use with text content.
Conclusion
I’m sure you are definitely going to use this vertical text f in your design layout for making your design more and more effective. You can adjust the parameters of the Type on path tool for having a different types of results in the vertical text so start practicing on it for having good command on it.
Recommended Articles
This is a guide to InDesign vertical text. Here we discuss the important features of this software for creating vertical text for different purposes. You may also have a look at the following articles to learn more –
