Introduction to Inkscape animation
Inkscape animation stands for creating frames for animating some objects of any illustration work that means in animation we have the number of frames which change within a fraction of time and give motion to animating object so here in the Inkscape we can create these frames by making changes in the different part of the object or different object of the illustration which we want to animate and after creating them we should need a software which converts that frames in animation that means you can make Gif by combining these frames. So let us find how we can create and save frames of an animation in Inkscape.
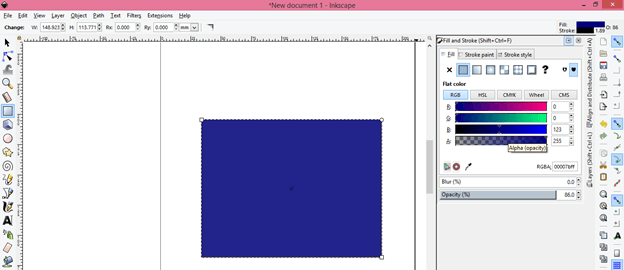
Now let us create some objects in which we will make variations for having frames of animation. I will make a background first. So for making it, I will take the Rectangle tool from the tool panel or press the F4 functional key of the keyboard as the shortcut key of this tool. I am drawing a freehand rectangle you can take specific dimensions for it. I will choose the blue color as my background.
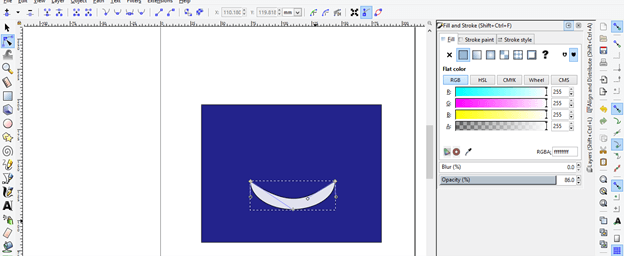
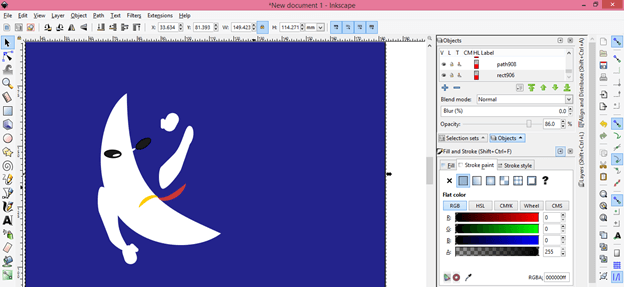
Now take Ellipse or Circle tool from the tool panel or press F5 shortcut key of the keyboard then draw a circle and make a moon-like shape like this. I use the Node editing tool for editing nodes of this circle.
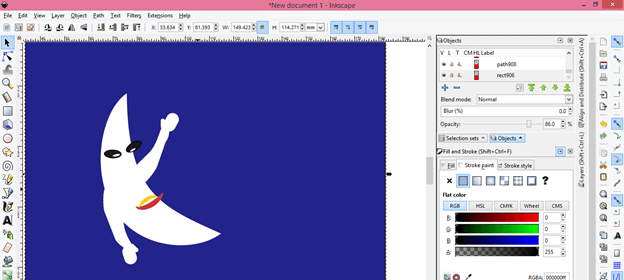
After that, I want to give a cartoon look to this moon so I added eyes, mouth, and hands to this moon. I used a rectangle, ellipse, and Node editing tool for this purpose.
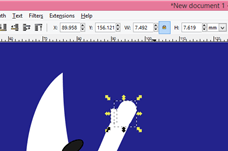
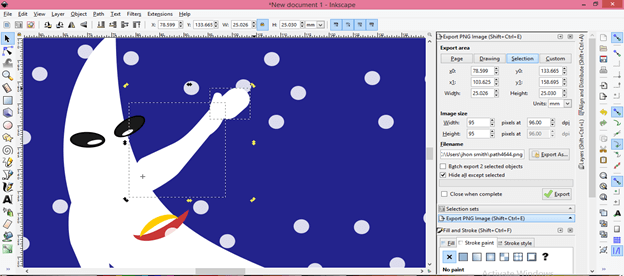
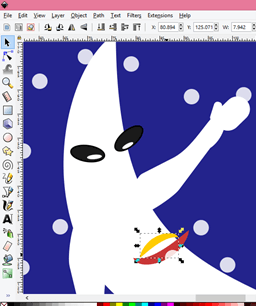
This is part of the hand and I want to make them as one part because I used two different rectangles for making it so for making them one part I will select them.
And click on the Union option of the drop-down list of the Path menu of the menu bar. You can find this menu at the top of the working screen. You can also press Ctrl + + button from the keyboard as the shortcut key of it.
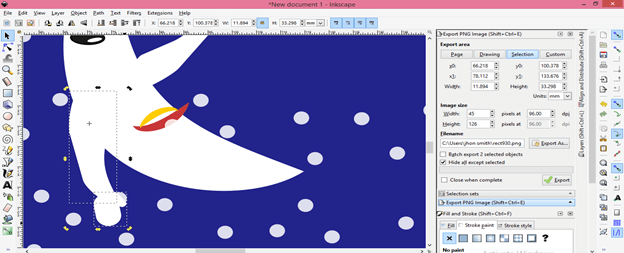
I have made part of this object separately like this so that I can animate them by moving them in the desired direction. During creating any object which you want to animate make sure you have separated parts of that object which parts you want to include in animation.
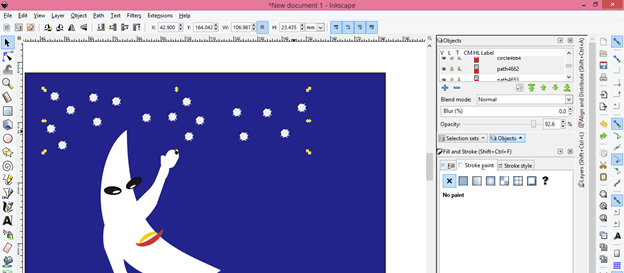
Now I will take the Circle tool again and make this type of circle for giving extra effect to my animation. After making these circles select all circles and group them.
For grouping them go to the Object menu of the menu bar and click on the Group option of the dropdown list of this menu or you can press Ctrl + G as short cut key.
Now select this circle and make a copy of it. For making a copy of it press the Ctrl + d button of the keyboard as short cut key. I will make two copies of it and place them like this by moving them with the selection tool.
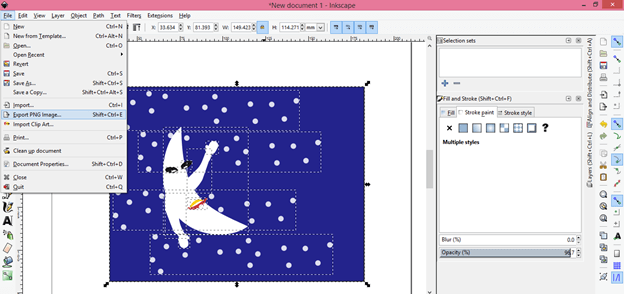
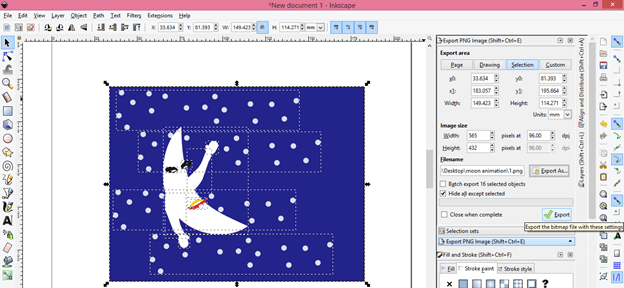
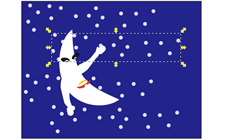
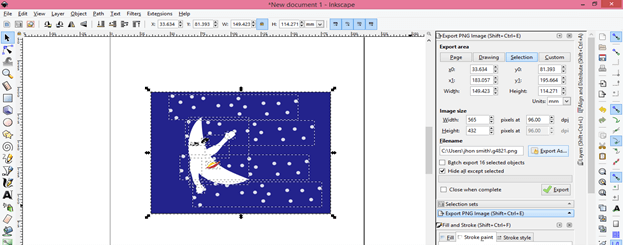
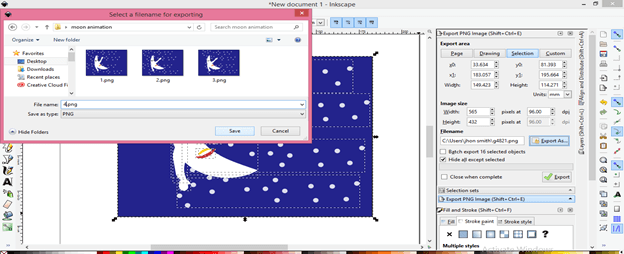
Once you are satisfied with your illustration to select them all including the background of your animation otherwise your objects will be on transparent background because I will export my illustration as PNG. After selecting all objects go to the File menu of the menu bar and click on it then click on the Export PNG image option of the drop-down list or you can press Shift + Ctrl + E keys of the keyboard which is its short cut key.
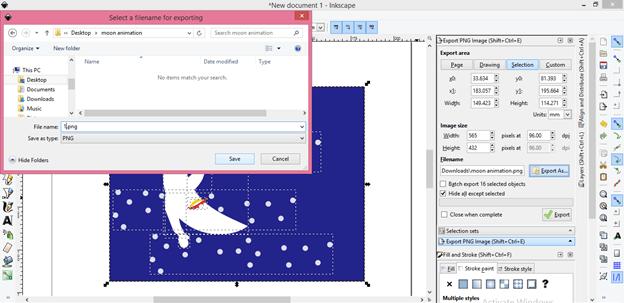
Choose a location where you want to save your png of this illustration. I will suggest making a folder for having a collection of all frames of this illustration for using them in animation. Name your illustration according to you just add a numbering letter so that you can identify the sequence of frames in the right way. I will name my work as 1.
Now click on the Export button of the Export dialog box for exporting this file.
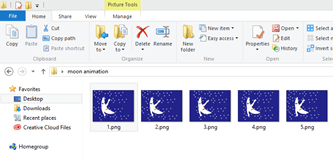
Now you can see my work is saved at my desired location.
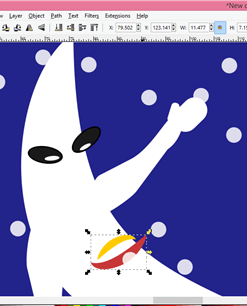
Now I will rotate this hand of the moon so that I will move in my animation. I will move the rotation center of the hand at the joint of the hand to the body because I want to rotate it from here. So make sure you place the rotation center point at that place from where you want to rotate any part of the object.
Now rotate another hand of it in the same way in the other direction.
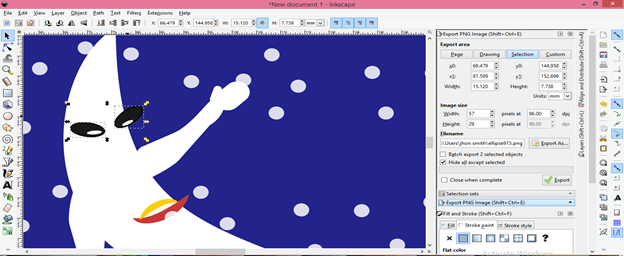
I will animate the eyes of the moon also and for doing this I will rotate both of the eyes a little bit in opposite directions one by one.
In the next step, I will move the upper lip in the upper direction a little bit and the lower lip in the lower direction one by one.
And move slightly these circles in a forwarding direction one by one.
Now I will select all objects of this illustration again with the background then save it as 2 in the same way as we follow for 1 png frame.
Now click on the Export button of this dialog box.
In the next frame, I will only move circles in a forwarding direction and export it as a 3 png file.
Make changes in each frame according to your choice and save them one by one in sequence. I saved 5 frames here but we need more than it for having motion in our animation.
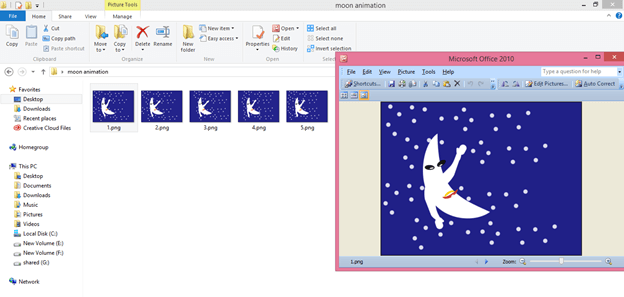
Now open it in the image viewer application and change each frame by pressing the forward button of the viewer application in speed and you can see your animation here. If you satisfy with this animation then take all frames of animation into the software through which you can make gifs with this frame. You can use GIMP for having gif from these frames.
I discussed all steps here through which you can create frames for an effective animation.
Conclusion
I think you got very informative knowledge from this article for creating the animation of your desired objects of illustration. You can also use vector objects which you have been taken from the internet for this purpose just make sure you have separated parts of that object so that you can really move them for having natural animation.
Recommended Articles
This is a guide to Inkscape animation. Here we discuss How to create some objects in which we will make variations for having frames of animation. You may also have a look at the following articles to learn more –
