Introduction to Inkscape Crop
InkScape Crop is a method through which we can crop any part of an image according to our requirement or crop that image in different manners for doing effective manipulation of it and for that you have to manage different types of parameters of this technique. For doing crop in this software we will use some of tools of tool panel and go through options of the menu bar. So today in the eduCBA article we will do an analysis of different aspects of crop techniques for learning it in more relevant way. Are you exciting about learning this topic with us? I think yes, let us start.
How to do Crop in Inkscape?
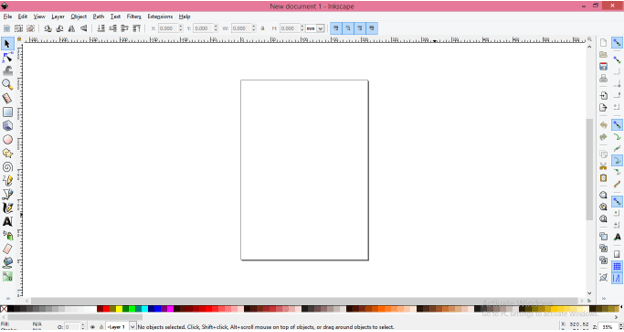
We can do it by just following few simple steps but let us first have an introduction of the User interface of Inkscape software so that you can understand the terms which i will use throughout this article for explaining each step.
At the top, you will find a bar which we is called as the Menu bar and it has a number of menus such as File, Edit, View and some other. Below this bar there is another bar which is the Properties bar of active tool or image (on which you are working), moving to downward direction on user screen there is three sections in which at the left side there is tool panel, at the center we have display window area of document and at right side some navigation tools. You can add more panels or tools to this screen as per your requirement.
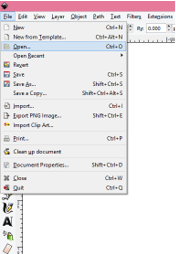
For doing this task in Inkscape we need an image because i will show cropping by an example of an image so let us have an image. You can use your own image for this purpose or have it from the internet. For opening any image in this software there is many ways but we will go to the Open option of the File menu of the menu bar and click on this option.
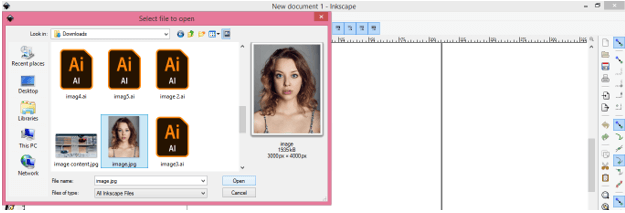
A dialog box for selecting your desired image will be open, choose your desired image from its saved location of your personal computer. I will choose this image and you can see the properties of your selected image in this box also. Now click on Open button of this dialog box.
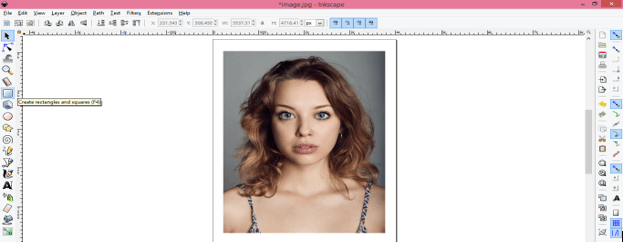
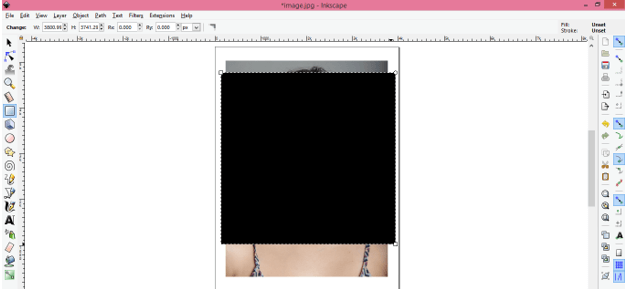
Now take the ‘Rectangles and Squares’ tool from the tool panel or you can press F4 as short cut key for this tool.
Now draw a rectangle or square above the area or image which you want to crop. I will draw it like this.
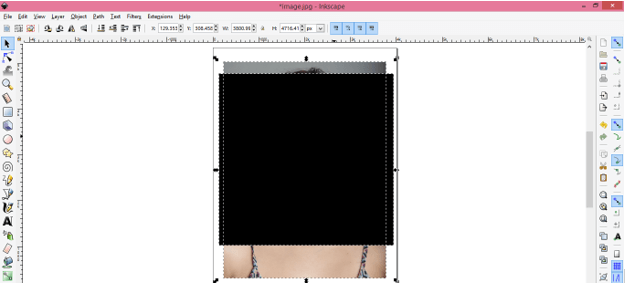
Now take the ‘Select and transform objects’ tool from the tool panel or you can press F1 from the keyboard for quick access of this tool.
Hold shift key of the keyboard then make click on this rectangle and image one by one with the cursor of this tool for selecting both at the same time.
Now go to the Object menu of the menu bar then navigate the Clip option of the drop-down list then click on Set sub-option of this option.
And your crop is ready according to your set parameters of rectangle tool like this.
If you find cropped area is not according to your requirement then you can go to Clip option again and this time click on Release sub-option of this option for releasing this clip.
And it will release same as previous. Now make adjustments according to you.
And again go through same options for having a new crop. You can make a change in your cropped object multiple times as per you requirement.
You can also make a circular crop and for this purpose, you have to make a circle or ellipse tool from the tool panel or you can press F5 as short cut key.
Again do the same thing that is make a circle or ellipse according to which you want to crop your image. I will make it like this.
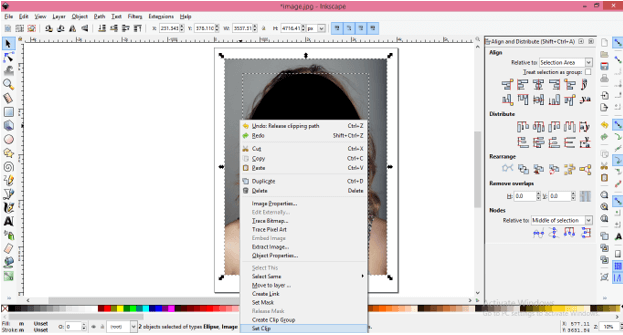
Now let us see another way for reaching up to clip option for doing crop. Make right-click on anywhere on display window area after making a selection of both image and ellipse by selection tool then click on Set Clip option of the drop-down list.
It will crop like this according to our drawn ellipse.
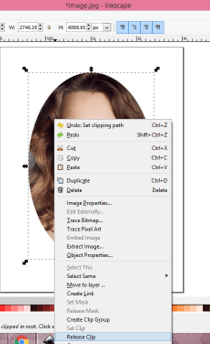
If you want to make any change in this crop then again make right-click on the image area and this time click on Release Clip option of a drop-down list.
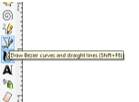
Rather than doing crop by geometrical shapes, you can do crop with a bezier tool by making a random shape. So take the Bezier tool from the tool panel or press Shift + F6 as short cut key.
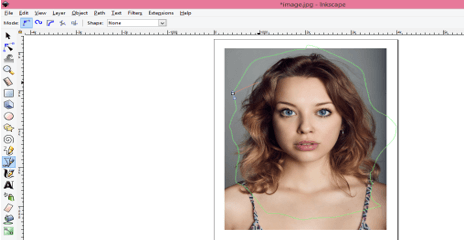
And draw a random shape like this with bezier tool. It will crop also if the path made be bezier tool is not closed.
Now select both image and random shape which you have drawn with the bezier tool.
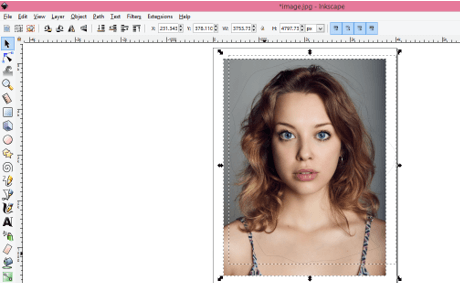
And see the magic this is cropped according to our random shape.
Now let us do something different. Take the ellipse tool again from the tool panel and make multiple ellipses like this or you can make one ellipse and copy it for another ellipse then manage their size as per your choice. I will make this type of arrangement with these ellipses. You can align these ellipse by using the alignment option of aligning panel if you want proper alignment.
Now select all ellipse and group them by the Group option of the drop-down list of Object menu of the menu bar or you can press Ctrl + G for this purpose.
Now go with anyone method of reaching the Clip option which we discussed above and you will have this type of cropped image.
These were some interesting steps for doing crop in Inkscape software.
Conclusion
I think we have explained very good techniques for doing crop in this software and you also learned to use the full parameters of this process which you can control for having effective results in your work. Now go and try this feature of the Inkscape tool with a number of images for having good commanded on it.
Recommended Articles
This is a guide to Inkscape Crop. Here we discuss the introduction, How to do Crop in Inkscape? and steps for doing crop in Inkscape software respectively. You may also have a look at the following articles to learn more –
