Introduction to Inkscape Extensions
Inkscape Extensions are types of additional scripts or plugins that help Inkscape for performing particular operations that are not built-in in it during its development. There are a number of extensions in Inkscape already those you can use for enhancing the working ability of this software, and these extensions make our work easy, and we can perform complex operations smoothly. If you want, you can install any external extension in Inkscape and use that external extension, same as we can use a built-in extension of it. Here in this article, I will tell you where you can find extensions to use them in Inkscape and how to install external extensions too?
How to use Extensions in Inkscape?
We can use built-in extensions of Inkscape for performing several types of works in it. You will find a number of good extensions in the Extension menu of the menu bar of this software. So let us start our discussion about it.
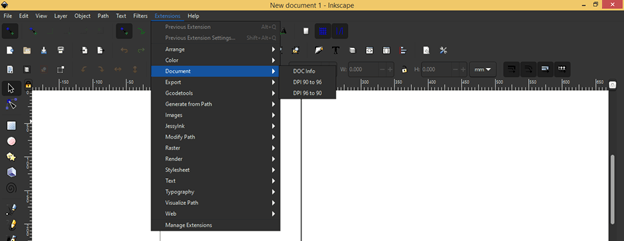
For navigating any extensions in Inkscape, go to the Extension menu of the menu bar, which is at the top of the working screen. Once you click on this menu, there will be a list of a number of extensions, and you can go with your desired one. There is an extension for adjust colors, an extension for modifying paths, extensions of document settings, and so on. It depends on you what type of extension you want to use for performing your task.
Let me tell you how you can use them. Each and every extension has its different way of using it. So you can learn all the important extensions by practicing on them. I will tell you about one of the extensions and explaining to you how you can perform that extension?
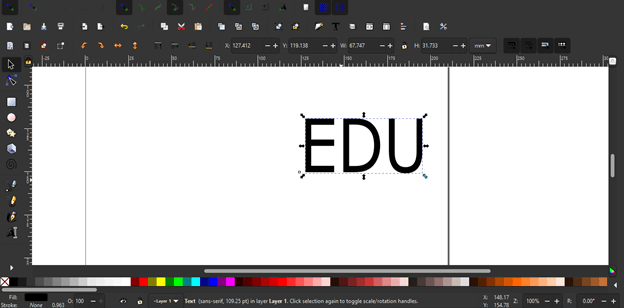
For this purpose, I will type a text by using the Text tool of the tool panel. I will type EDU as my text.
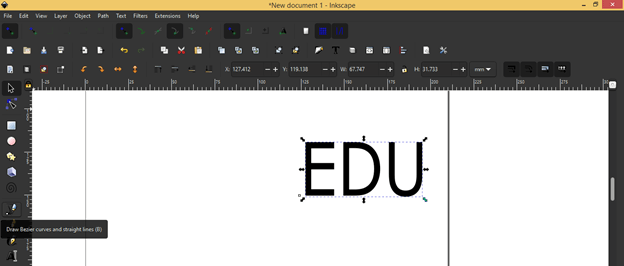
Then I will take the Bezier tool from the tool panel.
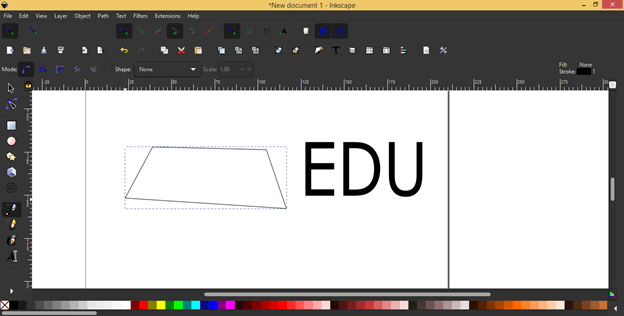
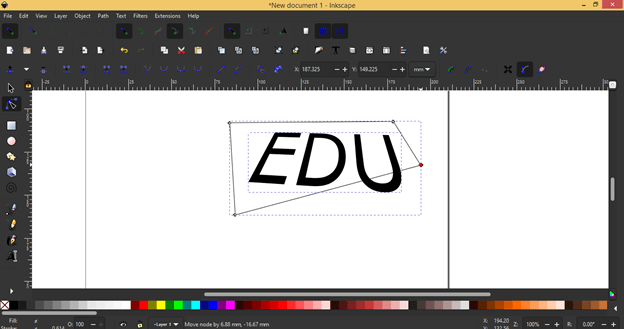
And create a path like this. You can create any path by using other tools of this software; that is, you can create a rectangular path and then edit as per your choice or create a circular path with the Ellipse tool and so on. We are going to change the view of this text to a perspective view.
After creating this path, I will select both path and text both. For selecting both path and text at the same time, select any of the objects first and then hold the shift key of the keyboard, then click on other objects.
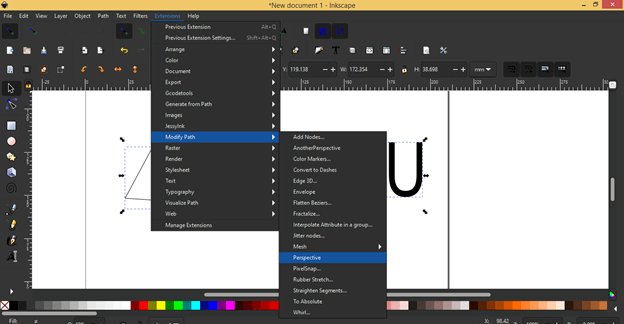
Now after making a selection of both, go to the Extensions menu of the menu bar and click on it. Go to Modify Path option of the scroll-down list. This is actually a type of extension for making modifications in paths in several ways. Here in the new scroll-down list of Modify Path, go to the Perspective option and click on it.
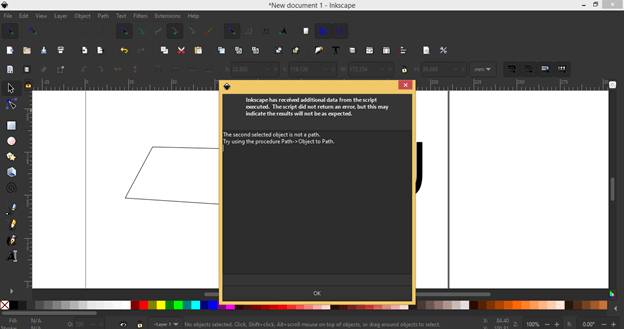
Once you click on it, then if there is some error for applying for that extension, then it will show you a message for that. In my case, the select objects should be paths, but our text is not a path; that is why it is showing that the second object is not a path, so it cannot apply this extension to my selected objects.
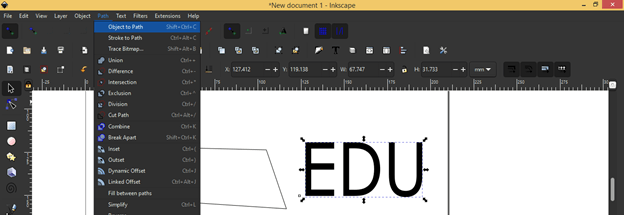
So before apply for this extension, I will convert this text into the path, and for converting it, I will select it first, then go to the Path menu of the menu bar and click on the ‘Object to Path’ option, or you can simple press Shift + Ctrl + C after selecting text.
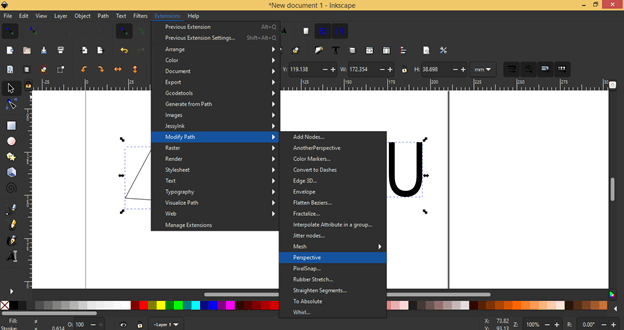
Now both of the objects are paths, so I will repeat the same process and go to again the Perspective option of Modify Path extension.
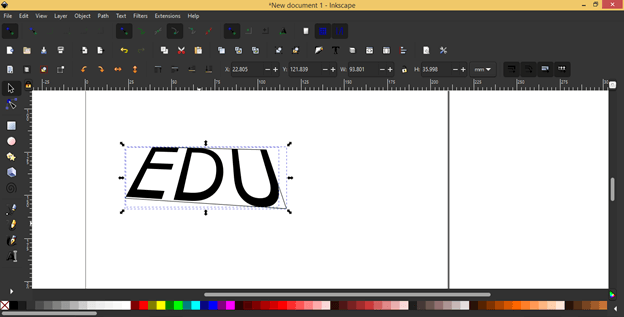
And you can see it changes the view of my text according to the perspective of the other selected path.
The other path is still a separate path, and you can do modification in it for making it a good background of this text or some other creativity with it, or you can delete it also it will not affect the text path anymore.
So, in the same way, you can use other extensions of the Extension menu of the menu bar for different types of purposes.
Now let us see what we have to do if we want to use any external extension that is not in this software.
How to Install Extensions in Inkscape?
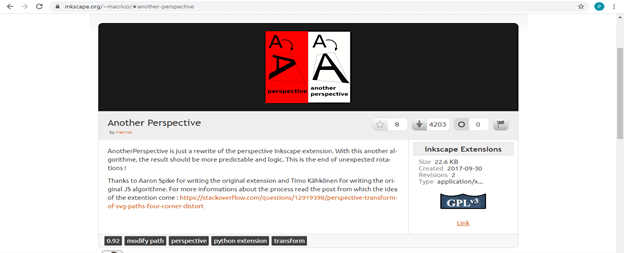
For installing your desired extension in Inkscape, first, navigate for your desired extension and find its download link. For example, I want to have this extension in my Inkscape program. So I will download its Zip file from its download link.
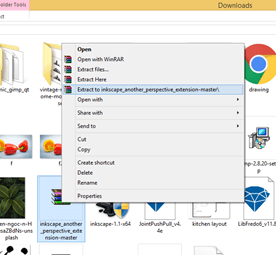
Now after downloading its zip file, extract it.
After extracting it, open its folder and copy all the files of the folder. I will select all by pressing the Ctrl + A button of the keyboard and press the Ctrl + C button of the keyboard.
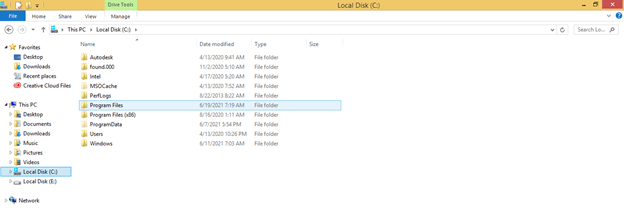
Now go to the C drive of your computer, then open the Program files folder.
Find Inkscape folder the list of Program Files folder and open it.
Now in the Inkscape folder, you will find a folder with the name Share, so make double-click on it for opening it.
Then again, there is an Inkscape folder, so open it too.
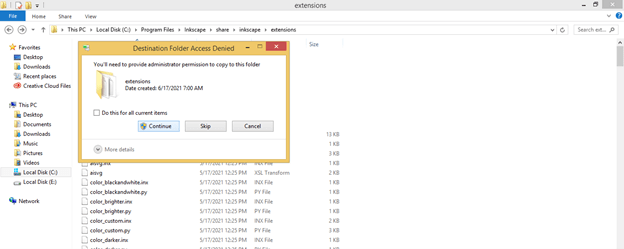
Now in this folder, you will find the Extensions folder, so open it.
And paste copied files of extension here by pressing the Ctrl + V button of the keyboard.
And we will have all the copied files here. After doing this process, you can restart Inkscape if it is open, and you will find your installed extension in the same Extensions menu of the menu bar.
In this way, you can go with an extension in Inkscape and also have our desired one as per our choice.
Conclusion
Now working with extensions is no more an unknown task for you, and you will also find it very helpful during working with several types of extensions for particular work. The plus point of Inkscape is that it offers you a number of built-in extensions as well as you can add your favorite one from external sources.
Recommended Articles
This is a guide to Inkscape extensions. Here we discuss How to use Extensions in Inkscape and How to Install Extensions in Inkscape. You may also have a look at the following articles to learn more –

