Introduction to Inkscape Grid
Inkscape Grid is one of the features of Inkscape and with the help of the grid we can create illustrations in this software very easily with accurate symmetry and design aspects. There is a grid panel in this software from where we can make different types of adjustments in the parameters of it. You can not only use one grid set in your document but also have more the one grid set for different types of purposes. Inkscape also offers you enable as well as a visible button for number girds set those you have in your document and by enabling and disabling them you can have good command on the handling of these grids.
How to Use Grid in Inkscape?
You can use the grid for different types of purposes in this software and I will today tell you about all major parameters of the grid panel so that you can have a good command of it.
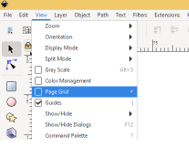
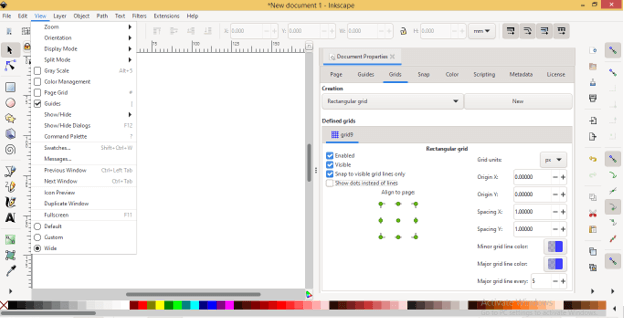
For having a grid on your working document area you first have to On Page gird option of the View menu. So click on check box of this option for enabling it.
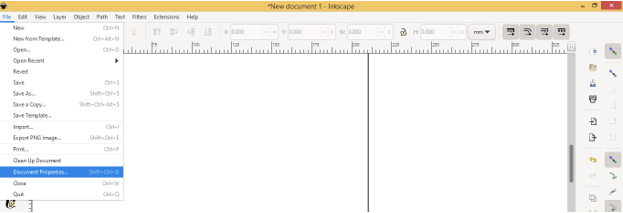
Now go to the File menu and click on the Document Properties option of the drop-down list or you can press the Shift + Ctrl + D button on the keyboard as the short cut key of it.
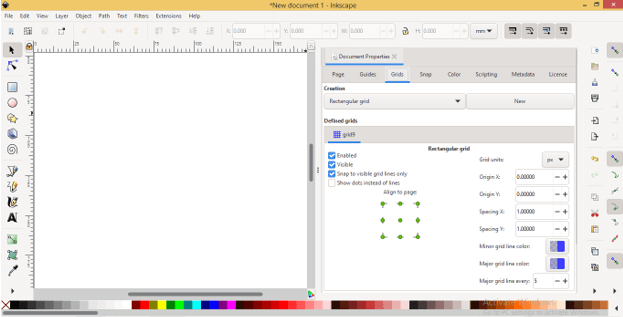
Once you click on it you will have the Document Properties dialog box on the right side of working window. Here in this dialog box, you will have a Grids tab so click on it.
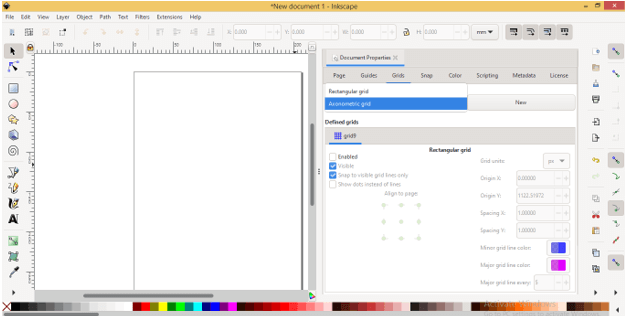
In the Creation option of this grids tab, we have two types of the grid that means you can create a grid in two ways on your document area. One is a Rectangular grid and the second is an Axonometric grid. So let us see both one by one.
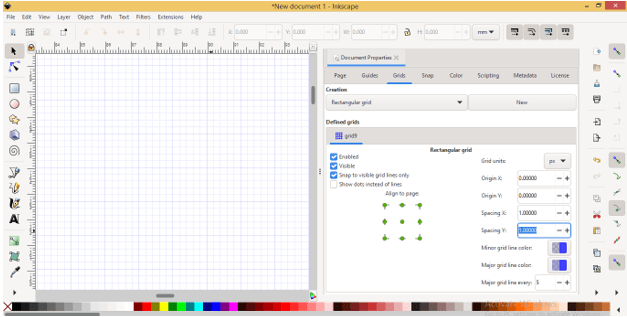
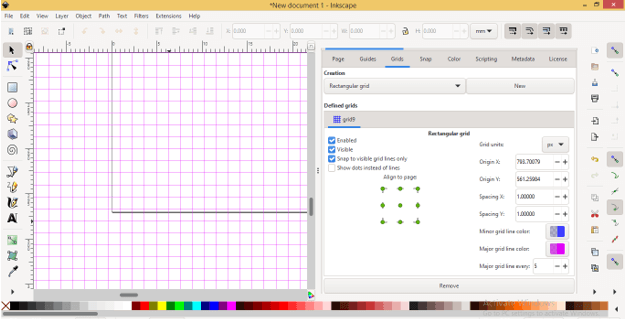
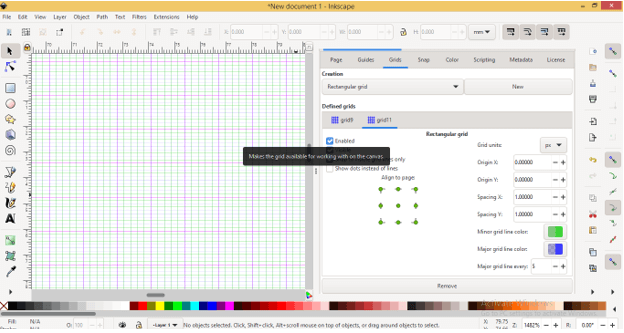
I will first select Rectangular gird and we will have default grid settings here. Make sure you have been enabled the Page grid option from the View menu otherwise it will not show you any grid on the working area.
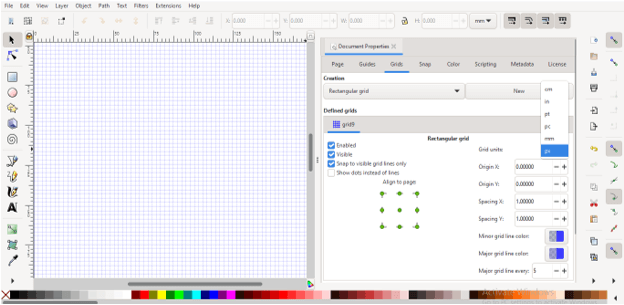
From this list, you can set the unit of the grid as per your choice.
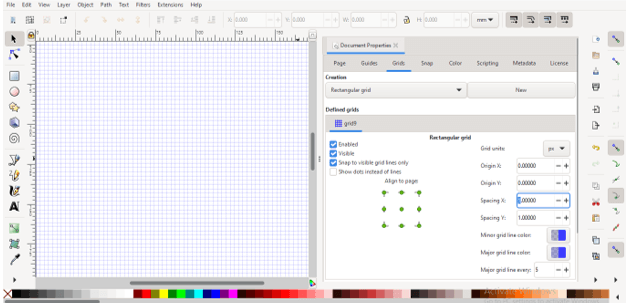
Here is the Spacing option for the X and Y axis and their values are 1 x 1 which means the one block or box of the grid will cover 1 x 1-pixel area of the document.
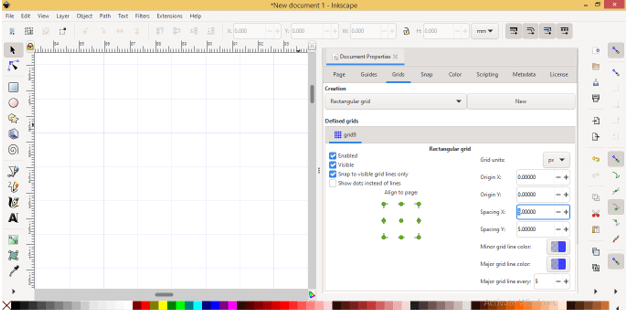
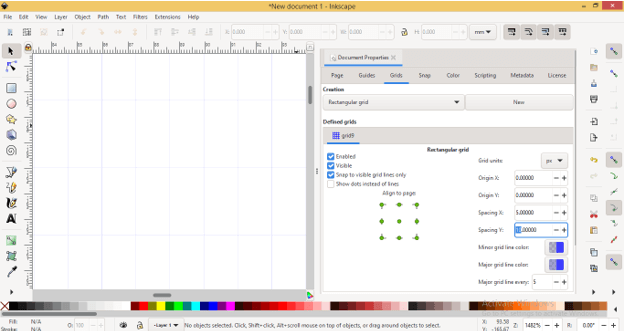
If you want you can change the size of blocks of the grid by changing values of spacing such as I will give 5 x 5 value then the size of grid block will cover 5 x 5 pixels.
It is not necessary that you take the same values for x and y spacing. You can take different values for both and then it will be like rectangle shape blocks.
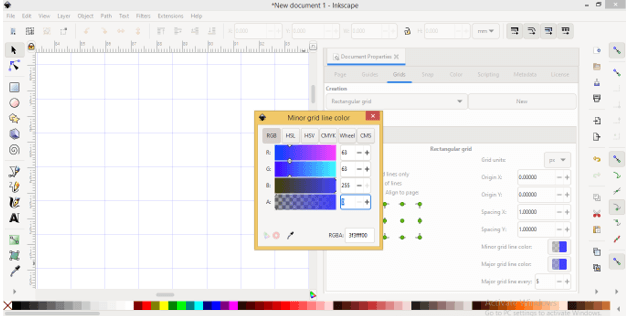
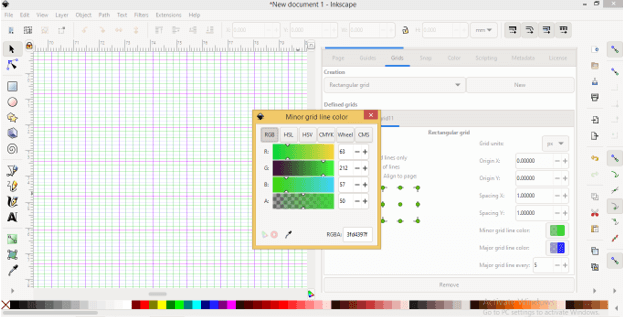
Let us get back to the default grid block size and we can see there are some dark lines at the interval of 5 x 5 blocks of light grid lines. The lighter lines called Minor gird lines and the darker lines called Major grid lines so click on the color box of Minor gird lines option.
Here if you make the opacity value of this gird as 0 then it will become invisible from the document area and major gridlines will only remain. You can do the same for major gridlines from its color box in place of minor grid lines if you want.
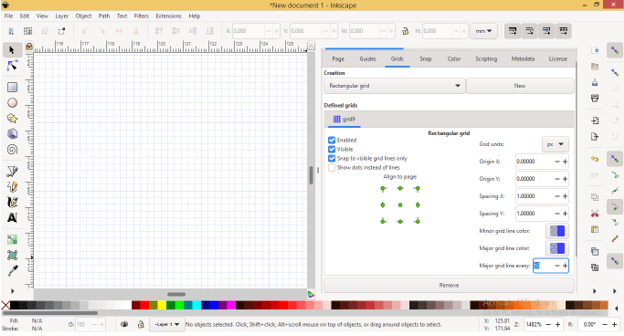
By changing the value of the ‘Major gridline every’ option you can increase the number of blocks in between major grid lines. For example, if I enter its value as 10 then you can see it will update grids in the document area with 10 blocks of gird in between major girds.
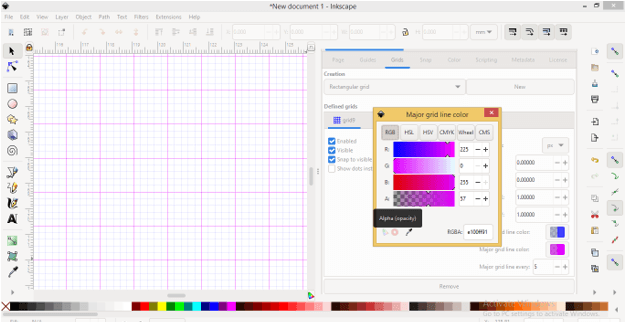
You not only make gridlines invisible but also change their colors and for changing color once again click on the color box of that grid line which color you want to change. For example, I will click on the color box of the major grid line and slide the slider on the color rule then it will change the color of major grid lines like this.
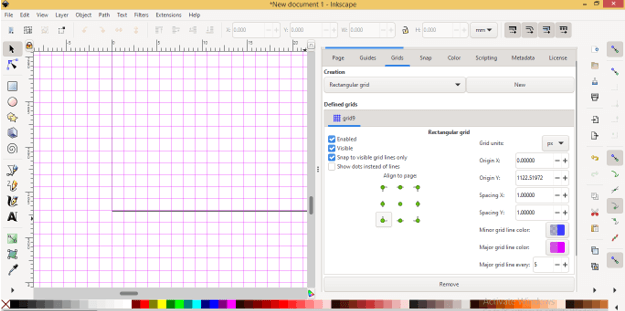
You can align the grid with your document in a different manner such as you can align it to the corner of the document, center of the document, and so on. For example, you can see this gird is not aligning with the corner of this document and I want to align it with a corner. So go to Align to page option of Grids tab in Document settings dialog box.
And once you click on the corner button of Align to Page option of this tab it will align with the corner of the document like this.
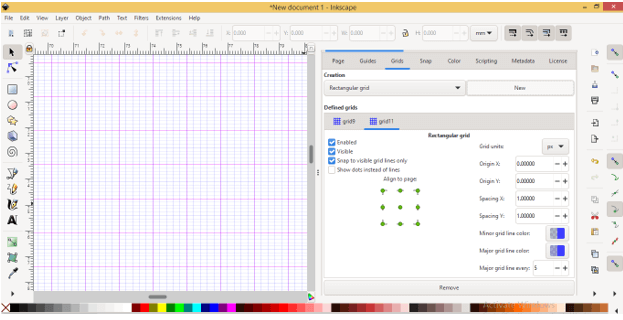
You can add a number of girds set in one document and for that click on the New button of this tab. A new gird will add like this.
You will have same type of parameters in this grid also and you can make changes in them too. For example, if I will change the colors of grid lines for the new grid then we can easily recognize it.
You can enable or disable any grid from the document area by clicking on this Enable button of currently selected grid.
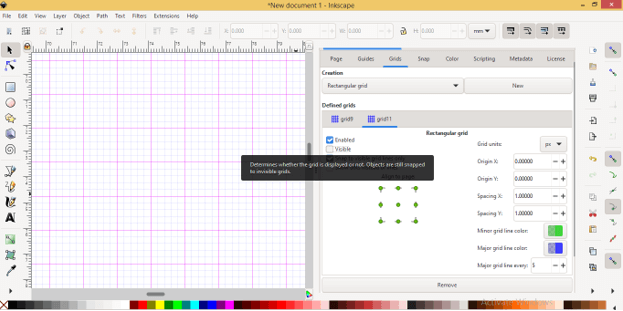
There is a Visible button and by this, you can make your grid visible or invisible on the document area that means the grid will be active on the document area if its enable button is On but you can not see it.
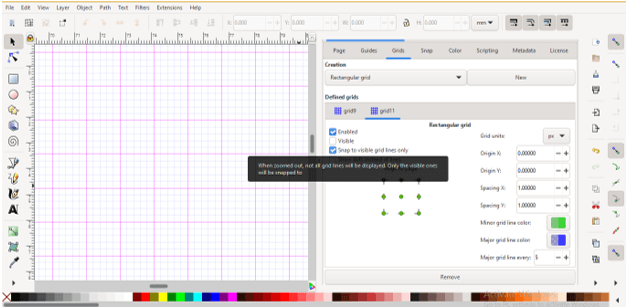
You can also make snapping to grid on/off as per your choice by clicking on this Snap to the button.
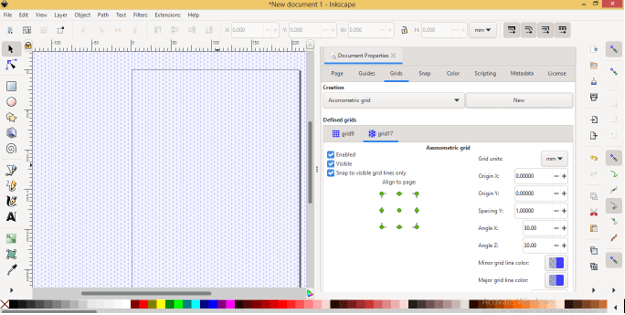
Let me tell you about the next type of grid and it is Axonometric grid. So select it ad click on the New button of this tab.
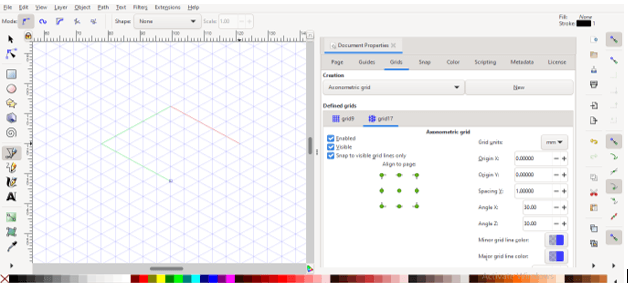
It will come like this and it helps in drawing of 3d object.
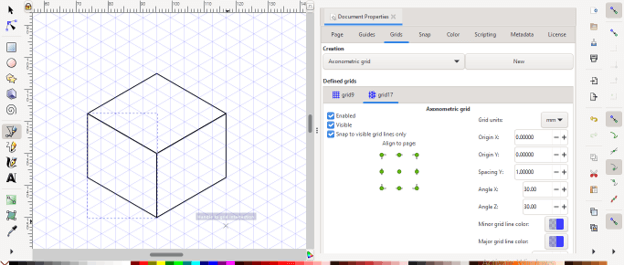
You just have to follow grid lines and it will snap to points automatically.
And you can make 3D object like this.
Conclusion
These were all about grids of Inkscape and now you are free to use it in your document area for having a smooth working experience even for complex design. After this article, you must have knowledge about how you can play with different parameters of grid panels so start enjoying it.
Recommended Articles
This is a guide to Inkscape Grid. Here we discuss the Introduction, How to use the grid in Inkscape? with different parameters You may also have a look at the following articles to learn more –
