Introduction to Inkscape mirror
Inkscape Mirror is a very useful feature during creating illustrations in Inkscape. It helps us for making symmetrical objects very easily, and for that, we just have to create one side of the object, and then by using mirror features, we can create another side in seconds. You can remove the source object if you don’t want that part anymore. There is no specific tool named with Mirror, but we can mirror objects in several ways, and today we will discuss all those ways for having a good understanding of mirroring objects for different types of purposes. So let us start our discussion.
How to use Mirror in Inkscape?
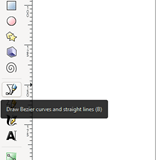
We do a mirror of objects in this software for different types of purposes, and it also makes complex designs easy as well as saves our time. Before start discussing this topic, I will create a simple design by using the Bezier tool. You can also press B as short cut key for this tool.
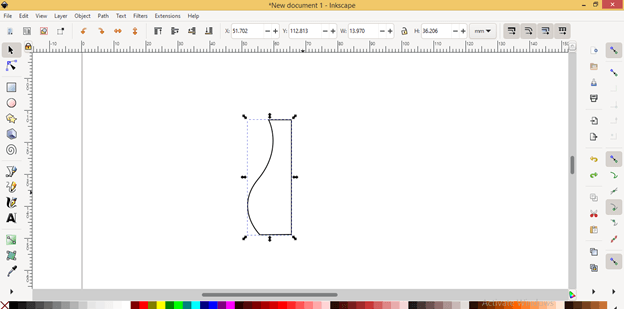
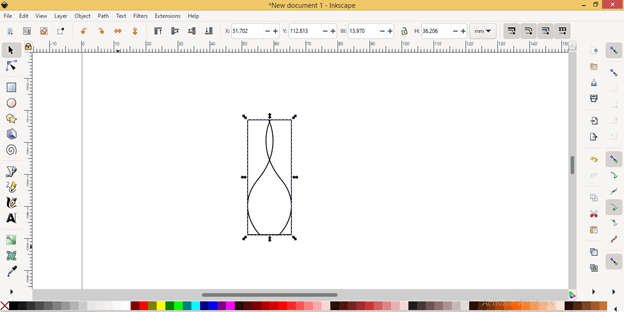
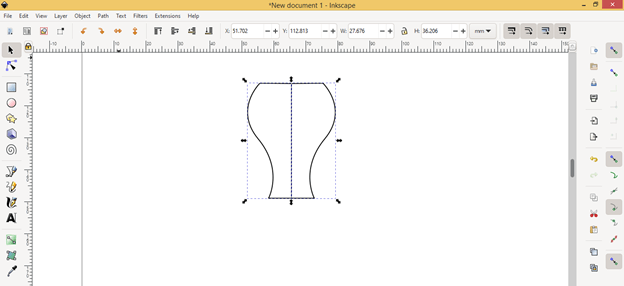
I have drawn this pot-like shape with this tool for explaining this topic. This is the half shape of the pot, and I want the same shape on the left side of it so that there will be symmtery from both sides of this pot. We can do this with the Bezier tool also, but there is the chance that we can’t get the same curve on the other side same as the curve of the first side of this pot, and it will take time to match both sides exactly that is why we go with mirroring of this half part of the object.
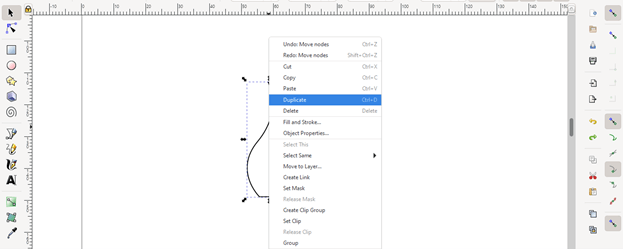
I want the same shape on the other side of this drawn shape, so first, I will duplicate this half part. For making a duplicate copy of it, first, select this object and make right-click on it. Then choose the Duplicate option, or you can simply press the Ctrl + d button of the keyboard after selecting this half object, and it will make a copy of this object in the same place.
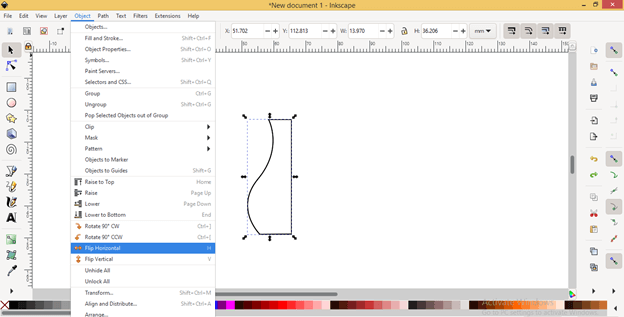
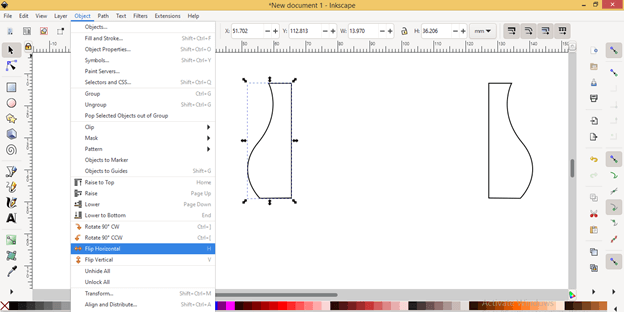
Now let me tell you the first way through which you can mirror this half part. Now go to Object and click on it, then choose the Flip Horizontal option from the drop-down list, or you can press the H button of the keyboard as its shortcut key.
Once you click on this option, it will flip a duplicate copy of this half object on its place like this.
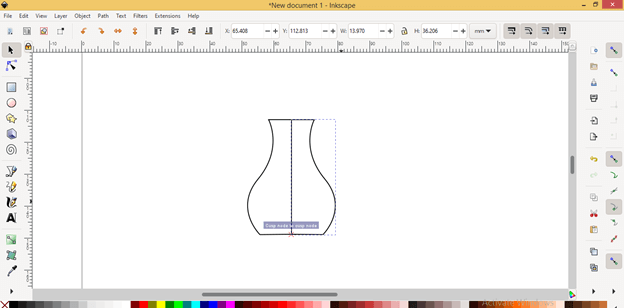
Now you can drag it in the opposite direction of the source object by holding the Ctrl button of the key, and it will snap to the endpoint of the source object.
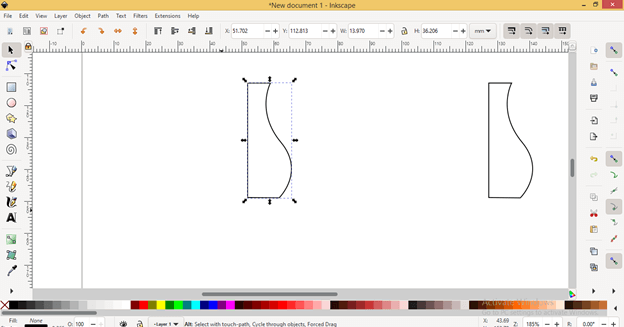
It is not necessary to make a copy of the source object if you don’t want the source object as it is in its previous place. For example, you can select a source object and again choose the Flip Horizontal option.
And it will flip horizontally in it a place that means you will get its mirror shape in the same place.
Same as a flipping object along the horizontal line, you can also flip it along a vertical line, and for that, select your desired object and choose the e Flip Vertical option from the same object menu.
And you will get mirrored shape of the chosen object in the same place along the vertical line.
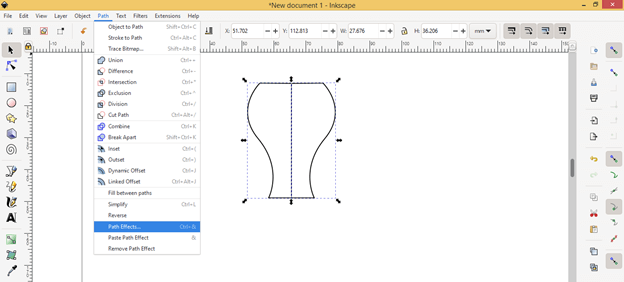
Now let us discuss another way through which you can do a mirror of the object. I will select these two objects and go to the Path menu of the menu bar, then click on it. Here in the drop-down list, choose the Path Effects option. You can press the Ctrl + & button of the keyboard for this option also.
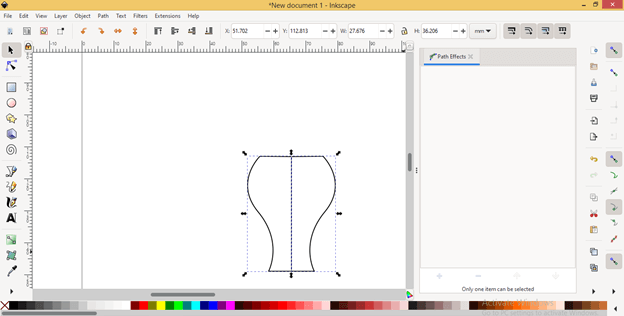
Once you click on this option, you will find the Path Effects panel at the right side of the working window, but you can see there is a message at the button of this panel that the options of this panel work only if there is one item selected.
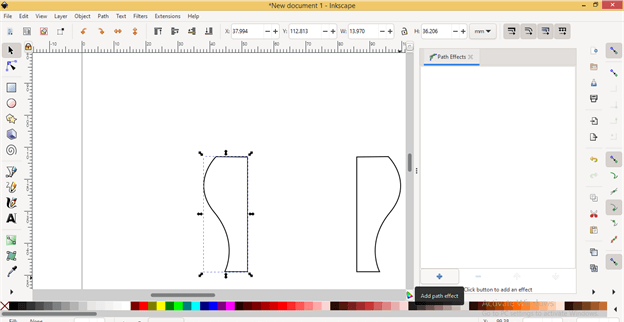
So we have to select only one object first. So I will place the left part aside and then select the right part only. Now you can see Add path effect button becomes active here.
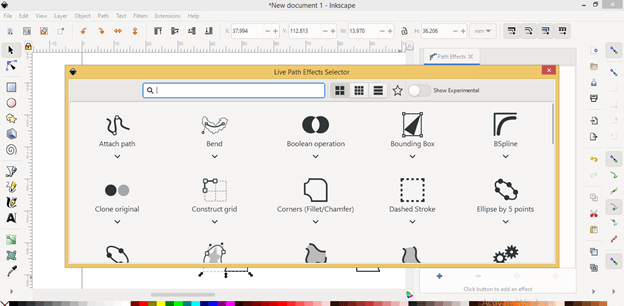
Once you click on Add button Live Path Effects Selector box will be open.
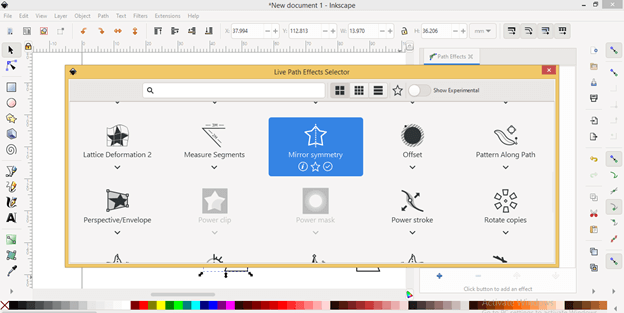
Scroll down in this dialog box, and you will find the Mirror symmetry effect in the list, or you can directly search it in the search box of this dialog box. Now click on it for having it on the Path effects panel.
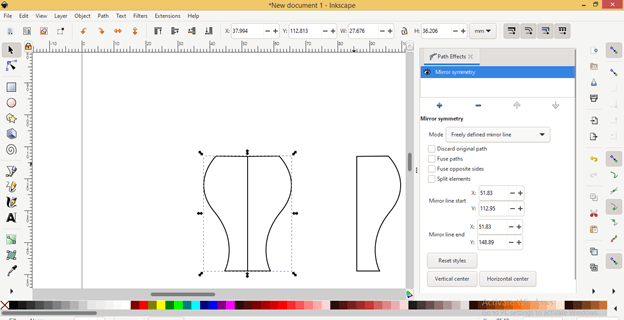
You can see it makes a mirror of our selected object.
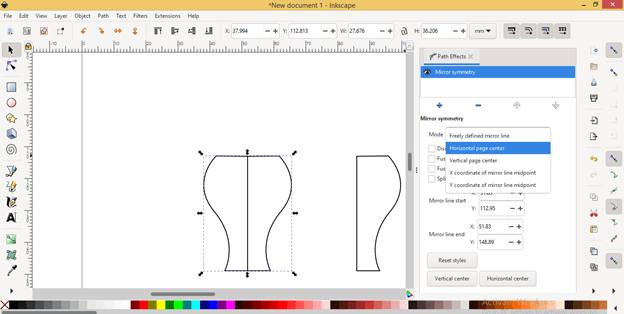
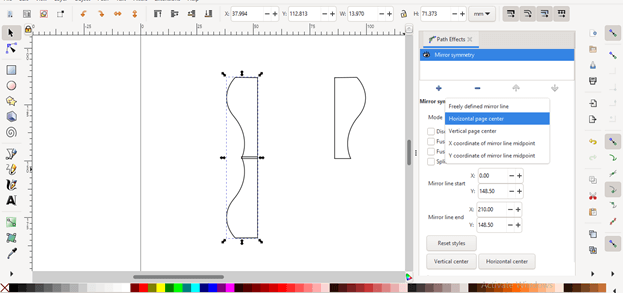
There are some parameters in this box with which you can play around for having different types of changes in the mirrored object. The first one is Mode, and there are some options in Mode. If you choose the ‘Horizontal Page center’ option from the list.
Then it will arrange both source and mirrored objects horizontally along with the document page.
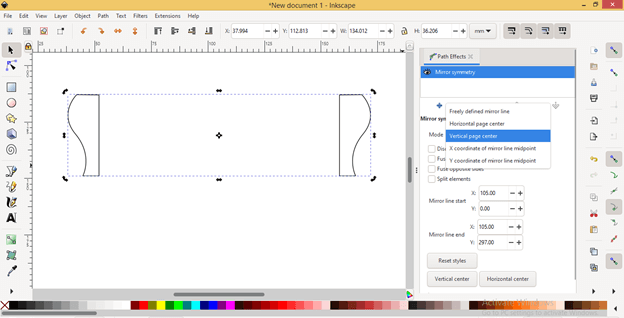
If you go with ‘Vertical Page center’, then it will arrange them on the vertical axis of the document page, and it will be at an equal distance from the center of the page.
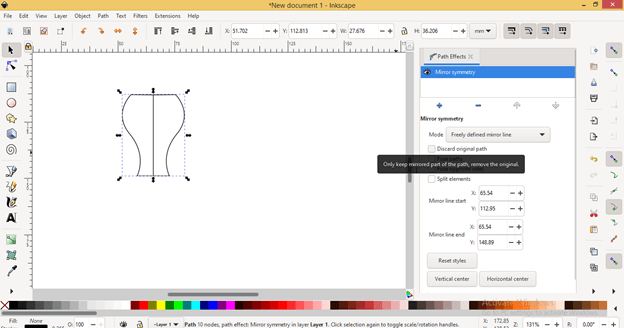
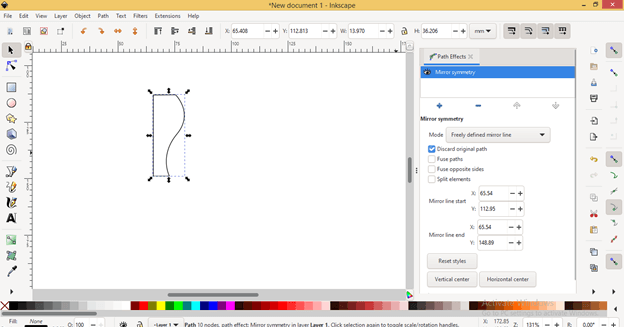
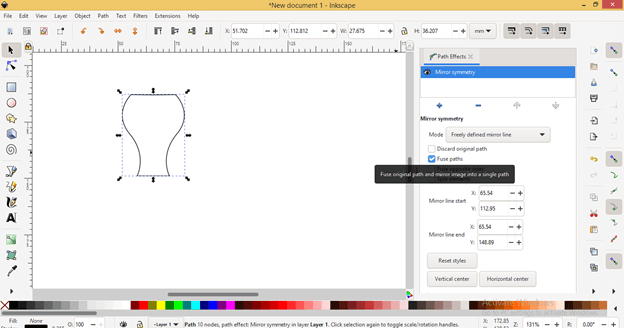
If you don’t want the source object after mirroring it, then you can enable the ‘Discard original path’ option of the Mirror symmetry tab.
And it will remove source objects like this.
If you enable the Fuse Paths option from the Mirror symmetry dialog box, then it will remove the mirror line between both source and mirrored objects.
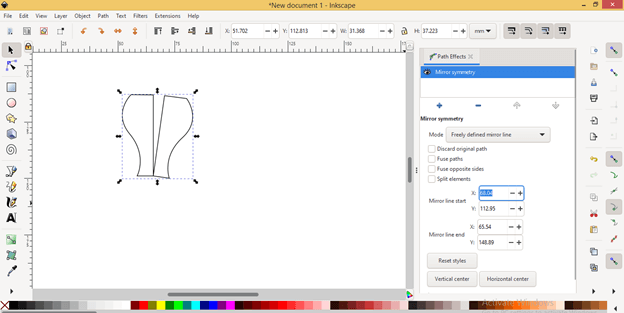
If you want, you can change the start point of the mirror line by changing the value of the x or y-axis on the ‘Mirror Line start’ option of this dialog box, and it will change like this.
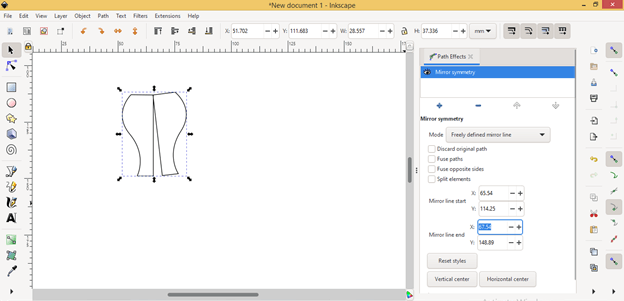
You can do the same for the endpoint of the mirror line from the ‘Mirror Line end’ option.
There are many more options in this mirror effect with which you can play for having a different result.
Conclusion
Now, after this article, you have two ways to do a mirror any object for different purposes in Inkscape. I will suggest you make variations in every parameter of the Mirror symmetry effect for having more commands on mirroring of the object, and once you have the command, you can create many complex shapes very easily.
Recommended Articles
This is a guide to the Inkscape mirror. Here we discuss the two ways to do a mirror any object for different purposes in Inkscape. You may also have a look at the following articles to learn more –
