Updated June 9, 2023
Introduction to Inkscape PNG to SVG
Inkscape PNG to SVG can understand as converting the PNG file of any image into SVG file format, here svg stands for Scalable Vector Graphics which means you can scale the svg image without losing its quality and it will not pixelate. Here in Inkscape, we can save our artwork in SVG file format, and not only our artwork but we can also save any png/jpg image file into svg file format. But for saving png we have to convert that image into vector format and there is a very quick way in Inkscape through which we can convert png into a vector format. So let us find how we will do it.
How to convert PNG into SVG in Inkscape?
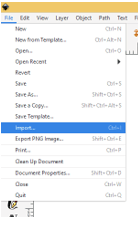
Before converting a png image into svg we have to convert a png into a vector file. Let me explain to you how you can do this. Take your png image in Inkscape and for that, I will go to the File menu and click on the Import option of its scroll-down list.
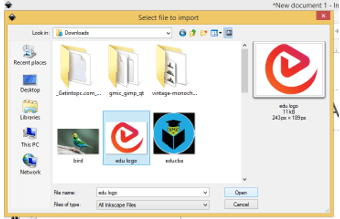
Now I will choose this image of the EDUCBA logo.
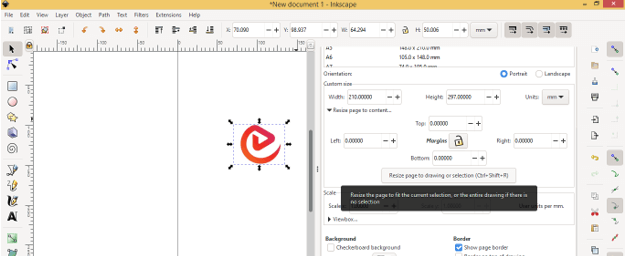
After having it I will resize this document page according to this logo image size and for that go to the File menu again and click on the Document Properties option of scroll down list.
Now in the dialog box of Document Properties click on ‘Resize Page to Drawing or Selection’ tab.
And it will resize the page according to this image.
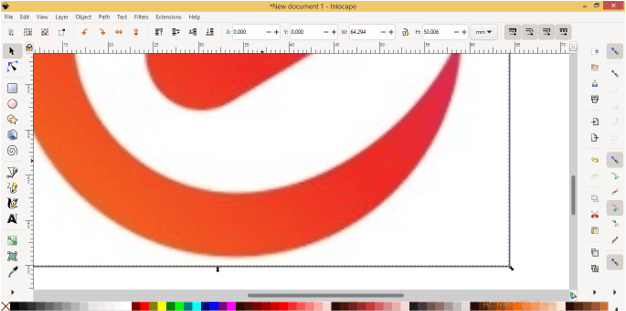
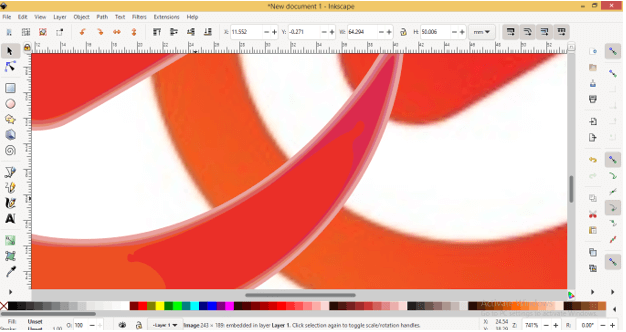
Now if I zoom it then you can see it is a raster image and if we save it as SVG then scale it, it will pixelate. So first we will convert this image into a vector format.
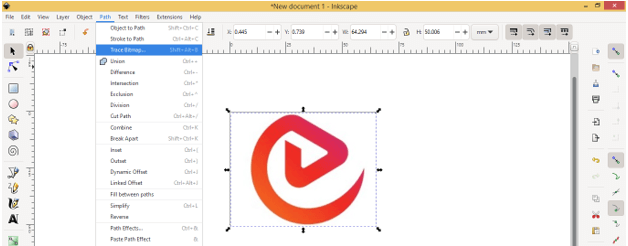
For converting this image into vector format, go to the Path menu and click on the Trace Bitmap option.
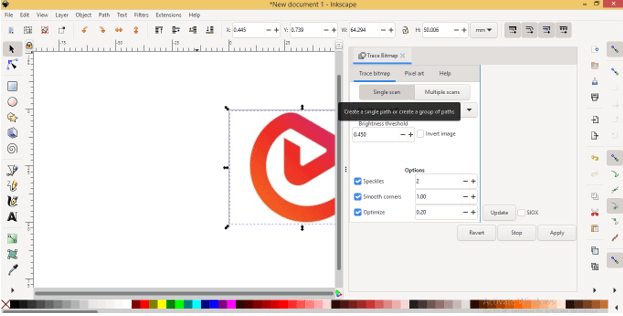
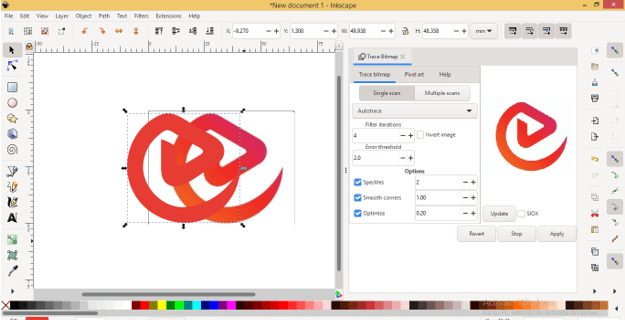
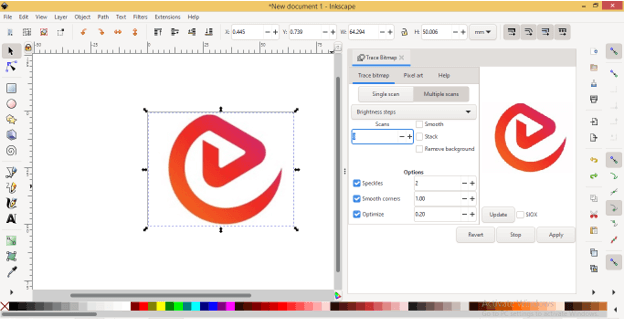
A Trace Bitmap tab will be open on the right side of the working screen. Here we have two buttons for scanning our image that is Single scan and Multiple scans. You can go with a Single scan for black and white images or if the image has multicolor then you can go with Multiple scans. For understanding the Trace Bitmap panel deeply, you can go with my ‘Image to Vector’ article also.
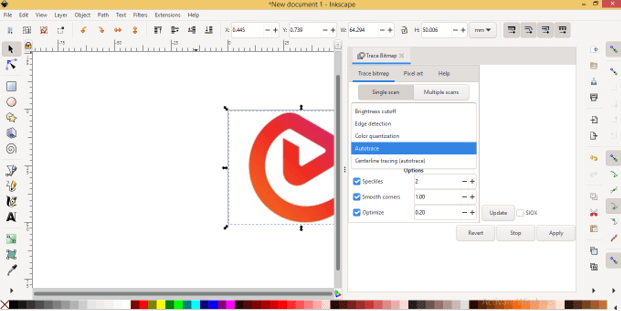
There is also an Autotrace option so I will click on it.
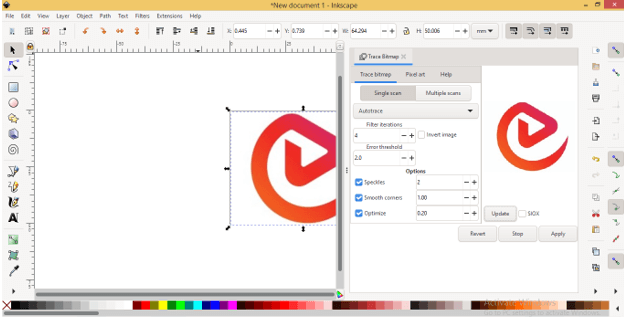
And click on the Update button of this dialog box. You can see the preview of the traced image here.
Now click on Apply button and you will have traced the image on the top layer of the source image. I will move it and you can see it is a nice vector trace. The best part is that it has a transparent background.
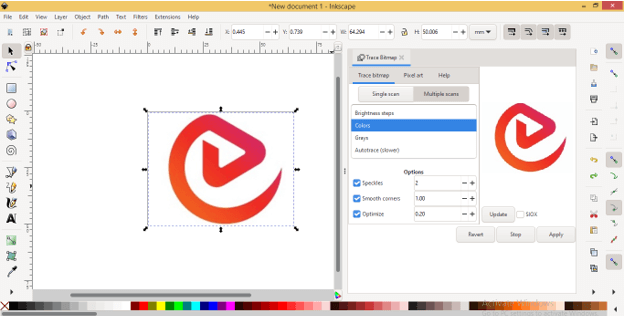
If you are not satisfied with this tracing you can go with the Multiple Scans option and set the number of scans.
Now choose the Colors option in this list.
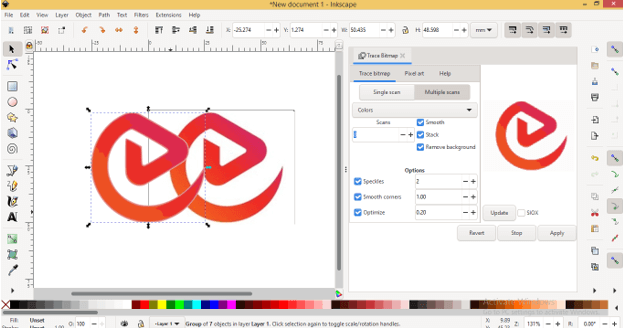
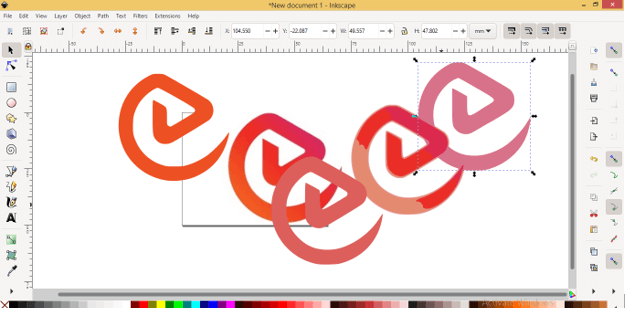
After clicking on the Multiple Scans button click on the Update button and if you are satisfied with the result then click on Apply button. I will move the traced image and you can notice it has almost the same color as our image logo has.
Now you can see the difference between both images by zoom in on them. Our traced image is in vector format.
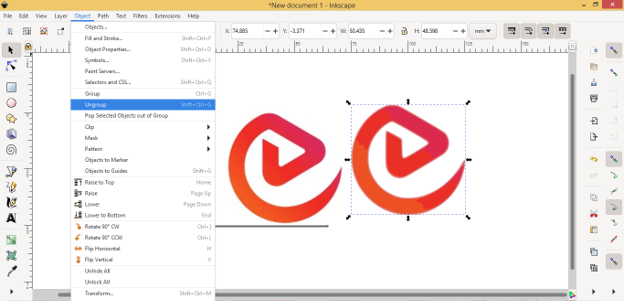
This traced image has a group of 7 layers so you can ungroup them as per your requirement.
And separate them.
If your image has a complex design then that cannot be traced by the Trace Bitmap option but you can trace your image manually with the Bezier tool. So first go to the Fill and Stroke panel. You will find this panel in the scroll-down list of Objects menu.
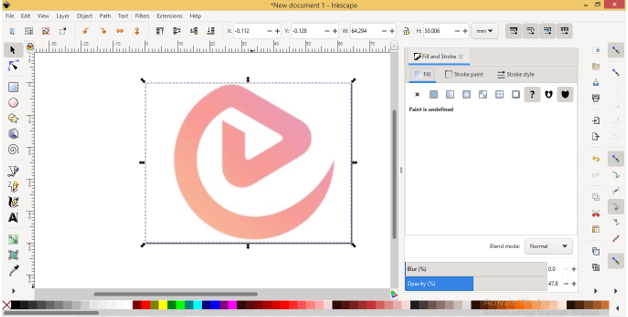
Here from this panel, I will decrease the opacity of this image layer so that we can easily trace the path around it with the Bezier tool.
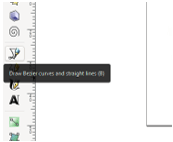
Now I will take the Bezier tool you can press B as short cut key.
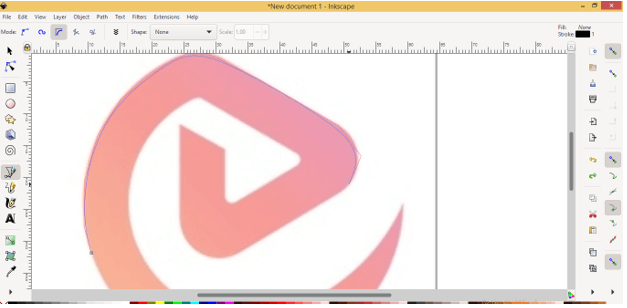
Now I will choose ‘Create BSpline Path’ option so that when we use the Bezier tool then it will curve the path automatically during tracing.
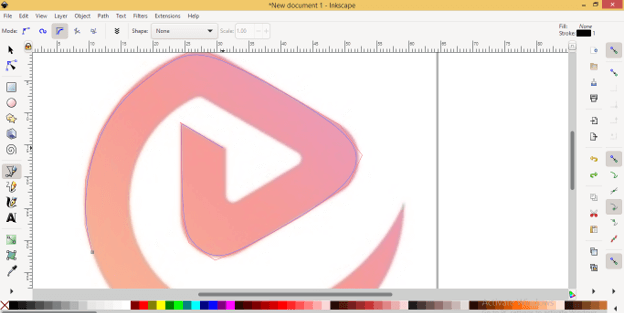
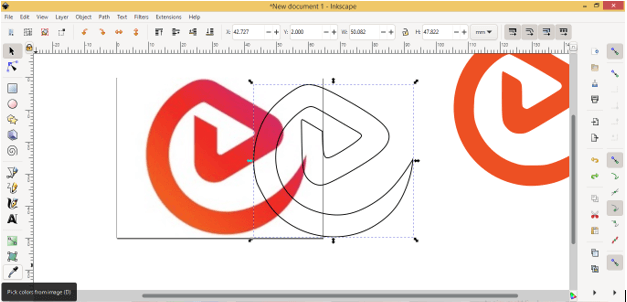
And I will trace it like this.
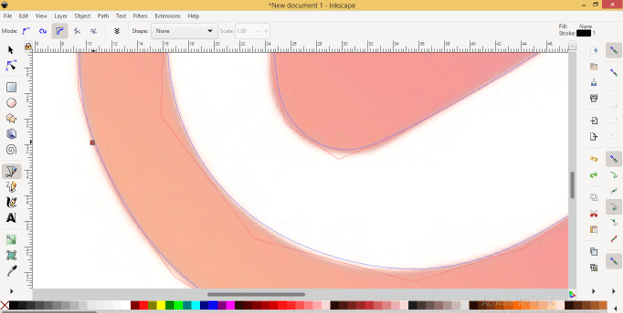
Hold the Shift button of the keyboard if there is any sharp corner and you can turn the curve like this here.
When you reached the end of the path then click on the starting point of it for closing the path.
And we will get this type of shape according to our logo.
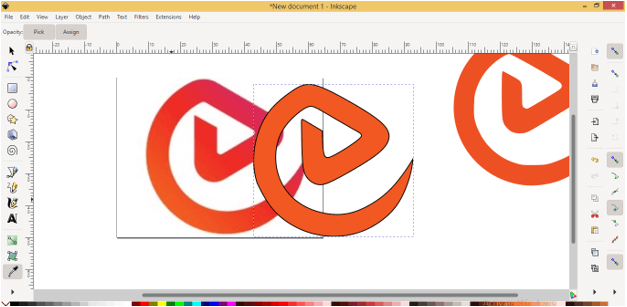
Now you can pick the same color for this created shape and for that take the‘ Pick colors from Image’ tool. Make sure you have selected the drawn logo shape.
Then click on the image of the logo and it will pick a color from the area of the image where you clicked. This is the flat color you can add a gradient to it later as per your choice.
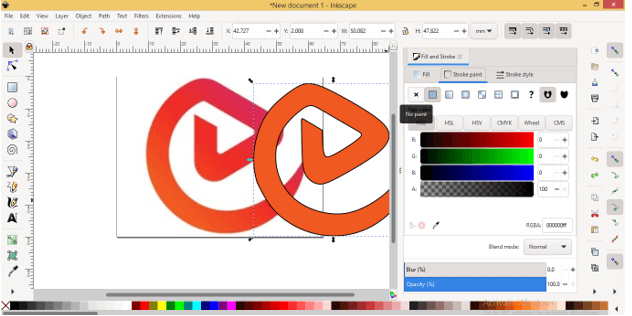
And now I will off the stroke from the Fill and Stroke panel.
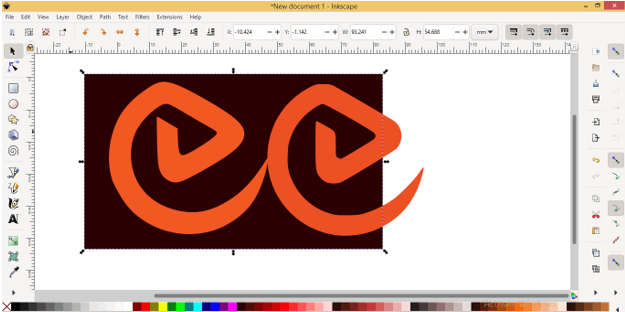
If I draw a shape and place it below this vector shape logo, then you can see both have a transparent backgrounds.
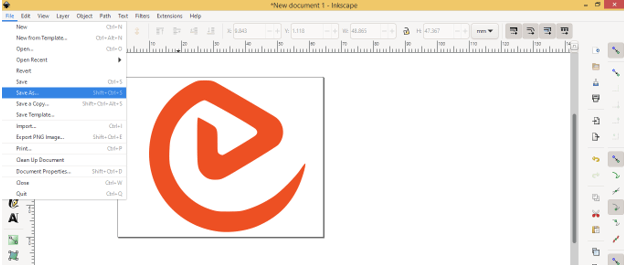
Now I will delete one of the vector logos and this one is ready for saving it as svg. So for this purpose, I will go to File menu again and click on it then click on Save as an option. You can press Ctrl + Shift + C as its shortcut key.
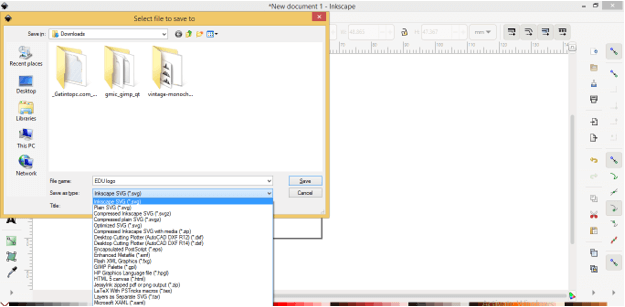
A Save dialog box will be open. Choose a location on your computer where you want to save this logo file and also name it as per your choice. I will name it EDU Logo. The one thing which you have to do before saving is that choose an SVG file format from the list of Save as type because we want to save this file as SVG then click on the Save button of this dialog.
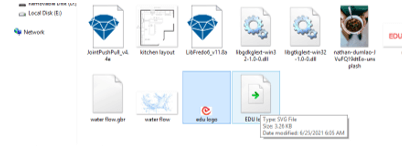
And you can find your saved file in SVG format at its saved location.
Conclusion
Now you can convert any PNG file into SVG file format in Inkscape. Not only PNG but you can also convert any jpg file format into SVG by the same method which we have been discussed in this article. I will suggest you try this with different types of PNG images so that you can analyze this method thoroughly.
Recommended Articles
This is a guide to Inkscape PNG to SVG. Here we discuss the Introduction, How to convert PNG into SVG in Inkscape?. You may also have a look at the following articles to learn more –
