Inkscape Remove Background
Inkscape Remove Background is a feature of this software through which we can remove the background of our desired image leaving the main object or our required object in that image. There is no specific tool for removing background in this software but we can do it in different ways and to get the end result we have to go through some required steps. Today I will tell you to remove background by two methods first one is by using the Trace Bitmap option of Path menu and the second one through which we can do it is by making a selection around our desired object of any image. So let us find how we can do it.
How to Remove Background in Inkscape?
We can do this task in Ink scape in a very simple manner you just have to follow the below discussed steps, so first I will take a black and white image and remove its white background very quickly. I will take the logo image of eduCBA.
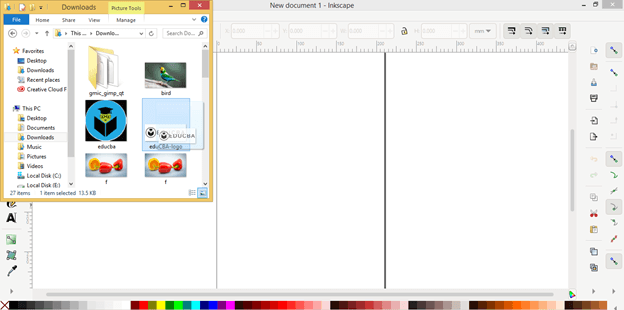
For importing an image in Inkscape open that folder in your personal computer where you have saved it then pick it from there and drop it in the document area of Inkscape. I will do the same with the logo image of eduCBA.
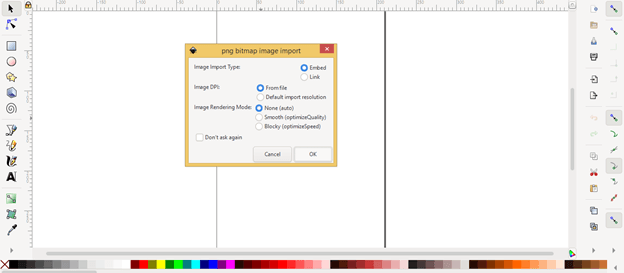
It will show you an importing dialog box for importing your selected image so click on the Ok button of this dialog box.
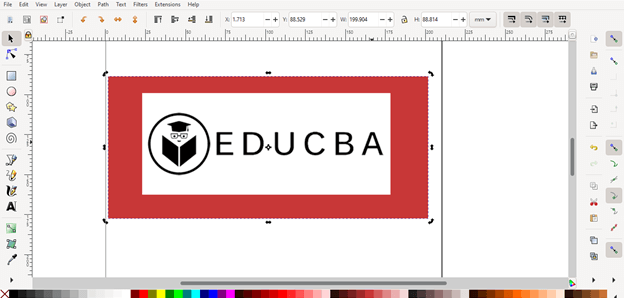
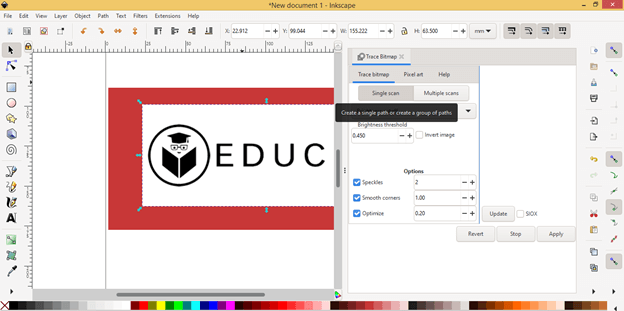
And it will import like this. I have drawn a rectangle by using the Rectangle tool for showing that the imported logo image has a white background and I will remove it.
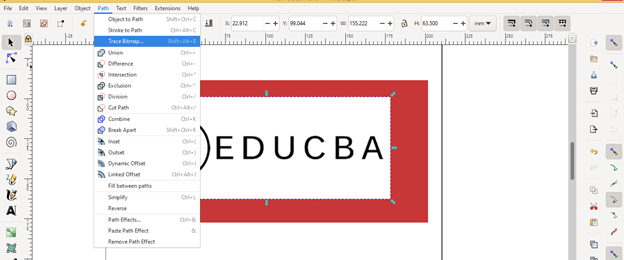
Now select the image and go to the Menu bar which is at the top of the user screen of this software and click on the Path menu. Once you click on this menu a drop-down list will be open so choose the Trace Bitmap option from the list or you can simply press the Shift + Alt + B button on the keyboard.
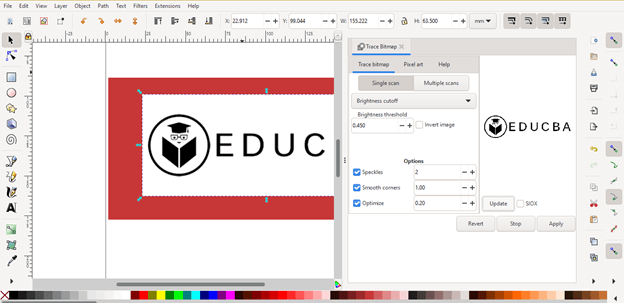
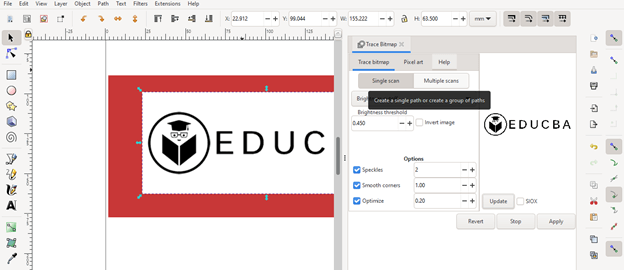
And at the right side of the working window, a Trace Bitmap dialog box will be open. Here click on the Single scan button of this dialog box for tracing this image.
And click on the Update button of the preview area. You will find this button at the right corner of this Trace Bitmap dialog box. Once you click on the Update button you can see the preview of traced image.
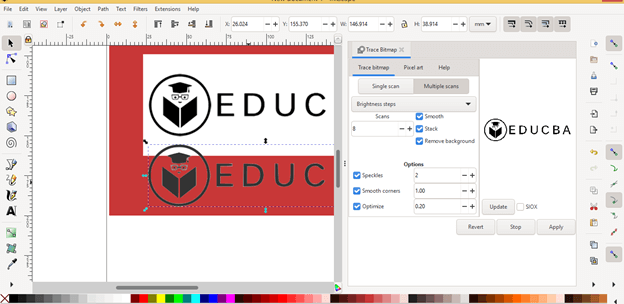
Now you can also choose the multiple scans option in place of a single scan for better tracing results. So I will click on it.
And enable the Smooth option by click on its check box.
Enable Remove background option also for removing background by clicking on the check box of it and click on Apply button of this trace bitmap dialog box. Now if I move traced image you can see there is now white background behind it. So with this method, you can trace black and white images very easily.
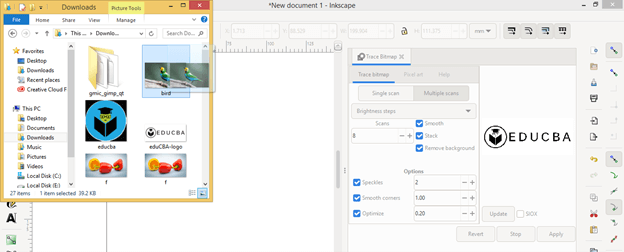
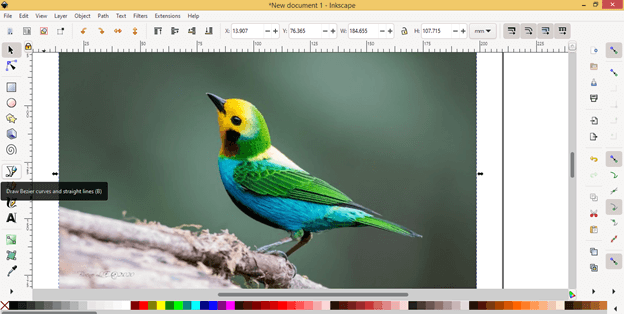
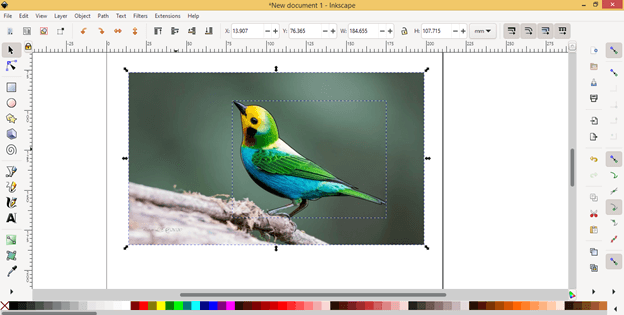
Now let us do this with a color image and see what will happen. For this purpose, I will take this bird image in the same way as we have been imported the logo images in previous steps.
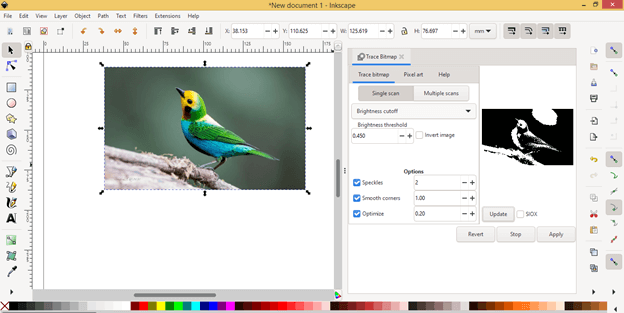
Now click on the Single scan button and you can see it will trace this image in black and white color scale.
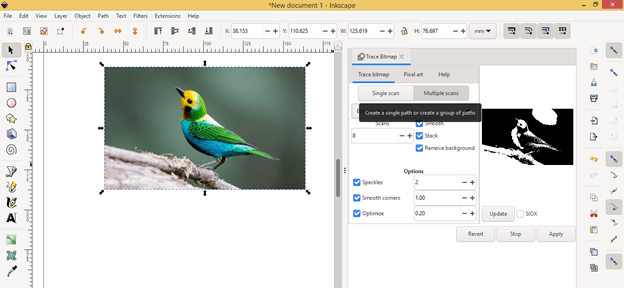
Now click on the Multiple scans button.
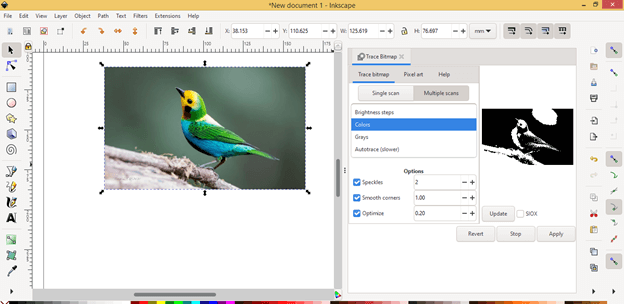
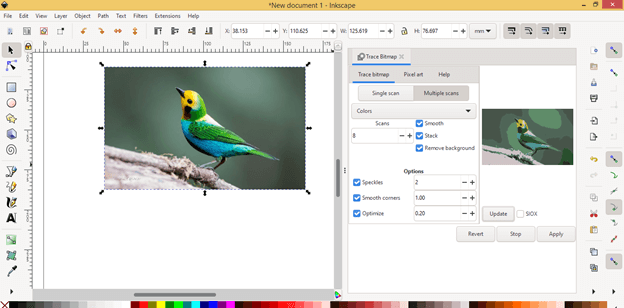
And then click on the down arrow button of the Brightness steps option and choose the Colors option from the list to a scan this image with colors.
And click on the Update button again and it will give you a result like this. You can see the background is not so clear. So it is difficult to remove the background of this type of image by trace image method.
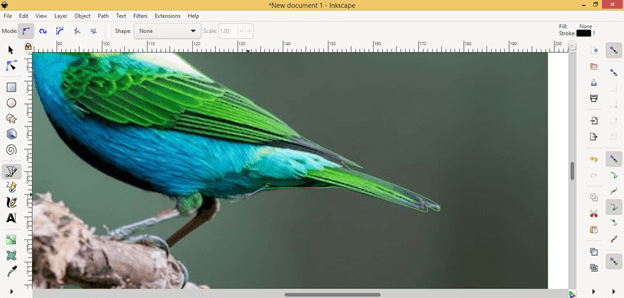
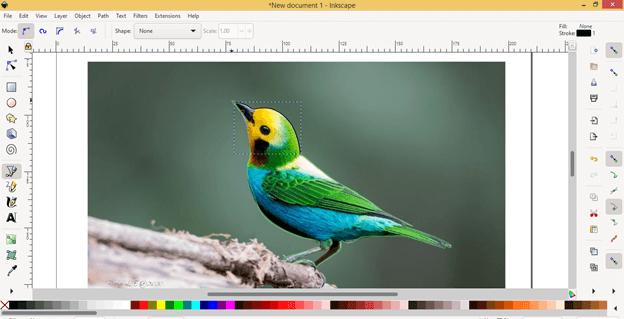
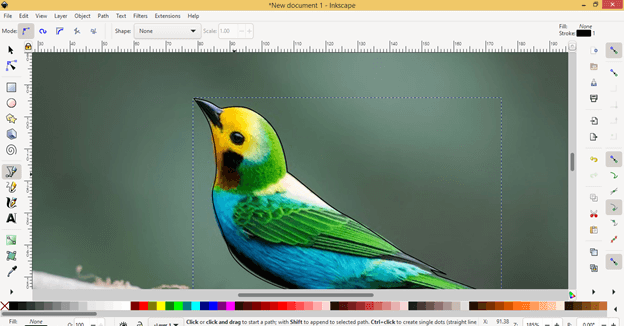
Now let us go through another way, through which we can remove background. In this method, we first trace the object with the Bezier tool which we want to remain in our image. Here in this image, I will make a path around this bird by using the Bezier tool. So take this tool from the tool panel.
And start making a selection like this. Don’t worry if there is no perfect selection around your object because we can fix this later too.
And I will join the last point of this path with the starting point of the same path.
And it will become a good selection path around this bird. I have been made a rough selection just for explaining this method.
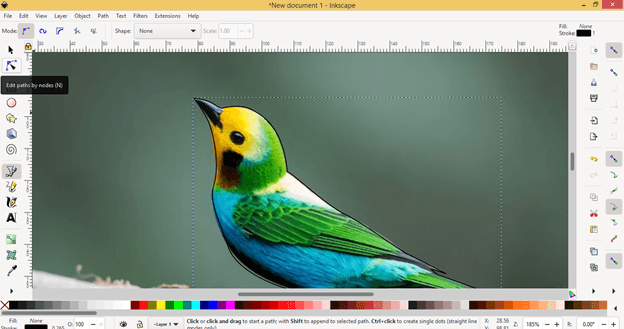
If the selection is not perfect you can do it now and for that take the Edit path nodes tool from the tool panel.
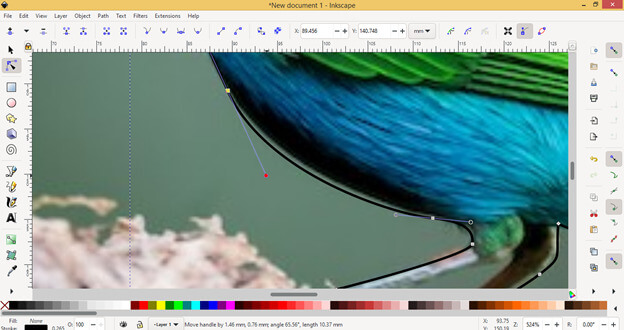
And you can adjust the path by adjusting anchor points as well as anchor handle with Edit node tool like this.
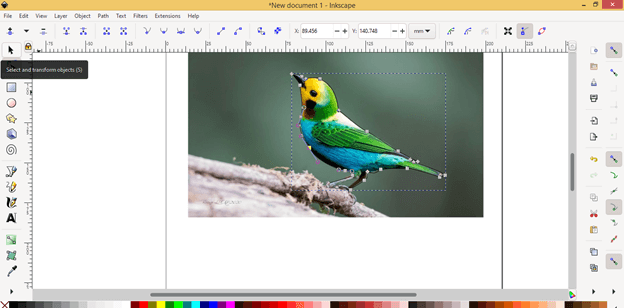
Now take Select tool from the tool panel or you can press S as the shortcut key of it.
Now select this bird selection path with this tool and then hold the shift button of the keyboard then select background image too that means you have to select both selected object of your image and image itself.
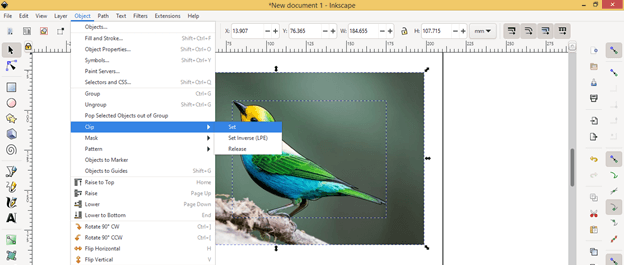
And go to the Object menu of the menu bar then click on it. Here in the drop-down list of this menu, you will find the Clip option so go to it and click on the Set option.
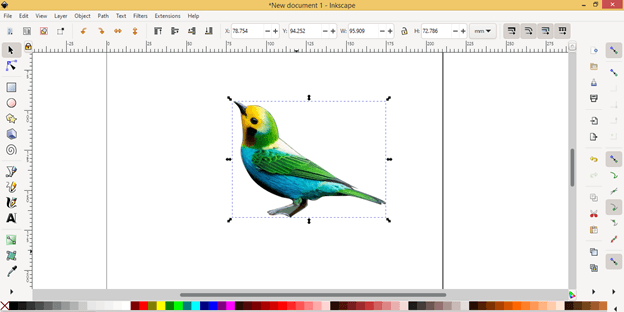
Once you click on this option the background image and selection of bird will clip in the selection area and the background will remove from that image like this.
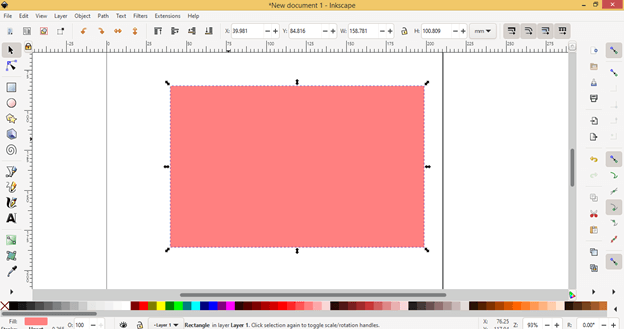
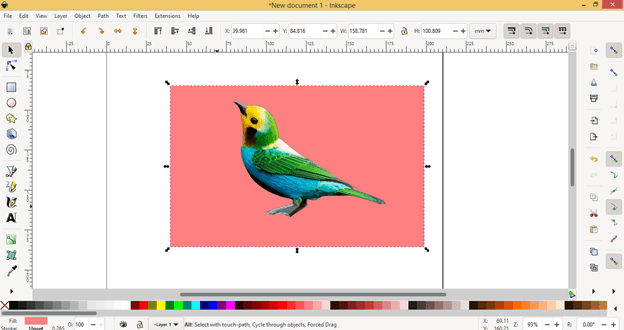
Now you can set new background for this bird. I will take the rectangle tool and draw a rectangle for the background of this bird.
And place it below to bird layer. You see this is a nice way to remove background from an image.
So you can go with any other of the above-discussed methods for removing background in Inkscape.
Conclusion:
Here is told you two ways for removing background in this software and it depends on the type of image or ends purpose of your requirement that which method will be best for removing the background. So you can take different images and start practices on them for having a good understanding of both of the methods.
Recommended Articles
This is a guide to Inkscape Remove Background. Here we discuss How to Remove Background in Inkscape step by step in detail. You may also have a look at the following articles to learn more –
