Introduction to Inkscape SVG
The following article provides an outline for Inkscape SVG. Inkscape SVG is a file format and this SVG stand for Scalable Vector Graphics that mean you can edit object of this file for changing their size and properties without losing its quality.
Process
In this article we will see the process through which you can convert a Jpeg or raster image into vector file and save that vector file for using it on other designing platforms. This process includes parameter adjustment of Bitmap tracings features of Menu bar of this software and we also go through some other parameters.
So let us delve with these features for getting our desired result.
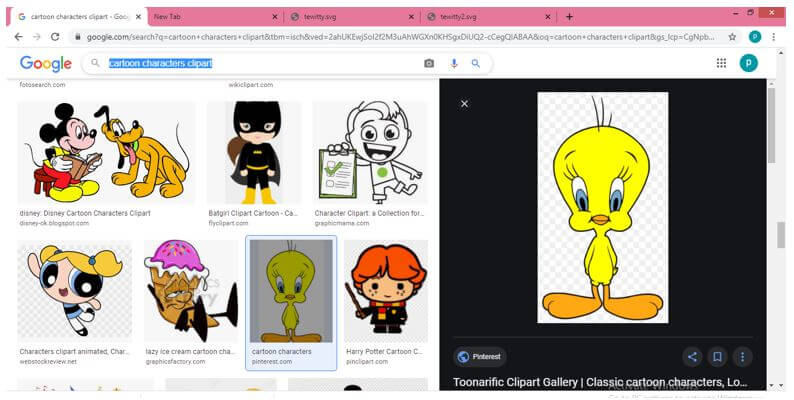
For starting our process we need a raster image. So for that search it on the internet. We will search for a cartoon image by searching ‘cartoon character clipart’ keyword and then select this cartoon character.
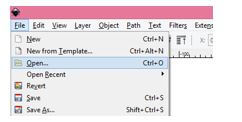
Now switch to Inkscape software and for opening it click on File menu and then choose Open option of scroll down list of it or you can press Ctrl + O as short cut key of it.
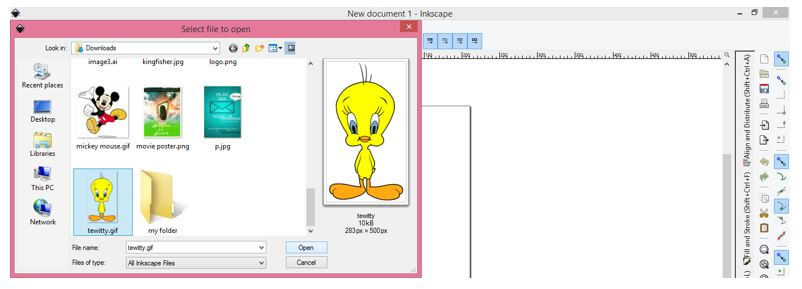
And we will navigate my image in it saved folder then select it. Now click on Open button of this dialog box.
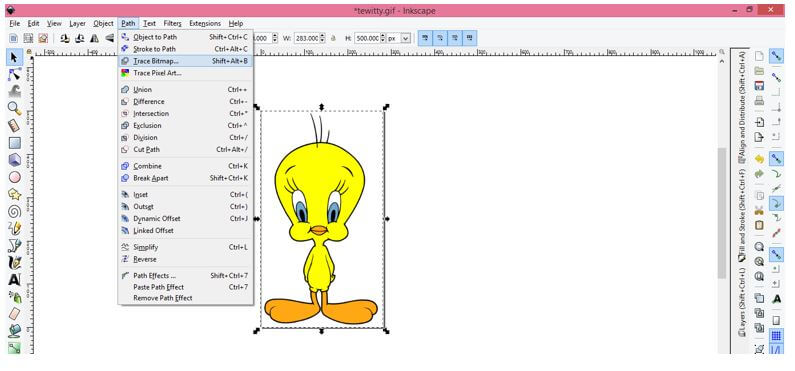
Now select this image and we will trace it. So for tracing it, go to Path menu of menu bar then click on it. Click on Trace Bitmap option of drop down list of this menu or you can go with short cut key which is Shift + Alt + B keys of keyboard.
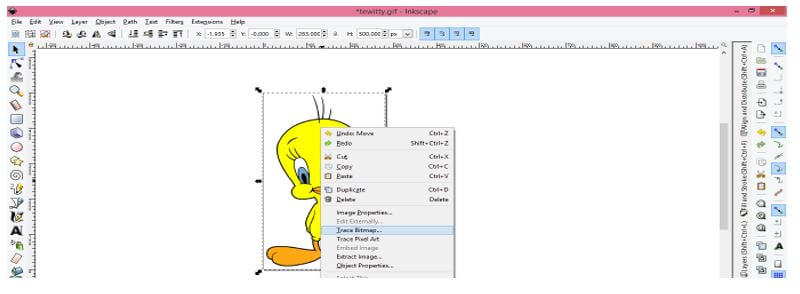
Or you can make right click then choose Trace Bitmap option from pop up list.
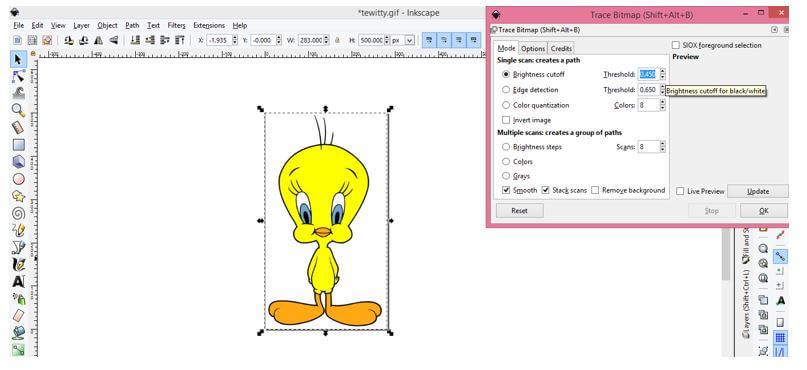
This is dialog box for tracing image. Here we have many ways to trace a bitmap (if you want to know each and every way of tracing bitmap of this dialog box then you can search for ‘Inkscape trace bitmap’ article of mine) but we will go with first one which is Brightness cutoff.
This option has Threshold limit and by changing its value you can have different result in tracing of bitmap.
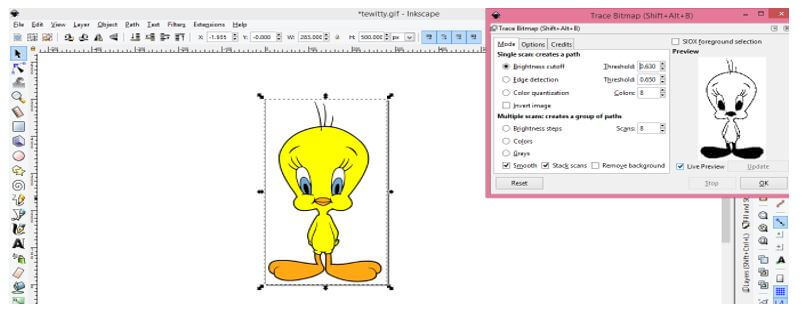
Click on Update button of this dialog box for seeing preview of tracing result.
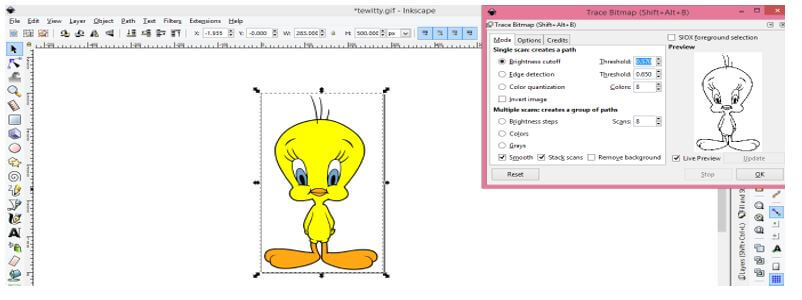
And in preview section of this box you can see result but we just want to trace outline of this character so we will adjust threshold limit for tracing just outline.
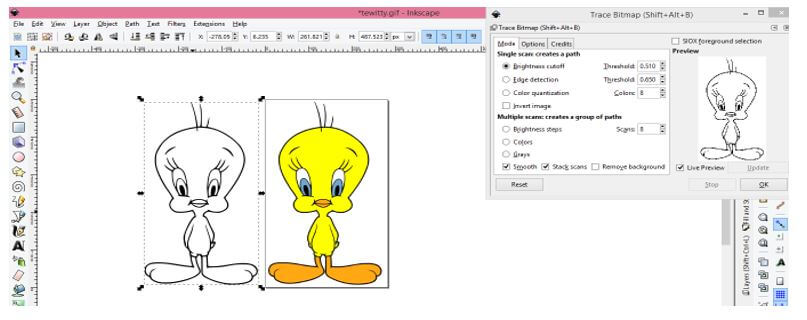
For image threshold value will be this. Now click on Ok button for tracing it.
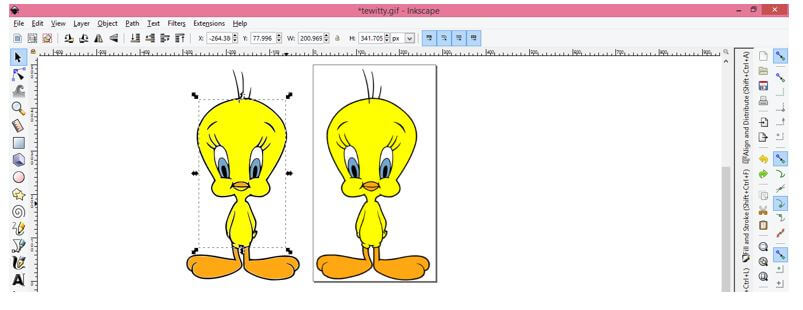
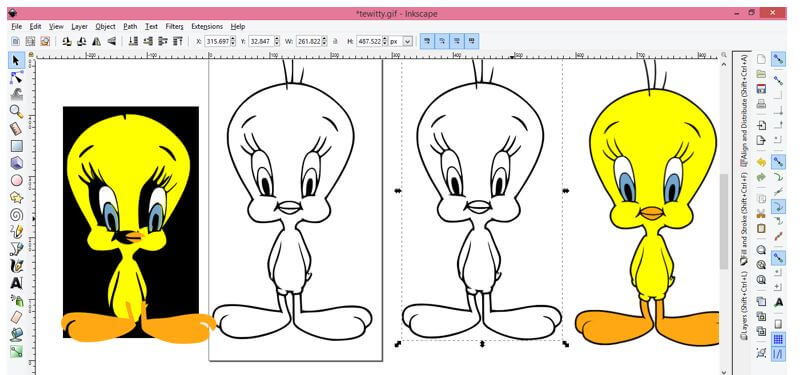
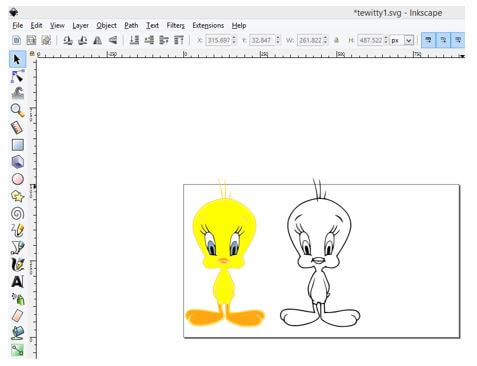
You can move your traced image next to original image and this traced image will be in vector format.
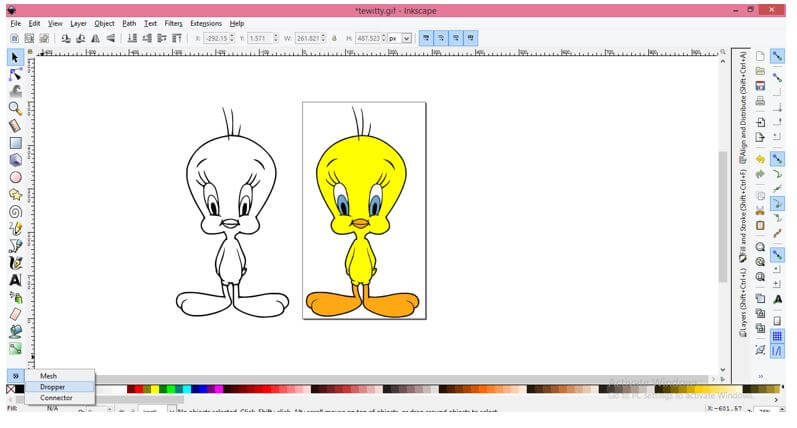
Now we will fill color into this traced image and for that to go bottom of the User interface and click on arrow button. Once you click on arrow button you will have pop up list, choose Dropper from this list.
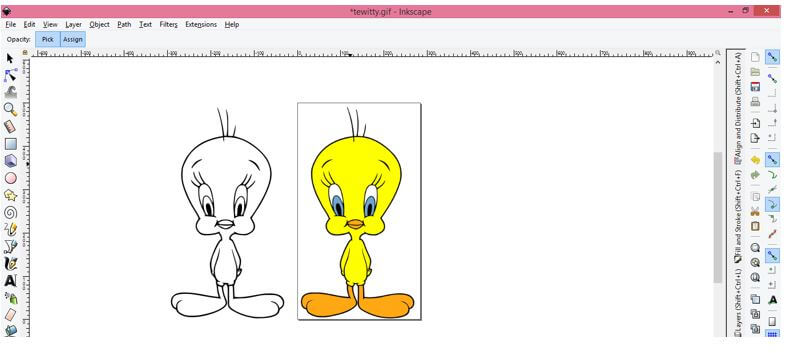
Before taking dropper make sure nothing is selected on our document area. Then move cursor on the color which you want to trace. We will move dropper tool cursor on the skin color of this cartoon character which is yellow color.
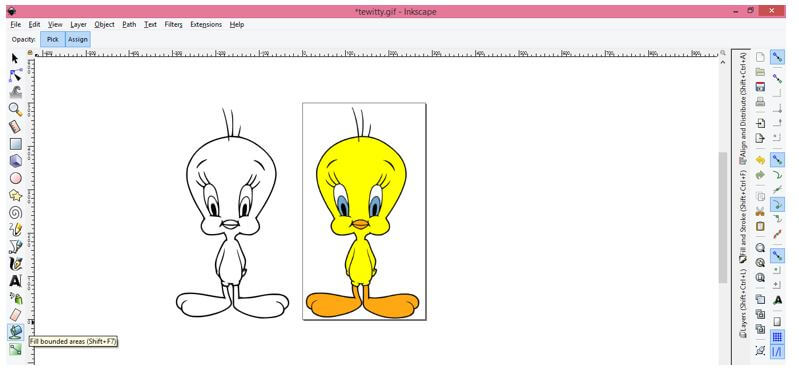
Then take ‘Fill Bounded areas’ tool from tool panel for dropping our picked color into our desired area of traced image. You can also press Shift + 7 for this tool.
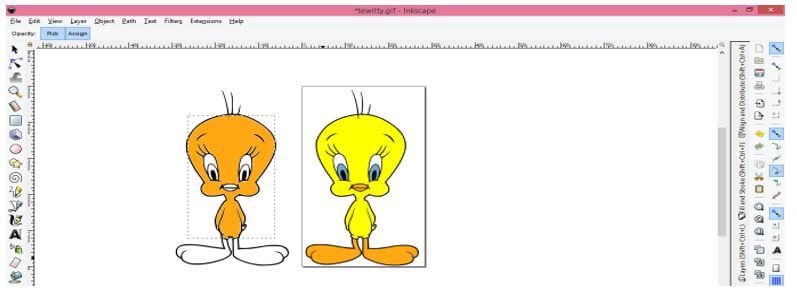
And click on the skin of traced image with the cursor of this tool and it will fill like this.
For choosing next color deselect previous part of traced image otherwise in your next pick of new color will replace filled color of previous part like this.
Do the fill for all part of this character by repeating same process as we did above.
Now you can see skin of our character is ready like this.
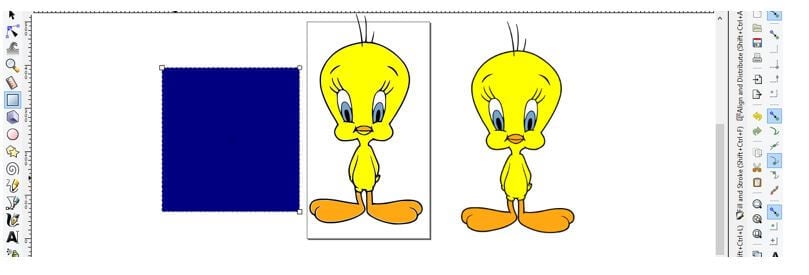
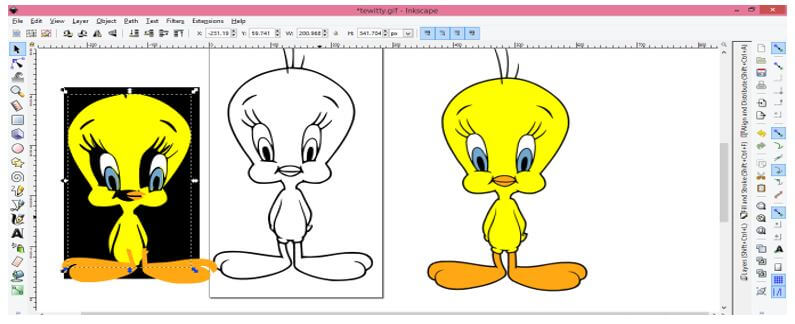
We will draw a rectangle of dark color for explaining on thing that you should remember during filling.
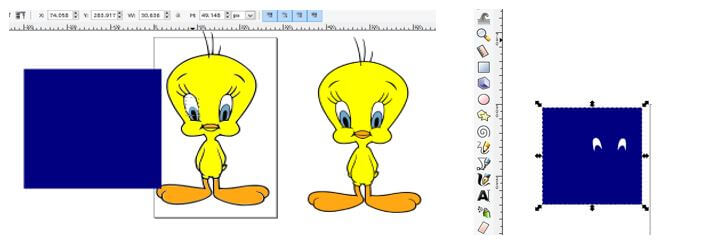
Now this is the white area of this character and you should fill this also because you may leave it blank by mistake because our background is white. Do the same for black color if there any part is black. In short you must fill all part with color it doesn’t matter it is white or black or same as your background color.
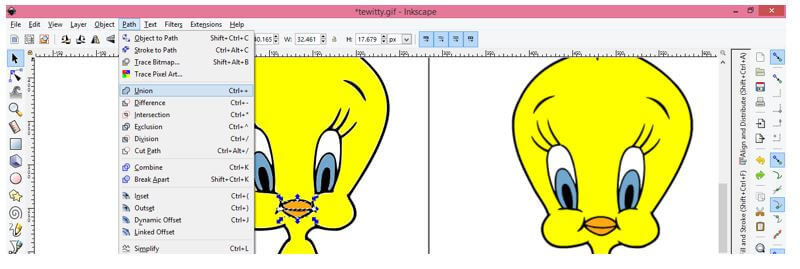
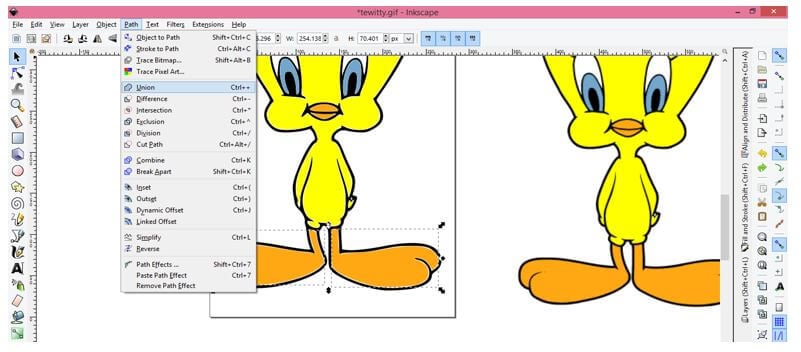
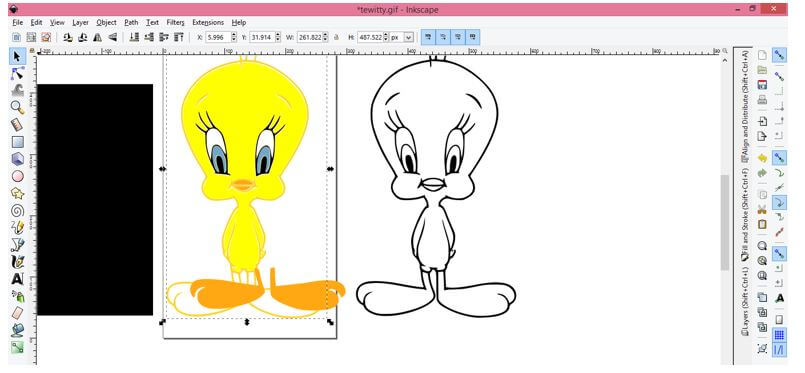
Now we will unify same part of this character. So select this lip part then go to Path menu and click on Union option of drop down list or go with Ctrl + + as short cut key.
You can see it is now one part.
Do the same for all parts which you want to make in one part.
You should analyze all part so that there will no part left.
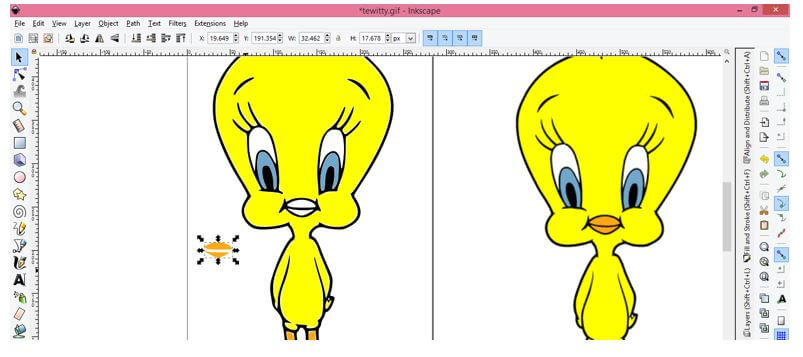
For example you can notice this is small part of its skin which is separate from whole body so i will unify it with whole body skin.
Now all part of this character is ready like this. Each and every part is on separate layer.
Now select outline of this character and make duplicate copy of it by pressing Ctrl + d button of keyboard for using it in your future work.
You can change color of outline as well as per you choice
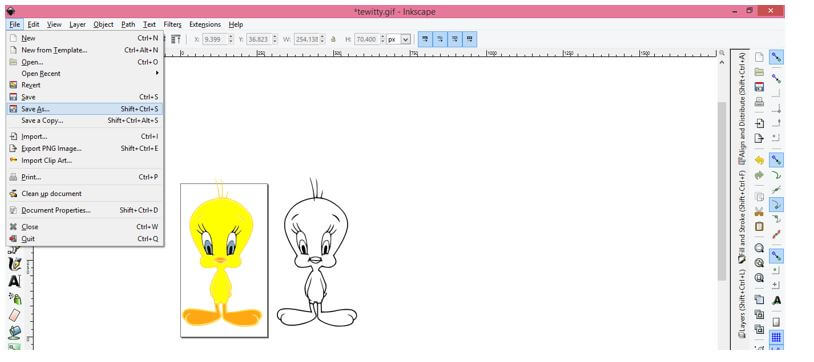
Now we will save it as SVG file so go to File menu and click on Save As option of drop down list.
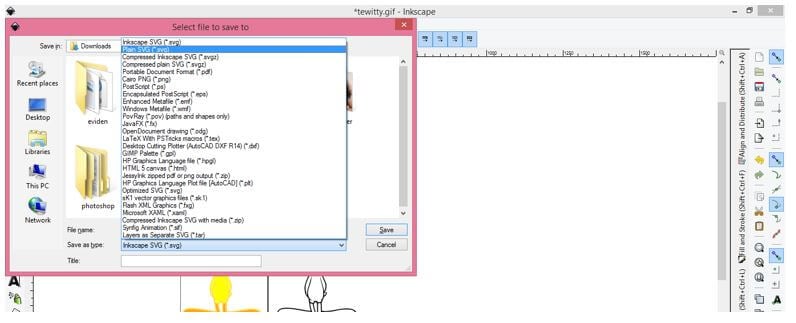
Here in the file extension list choose Plain SVG option and also choose location where you want to save it then click on save button.
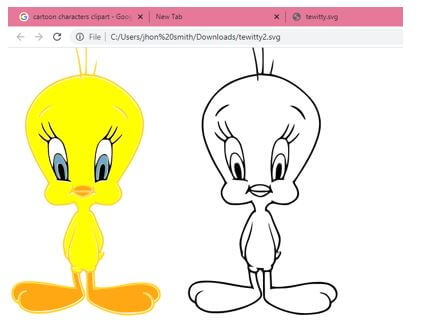
And our SVG file is ready for using it in other designing software.
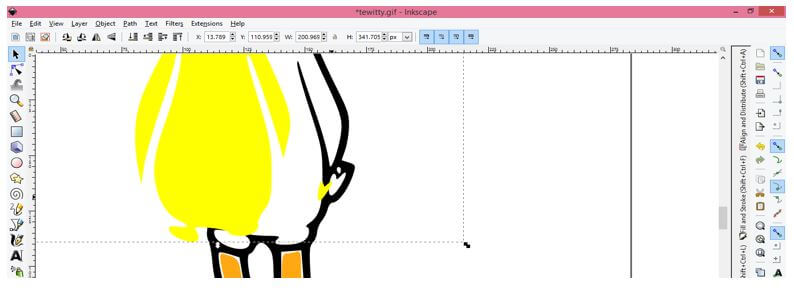
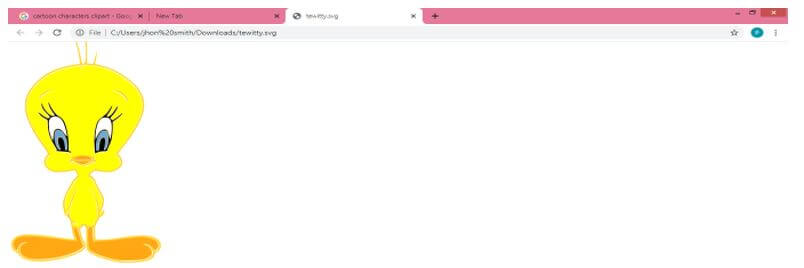
You can notice our outline character has not saved because it was out of your document area. So make sure whatever content you want in you SVG file should be within document area.
And after saving it is ready.
Conclusion – Inkscape SVG
After going through this article you can make number of SVG file for your project work and make changes in objects of that file without losing its quality because you know SVG is vector file format. Try different object and set SVG layer of that object for having SVG file in Inkscape.
Recommended Articles
This is a guide to Inkscape SVG. Here we discuss the introduction to Inkscape SVG and process for the better understanding. You may also have a look at the following articles to learn more –
