Introduction to Inkscape text
Inkscape Text is nothing but same as text tool of other designing software but you can do some different thing with the features offers by the text tool of Inkscape. Through text tool you can write any text in this software and after understanding different aspect as well as parameters of text tool you can use this knowledge into typographical work. Typography is setting text in different order for designing purposes. We will discuss text and text tools in different points such as we adjust font style, size spacing as well as the color of text by using different features of text tool of Inkscape. So let us find out these features.
Here in the tool panel you can find Text tool with this icon and the short cut key of this tool is F8 functional key of keyboard.
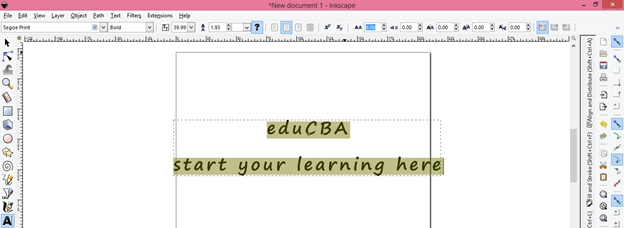
Make click with mouse pointer at the point from where you want to start your text and then type your desired text. I will type eduCBA.
Here at the top of the User interface you can see there is a property bar which has different parameters of this text tool. You will have parameters of active tool on this property bar.
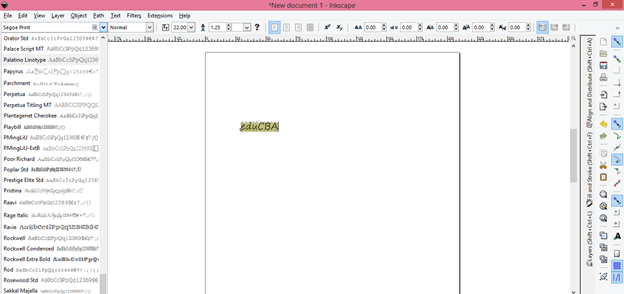
The first one is Font style that means we have different type of style for letter of any text. You can see preview of style of this scroll down list by pressing down or up arrow key of keyboard.
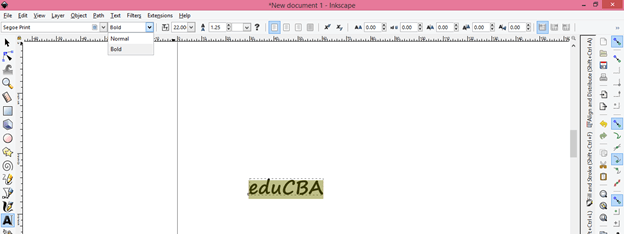
In the next tab of text parameters you will find sub style of letter of text according to font style. With our selected font style we have two sub options that are one Normal thickness of text and other is Bold and it will increase the thickness of text little bit.
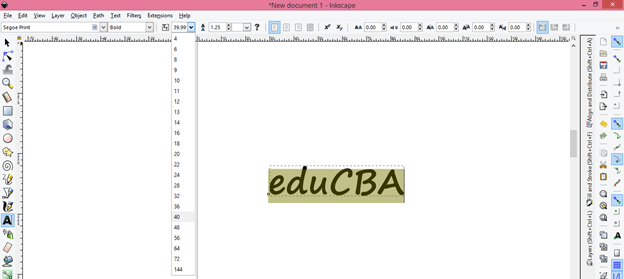
From this tab you can increase size of your written text. For increase or decrease size of your written text you have to select that text and then you can choose size from this scroll down list of Size tab of text parameters.
You can also enter the size value of text through keyboard entry.
For writing text from next line hit on Enter key of keyboard and type next text. Now through next option we can adjust distance between two lines of text.
If we increase value of this option then spacing between lines of text will increase in vertical direction like this.
You can set the unit of text from this option.
Next option is about text Alignment. So for this i will type a sentence like this. Now select this text with text tool and click on Align left tab of parameters bar of text tool.
And all text in different line will align with the left side of the document like this.
Move to the next tab which is Align center and it will align all text to the center of the page. So when you click on this tab text will align like this.
Here we have Right Alignment tab also with name Align Right so click on it. Make sure text is selected.
And our text will align like this to the left of the page.
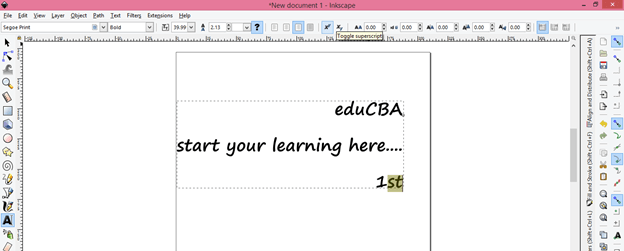
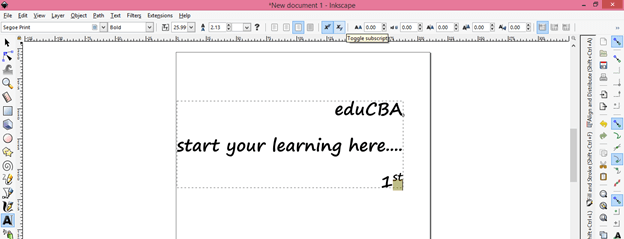
With the next option you can set any text or letter to the superscript option. So select text or letter which you want to make in superscript then click on Toggle Superscript option of parameters tab.
And our selected text will convert into superscript like this.
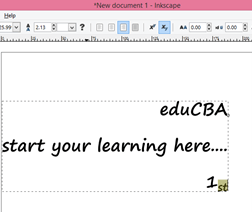
For having any text or letter in subscript you can click on Subscript tab.
Now next thing which you can do with your text is you can adjust spacing between letters of text. So select your text and change the value of ‘Spacing between letters’ option.
If you increase its value then spacing will increase or if you decrease its value then spacing will decrease.
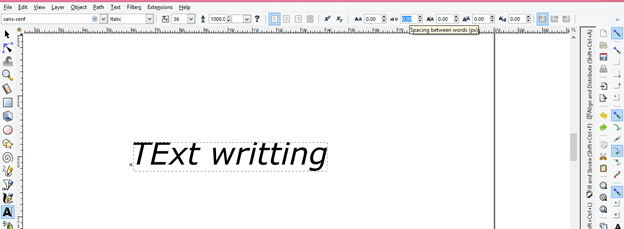
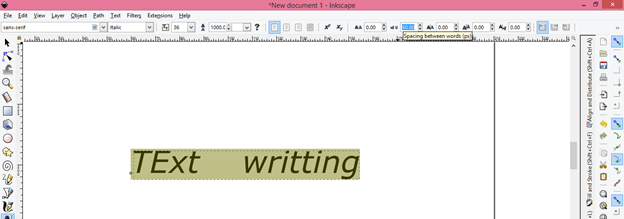
Same as adjustment of space between letters you can adjust space between words. So for this i will type new text here.
Now click on ‘Spacing between words’ tab and increase value of it and spacing will increase with increasing value.
Here i have selected different font style for this text and you can see we have more option in sub style of font that is italic and bold italic. Italic text will give you text little bit inclined.
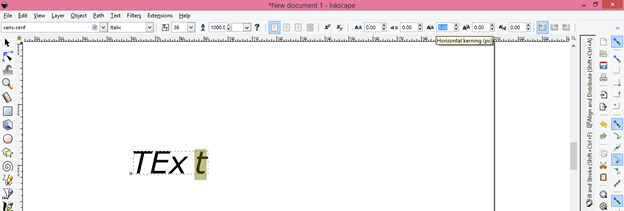
With Horizontal kerning tab of this bar you can adjust spacing of each o letter of any text in horizontal direction. Here i will select t of this word and change the value of this option
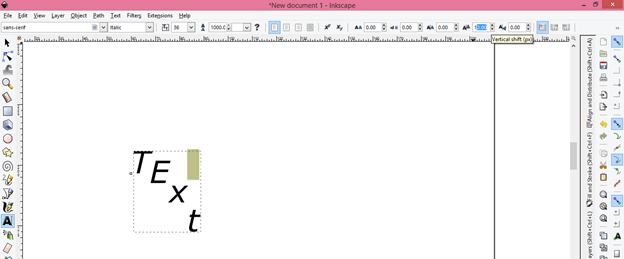
The next tab is Vertical Shift which is same as Horizontal option but with this option you can shift each letter of text in vertical direction in different way. You can shift in upward or downward direction as per your choice.
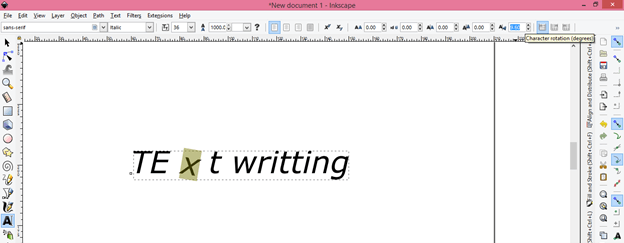
With ‘Character rotation’ tab you can rotate any letter of text at any angle. I selected X letter of this word and increase value of this option for rotating it.
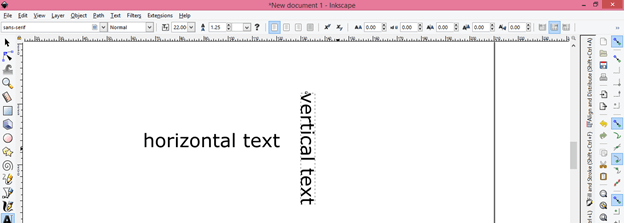
We were typing text in horizontal line with default setting of writing text but with Vertical text option you can type it in vertical direction. So enable this option by clicking on it.
Now when you type your text it will typed in vertical direction like this in place of Horizontal direction.
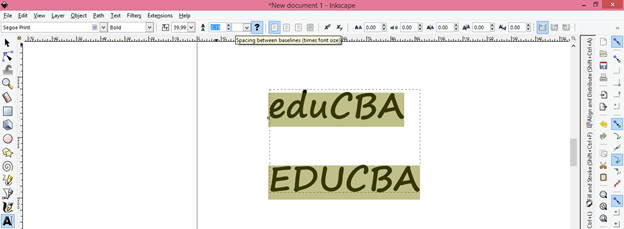
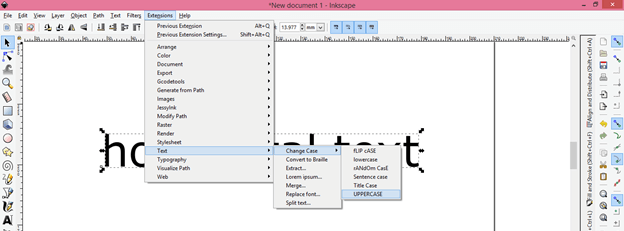
You can change the case of text if you want after typing it. So for that select text then go to Extensions menu of menu bar which is at the top of the working screen and click on it then go to Text option of scroll down list and navigate to Change case option and in the pop list of this option you will have different case for text. I will click on Uppercase option. You can go with anyone of this list.
And it will change like this.
Conclusion
How was your experience with me in this article for learning about the text and text tool of Inkscape software? I think it was good and you can now easily work with text in Inkscape for different designing purpose and get the best result in your work as well as can do typography.
Recommended Articles
This is a guide to Inkscape text. Here we discuss the text and text tools in different points such as we adjust font style, size spacing as well as the color of text by using different features. You may also have a look at the following articles to learn more –


