
Introduction to Inkscape trace bitmap
Inkscape Bitmap trace is one of the options of the Path menu of the menu bar of Inkscape software and through this, you can trace Jpeg and PNG bitmap images for converting them into a vector file and after converting that image we can make changes by editing nodes of paths of it. There are few methods of tracing bitmap which means you can trace in grayscale or with colors or edges of that bitmap. Here in the Bitmap trace article, I will explain different the ways through which you can trace bitmap and tell you how you can handle parameters of it for getting the most possible accurate result.
How to trace Bitmap in Inkscape?
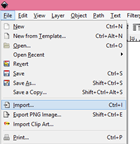
You can trace any bitmap for converting it into vector shape through this process so I will use an image for this purpose. Now go to the File menu of the menu bar and click on it. Here in the drop-down list click on the Import option or press the Ctrl + I keys of the keyboard for this option.
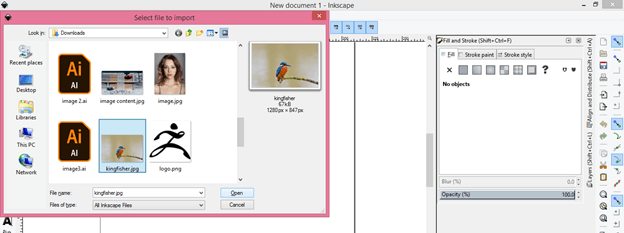
Now i will choose this beautiful Kingfisher bird image by navigating it from its saved location and then click on the Open button of this dialog box. You can go with your own bitmap.
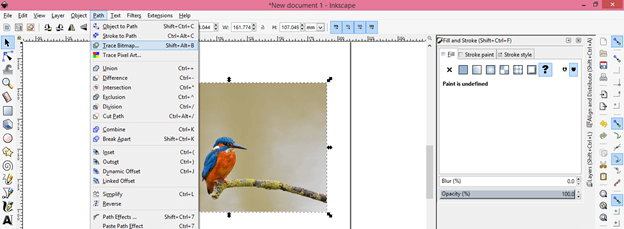
And we have our image here.

Now let us trace this image and for tracing it select this image then go to the Path menu of the menu bar which is at the top of the user screen of Inkscape and click on it. Here we have the Trace Bitmap option in the drop-down list. You can remember its short cut which is Shift + Alt + B or click on this option.
This is the Trace Bitmap dialog box and it has some parameters with which we will play for having our desired result.
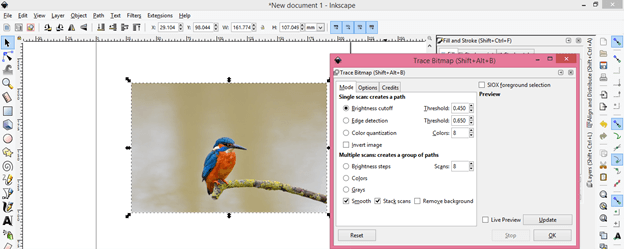
Here in this box the first option is Brightness Cutoff which will trace our image on the basis of highlighted pixels of this bitmap. So click on radio button of this option for choosing it if any other option is being selected.

You can change the value of the Threshold of this option for getting variation in traced image result.

I will check the tick mark On on the Live preview option (which is at the bottom right corner end of this dialog box) so that i can see a preview of the tracing of the image. You can see this will trace an image like this.
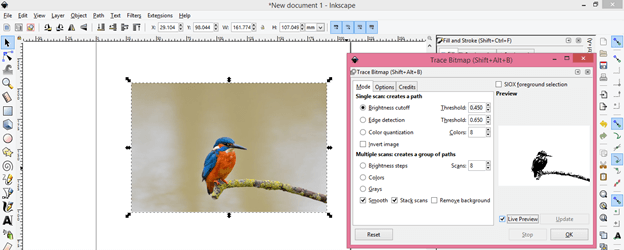
Now click on the Ok button of this dialog box.
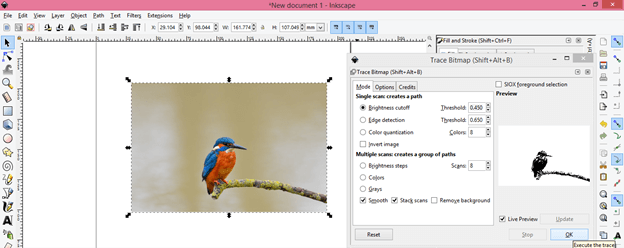
And our tracing is completed in a fraction of seconds according to the complexity of the bitmap image. You will have traced image on the top of the original image.
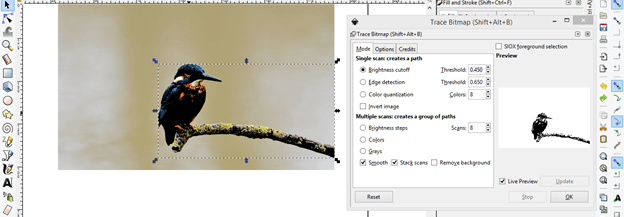
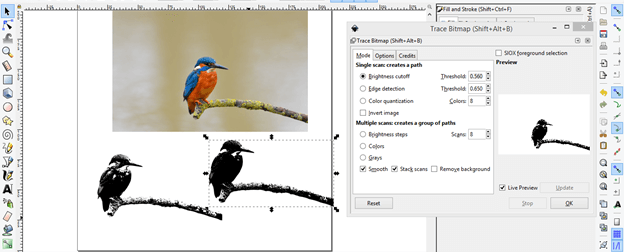
I will move it on the document area and you can see it if pretty cool tracing.
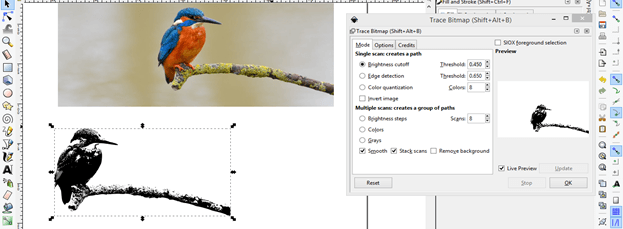
If you give the maximum value of the Threshold of this option then it will trace more accurately. You can compare both of the results and can analyze the difference.
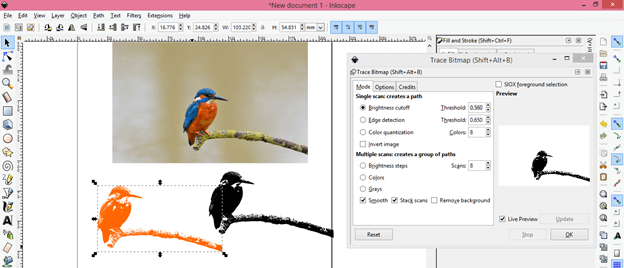
You can change the color of your traced image like this. Just select it then click on your desired color in the color panel and it may be part of your illustration work.
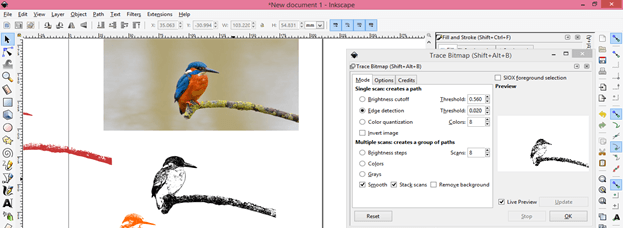
The second option through which you can trace bitmap is Edge detection and it will trace the image on the basis edges of that image. It will very useful for tracing any object in the image which has edges.
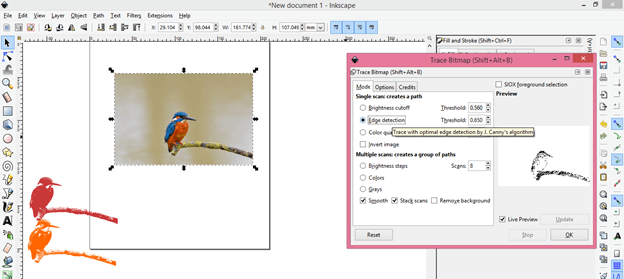
Here set the value of the threshold of this option and hit on the Ok button of this dialog box. If you give the minimum value of it then it will trace nicely.
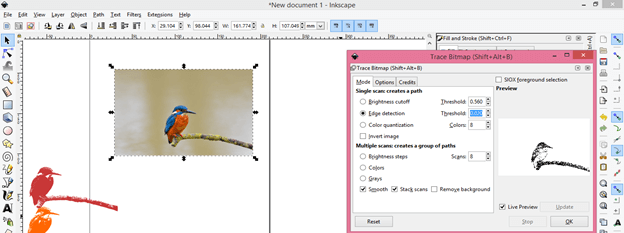
This is the result of tracing image by Edge detection method.
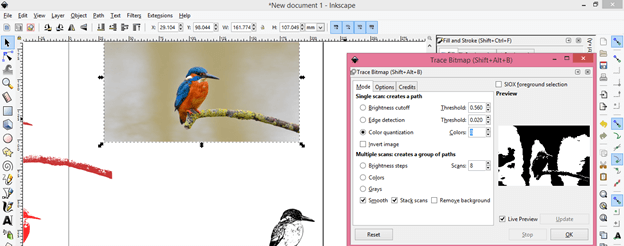
Next is Color quantization option which traces bitmap on the basis of colors. You can see its trace in the preview section of this image so increase and decrease the value of this option for seeing its effect.
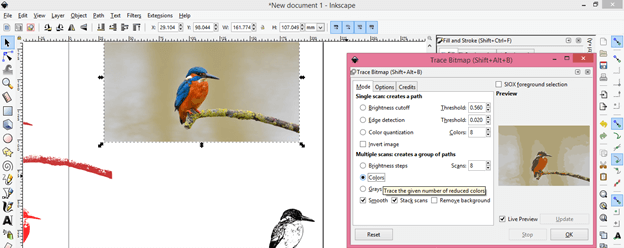
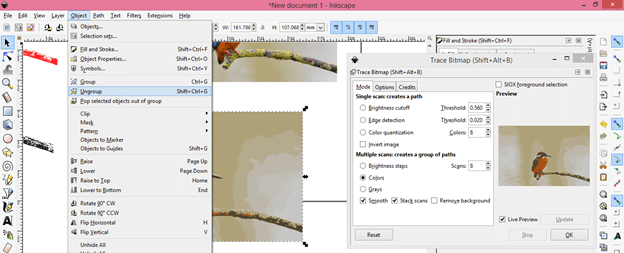
If you want to trace any bitmap with color also then you can go with the Colors option of Multiple scans option of this box. You can give the value of colors according to which you want to trace any bitmap that means if you give 8 as the value of the Scans option then it will trace the bitmap by scanning the 8 colors of that image. It will be better to take a minimum number of colors for a better result. Now click on the Ok button of this box for having results.
This is our colored trace.
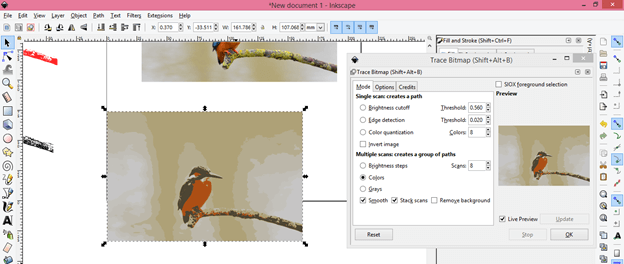
You can ungroup it because it has a number of layers of different colors. So for ungrouping it go to the Object menu of menu bar then click on Ungroup option of drop-down list or press Shift + Ctrl + G keys of keyboard.
Now I will move ungrouped layers to show you how it traced the image with color. You can see there are different color layers traced like this.
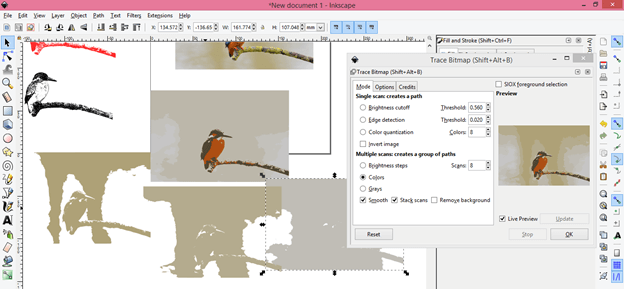
You can delete the unwanted layer and we will have this traced colored bird.

I told you above that we use bitmap for converting jpeg or png into a vector image so here you can see when we selected this traced image with nodes tool it will show you a number of nodes which this traced image have that means it is converted in vector.
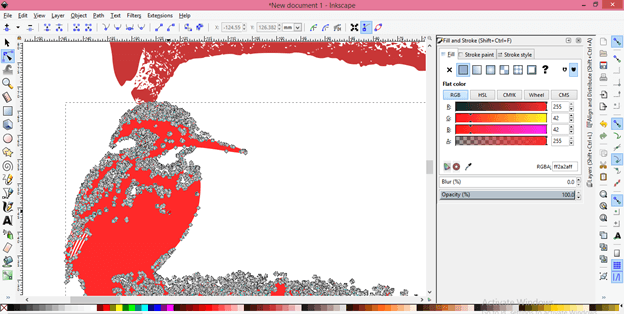
You can edit these nodes for making changes in the shape of traced bitmap according to your requirement.
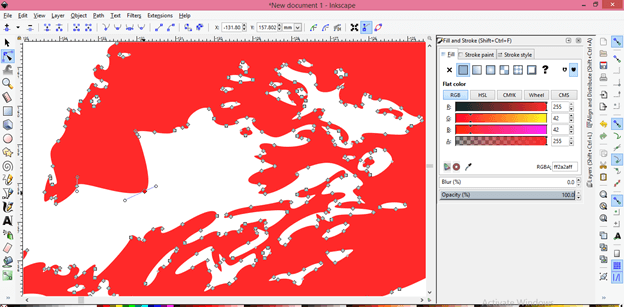
You can select nodes like this.
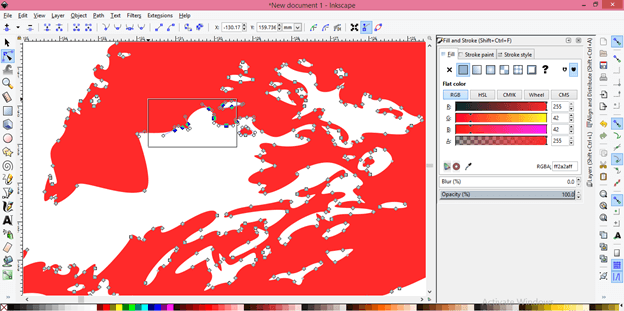
And delete them by hitting the Delete button of the keyboard and then you can play with these nodes with the nodes tool.
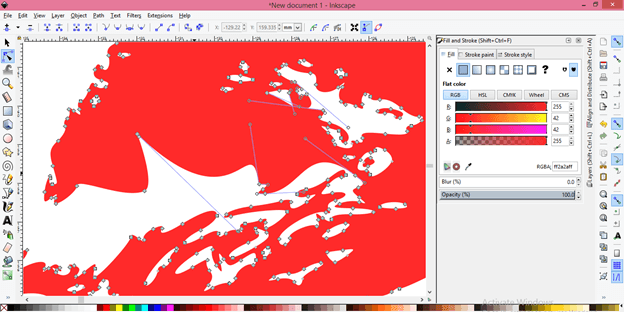
Here I tried to explain to you all options of the trace bitmap dialog box so that you can have an idea about how to trace bitmap works and you can get your desired result?
Conclusion
I think after going through this article you are now able to understand the tracing of bitmap and what will you get after tracing as well as you know what is the purpose of using this feature of Inkscape software. You can have a good command of this feature of Inkscape by using it with different types of bitmap I mean with high resolution as well as low resolution. So try it on both and check out the results.
Recommended Articles
This is a guide to Inkscape trace bitmap. Here we discuss what will you get after tracing as well as you know what is the purpose of using Inkscape trace bitmap. You may also have a look at the following articles to learn more –

