Updated May 8, 2023
Install Appium
The following article provides an outline for How To Install Appium. Appium is an automation test tool framework for testing applications on different platforms. Appium is open-source and cross-platform. It is mainly used for automating native and hybrid applications for IOS and Android. In Appium, the test code can be written in any language like Java, C#, Ruby, etc. Appium is open source and can efficiently run on multiple devices and emulators for testing the applications.
The process of installing Appium
The below process covered the installation of Appium for Windows and Mac OS platforms:
Step 1: Installation of the Java Development Kit
The individual has to install JDK in a system.
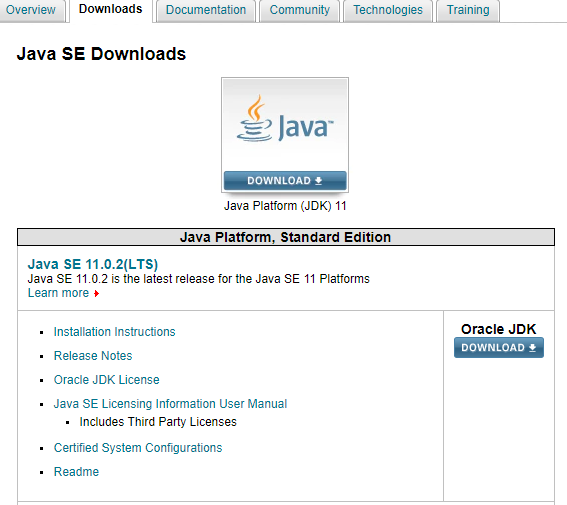
Please use the following link to download and install the JDK.
https://www.oracle.com/java/technologies/downloads/.
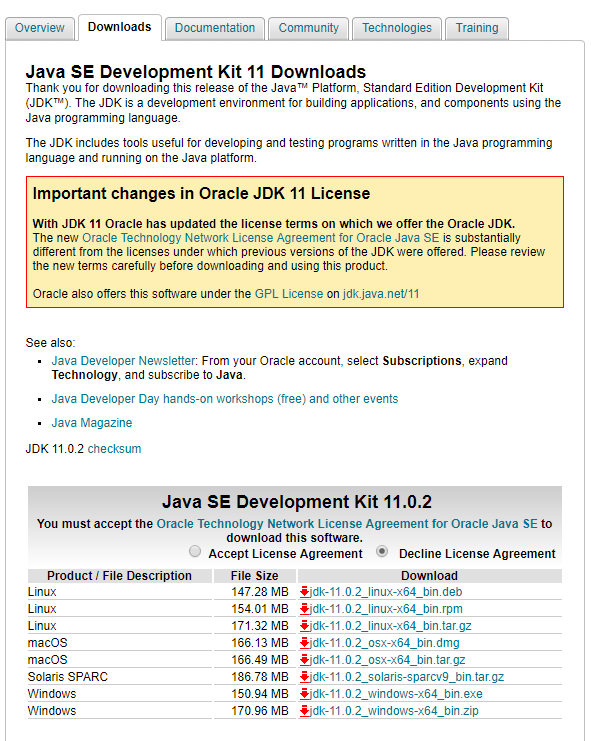
Click on the download option on the above screen, and the below screen will appear. Select the Accept license agreement.
Click on the option for Windows or Mac and download the relative exe based on the platform. The file will be downloaded and saved in your local path. Double-click on the exe file, and to run the installer, click on Run. The installation will get completed for the JDK and close it.
Step 2: Setting up the Java Environmental Path
After installing JDK, the user must set the environmental path for JAVA_Home.
- Go to Control panel -> System or security -> System -> Choose Advance settings.
- Pop up window will appear to choose the Environmental variable under the Advanced tab.
- In the system variable, select new and enter the variable name and path of JDK.
Step 3: Install the Android SDK and Packages
It is the tool that is used for developing applications for mobile devices.
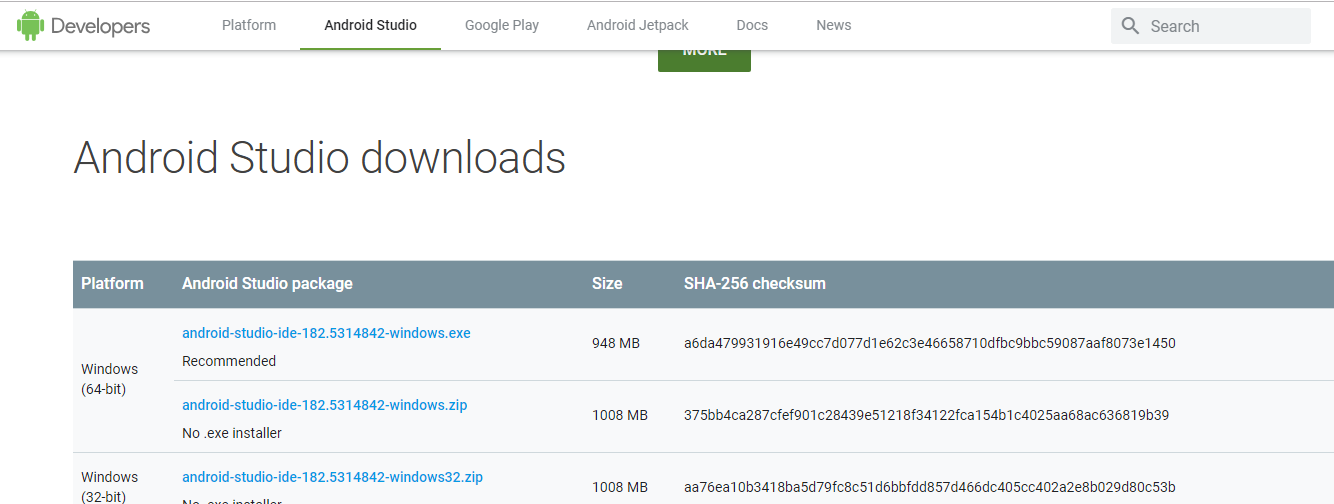
Please download the Android SDK from the following link https://developer.android.com/studio#Other.
Download the tool based on the Windows machine that matches your system requirements. Once downloaded, double-click on the exe, run the installer and check the Android package required for your project requirements. Install the packages and close the window after installation completion.
Step 4: Set Up the Android Variable
After installing the Android SDK, one must set the Android_Home variable path.
- Go to Control panel -> System or security -> System -> Choose Advance settings.
- Pop up window will appear to choose the Environmental variable under the Advanced tab.
- In the system variable, select new and enter the variable name and path of JDK.
Step 5: Install Node.Js
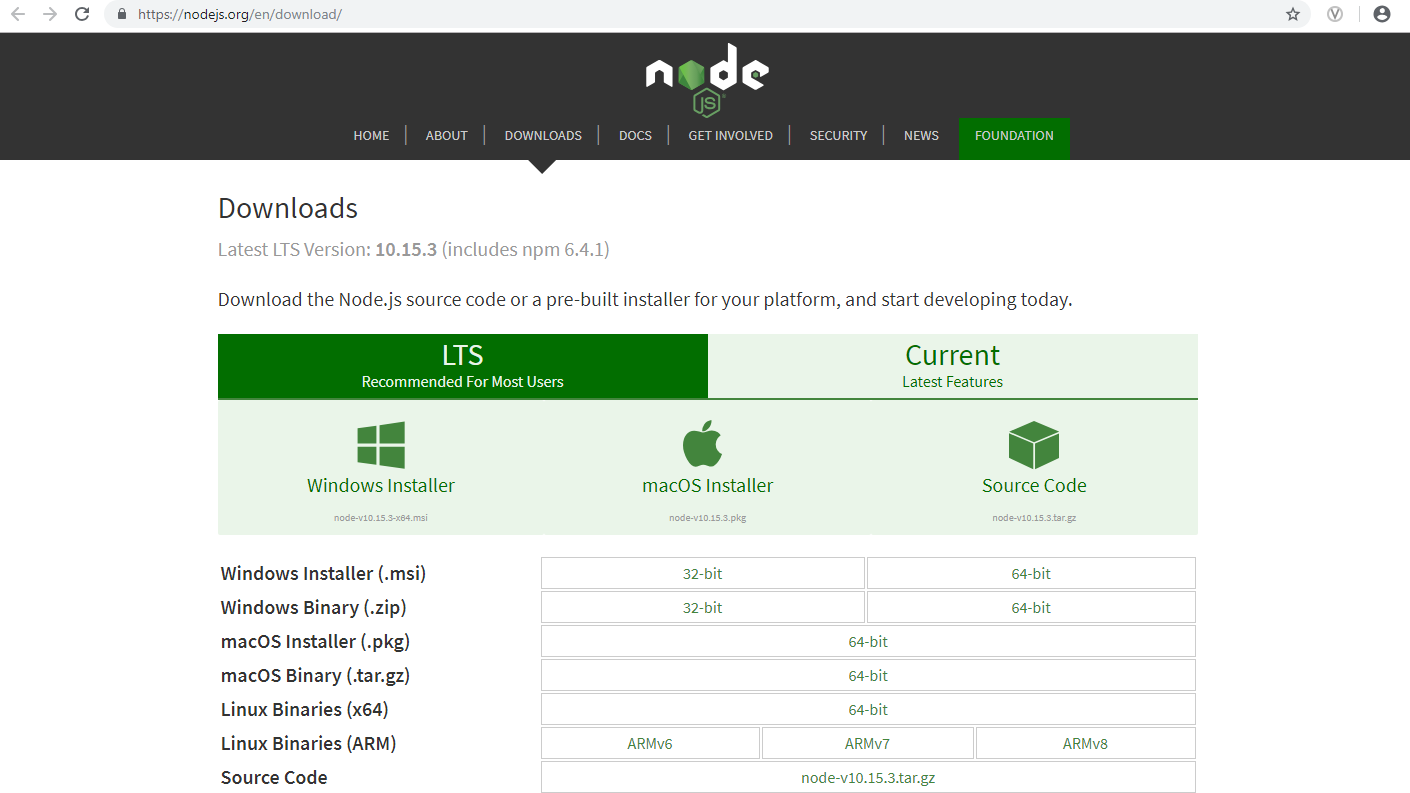
Appium is referred to as the HTTP server that creates and handles multiple web driver sessions for different kinds of platforms. The file will get downloaded and saved locally. Then double-click on the executable file and run the installer. Complete the installation and close the window.
Step 6: Installation of .Net Framework
You can download and install the latest version of the Microsoft .net framework from the following link.
https://www.microsoft.com/en-in/download/details.aspx?id=30653
Step 7: Download and Install Appium
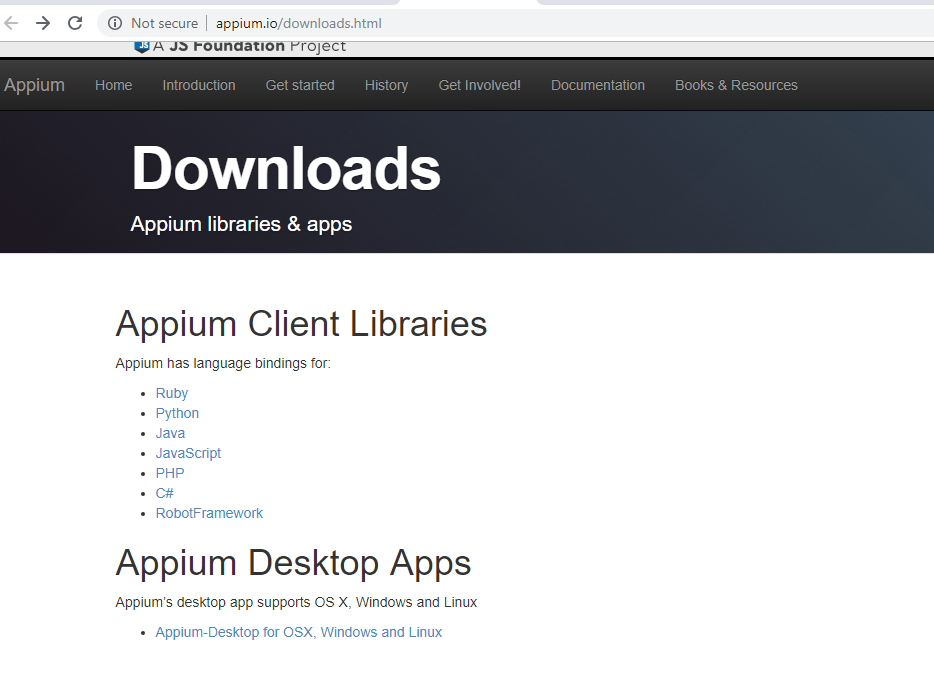
To download the Appium, please use the following link
http://appium.io/downloads.html
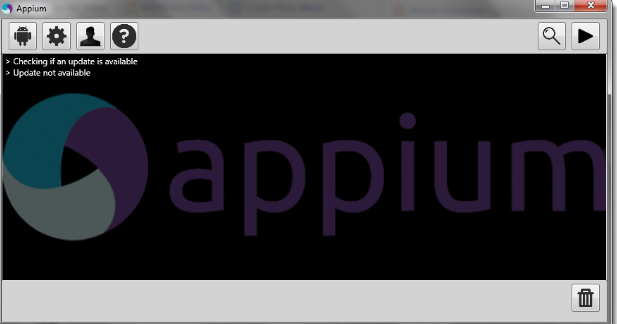
Click on the Appium desktop under Appium desktop apps. Check the latest version of Appium and download the zip folder locally. Extract the folder and double click on Appium install exe. After completing the installation of Appium, the following screen will appear.
Step 8: Enable Developer Options on the Phone
After that, you have to enable the developer option in a phone to check and test the applications for that phone configuration and OS.
Step 9: Install PdaNet
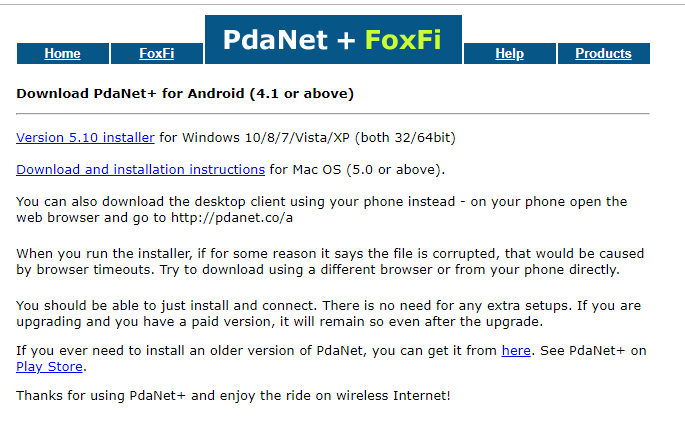
The PdaNet can be installed from the following link to connect to various devices based on the platform http://pdanet.co/a/.
Download and install it with the help of the exe .file and run the installer. Complete the installation.
Step 10: Install Eclipse IDE
Eclipse IDE’s installation is required to set up the project, and Appium for testing the project https://www.eclipse.org/downloads/. Download the latest version and run the installer and complete the installation.
Step 11: Add Appium Project in Eclipse
To continue testing mobile automation projects with the Appium script, one must download and add the JAR files below to the IDE project. GSON jar file, Selenium web driver client and Jar file, and Java client to project.
Benefits of Using Appium
The following benefits are given below:
- As Appium is platform-independent, there is no need to change the programming language with change as a platform. The same things can be used across the platforms.
- It can be used for any application like web, hybrid, and native apps.
- It is fast and quick to pick up the web drivers.
- It does not require an extra agent to test the apps automatically.
Conclusion
The Appium tests mobile applications integrated with other tools like Selenium. The scaling up in this tool is the most concerning part while testing the applications. It is minimal. Appium mainly works in running test cases on the device and listens to the proxy commands from the Appium server. It proxies the command to the Appium UI automation script running on the device for IOS or Android. The script controller sends the instruction to the client, and the bootstrap installed on the device will send the output to the client and then to the server to make sure whether the test has been passed or failed. It is a reliable tool for testing mobile applications for different platforms.
Recommended Articles
This has been a guide on How to Install Appium. Here we have discussed the basic concept and steps to install Appium on our system with benefits. You may also look at the following articles to learn more –
