Updated July 18, 2023
Install Java on Ubuntu
Install JDK Ubuntu is required to develop web-based and other applications using Java. To install the JDK on Ubuntu, first check the version of Ubuntu, then install the compatible jdk version as per the version of Ubuntu we have installed. As we know, java is a more popular language and is also used to develop multiple applications. We can install jdk on any version of Ubuntu.
Ubuntu is a popular distribution of Linux used for development purposes. This tutorial will show how to install JDK on the Ubuntu operating system. The steps to install JDK on Ubuntu are very straightforward, and we can complete the installation in a minimum amount of time. To install the JDK, check that we have the necessary permission to install the JDK software in our system.
When downloading JDK software, we also require a stable internet connection to download the JDK package. The repository of Ubuntu will contain the Java development kit and OpenJDK. The Java runtime environment is composed using machine libraries of Java and classes that permit us to execute Java programs. The JDK will contain the JRE and debugging tools and the libraries that are mandatory to build the applications of Java.
Table of Content
Pre-requisites JDK on Ubuntu (Install )
To install JDK on Ubuntu, follow the below steps. The below points show the prerequisite before installing JDK.
1. Ubuntu operating system – To install the JDK on the Ubuntu system, first install Ubuntu in our system. We can install any of the Ubuntu versions.
2. Check the version of Ubuntu – We can check the version of Ubuntu using the below command as follows.
# lsb_release –a3. Administrative privileges – After checking the Ubuntu version, we required administrative privileges to install the JDK in our system. We have required root user or sudo privileges to install the JDK.
# sudo –l4. Internet connection – After checking the permission of the user, we required stable internet connectivity to download the package JDK from the website of Oracle.
5. Disk space – To install JDK in the Ubuntu system, we required enough disk space to accommodate the files of JDK installation. The exact amount of disk space depends on which version of JDK we are using.
6. Application of Java – We required a Java project or application that required JDK to install the same on our system.
7. Oracle account – To download the JDK, we require an oracle account. This is not a mandatory requirement.
Installing the Default OpenJDK (Java 11) in Ubuntu
To install the open JDK in Ubuntu, follow the below steps as follows. The below steps show how we can install the open JDK in the Ubuntu system as follows.
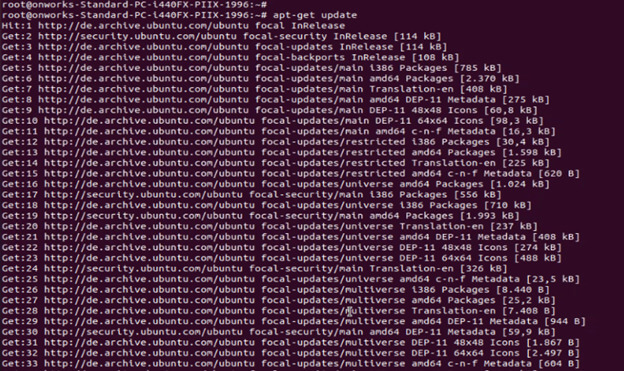
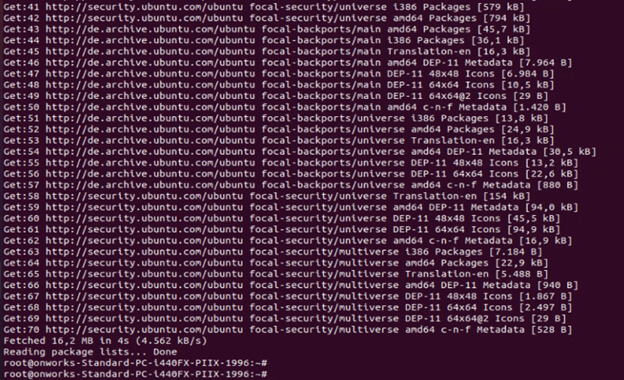
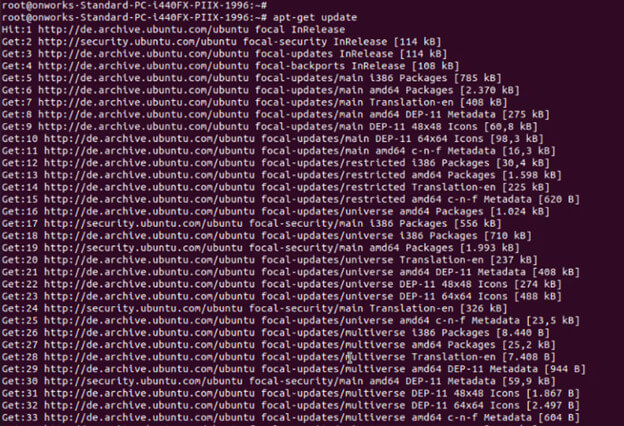
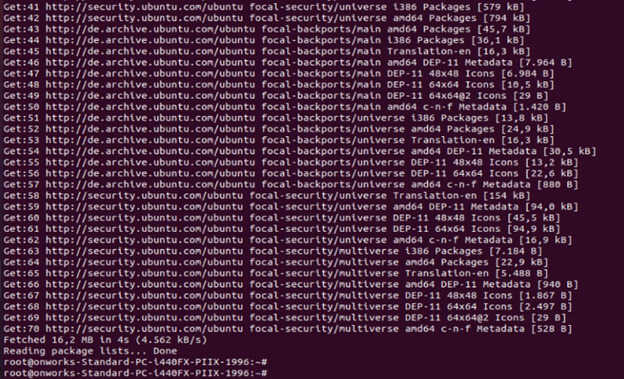
1. In the first step, update the Ubuntu repository using the apt-get update command. To update the repository we have required administrator privileges.
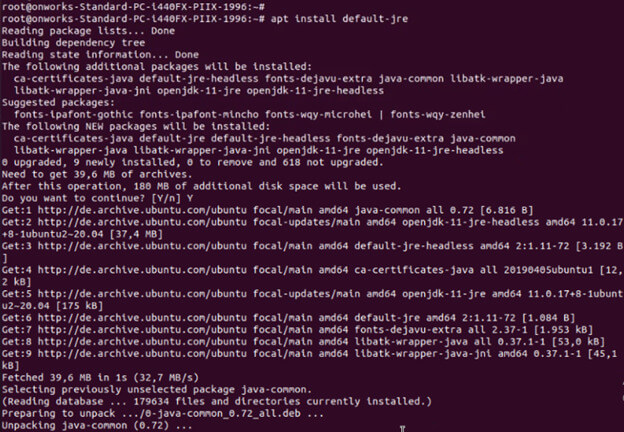
# apt-get update2. After updating the packages in the second step, we are installing the open JDK 11 on the Ubuntu system as follows. To install the open jdk, execute the below command as follows.
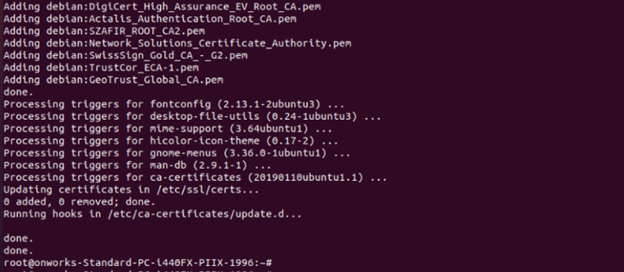
# apt install default-jre3. After installing the open JDK, in this step, check the installed version of the open JDK. To check the JDK version, execute the below command as follows.
# java --versionInstalling Oracle JDK 11
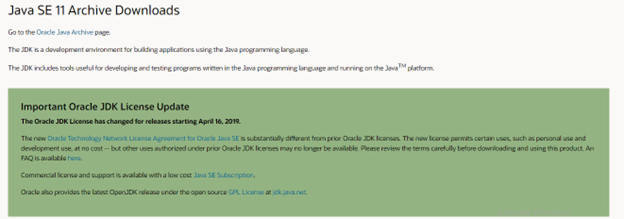
The Oracle licensing now allows the default installation using the package managers. To install the Oracle JDK, we require to create an account with Oracle and need to download the Oracle JDK and need to add the package repository to the version that we are using. Then we can use apt to install the JDK, which comes with the JRE, so we do not need to install it separately. The version of Oracle JDK was downloaded from the download page of Oracle. The below steps show how we can install Oracle JDK 11 on the Ubuntu system as follows.
1. In the first step, login into the Oracle account. The below example shows login into the Oracle account as follows.
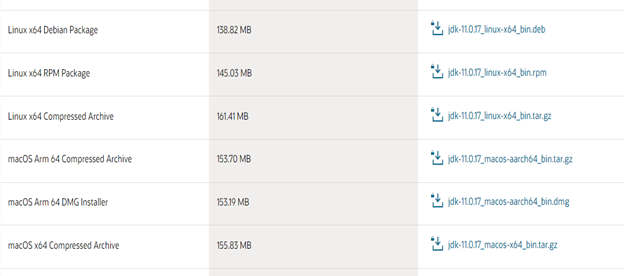
2. After login into the Oracle account, download the Oracle JDK for the Ubuntu system as follows.
3. After downloading the JDK, now, in this step, we are using the signing key to verify the installation as follows.
4. After checking the downloaded package, now in this step, update the Ubuntu repository as follows.
# apt-get update5. After updating the directory, we are now creating the directory and jdk file into the specified directory as follows.
# mkdir /var/jdk
# cp jdk-11.0.13_linux-x64_bin.tar.gz /var/jdk
6. After copying the file, now in this step, we install the package of oracle java 11 as follows.
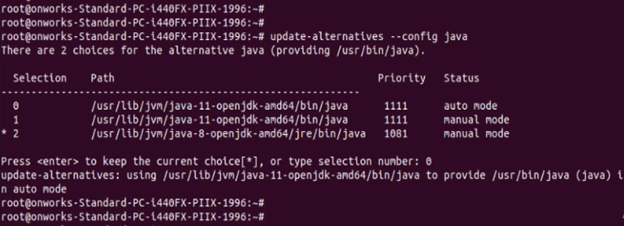
# apt install jdk7. After installing the Oracle JDK, now, in this step, manage the JDK. To manage the JDK execute the below command as follows.
# update-alternatives –config java8. We can check the installed version of oracle java using the below command as follows.
# java –versionManaging the Default Java Version
To manage the default Java version, follow the below steps as follows. Below steps shows how we can manage the default Java version as follows.
1. In the first step, check the version of Java. We have installed default as well as Oracle JDK.
# java –version2. The below example shows three versions. To change the default mode, select the specified mode as follows.
# update-alternatives –config javaUbuntu Setting the JAVA_HOME Environment Variable
To change the setting of the JAVA_HOME environment, we need to follow the following steps.
1. In the first step, we have to manage the specified version of Java. We manage the same using the below command as follows.
# update-alternatives –config java2. After managing the version, now, in this step, open the environment variable file and need to add the below path into it.
# vi /etc/environment3. After adding the path into the environment variable, update the file with the source command to take effect as follows.
# source /etc/environment
# echo $JAVA_HOME\
Conclusion
Installing JDK on Ubuntu is a straightforward process; we can install it using a few simple steps. To install JDK, first update the Ubuntu package repository, then we can install JDK using the “apt install command.” We can check the installed version of Java using the “java –version” command.
Recommended Article
We hope this EDUCBA information on “Install JDK Ubuntu” benefited you. You can view EDUCBA’s recommended articles for more information.
