Updated April 7, 2023
How to Install Kubernetes?
The following article provides an outline for How to Install Kubernetes? Microservices being the buzz term in recent times is an architecture pattern of application development.
It is a collection of services that are:
- Highly testable and maintainable.
- Loosely coupled.
- Ability to deploy independently.
- Woven around business capabilities.
It empowers a business to continuous delivery, deployment of large, complex applications with an ability to grow its technology stack.
What is Kubernetes?
It has become the leading platform for modern cloud-native micro-services. In recent times, the growing demand for Kubernetes has some astonishing factors behind it – Its cloud-native design, portability, and is open-source.
Steps to Install Kubernetes
There are 2 parts involved to install Kubernetes.
- First, we have to install the Kubectl
- Later followed by Minikube
So, Kubectl is a command-line tool for install Kubernetes. A user of Kubectl can easily deploy and manage applications and related functionalities on Kubernetes. Kubectl empowers its users to verify and inspect cluster resources, Creation-deletion, and updating of components, status details, and deploy & run applications in K8.
1. Install Kubectl
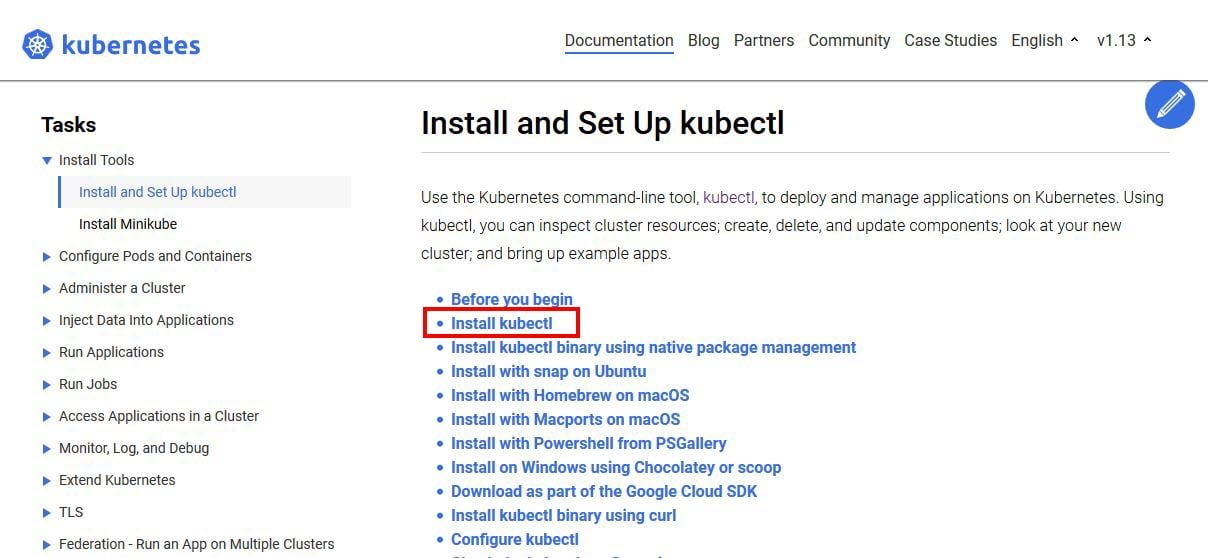
Step 1: Follow this link Kubectl; here, a user will get the details of the Kubectl installation process.
It looks like this – install Kubectl link is highlighted on the screen.
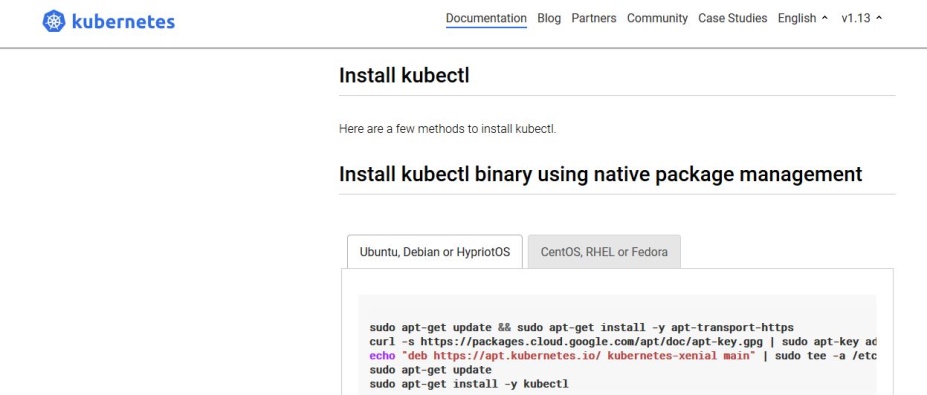
Step 2: After you click on the link, the below screen opens up.
It contains all the OS and platforms details; we will focus on the windows part, which is also present in the later section of the page.
Step 3: There are again two ways to install Kubectl.
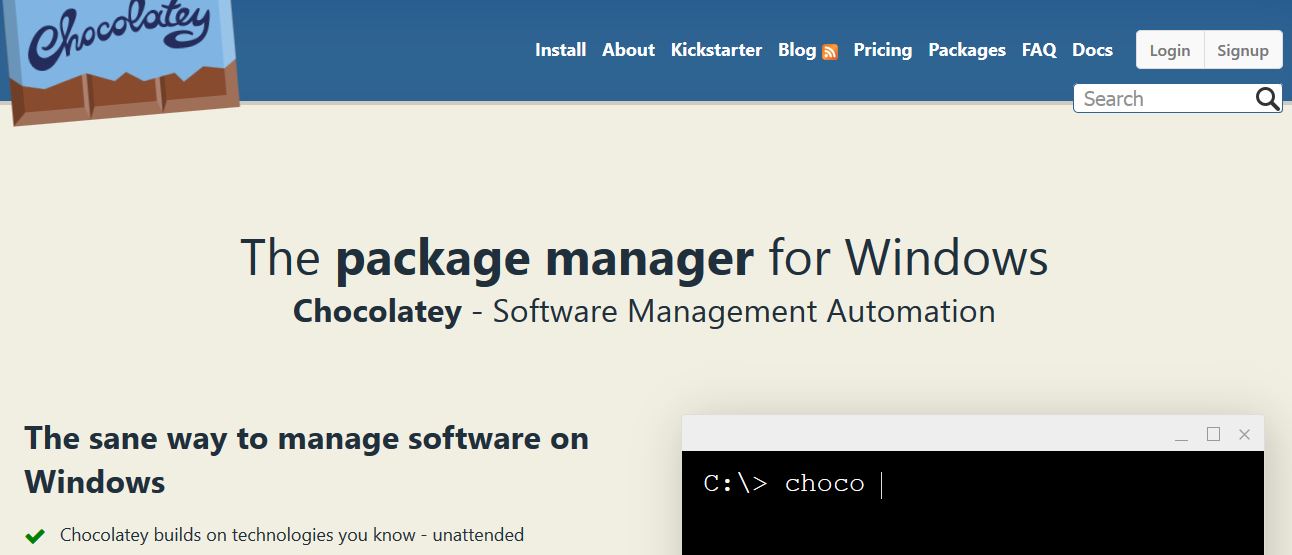
- Via Chocolatey
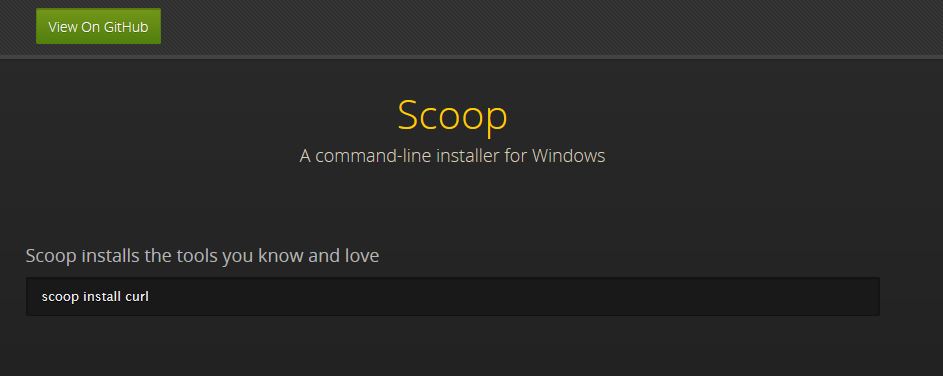
- Via Scoop
Have a look at these:
Step 4: A user has to write the below code for installing these.
- For Choco: Choco install Kubernetes-cli
- For Scoop: Scoop install Kubectl
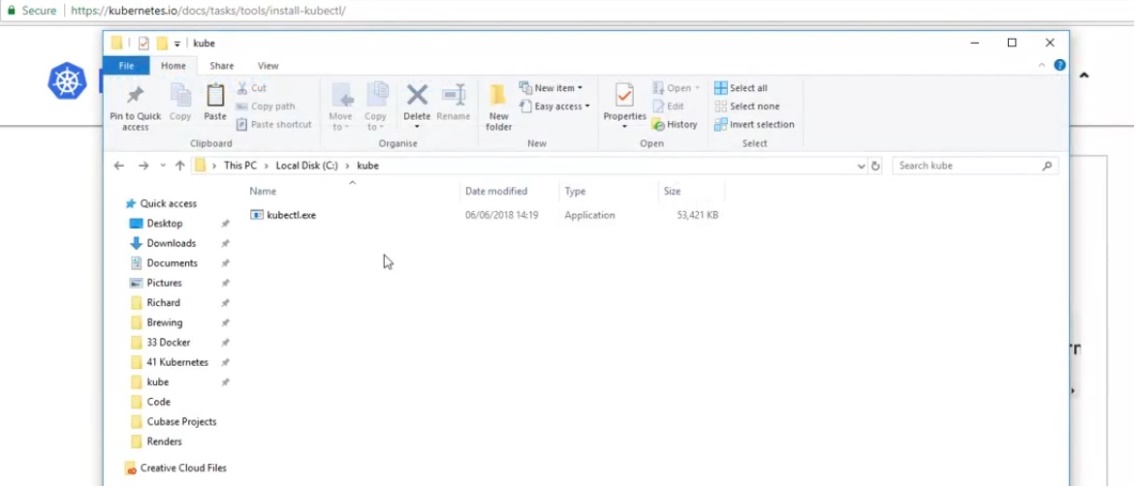
Step 5: Once these steps are complete, a user must save the file in any desired location on the Windows system.
Then add the kubectl.exe folder location in the path variable; the details are shown below:
‘Advanced System Settings>Advanced>Environment Variables>Path.’
This means you have to add this path variable to the location you have saved Kube.
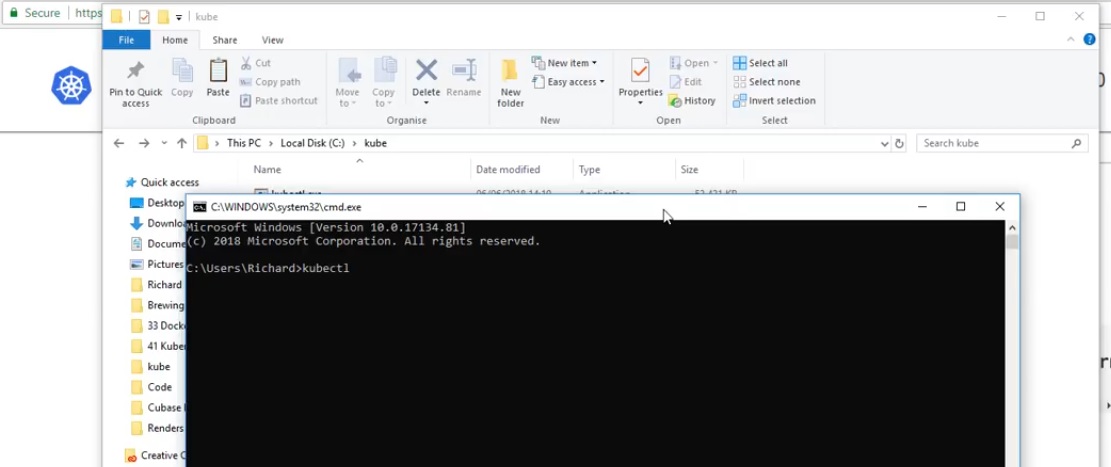
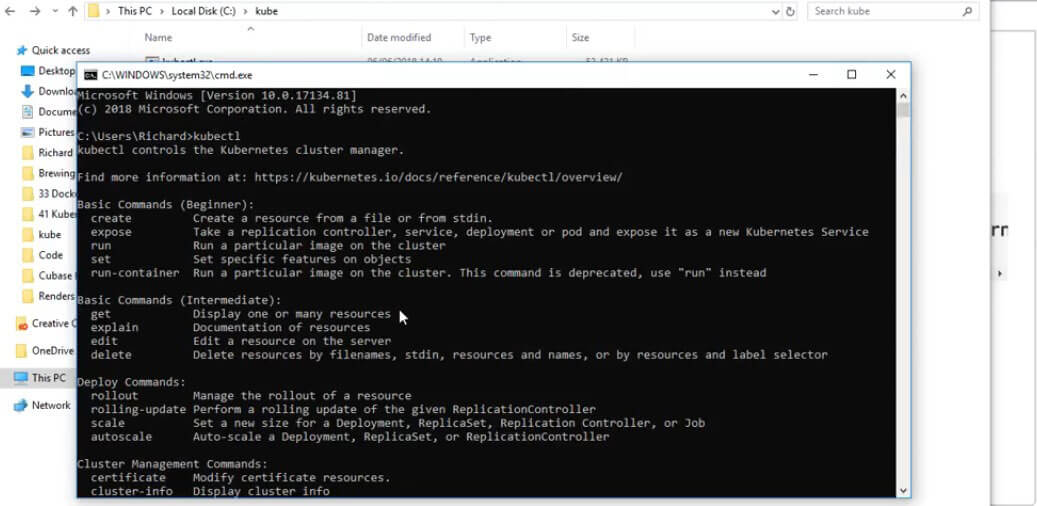
Step 6: Now open a command prompt (as known as cmd) and type the keyword ‘kubectl’; this will allow the users to see all the valid commands which are supported by kubectl.
With this, the Kubectl is installed in the user’s system; moving ahead; we will now focus on the Minikube installation.
2. Install Minikube
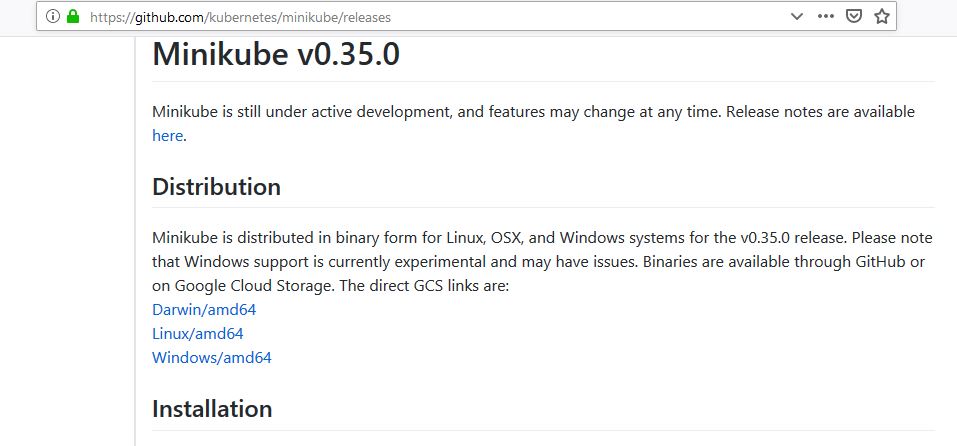
Step 1: Download the Minikube version from this link. At present, the version is v0.35.0.
A screen of the above link looks like this:
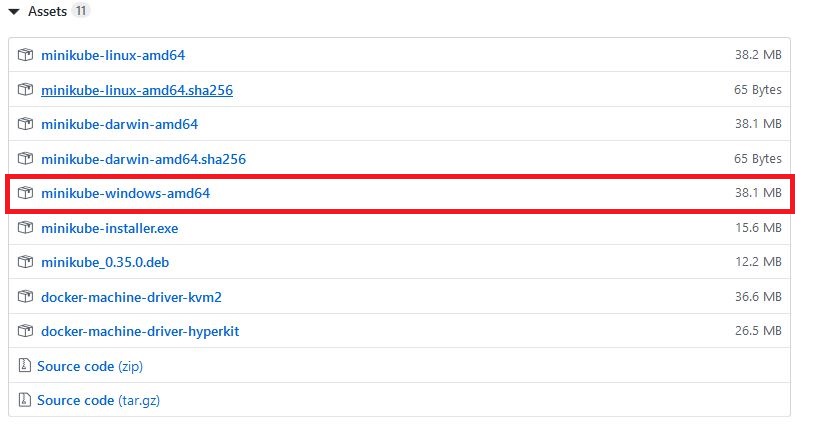
We can see that different version details are mentioned.
We will focus on the windows part and click on the link mentioned in the screen shown below.
Step 2: After the installation is complete, I need to rename the file with a .exe extension (like the way we did for kubectl).
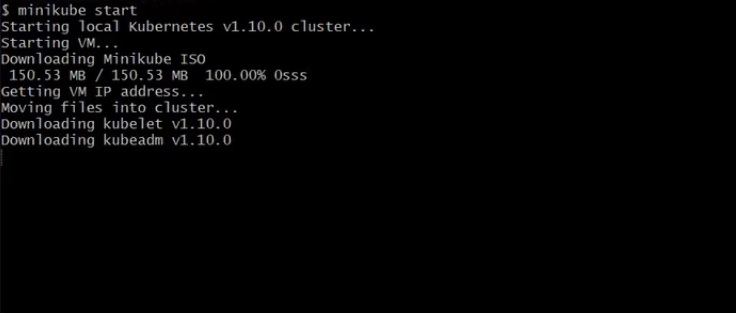
Now open the command prompt and type the following command:
Code:
Minikube startLet’s see what details a user will get after this command.
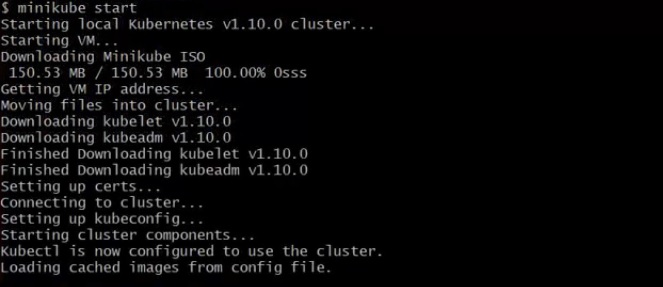
Minikube install is almost complete.
Follow the below screen:
Step 3: One last checkpoint for the users before they start using Kubernetes is to check the version details.
This can be done with a small command in the command prompt.
Code:
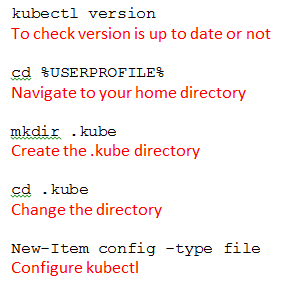
kubectl versionWith this, a user will get the details of the client and server version details.
This is the entire process to install Kubernetes before a user actually runs Kubernetes on his local windows system.
Features of Kubernetes
Below you can find some key features of Kubernetes:
- It can automate a server hosting process for you and decides how part on your behalf.
- It can easily manage and interact with several groups of containers at the same time.
- It regularly monitors the health of nodes and containers.
- Kubernetes can do storage orchestration and add the storage system of your choice to run the application.
- Container balancing is also a crucial behavior where it does the calculation regarding the best location for the container placement.
- Being an open-source tool, Kubernetes runs everywhere. This gives the benefit of on-premises, hybrid, and public cloud to its users.
- Ability to rollback if anything wrongs happens while executing the application. It has the capabilities to rollbacks and rollouts.
- It has the potential to scale horizontally and vertically with ease and quickness.
Conclusion
As we have said earlier, Kubernetes is a container orchestration tool with the ability to manage containers and, at the same time, manage them efficiently. This deployment aims to ease the manual work, which needs to be done in the absence of Kubernetes.
Recommended Articles
We hope that this EDUCBA information on “install kubernetes” was beneficial to you. You can view EDUCBA’s recommended articles for more information.

