Updated March 13, 2023
Introduction to Install Magento
The following article provides an outline for How to Install Magento? Magento is open-source; e-commerce setup built using the PHP programming language. The software and the related setup were initially developed by Varien Inc. (a US-based company). The initial release was on 31st March 2008, with a stable release of 2.3.0 (as of Nov 2018). Apart from PHP, Magento employs MySQL, MariaDB (an RDBMS system), and also the ZEND framework.
Magento provides two distinct platforms for operations, namely:
- Magento Open source, this was previously known as the community edition.
- Magento Commerce was earlier known as the enterprise edition.
The community edition is free of cost, built with multiple features. Since this is open-source, any user can extend its functionality with the new plug-in.
Enterprise edition, unlike the community, is not free but has some more and advanced features built. Designed for large business infrastructure requirements, the Magento enterprise edition comes with installation support, technical support, usage policy, and troubleshooting.
How to Install Magento?
Before we start on how to install Magento discussion, let see what XAMPP; why do we need this to install Magento?
XAMPP is a kind of software using which a user can develop a local web development setup. This software converts our PC into a server. To make this definition more relatable, let’s see one scenario.
“Mr. A has done with some web development coding after a couple of stressful months. Now what?
So, he needs a server to host and see how the development looks like and what can be the changes or correction needed before the final go. In this case, Mr. A needs localhost, which means a place where he can see his work.”
XAMPP provides this platform, and with this, a user can transfer the coding and data to reflect in the localhost server.
System requirement for Magento setup, Navigate to this link; we have also presented the screen related to system requirement.
Just select the version that you want to install and a detailed list of technical requirements like:
- OS
- Memory management
- Composers
- Web servers (apache version details)
- Database
- PHP version will be available
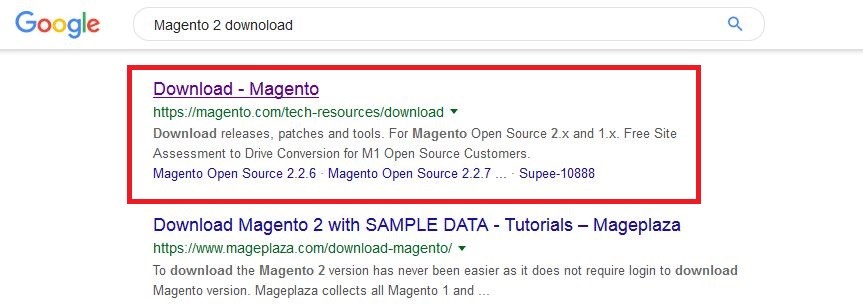
Now go to Google.com and type “Magento 2 download” you will get a number of download links, prefer the Magento official website.
Here it is:
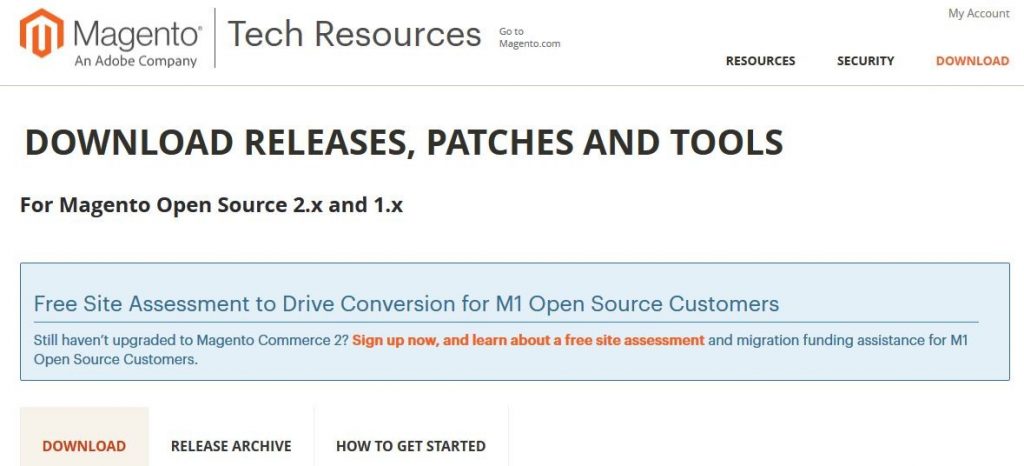
Now comes the download page.
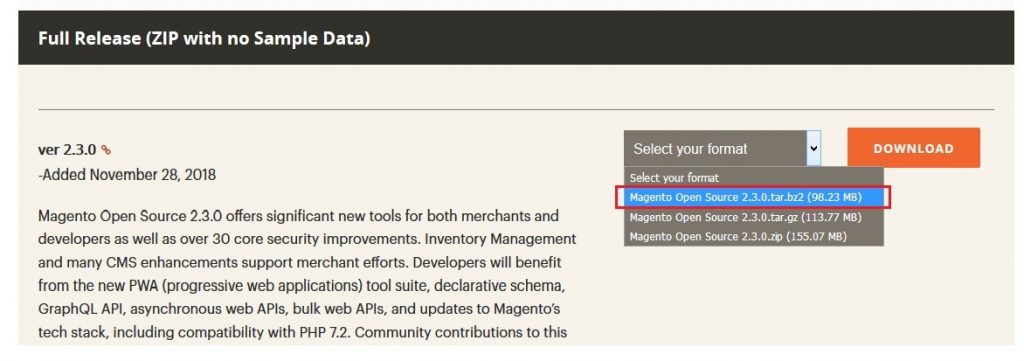
If you scroll down to the above-mentioned page, you will see some download setup details.
- Full release with sample data
- Full release with no data
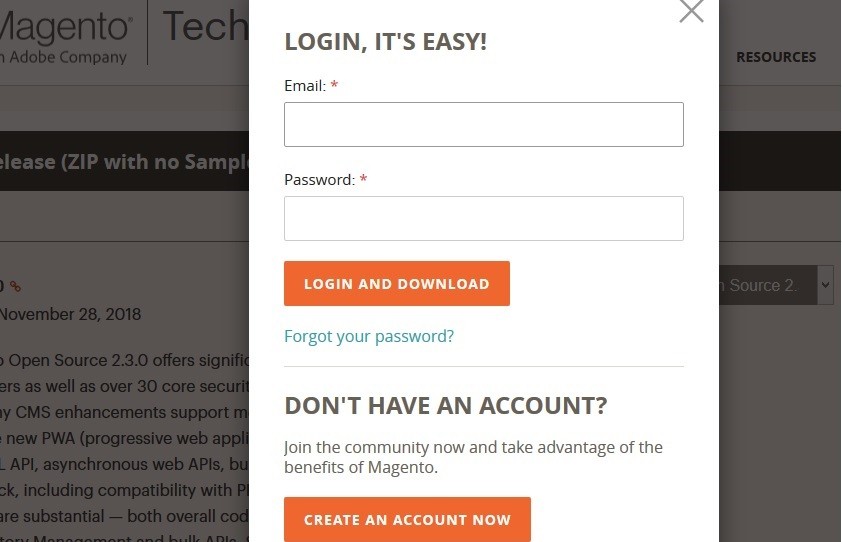
After you select the zip file, click on the ‘Download’ button, this will make a screen pop out on your screen.
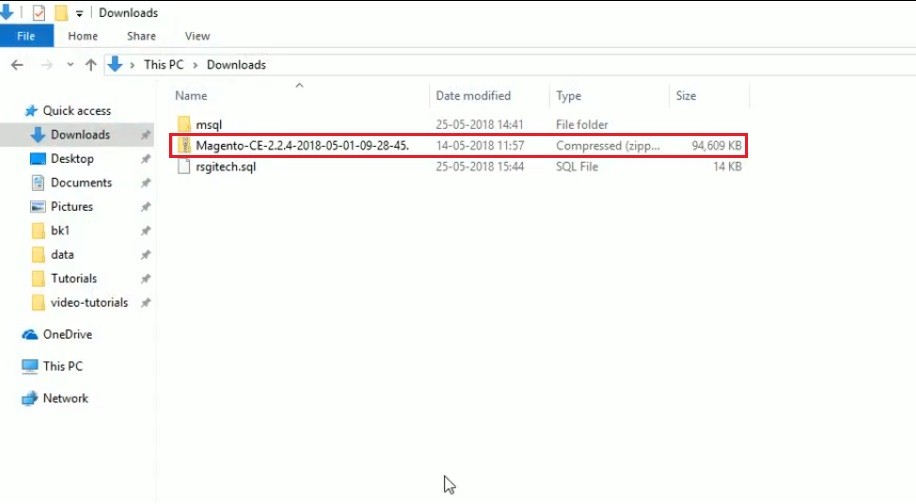
If you have already made an account in Magento, use those login credentials; if not, click the ‘Create an Account” button once the download is complete the open the location directory.
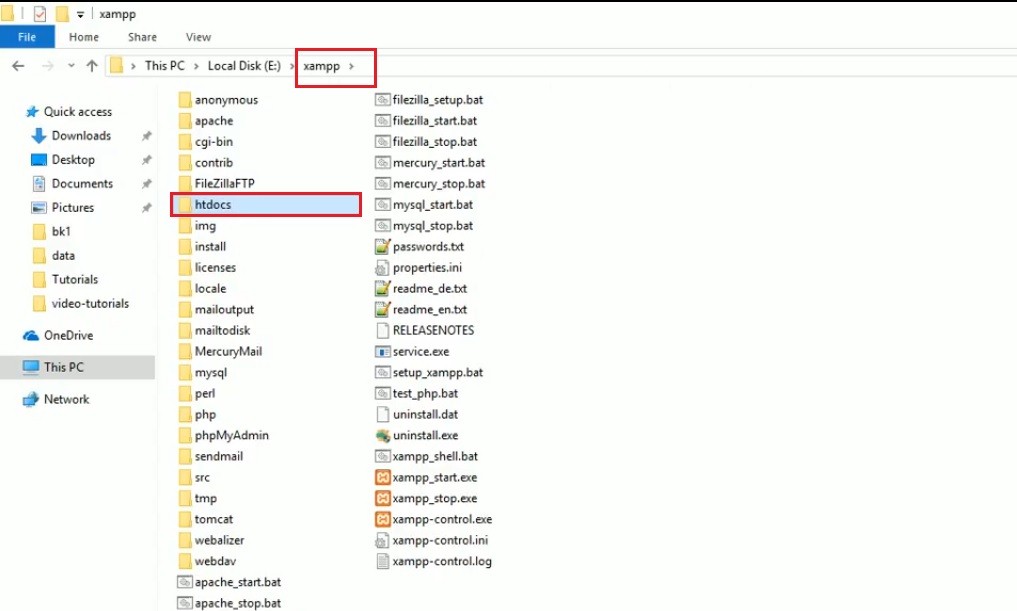
Once the Magento zip file is available, copy the file to your XAMPP folder.
In the above image, we can see there is a XAMPP folder, and in the folder, there is the ‘htdocs’ folder. We have to copy the download file of Magento in this htdocs folder.
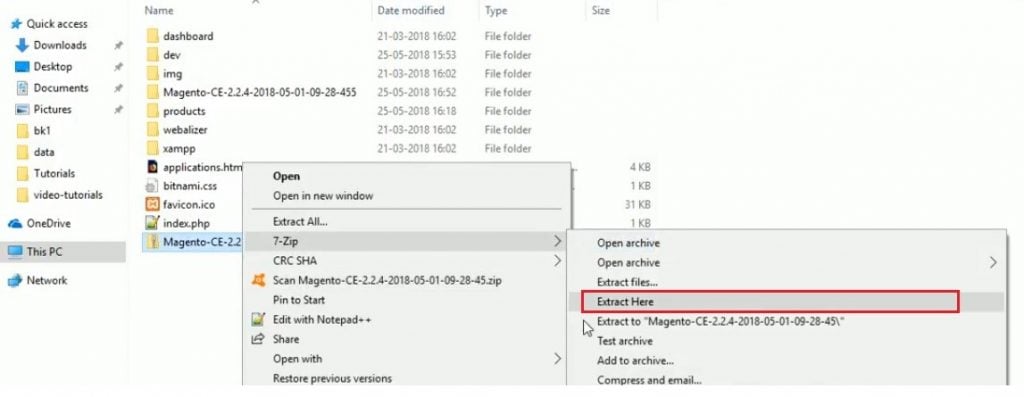
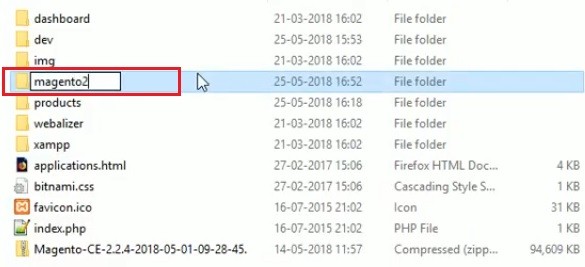
After extraction normal folder is available, you just have to rename it (to easily differentiate from the rest).
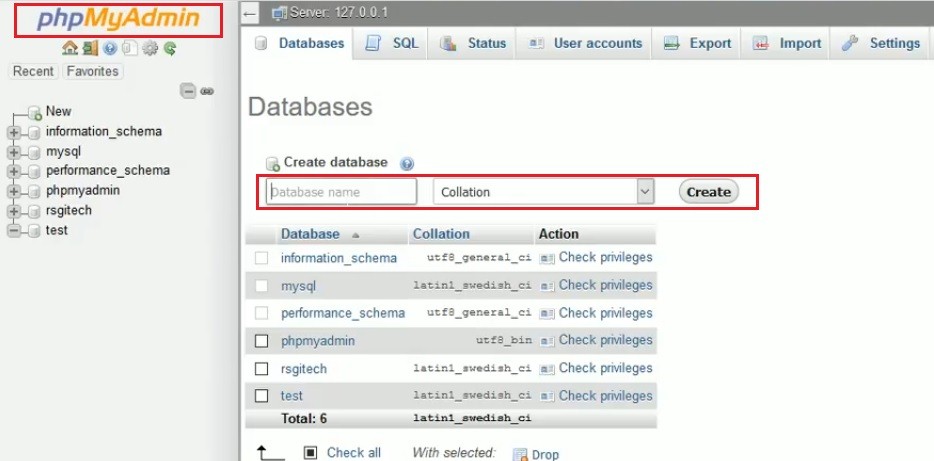
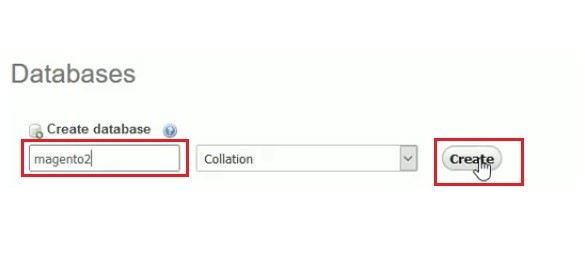
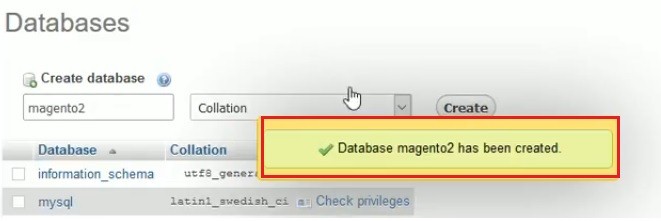
Now, move to the localhost server (MyPhp server) page to create the database. Here also you have to rename the newly created database as ‘magento2’.
Now your database is created. Navigate to localhost2.
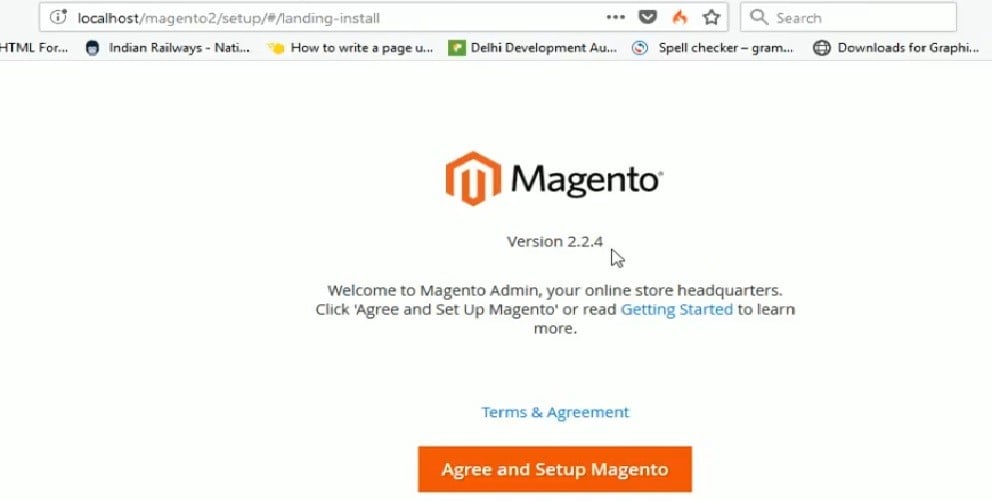
For the serac result of localhost/magento2 (created and named by the user), you will get your server details screen.
Only the setup screen is left from here onwards. Note for users if this you arrive at this screen means you have the only setup left before the actual Magento usage begins.
Now, a user has to click on the “Agree and Setup Magento” button, and the setup page will appear.
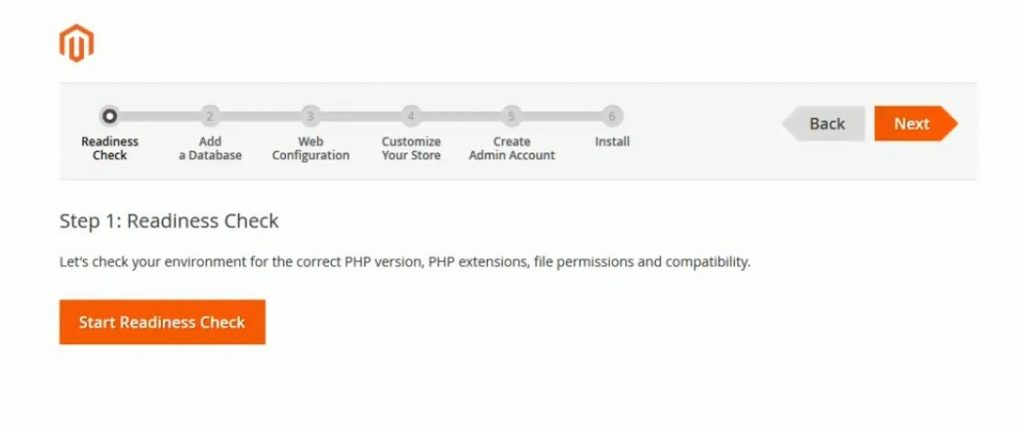
A user has to follow the above steps sequentially – the first one is “Readiness Check.”
You have to click on the “Start Readiness Check” button; here, the system does a thorough check of the requirements, environments of PHP, related extensions and permissions.
If you have all the updated requirements, you will get the below screen to move to the next step.
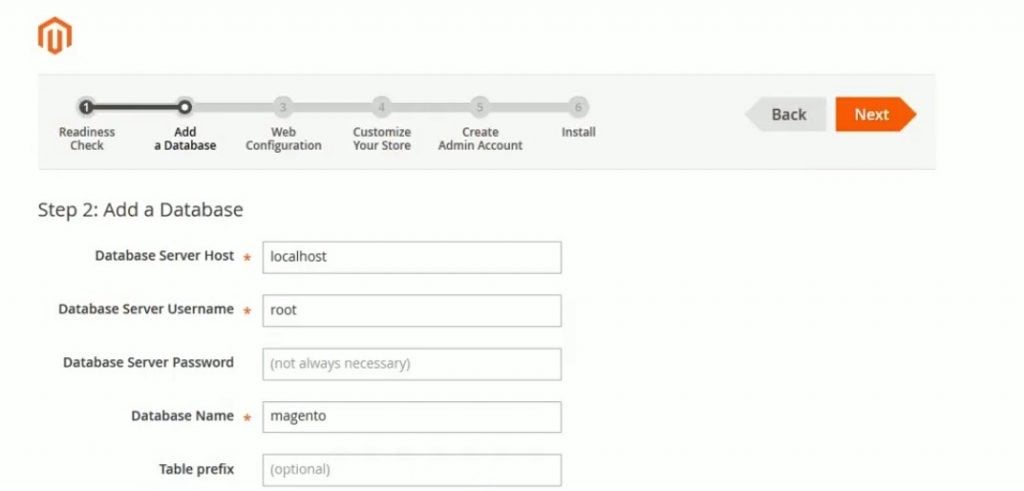
With this click on the “Next” button, you will get a database screen.
A user has to fill in the database details:
- Database Server Host: By default, the name is localhost.
- Database server name: You have to mention your server username, the one you got while creating the signup in Magento.
- Password filed is blank /(by default): A user has to fill the password details while signup into Magento.
- Database name: We have created the magento2 and have to select the same to move ahead.
- Table prefix: Is an optional configuration and should not be filled if you have some specific need.
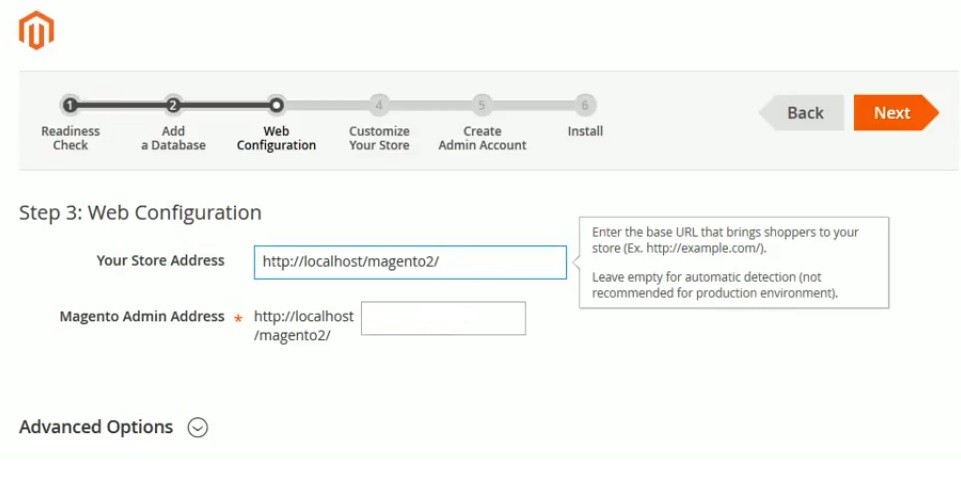
Now a user has to click on the ‘Next button to move in the configuration steps. Next comes is the ‘Web Configuration’ page. Here a user has to mention his store address (means the address that drives customers to your business). You also have to mention one ‘Admin’ password. Since every page has an admin for final changes to reflect in the front store location. Provide a suitable password in the password field and click “Next”.
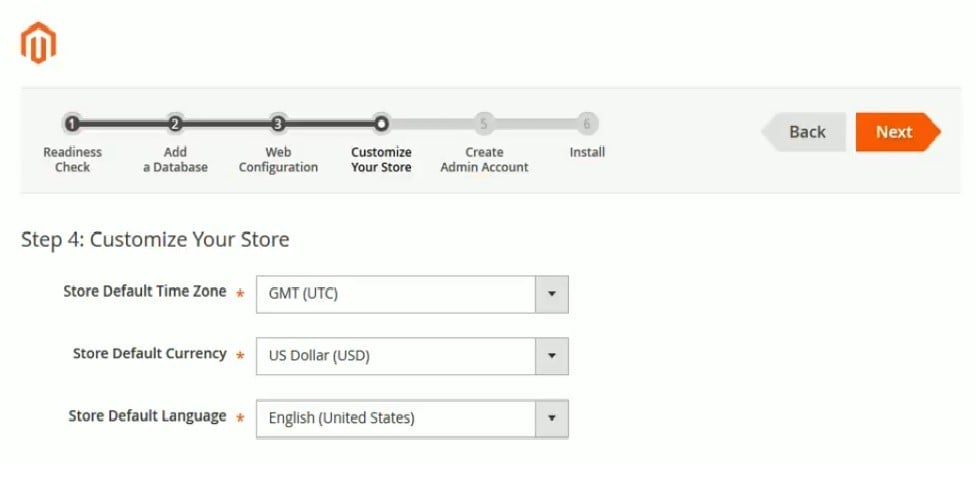
Now a user will get a ‘Customize store’ screen.
Customize your store by providing details like:
- Time zone
- Currency details
- Language preferred
We do not have to make any changes to this screen; let the default value be stored in it and click the ‘Next button.
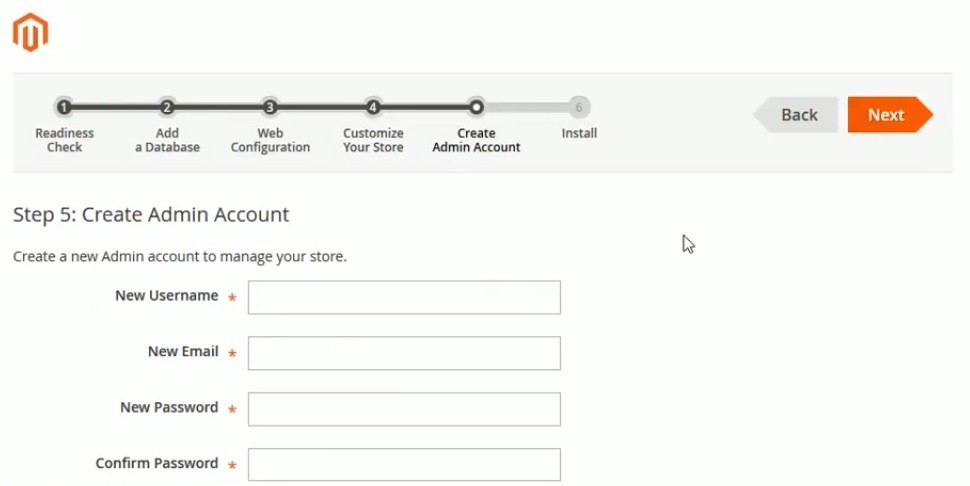
You will land on the ‘Create Admin Account’ page.
Provide admin details:
- Username: Must be between 1 to 40 character long.
- New Email: Emails must be genuine for verification.
- New password and confirm password before you install Magento.
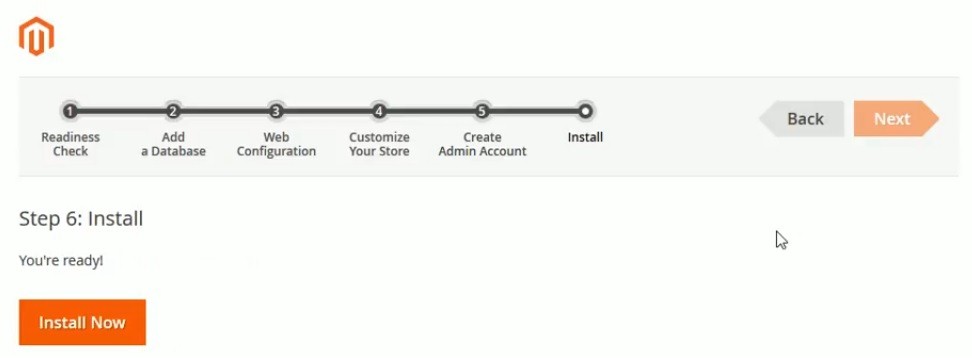
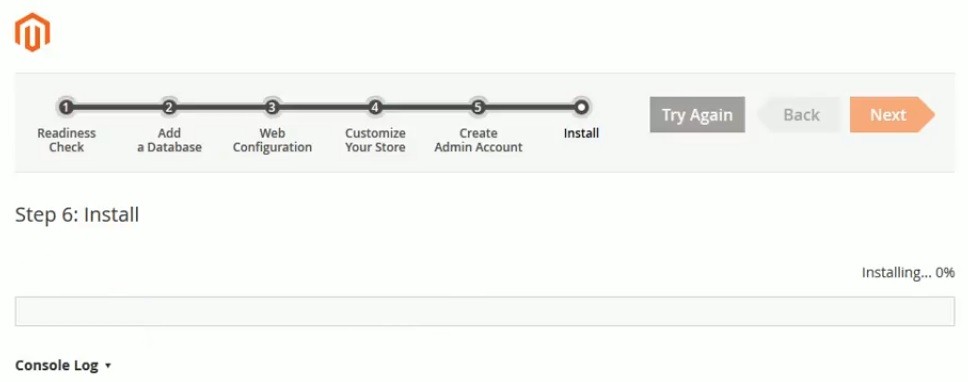
Once you click the INSTALL button, installation begins.
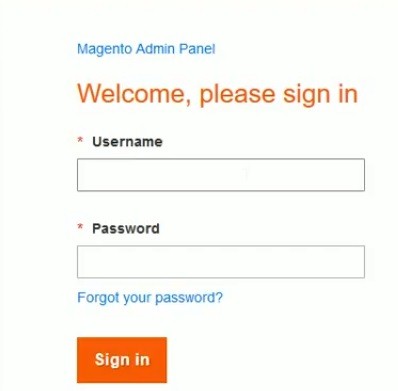
Once the installation is complete, you have to log in to your admin account to make the e-commerce business launch.
Recommended Articles
This has been a guide to How to Install Magento? Here we have discussed the different steps to install Magento. You may also look at the following articles to learn more –

