Updated April 3, 2023
Introduction to Install Magento 2
In this install Magento 2 article, Magento 2 is a leading, potent, and highly popular eCommerce platform. It uses open-source technology. Magento provides online merchants with a flexible and customer-friendly shopping cart system. Also, it gives control over the appearance, content as well as functionality of their online store. Among other things, the platform offers powerful catalog management, marketing as well as SEO tools. Though Magento 2 installation is challenging we will make it simple as well as convenient to you. You will get better at it with time as you understand the system requirements and typical problems that crop up during the installation process. Note that Magento 2 installation is not as straightforward as Magento 1 installation. But the task is difficult albeit not impossible to achieve.
System Requirements at a Glance
- The operating system is Ubuntu or CentOS.
- The host contains everything such as a database, web server, and others.
- There is no shared hosting and the Magento server is self-owned.
- Ensure you have installed Apache, PHP, and MySQL on your system.
Install Apache2 Server
The Apache HTTP Server is termed Apache. It is a free as well as open-source cross-platform web server software. Apache ranks highest in popularity among contemporary HTTP Server currently. It runs on many different platforms. The latter include Linux, Windows, OpenVMS, NetWare, and other OS.
In order to install Apache, update the relevant packages prior to executing the Apache install command:
Code:
sudo apt updatesudo apt install apache2For running apache input the following command:
Code:
sudo systemctl enable apache2.serviceInstall phpMyAdmin
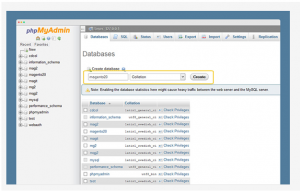
Open phpMyAdmin and create Database for Magento 2.0.
Download Magento 2 Pack
You have the option of downloading from any one of the following resources:
- https://magento.com/tech-resources/download
- https://github.com/magento/magento2/releases
Running the Magento Setup Wizard
The Magento Setup Wizard is a multi-page wizard. In it, the user can only go back and forward one page at a time. Note that any page cannot be skipped. it is mandatory to input all required data on every single page prior to proceeding to the next page.
- Enter the following URL in your browser address bar: http://www.example1.com/magento2. example1.com is your domain name such as localhost, localhost.com, 127.0.0.1 or your staging domain. magento2 is Magento 2 folder in htdocs. Usually, it is http://localhost/magento2.
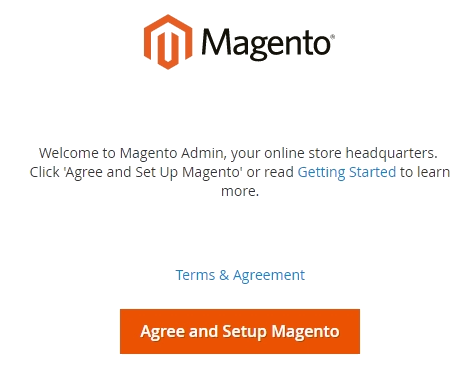
- Select Agree and Set Up Magento to commence installation.
How to Install Magento?
Access to this address http://localhost.com/magento2, one will get this Magento Setup Wizard as the following:
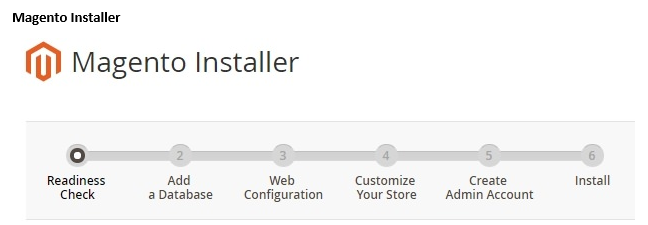
Magento Installer:
Step 1: Readiness Check
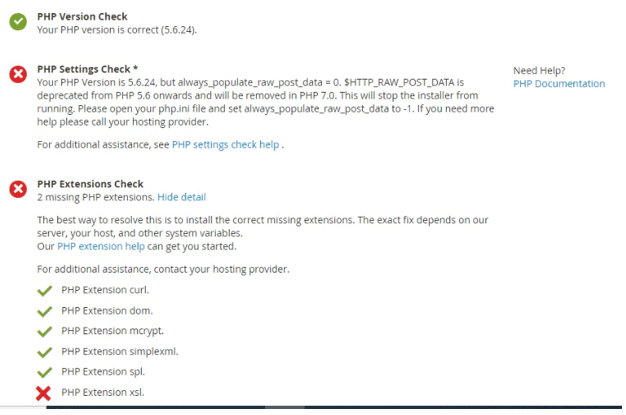
Select Start Readiness Check. If any errors are existing you must fix them before continuing. Select More detail if available to view additional data regarding each check
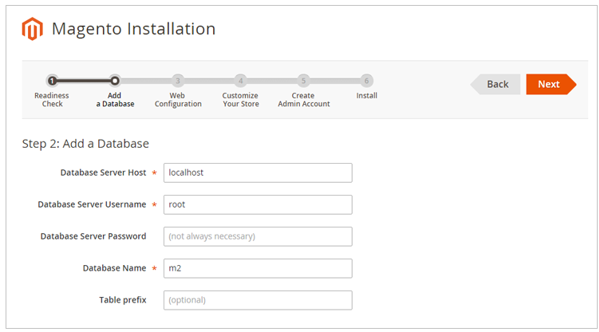
Step 2: Add a Database
“Add a Database” will set up the Magento database.
Fill database data then click ‘Next’.
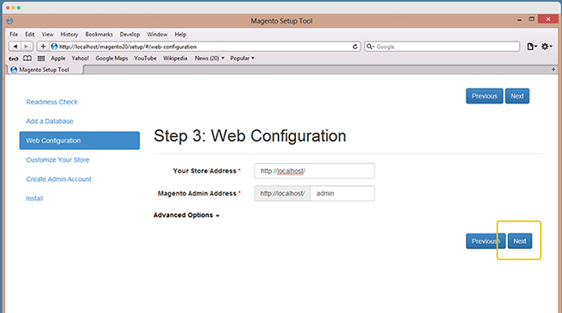
Step 3: Web Configuration
Input the following data:
- Store Address: http://www.example1.com.
- Magento Admin Address: Input the URL in order to reach the Magento Admin.
- Then select Next.
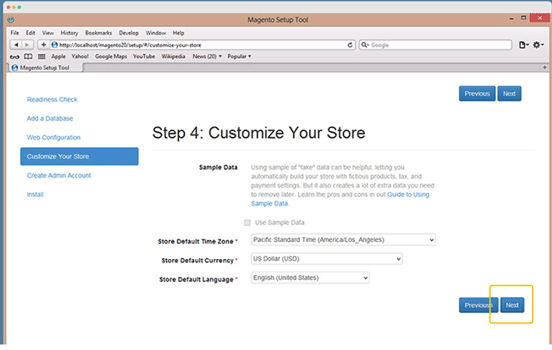
Step 4: Customize Your Store
In the Store Default Time Zone list, select the name of the store’s time zone.
- In the Store Default Currency list, select the default currency to use in the store.
- In the Store Default Language list, select the default language to use in the store.
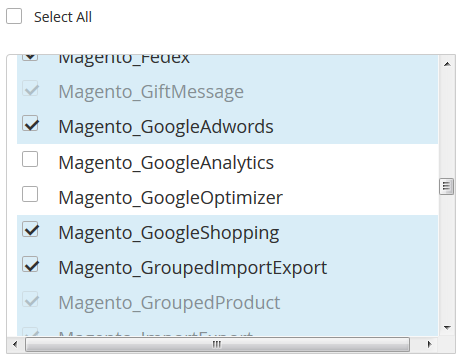
- Expand Advanced Modules Configuration to optionally enable or disable modules before installing Magento.
Advanced Modules Configurations
Select Next
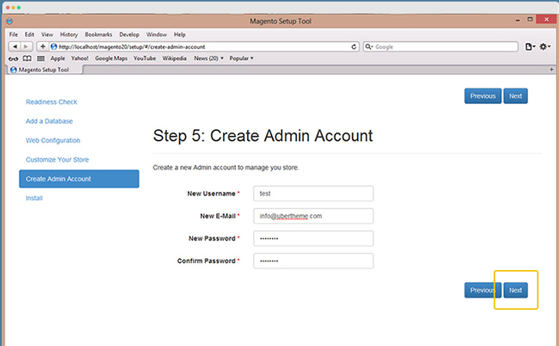
Step 5: Create Admin Account
Input admin information at first. Next select ‘Next’.
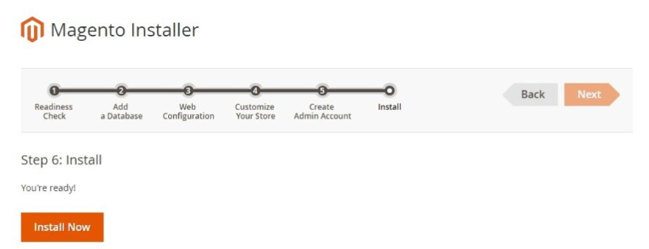
Step 6: Install
Now select ‘Install Now’.
The message “Success” will be displayed which confirms that the installation was indeed done fully as well as correctly.
Step 7: Check the result
Now check the frontend as well as the backend to verify whether Magento 2 was installed on the system properly.
Post Installation: Is Magento 2 Installed Correctly?
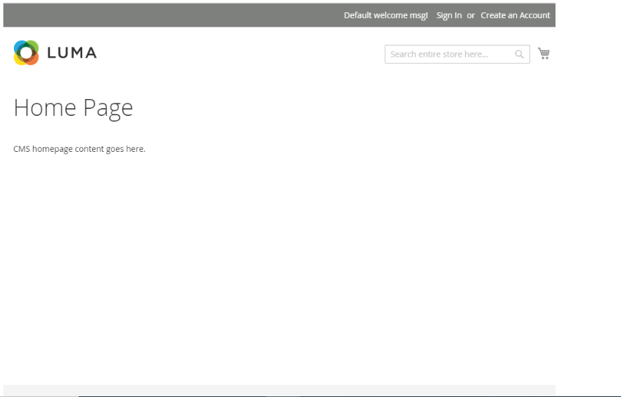
Verifying the Magento 2 Storefront
If you’ve installed Magento 2 for URL is https://www.yourwebsitename.com, then open this in a web browser. If the following storefront page is displayed, then Magento 2 has been successfully installed on your system.
Verifying the Magento Admin
- Navigate to the Magento in a web browser.
For instance, https://www.yourwebsitename.com/ admin_magento2 where https://www.yourwebsitename.com/ is your Magento installation base URL and the Admin URI is admin_magento2.
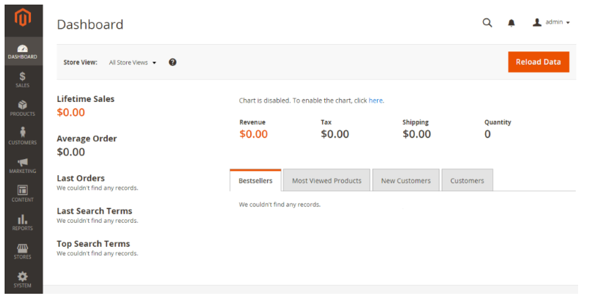
- Log in as a Magento Admin.
If the following page is displayed on your web browser it means that Magento 2 is successfully installed on your system.
Congratulations! you have now installed the latest version of Magento 2.
Conclusion
Hence the installation process has been completed successfully. Note that the installation process may vary as per the OS. But the fundamentals are the same. You just need to tweak the installation process as per the requirement. If you find it difficult to install Magento 2 on your own you can outsource the responsibility to a qualified and experienced Magento professional. He/she will anticipate the tricky parts of the installation process as well as seamlessly install Magento in the shortest and least money-consuming way. However, it is recommended that you do the installation yourself. At first, the procedure may seem tricky and difficult. However, persevere and you will find the whole process simple and easy. This way you will be independent and confident to install the next release of Magento.1
Recommended Articles
This has been a guide to Install Magento 2. Here we learned system requirements and various steps to Install Magento 2. You may also have a look at the following articles to learn more –

