Introduction
MySQL Workbench is a comprehensive solution meticulously crafted to cater to the diverse needs of database architects, developers, and DBAs (Database Administrators). It offers a unified platform with extensive features and resources meticulously designed to streamline every aspect of database management. From conceptualizing database structures to actualizing them through modeling and development, MySQL Workbench provides indispensable tools and functionalities. Furthermore, it extends its capabilities to encompass administration and maintenance, empowering users with intuitive interfaces and powerful utilities for server configuration, user management, and performance monitoring. As an open-source offering, MySQL Workbench not only exemplifies accessibility but also prides itself on its user-friendly interface, ensuring seamless navigation and operation for users across various proficiency levels. This amalgamation of versatility, accessibility, and functionality renders MySQL Workbench an indispensable asset for efficiently managing MySQL databases within the Ubuntu ecosystem.
Table of Contents
Overview of MySQL Workbench
MySQL Workbench plays a crucial role within the MySQL ecosystem by providing a centralized hub for various database-related activities. Its robust feature set includes:
- Database Design and Modeling: MySQL Workbench empowers users to craft visually, model, and document databases using tools like entity-relationship diagrams (ERDs). This modeling aids in conceptualizing and strategically planning database structures before implementation.
- Development Tools: MySQL Workbench offers an array of tools for database development and facilitates tasks such as editing SQL code, syntax highlighting, and auto-completion. Developers can seamlessly write and execute SQL queries directly within the platform, streamlining the development workflow.
- Administration: Database Administrators (DBAs) leverage MySQL Workbench for crucial administration tasks, such as user management, server configuration, and performance monitoring. The platform provides intuitive interfaces for efficiently managing MySQL server instances and configurations.
- Data Migration: MySQL Workbench simplifies data migration between disparate database systems. This feature enables users to seamlessly import/export data across platforms, which is particularly beneficial during database upgrades or system transitions.
Importance of Using a Graphical Tool for Managing MySQL Databases
The graphical user interface (GUI) of MySQL Workbench presents numerous benefits for Ubuntu users managing MySQL databases:
- Simplicity: MySQL Workbench simplifies intricate database tasks through visual representations of database structures and operations. This simplicity aids users, especially those less adept with command-line interfaces, comprehending and manipulating databases.
- Efficiency: Workbench acts as a centralized platform, streamlining tasks related to database design, development, and administration. Users can execute various operations within a unified interface, reducing the necessity to alternate between several tools or command-line utilities.
- Productivity: MySQL Workbench, enhanced with features like auto-completion, syntax highlighting, and visual query construction, boosts developers’ and DBAs’ productivity. These tools streamline development processes, reduce errors, and expedite database management.
- Collaboration: MySQL Workbench facilitates collaborative database development by permitting multiple users to collaborate on the same project simultaneously. This collaboration promotes teamwork and coordination among developers and DBAs, resulting in superior database project outcomes.
Prerequisites
Before proceeding with the installation of MySQL Workbench on Ubuntu, it’s essential to confirm that your system meets the following criteria:
- Ubuntu Operating System Compatibility: The developers crafted MySQL Workbench to be compatible with Ubuntu. Thus, it’s imperative to have Ubuntu installed on your system. Ensure your Ubuntu installation is up-to-date to prevent compatibility issues with MySQL Workbench.
- System Requirements Verification: Before installation, verify that your system meets the system requirements specified for MySQL Workbench. These requirements typically encompass minimum RAM, disk space, and processor speed specifications. Ensuring your system meets or exceeds these requirements is crucial for optimal performance.
- MySQL Server Availability: While MySQL Workbench can operate independently of a MySQL server, its core functionality revolves around database management. Therefore, if you plan to utilize MySQL Workbench for database management tasks, it’s advisable to have a MySQL server installed and appropriately configured on your Ubuntu system.
- Access Permissions Confirmation: Confirm that you possess the requisite permissions to install software on your Ubuntu system. Administrative privileges may be necessary to install MySQL Workbench and any associated dependencies effectively.
Installing MySQL Server on Ubuntu
MySQL Server is a fundamental component for managing MySQL databases. MySQL Server can be installed on Ubuntu using the apt package manager, simplifying the installation process and ensuring you have the latest stable version of MySQL.
Steps to Install MySQL Server Using apt Package Manager
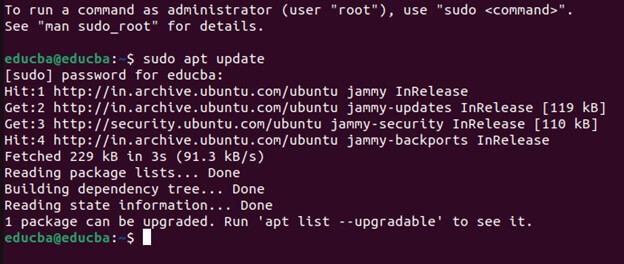
- Update Package List: Before MySQL Server installation, refresh the package lists to guarantee access to the most recent version from the Ubuntu repositories. Achieve this by executing the subsequent command:
“sudo apt update”
- Install MySQL Server Package: After refreshing the package lists, you can proceed with installing the MySQL Server package by executing the provided command:
“sudo apt install mysql-server”
- Start MySQL services: Following the completion of the installation, the MySQL Server should start automatically. In case it doesn’t, you have the option to start the MySQL service through the command provided below manually:
“sudo systemctl start mysql”
- Enable MySQL services: To guarantee MySQL’s automatic initiation upon system boot-up, you can activate the MySQL service using the provided command:
“sudo systemctl enable mysql”
- Secure MySQL Installation: You can execute a security script with MySQL Server to enhance installation security. This script assists in setting a root password, removing anonymous users, disabling remote root login, and performing other security measures.
“sudo mysql_secure_installation”
MySQL runs with a blank password; you can set up your password and press y for Yes to accept all the configurations for secure installation.
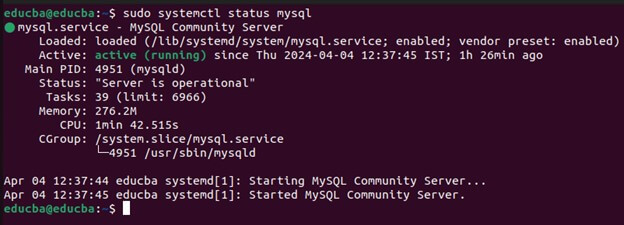
- Verify MySQL Installation: Once the installation is complete, you can verify that MySQL Server is running correctly by checking its status:
“sudo systemctl status mysql”
Installation Methods of Workbench
MySQL Workbench can be installed on Ubuntu using different methods.
Method 1: Installing from the Official DEB Package
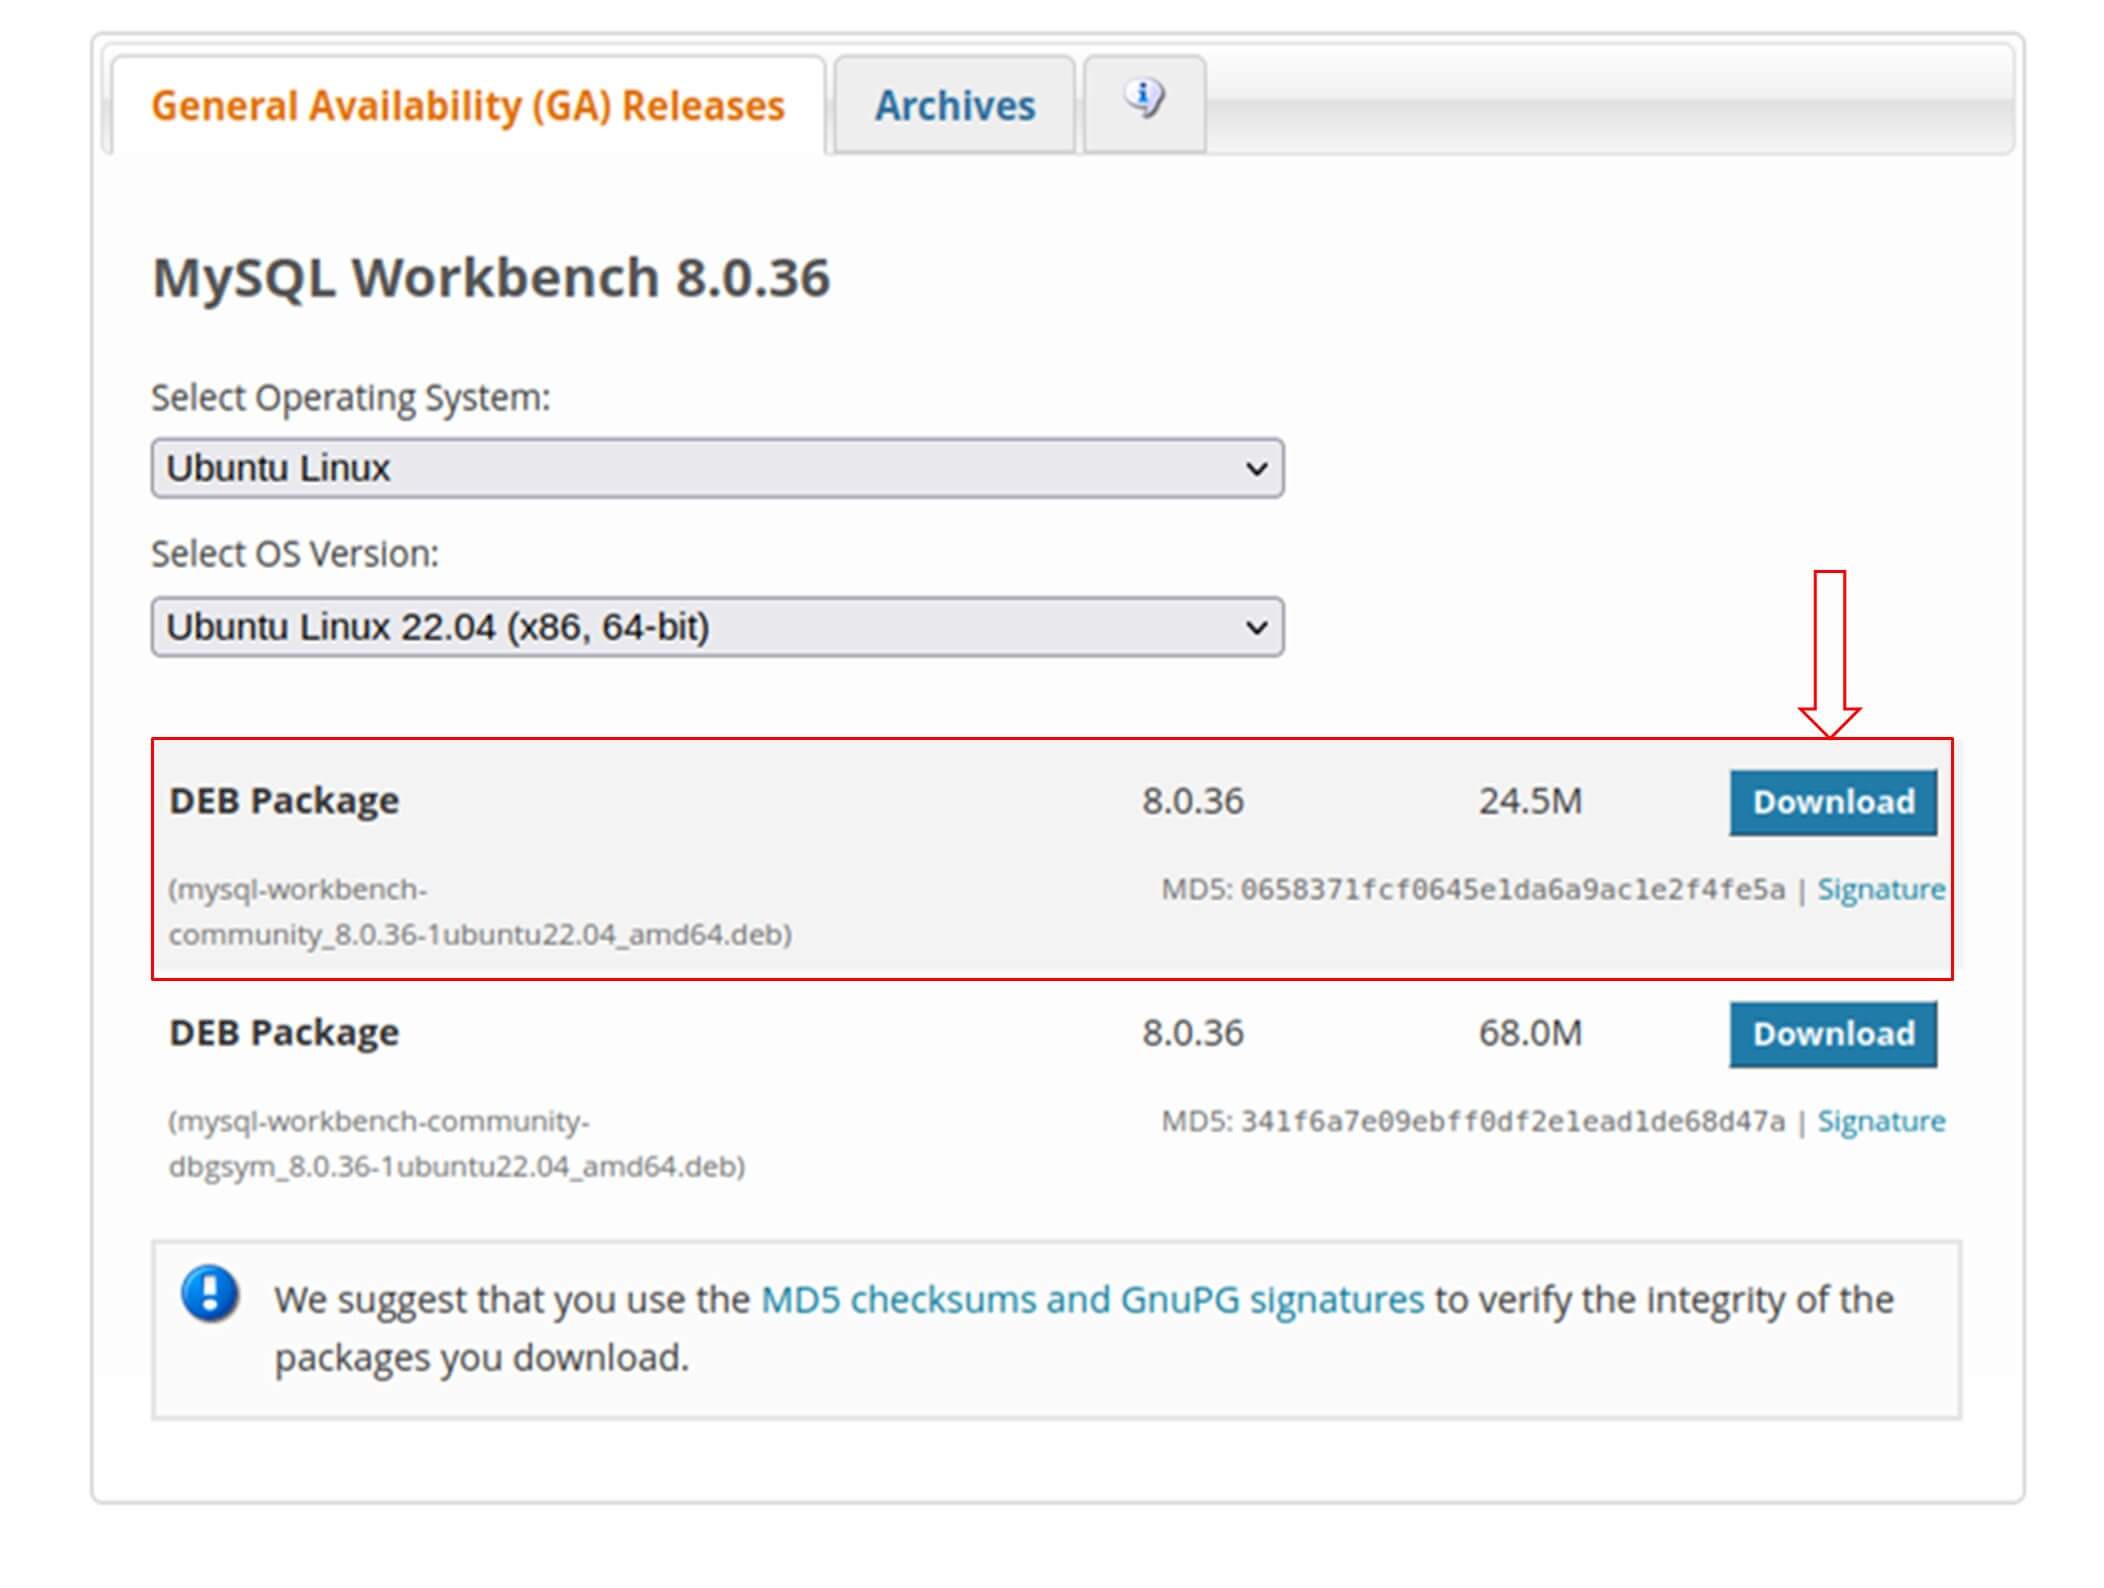
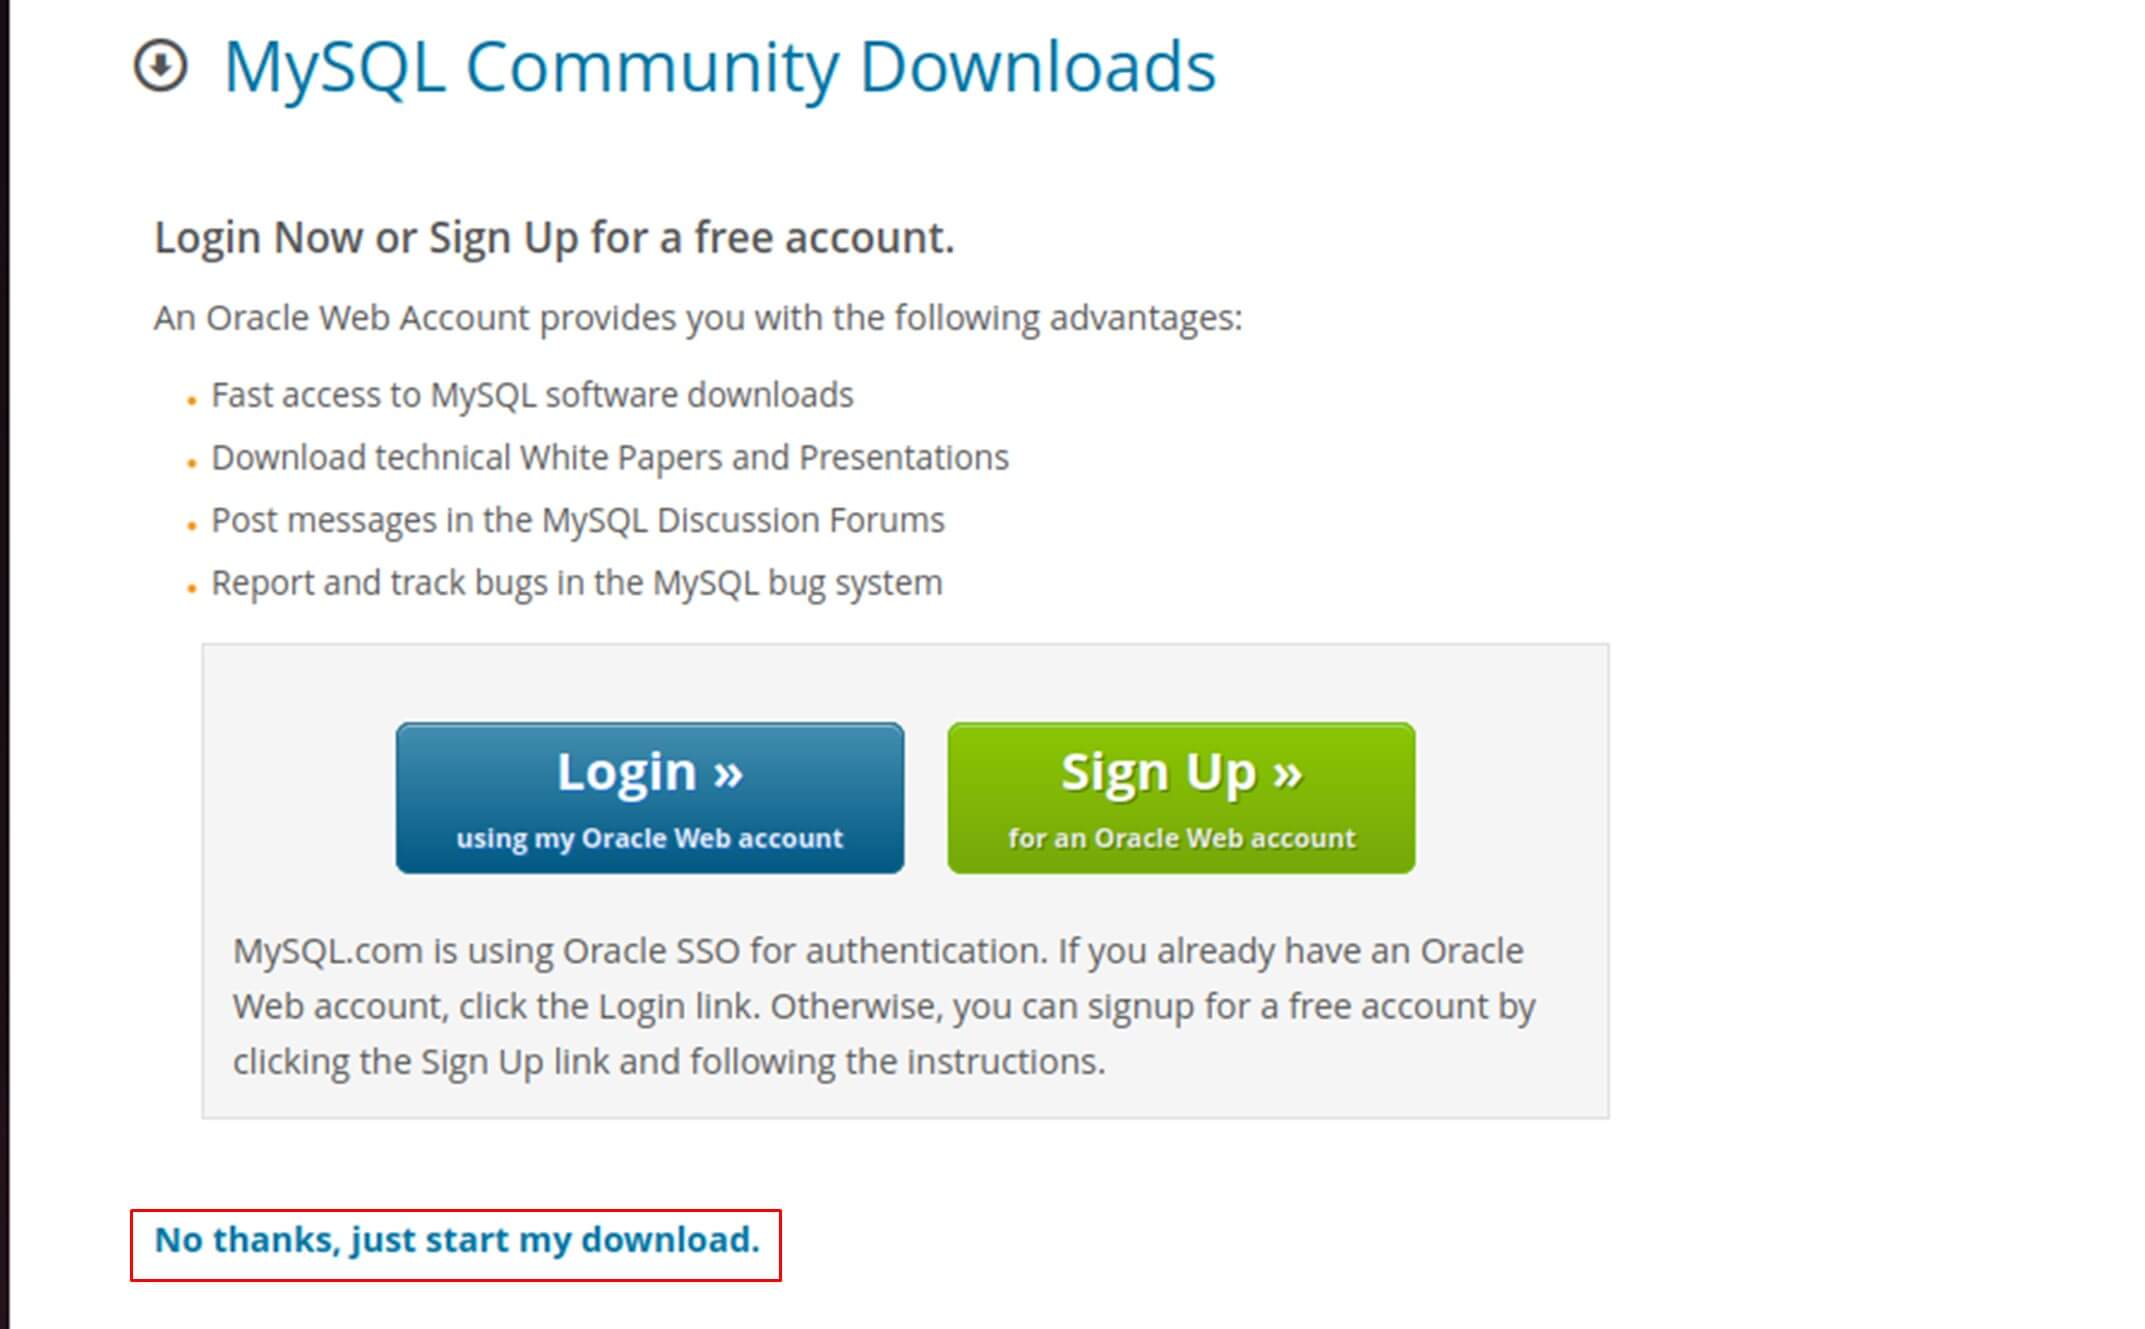
You can download the official DEB package of MySQL Workbench from the MySQL website and install it manually. This approach grants you greater authority over the installation procedure and enables you to install precise versions of MySQL Workbench that may not be available in the Ubuntu repositories.
- Download DEB Package: You can download the official DEB package of MySQL Workbench from the MySQL website and install it manually. This approach grants you greater authority over the installation procedure and enables you to install precise versions of MySQL Workbench that may not be available in the Ubuntu repositories.
- Access the Directory: Launch a terminal session and navigate to the directory of the downloaded DEB Use the cd command to reach the file location.
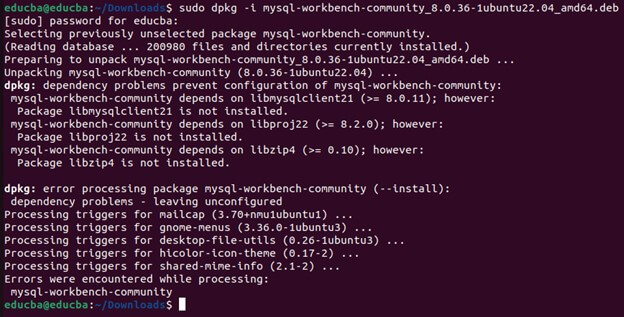
- Execute the installation: Once you are in the directory containing the DEB package, install MySQL Workbench using the dpkg command. Substitute “package_name.deb” for the accurate name of the DEB package you obtained.
“sudo dpkg -i package_name.deb”
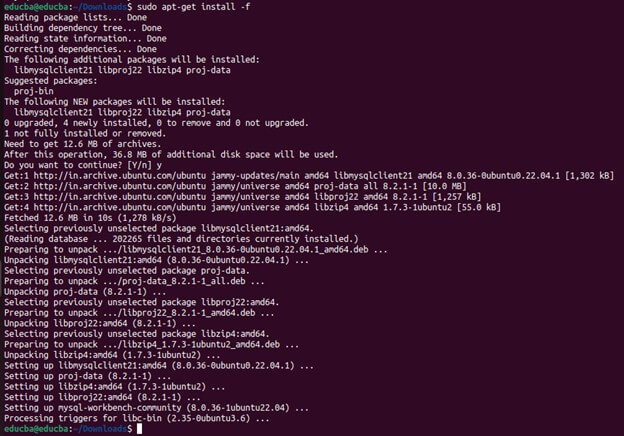
- Resolve Dependencies: If the dpkg command reports any dependencies that are missing, you can use the following command to install them:
“sudo apt-get install -f”
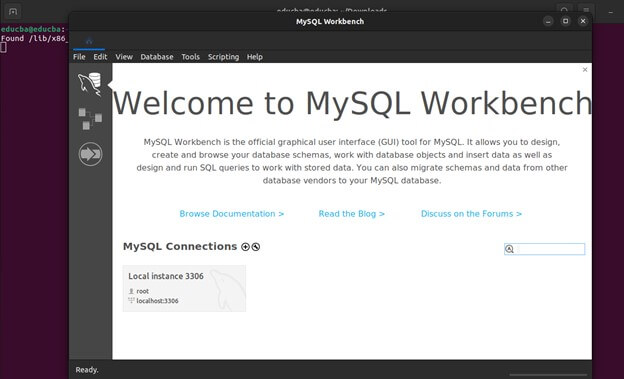
- Launch MySQL Workbench: After successfully installing MySQL Workbench, you can launch from the application menu or by running the following command in the terminal:
- Verify Installation: After launching MySQL Workbench, ensure it opens without errors. You can also verify the version of MySQL Workbench by running:
“mysql-workbench –version”
That’s it! You have successfully Installed the MySQL Workbench from the DEB Package.
Method 2: Installing Using Snap Package
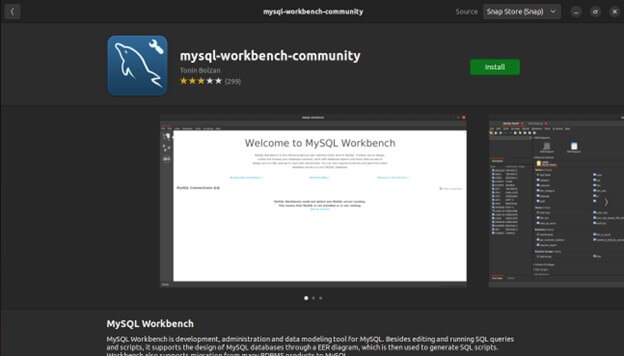
Snap packages offer a convenient way to install and manage software on Ubuntu systems. MySQL Workbench is available as a snap package. You can install the workbench directly through the Ubuntu Software Center or the snap command-line tool.
1. From Ubuntu Software Center:
2. From the Snap command-line tool:
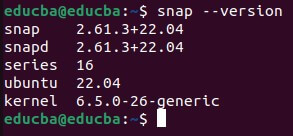
- Ensure the Snap is Installed: Verify that Snap is on your Ubuntu system. You can do this by executing the following command:
“snap –version”
If you haven’t installed Snap, you can install it using the following command:
“sudo apt install snapd”
- Install MySQL Workbench: Once you install the snap, you can install MySQL Workbench using the snap command:
“sudo snap install mysql-workbench-community”
- Launch MySQL Workbench: Once the installation finishes, you can initiate MySQL Workbench from the application menu or by executing the provided command in the terminal.
“mysql-workbench”
And that’s all! You have successfully installed the MySQL Workbench from the snap tool.
Method 3: Installing from Ubuntu Repositories:
MySQL Workbench is available in the official Ubuntu repositories, allowing you to install it using the apt package manager. This method ensures that you get the version of MySQL Workbench that has been tested and approved for use with your Ubuntu release.
Conclusion
MySQL Workbench is a versatile and robust tool for managing MySQL databases within Ubuntu environments. Boasting a wide array of features encompassing database design, development, administration, and collaborative tools, it optimizes the database management workflow and boosts productivity for developers, DBAs, and database architects. By adhering to the installation methods delineated in this guide, Ubuntu users can effortlessly deploy MySQL Workbench, harnessing its capabilities to proficiently design, develop, and administer MySQL databases. Whether opting for installation via Ubuntu repositories, employing the official DEB package, or embracing the Snap package, MySQL Workbench offers an intuitive interface and formidable functionality tailored to address diverse database management requirements on Ubuntu platforms.
Frequently Asked Questions (FAQs)
Q1. Can I use MySQL Workbench to manage databases other than MySQL?
Answer: The developers primarily designed MySQL Workbench for MySQL database management. Although it may offer limited compatibility with alternative database systems, its core emphasis remains on MySQL.
Q2. Is MySQL Workbench suitable for large-scale database management?
Answer: Absolutely, MySQL Workbench is adept at handling extensive databases. Its comprehensive array of tools for tasks such as database design, development, administration, and performance optimization proves invaluable for a wide range of database management endeavors.
Q3. Can I customize MySQL Workbench to suit my preferences?
Answer: MySQL Workbench provides a range of customization features, encompassing themes, layouts, and preferences, enabling users to customize the tool to meet their individual needs and preferences.
Recommended Articles
We hope that this EDUCBA information on “Install MySQL Workbench on Ubuntu” was beneficial to you. You can view EDUCBA’s recommended articles for more information,
