Updated March 13, 2023
Introduction to Install Perl
The following article provides an outline for How To Install Perl. PERL stands for Practical Extraction and Reporting Language. It was originally developed in 1987 by Larry Wall. Initially, Perl was designed for text processing /data analysis and report generation, such as extracting data from a text file and printing out a report. Perl can also be used for developing web applications and integrating websites. Web developers use Perl for both text processing and manipulation. It can interact with other popular programming languages such as C, C++, and Java. Perl can be used with HTML, XML or other mark-up languages as well. Perl supports object-oriented programming as well as procedural programming.
Perl is free and open-source software, licensed under its Artistic License, or the GNU General Public License (GPL). It offers a number of libraries to work with. It supports more than 25 000 open source modules on CPAN(Comprehensive Perl Archive Network), which provide many powerful extensions to its standard library. For example, XML processing, GUI(Graphical User Interface), DI (Database Integration), etc. You can find CPAN modules online at “http://www.perl.com/CPAN/ ”. At this point, you might be wondering what a module is? A module is a file or a bundle of files that work together to accomplish a task. For example, there is a module for laying out text in paragraphs, drawing graphs, and downloading and installing other modules. As a part of database integration, PERL offers interfaces for connecting to most databases, a few of which are SQL Server, Mongo DB, and Oracle.
Perl is said to be an interpreted programming language. This means that the code written in Perl is compiled into byte-code. The byte code is converted into machine instructions when the program is executed. This feature makes it easier for programmers to execute and analyze Perl applications.
What is PADRE?
The Perl Application Development and Refactoring Environment (Padre) is a text editor meant to serve the purpose of an IDE for Perl programmers to develop larger projects. Padre is an open-source, cross-platform software which can be installed on Windows, Mac OS, and Linux systems. Padre was founded by Gabor Szabo.
Before Installing Perl, Check if Perl is Installed
Even though Windows does not install Perl by default, there is always a chance that it was included in one of the applications you had installed earlier. Mac OS and most Linux distributions come with Perl.
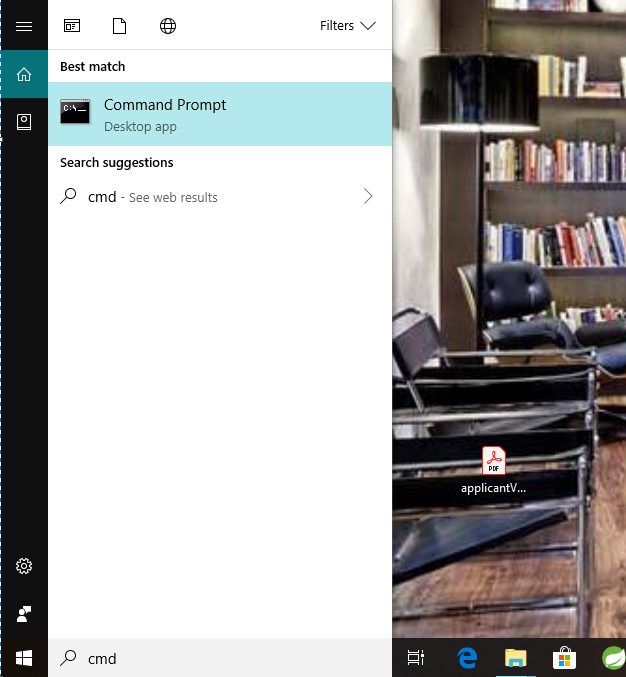
Step 1: Go to Windows à Command Prompt (or type ‘cmd’ in the search and hit enter).
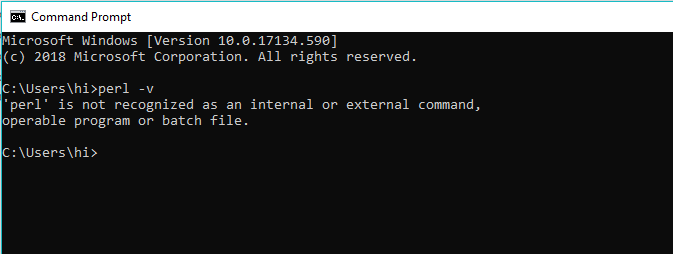
Step 2: In the command prompt, type: Perl –v and hit enter.
If you get a response stating “’Perl’ is not recognized as an internal or external command, operable program or batch file”, then that means Perl is not installed on your system.
If it returns the version of Perl, then it means you already have Perl installed on your system. If that is the case, then uninstall it.
Steps to Install Perl and Padre
Below are the detailed steps for installing Perl and Padre.
Installing Perl
When you install Padre, everything, including Perl distribution, CPAN modules, and the IDE, is installed.
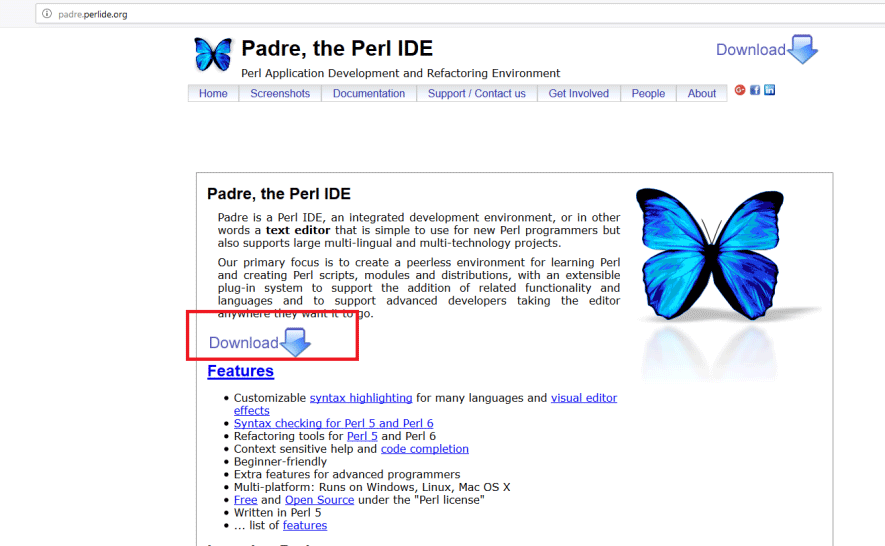
Step 1: To download and install Perl visit the website https://padre.perlide.org/ and click on the Download link as shown below.
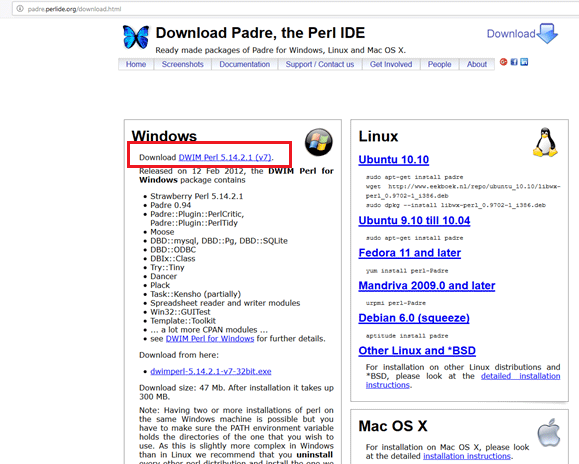
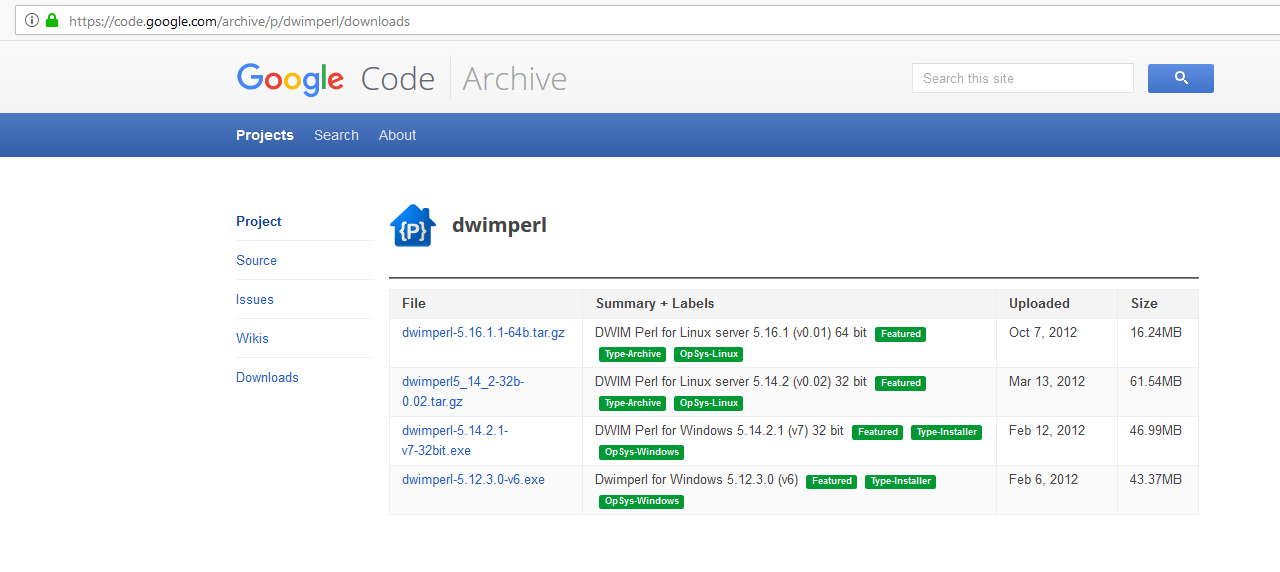
Step 2: Click on the link à DWIM Perl 5.14.2.1 (v7).
Step 3: Click on the bottom-most file DWIM Perl 5.14.2.1 (v7).
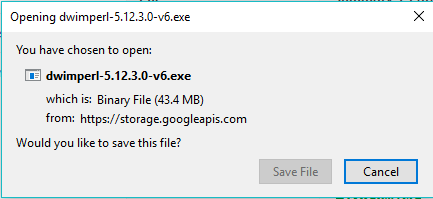
Step 4: Click on save the file once you see the below pop up.
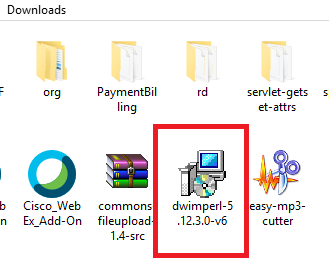
Step 5: Open the location where the pop-up was saved (In my case, it’s saved in Downloads by default).
Double click on the icon as shown below.
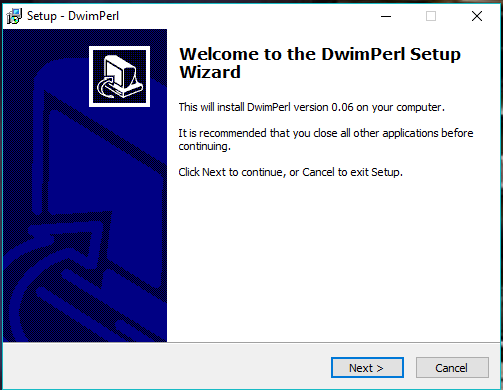
Step 6: You will see the setup wizard pop-up; click next to proceed with the installation.
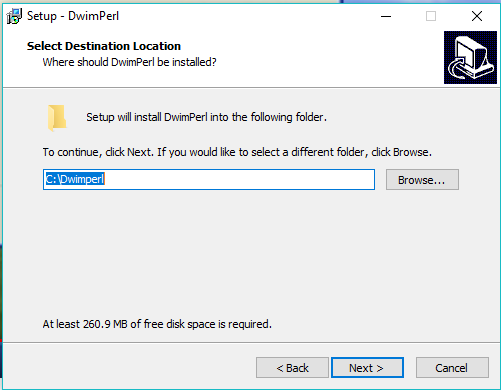
Step 7: Chose the location where you would like it to be installed (in my case, it’s in a folder called “Dwimperl” under c-drive) and click Next.
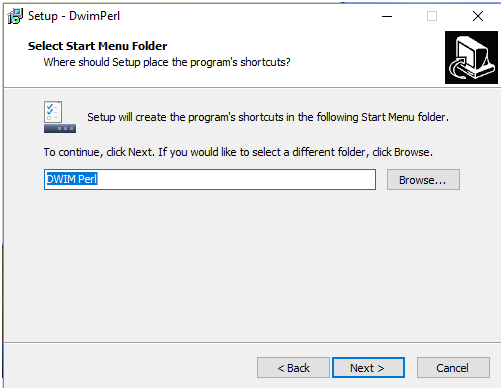
Step 8: Select where the program’s shortcut should be placed and click Next.
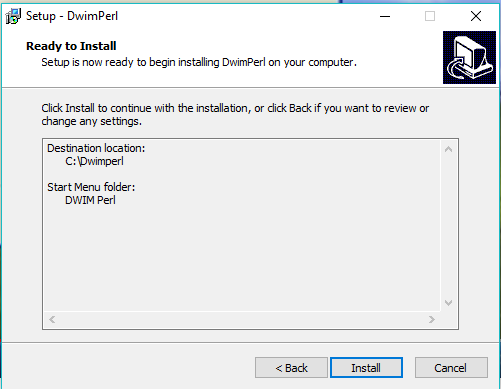
Step 9: On the final screen, click on “Install”.
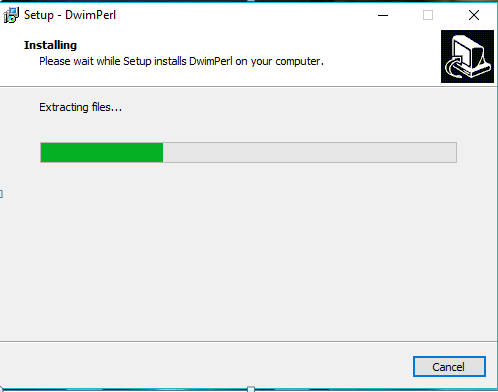
Step 10: The setup will start the installation at this point.
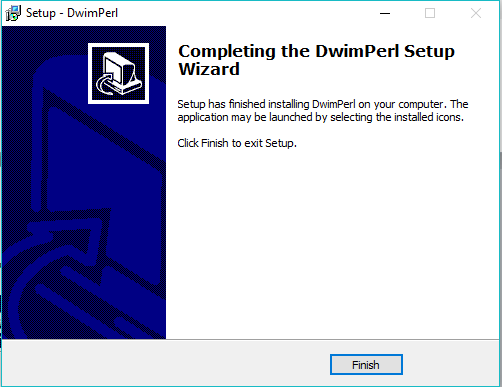
Step 11: Once done, click on Finish.
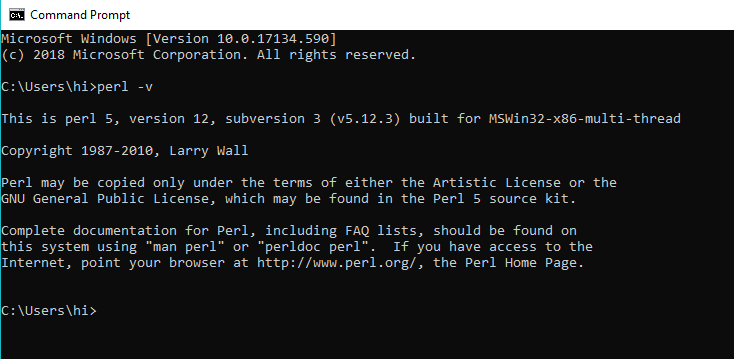
Voila!! You have successfully completed the installation. Now let us check if we have Perl installed correctly, once more using the command prompt. Open the command prompt and type in “Perl –v”. This time you will be prompted with the Perl version that is installed on your machine.
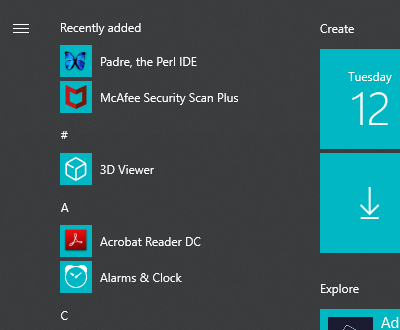
You can also see that Padre IDE shows up in your windows.
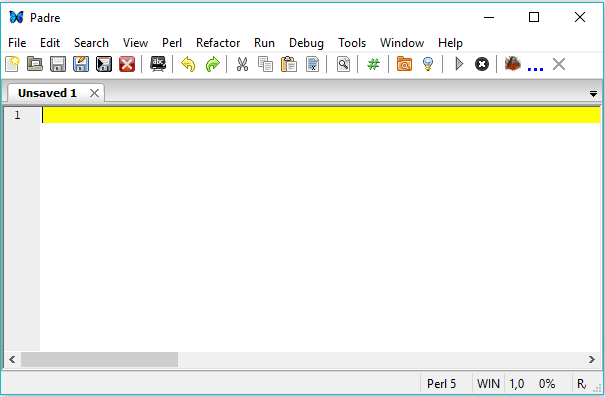
Double click on Padre, and the editor opens up.
Few Quick, Handy Shortcuts
Shortcuts to get started for an aspiring Perl programmer:
- You can start new files File/New (Ctrl+N) or open existing files File/Open (Ctrl+O).
- You can edit the file and save it using File/Save (Ctrl+S).
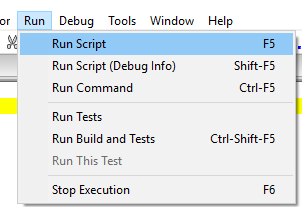
- You can run the script by pressing Run/Run Script (F5).
- To execute a Perl file, save the file in the .pl format and run it in the format: Perl fileName.pl.
Quick Test Run
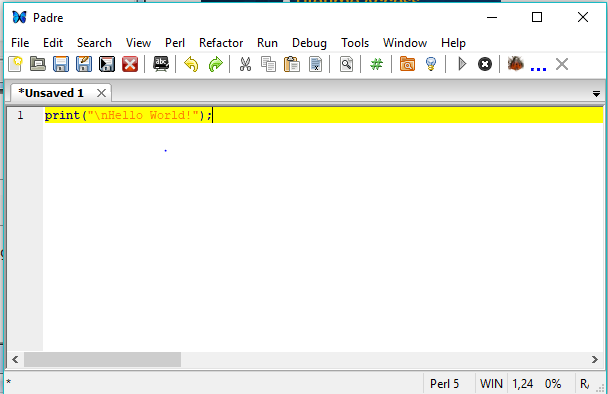
Once the IDE is installed, it is a tradition to write a simple “Hello World!” program.
Step 1: Type in the following script.
Code:
print "Hello World!\n";Output:
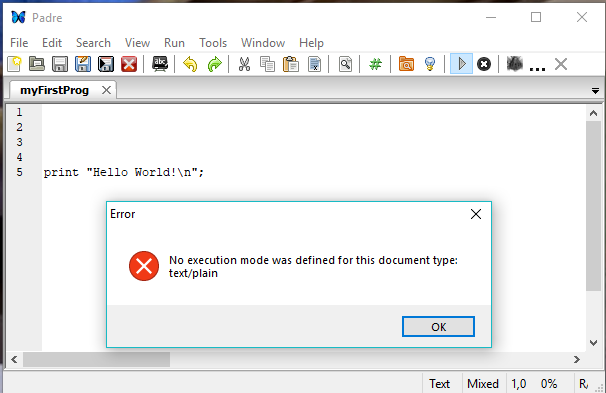
Step 2: Save the file. Remember, it is important to save the file with the .pl extension. In case you forget to add the extension, you will be prompted with an error, as shown below. This is because here, I have saved the file only under the name “myFirstProg”.
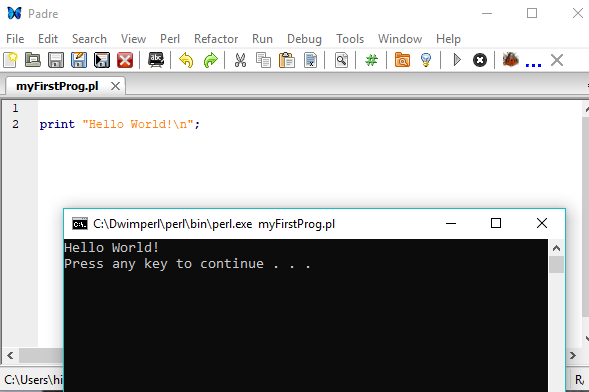
Step 3: Now, when we change the name of the file to “myFirstProg.pl”, It runs perfectly fine. You will also observe the change in text color. On successful execution, the script will produce the below output.
Step 4: To run it, you need to click on the grey arrow present in the toolbar just under Help.
Step 5: Alternatively, you could also select the “Run Script” option under the Run menu. Also, pressing the (F5) key does the job.
Congrats on successfully executing your first Perl program. Now you are all set to begin your journey in the world of Perl programming. Hope you have an exciting one!
Recommended Articles
This has been a guide to how to install Perl. Here we have discussed the basic concept and steps to install Perl on our system. You may also look at the following articles to learn more –

