Introduction
Python is a versatile programming language at the forefront of today’s digital landscape. Ubuntu remains a preferred Linux distribution, renowned for its stability among developers and organizations. This guide explains various installation methods for Python 3 on Ubuntu, accommodating both novices and seasoned users. With applications ranging from development to automation, Python on Ubuntu presents boundless prospects. Join us as we explore the installation process, empowering you to unlock the full potential of Python on your Ubuntu system.
There are three different methods for installing Python 3 on Ubuntu:
- Via APT: We’ll use Ubuntu’s package management system, APT, to guide you through updating the package index, installing Python 3, and verifying the installation.
- From Source Code: For users who prefer a more hands-on approach, we’ll demonstrate how to download the Python source code, configure it, compile it, and install it on their system. This approach provides enhanced flexibility and a myriad of customization options.
- Via DeadSnakes PPA: If you’re looking for an alternative repository for Python packages, we’ll show you how to add the DeadSnakes PPA repository, update the package index, install Python 3, and verify the installation.
Table of Contents
Prerequisites
Before embarking on the Python installation journey on Ubuntu, verifying that your system fulfills specific prerequisites is crucial. These prerequisites are pivotal for guaranteeing a seamless and prosperous installation process. Let’s outline the essential checks you need to perform before proceeding:
- Ubuntu Version: Verify that you are using a supported version to ensure compatibility and access to the latest features and security updates.
- Internet Connection: A dependable internet connection is indispensable for downloading the necessary packages and updates during installation.
- Terminal Access: Familiarize yourself with the Terminal application on Ubuntu. Many Python installation methods involve executing commands in the Terminal, necessitating basic command-line knowledge.
- Permissions: You might need administrative privileges to install software packages. Confirm that you have the necessary permissions to execute installation commands.
- Disk Space: Check for adequate disk space to accommodate Python installation and its dependencies. While Python itself may demand little space, additional packages and libraries might.
Methods to Install Python 3 on Ubuntu
Installing Python3 on Ubuntu can be accomplished through various methods, each offering advantages.
Method 1: Installing via APT
Step 1: Update Package Index:
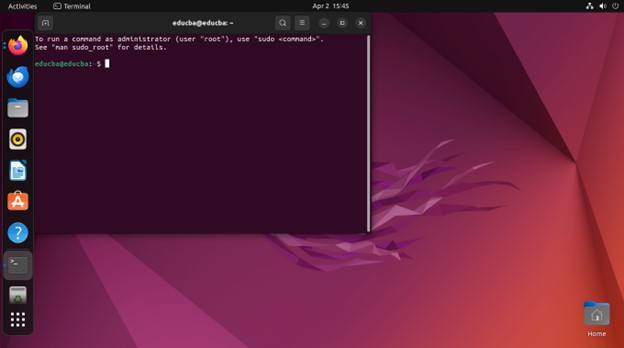
- Open Terminal Window by pressing Ctrl + Alt + Tab.
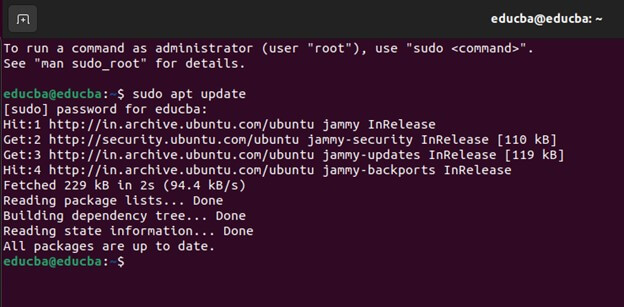
- Type the command below to ensure the system’s package index is current. This will enable you to install the most recent version.
“sudo apt update”
Step 2: Install Python3:
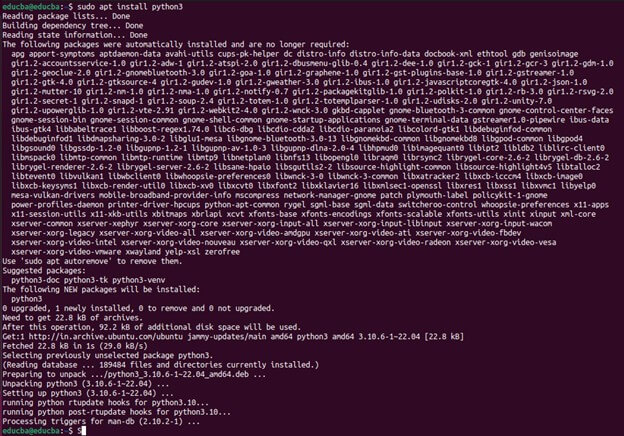
- After updating the package index, you can proceed to install Python3 by entering the following command:
“sudo apt install python3”
- Press Enter to initiate the command execution.
Step 3: Verify Installation:
Once the installation process is complete, You can verify successful installation of Python3 by typing:
“Python3 –version”
You’ve completed the installation of Python3 on your Ubuntu system using the APT package manager, and you’re ready to continue your Python development endeavors.
Method 2: Installation from Source Code
Step 1: Update Local Repositories:
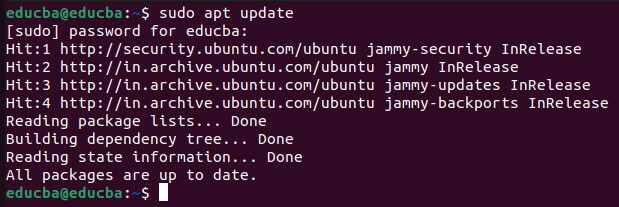
Ensure your system’s local package repositories are up-to-date.
Step 2: Install Supporting Software:
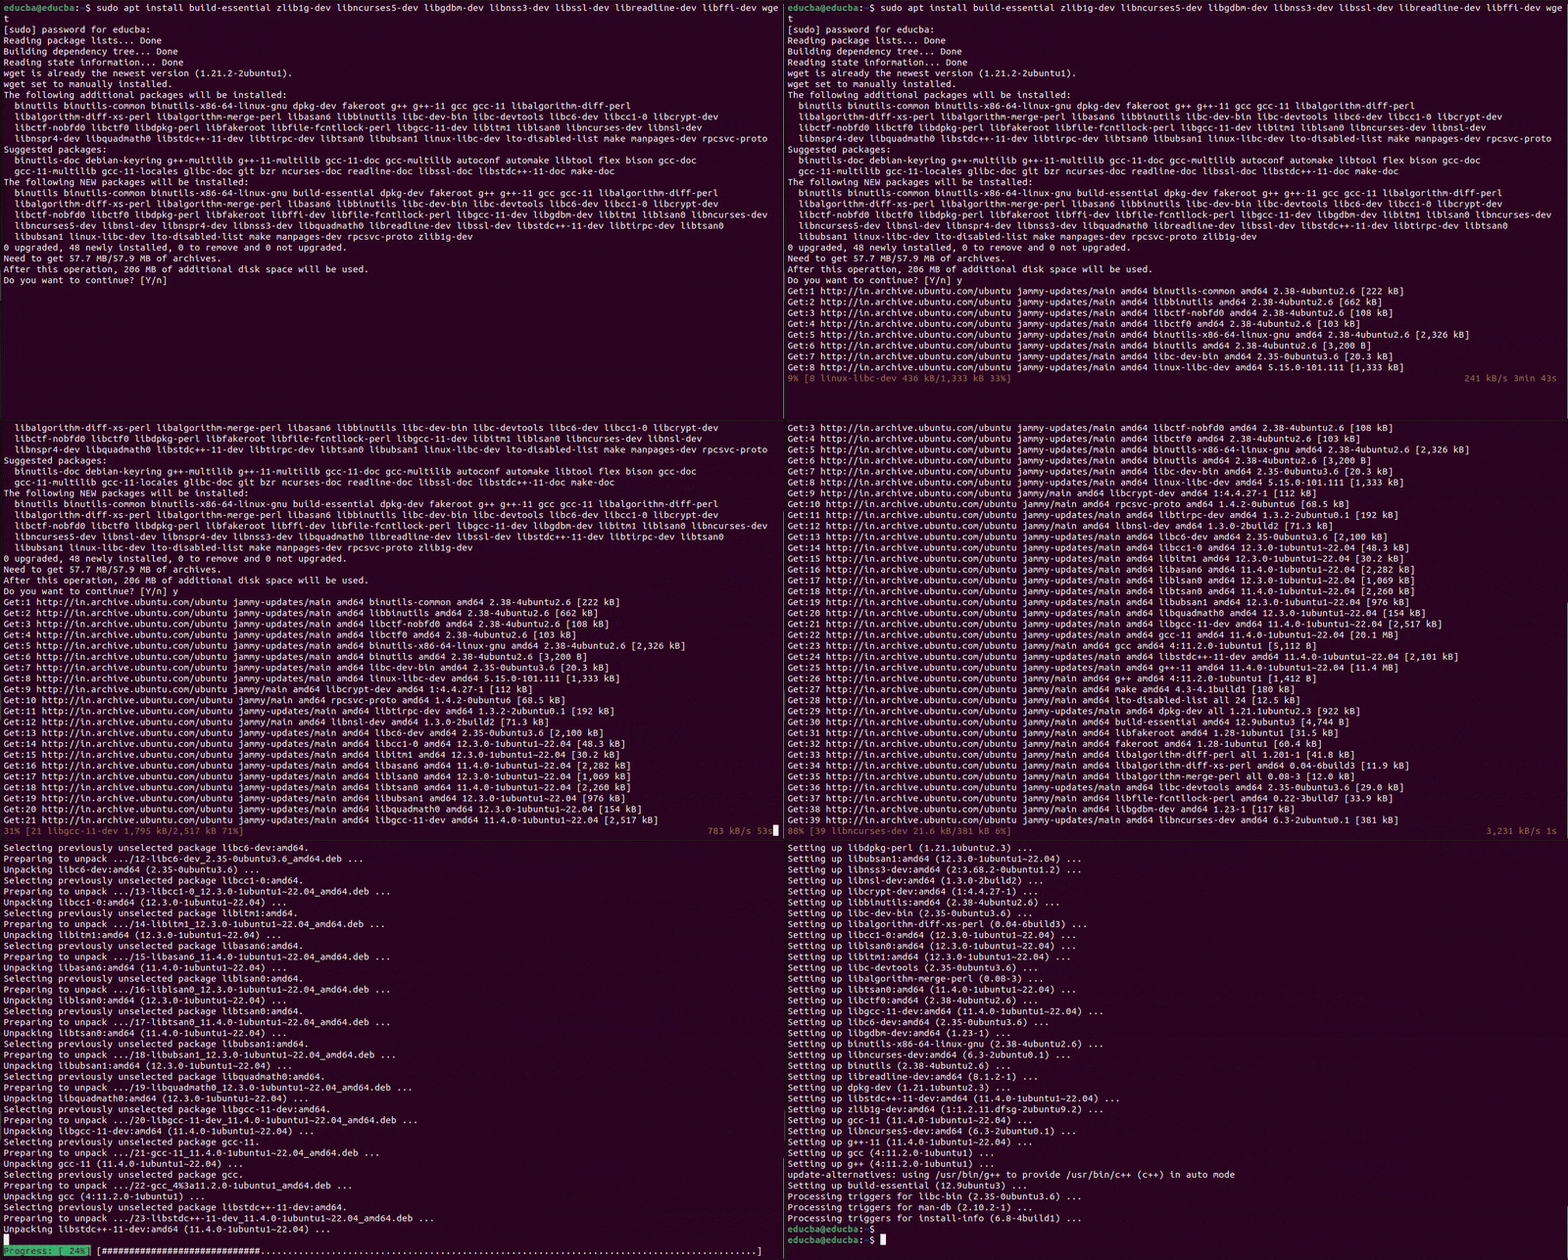
Install this additional software as it is necessary for compiling Python from source:
“sudo apt install build-essential zlib1g-dev libncurses5-dev libgdbm-dev libnss3-dev libssl-dev libreadline-dev libffi-dev wget”
Step 3: Download the compatible version of Python Source Code:
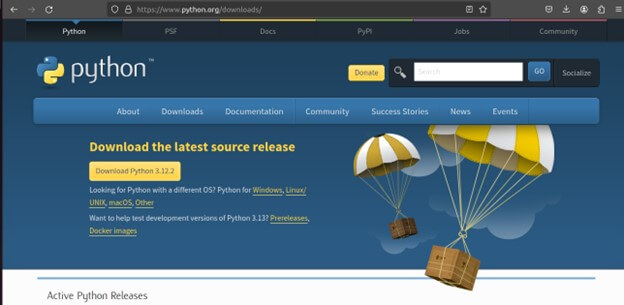
- Navigate to the official Python website to download the compatible version of the Python source code.
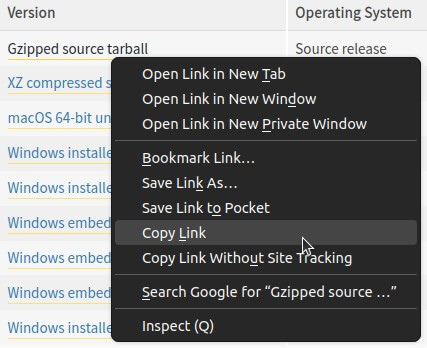
- Copy the link of the source code tarball.
Choose the Gripped source tarball.
- Navigate to the temporary directory and download the Python source code.
“cd /tmp”
“wget https://www.python.org/ftp/python/3.12.2/Python-3.12.2.tgz”
Step 4: Extract the source code:
Extract the downloaded tarball
“tar -xf Python-3.12.2.tgz”
Step 5: Test System and Optimize Python:
Before the installation, optimize the Python for better performance:
“cd Python-3.12.2”
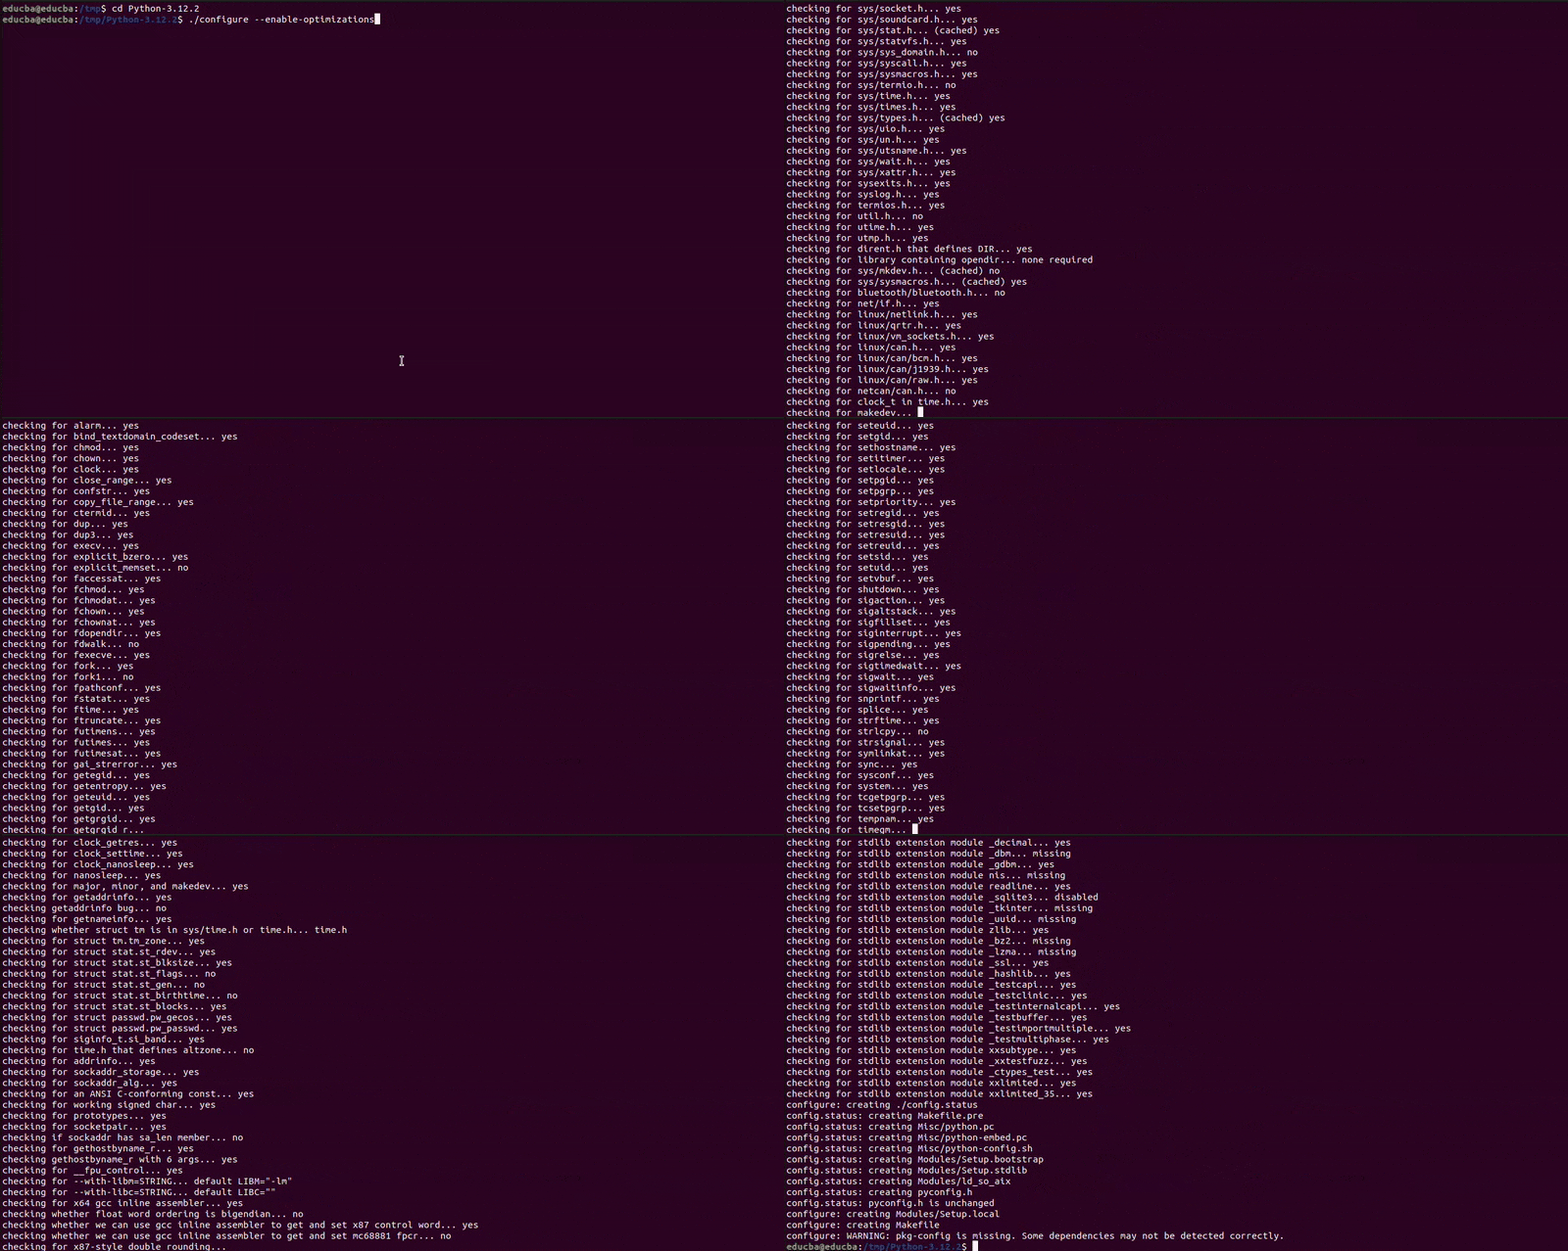
“./configure –enable-optimizations”
Step 6: Install Python:
Build and install Python using the following command:
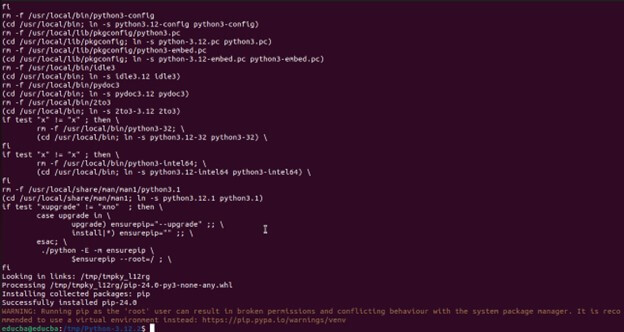
“sudo make install”
Allow it to complete the installation, as it will take some time to complete.
Step 7: Verify Installation:
Check the Python version by verifying the installation:
“python3 –version”
Method 3: Installing via DeadSnakes PPA
Step 1: Add DeadSnakes PPA Repository:
Open a terminal window and run the following command to add the DeadSnakes PPA repository to your system:
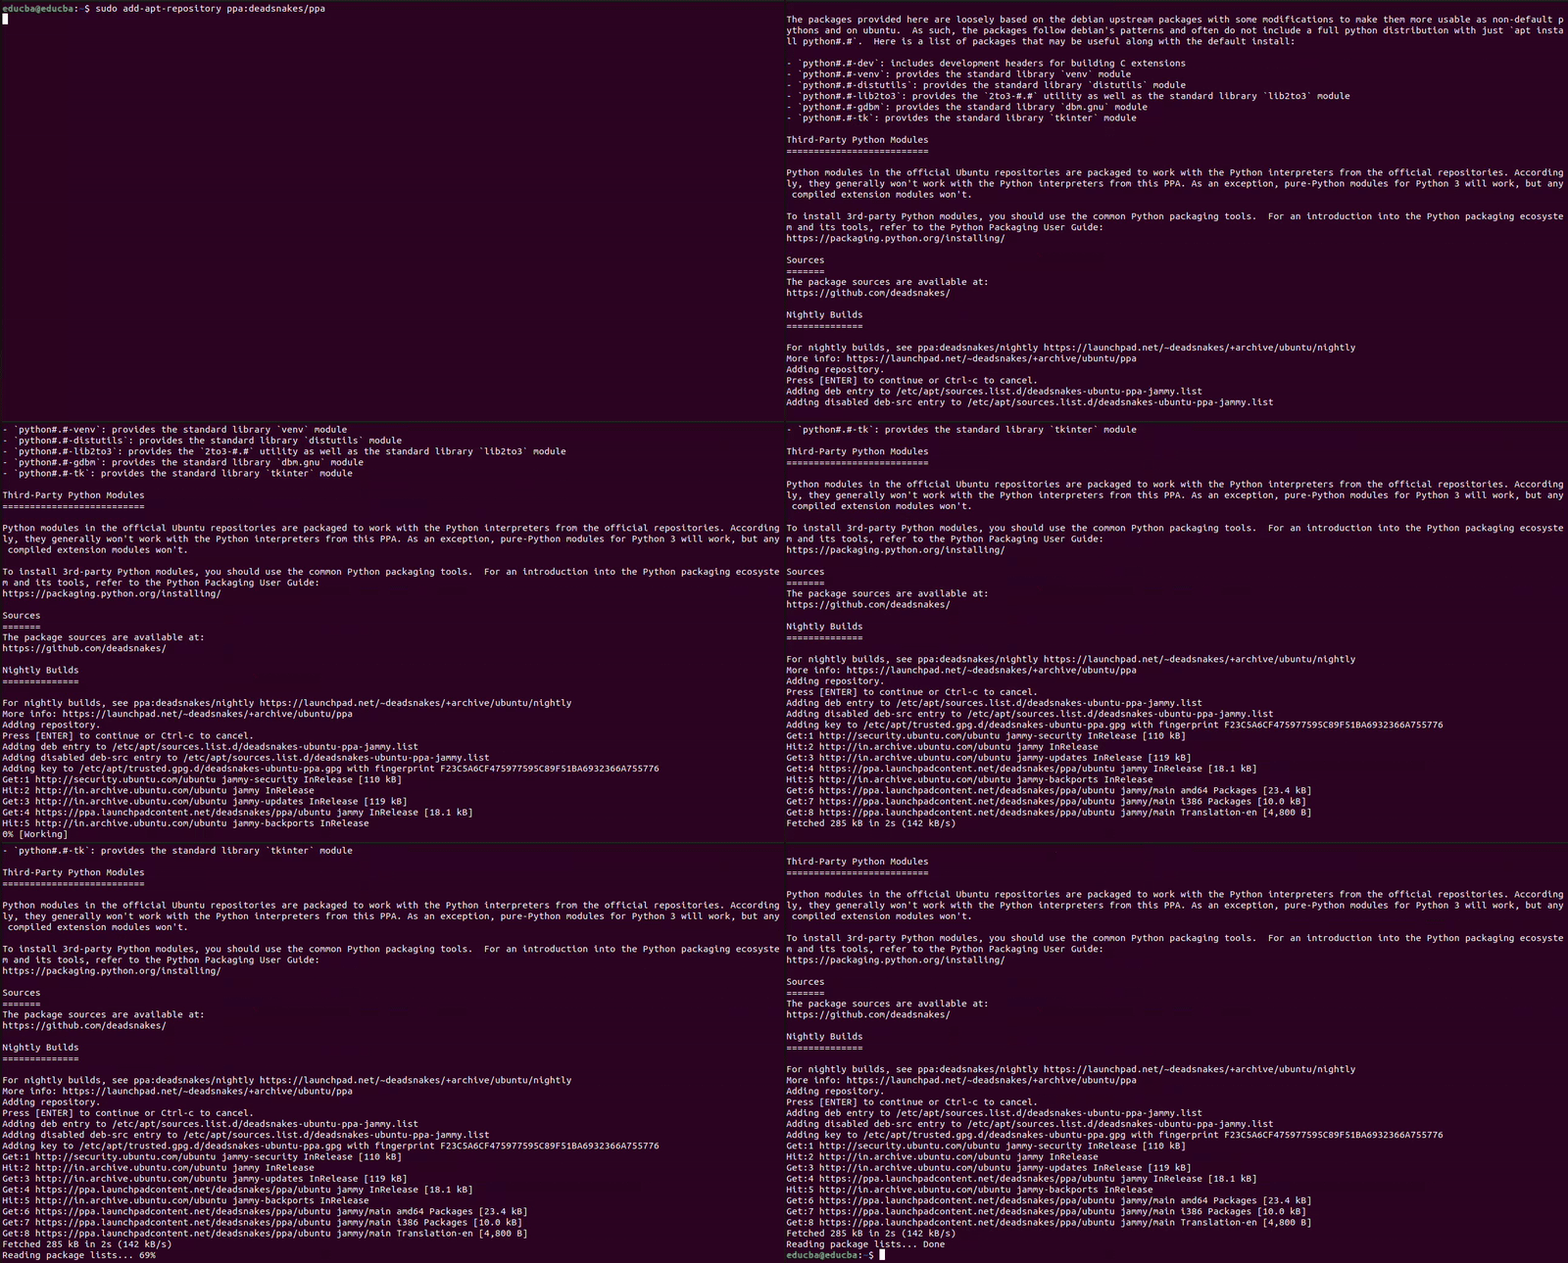
“sudo add-apt-repository ppa:deadsnakes/ppa”
Step 2: Update Package Index:
Once we add the repository, update the package index to include packages from the DeadSnakes PPA:
“sudo apt update”
Step 3: Install Python3:
After the package index update, install Python3 from the DeadSnakes PPA by running the following:
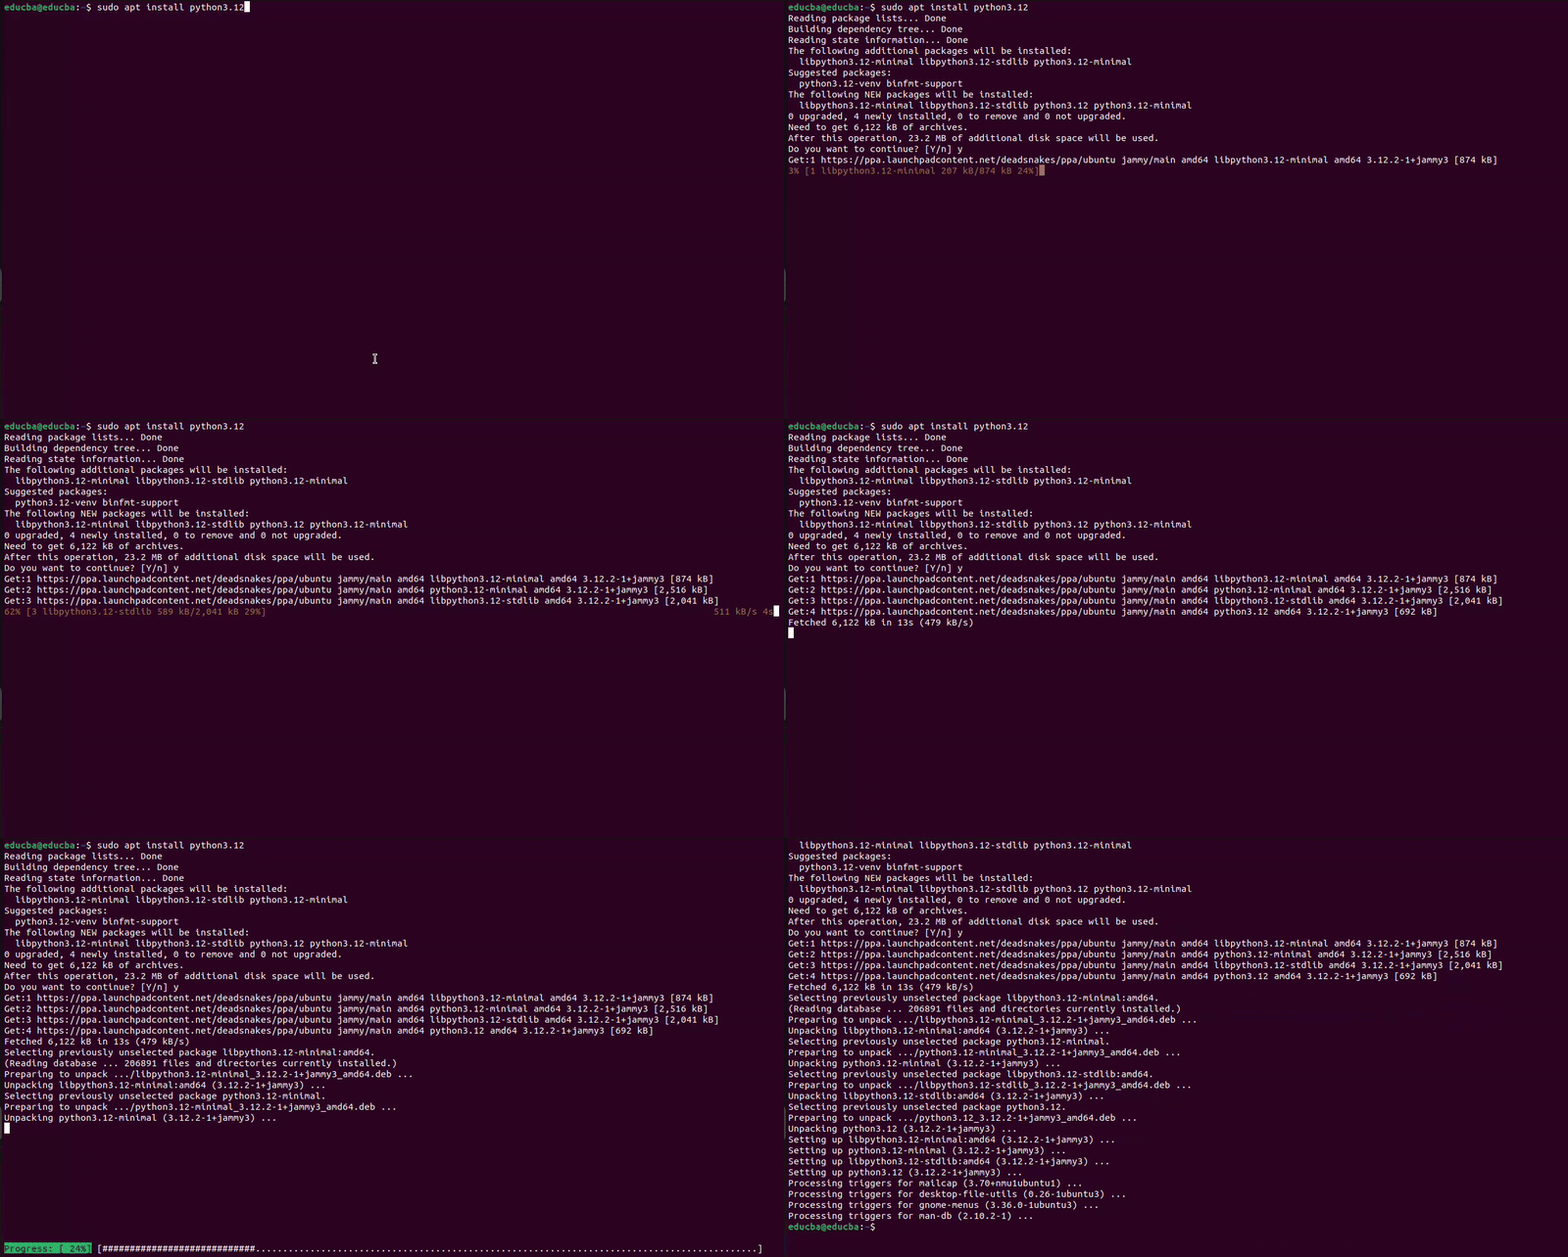
“sudo apt install python3.12”
Step 4: Verify Installation:
Confirm successful installation of Python3 by checking the version:
“python –version”
These steps guide you through installing Python3 on your Ubuntu system via the DeadSnakes PPA repository. This approach offers an alternative source for Python packages and streamlines the installation process, eliminating the need for manual compilation from source code.
Setting Up Virtual Environment
Establishing a virtual environment is a best practice in Python development. It permits the establishment of segregated environments for individual projects. Below is the process of setting up a virtual environment on your Ubuntu system:
Install Virtualenv:
If you haven’t installed Virtualenv, you can use pip, the Python package manager.
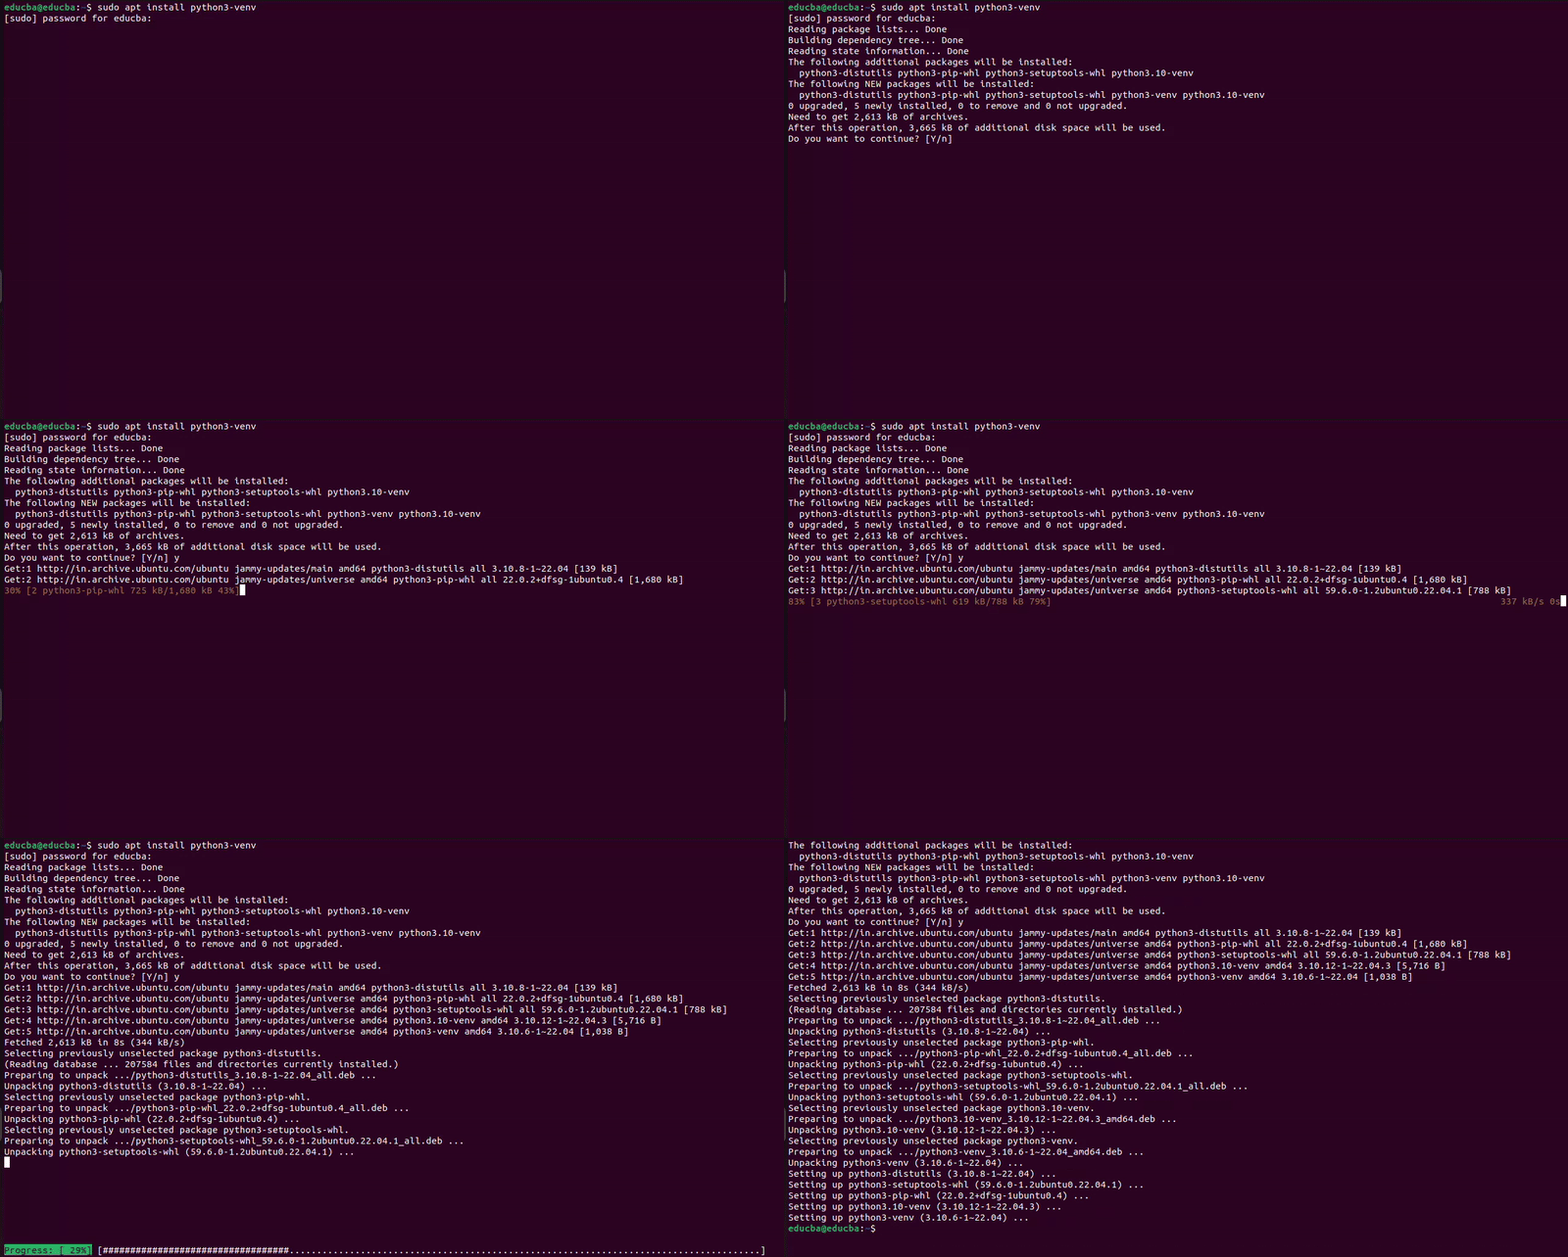
“sudo apt install python3-venv”
Create a Virtual Environment
- Navigate to the directory where you want to create the virtual environment.
- Run the following command to create a new virtual environment.
“python3 -m venv my_env”
Activate the Virtual Environment
- Once we create the virtual environment, we need to activate it.
“source my_env/bin/activate”
- Your command prompt should now change to indicate that you are working within the virtual environment.
Deactivate the Virtual Environment
When you complete your tasks within the virtual environment, you can deactivate it by running:
“deactivate”
Running Python Code in Ubuntu
Once you’ve installed Python on your Ubuntu system and set up your development environment, you can run Python code. Here’s how you can do it:
- Open the text editor installed on your Ubuntu System, add the code, and save the file in .py
- Launch the terminal on your Ubuntu System.
- Head to the directory where your Python script resides using the command cd.
- Once you are in your directory containing the Python script, you can execute the Python script using the following:
“python3 script.py”
This method lets you quickly test and execute Python scripts without a graphical user interface.
Troubleshooting Python Installation in Ubuntu
Installing Python on Ubuntu is typically straightforward, but you may encounter occasional challenges. Here, we’ll explore common issues that arise during the installation process and provide solutions for each:
- Dependency Errors: If you encounter dependency errors during installation, it is imperative to confirm the presence of essential libraries and packages on your system. Use the apt package manager to rectify missing dependencies.
- Permission Denied Errors: If you encounter Permission Denied errors during installation, verify that you execute installation commands with sudo (superuser) privileges. For instance:
“sudo apt install python3
- Package Not Found Errors: If you encounter Package Not Found errors, meticulously cross-check the package name and ensure to add the correct repository or PPA. You should also update your package index using apt update before attempting to reinstall it.
- Module Not Found Errors: When encountering Module Not Found errors while executing Python scripts, ensure that you install the requisite modules in your Python environment. Utilize pip, the Python package manager, to install missing modules.
- Version Compatibility Issues: Ensure that the versions of Python and any third-party libraries you use are compatible with each other and your Ubuntu version. Consult compatibility documentation and release notes for guidance.
Conclusion
Installing Python on Ubuntu unlocks numerous development, automation, and scripting opportunities. We’ve covered different methods, including APT, source code, and DeadSnakes PPA. We’ve also addressed common installation issues, such as setting up virtual environments to isolate dependencies. You can install Python on Ubuntu and begin your coding journey with these steps. Python on Ubuntu caters to both beginners and experienced developers, providing a robust platform for diverse applications.
Frequently Asked Questions (FAQs)
Q1. What are the advantages of using virtual environments?
Answer: Virtual environments enable the creation of isolated environments customized for Python projects. This environment averts conflicts among varying project dependencies, promotes project uniformity, and simplifies dependency management.
Q2. Can I integrate Python with other languages on Ubuntu?
Answer: Indeed, Ubuntu strongly supports incorporating Python with various languages, such as C/C++, Java, and JavaScript. This integration facilitates flexible and smooth development across diverse environments.
Q3. Are IDEs (Integrated Development Environments) available for Python development on Ubuntu?
Answer: Indeed, PyCharm, VS Code, Sublime Text, and Atom are among the various IDEs accessible for Python development on Ubuntu. These integrated development environments enhance development workflow efficiency by providing functionalities such as code highlighting, debugging, and project management.
Recommended Articles
We hope that this EDUCBA information on “Installing Python on Ubuntu” was beneficial to you. You can view EDUCBA’s recommended articles for more information,
