Updated February 28, 2023
Introduction
RVM (Ruby Version Manager) is an open-source powerful tool that allows you to easily manage and install different versions of Ruby, a programming language, on a single system. RVM can be used in Linux, macOS, and other Unix-like operating systems. Even though it isn’t officially supported on Windows, however, it can be possible with the help of a third-party terminal emulator like Git Bash or Cygwin. Additionally, RVM enables users to create gemsets, which are unique environments for different versions of gems, making it easy to handle dependencies for different projects.
Features of RVM on Ubuntu
- Easy installation: Using a single command in the terminal, RVM can be installed on Ubuntu.
- Multiple Ruby versions: With RVM, users can easily install and manage multiple versions of Ruby on a single system.
- Gemsets: RVM allows users to create gemsets, which are separate environments for different versions of gems, making it easy to handle dependencies for different projects.
- Integration with the shell: Because RVM is integrated with the user’s shell, they can easily utilize the Ruby version and gemset of their choice in their shell session.
- Package management: Package management for different Ruby versions and gemsets is managed by RVM, making it simple to install, update, and remove packages.
- Migration: RVM makes it simple to switch from one version of Ruby to another, including all installed packages and gems.
- Customization: RVM is highly customizable and offers you to configure various settings, such as the default Ruby version, gemset, and more.
Install RVM Ubuntu
RVM creates a folder called .rvm in your home directory, where it stores different versions of Ruby you install on your Ubuntu machine. It isolates the installation to avoid conflicts and lets you easily switch between versions with a simple command. RVM simplifies managing Ruby on Ubuntu, making it easy and hassle-free.
RVM offers three installation modes: single-user, multi-user, and mixed mode.
- Single User Installation: Recommended if you’re the only user managing Ruby installations. RVM is installed in your home directory, such as ~/.rvm. You have full control over your Ruby environment and can easily switch between different Ruby versions.
- Multi-User Installation: Recommended if multiple users need to manage Ruby installations or if you want to manage Ruby at the system level. RVM is installed in a system-wide location, such as /usr/local/rvm. All users can access the same Ruby installations, but you may need to set permissions to allow users to manage their own Ruby environment.
- Mixed Mode Installation: A combination of single-user and multi-user modes. RVM is installed in a system-wide location, but users have their own set of Ruby installations in their home directory. This is recommended if you want to manage system-wide Ruby installations but also want users to control their own Ruby environment.
RVM lets you easily install and manage multiple Ruby versions on one machine. You can switch between versions as needed, and RVM keeps your Ruby environment separate from the rest of your system.
How to Install RVM?
1. Open a terminal window.
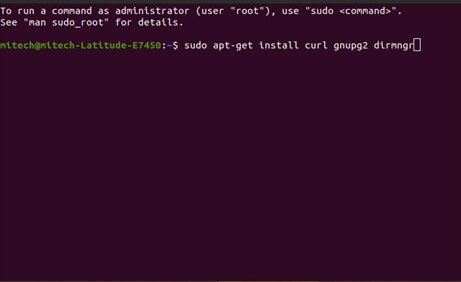
2. Install the dependencies required by RVM by running the following command in the terminal.
Command:
sudo apt-get install curl gnupg2 dirmngrThis will install the necessary packages for RVM to function properly.
Output:
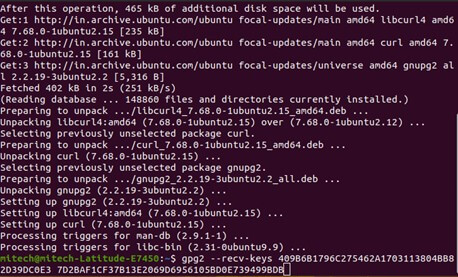
3. Import the RVM GPG keys by running the following command.
Command:
gpg2 --recv-keys 409B6B1796C275462A1703113804BB82D39DC0E3 7D2BAF1CF37B13E2069D6956105BD0E739499BDBThis will import the public keys used to verify the RVM package.
Output:
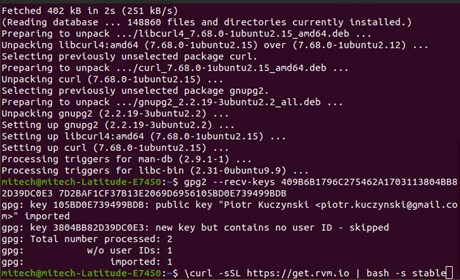
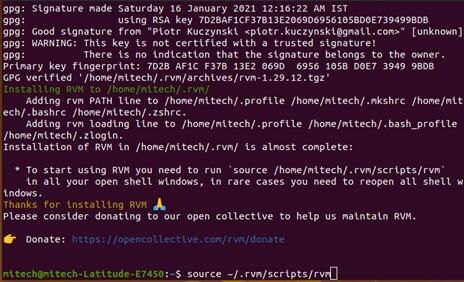
4. Install RVM by running the following command.
Command:
\curl -sSL https://get.rvm.io | bash -s stableThis will download and install the latest stable version of RVM.
Output:
5. Source the RVM script by running the following command.
Command:
source ~/.rvm/scripts/rvmThis will activate RVM and allow you to use its commands.
Output:
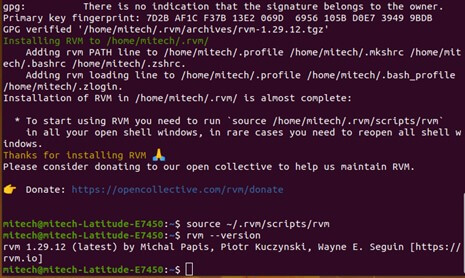
6. Verify that RVM is installed correctly by running the following command.
Command:
rvm --versionThis should display the version number of the RVM that you installed.
Output:
Installing and Using Specific Ruby or Rails Versions
1. Install Ruby: Once RVM is installed, check the available versions by running the following command in the terminal.
Command:
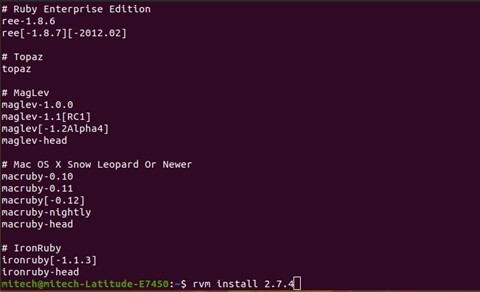
rvm list knownOutput:
2. Now, we can choose a version of Ruby to install. For example, to install Ruby version 2.7.4, run the following command in your terminal.
Command:
rvm install 2.7.4This will download and install the specified version of Ruby. You can check that it’s installed by running ruby -v in your terminal.
Output:
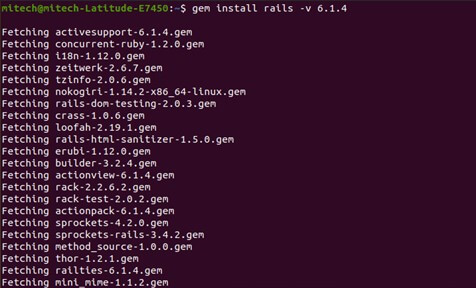
3. Install Rails: To install a specific version of Rails, you can use the following command.
Command:
gem install rails -v 6.1.4This will install Rails version 6.1.4. You can check that it’s installed by running rails -v in your terminal.
Output:
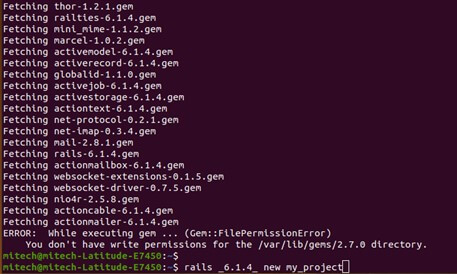
4. Create a New Rails Project: To create a new Rails project using the installed version of Rails, run the following command:
Command:
rails _6.1.4_ new my_projectThis will create a new Rails project named my_project using Rails version 6.1.4.
Output:
5. Use Specific Ruby Version in Project: If you want to use a specific version of Ruby in your Rails project, you can create a .ruby-version file in the root directory of your project, and specify the version of Ruby you want to use. For example, to use Ruby version 2.7.4 in your project, create a .ruby-version file with the following content:
2.7.4
This will tell RVM to use Ruby version 2.7.4 when you’re working on this project.
Installing a JavaScript Runtime in Ubuntu for Rails
When developing Rails applications, you may encounter an error message indicating that a JavaScript runtime is missing on your Ubuntu machine. This is because Rails requires a JavaScript runtime to execute JavaScript code within the Rails asset pipeline. Here’s how to install a JavaScript runtime in Ubuntu for Rails:
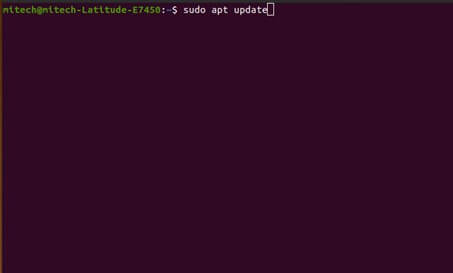
1. Open your terminal and update your package manager:
Command:
sudo apt updateOutput:
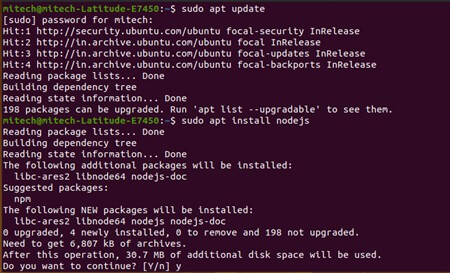
2. Install Node.js, which includes a JavaScript runtime, using apt:
Command:
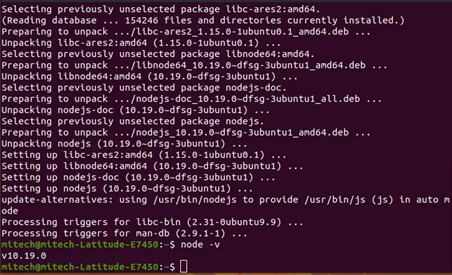
sudo apt install nodejsOutput:
Note: On some Ubuntu versions, the node.js package may conflict with a similarly named package called a node. In this case, you can install the nodejs-legacy package instead, which provides the node command:
sudo apt install nodejs-legacy3. Verify that Node.js is installed correctly by checking its version:
Command:
node -vThis should output the version number of Node.js installed on your machine.
Output:
Conclusion
In this article, Install RVM Ubuntu, we discussed RVM (Ruby Version Manager), an essential tool for managing multiple versions of Ruby on per user basis. Through its command line API, RVM reduces the complications of the many appearances of ruby development. It also helps you locate every program with its own dedicated environment from the specific ruby version. We also covered the installation process of RVM on Ubuntu and the different installation modes available. Additionally, we discussed the importance of installing a JavaScript runtime for working with Ruby on Rails.
Recommended Article
We hope that this EDUCBA information on “Install RVM Ubuntu” was beneficial to you. You can view EDUCBA’s recommended articles for more information.
