How to Install VMware on Windows?
VMware provides cloud computing infrastructure and platform virtualization software and services. VMware is a publicly-traded company that provides mainly virtualization software. Virtualization means creating a virtual version of a device or any resource like an operating system. There are various products that VMware offers. Each one has a different kind of features and offerings.
VMware’s product line has the following main categories.
- Desktop virtualization software
- Server virtualization software
- Cloud management software
Each category mentioned above has multiple products which VMware offers. One of the common categories from above which is used by individuals is Desktop virtualization.
In this article, we will look at How to install one of the VMware software – VMware Workstation. VMware Workstation falls into the category of Desktop Virtualization.
By following this general guide, you can install any software product offered by VMware.
VMware Workstation
VMware Workstation was the first product launched by VMware. It is the most popular software that offers running multiple instances of operating systems on a single physical personal computer. It enables users to set up and run various virtual machines on a single physical machine and use them simultaneously with the actual physical machine.
Steps to Install VMware
Below are the detailed steps for installing VMware Workstation.
Step 1. To download and install the VMware product, visit the official website of VMware.
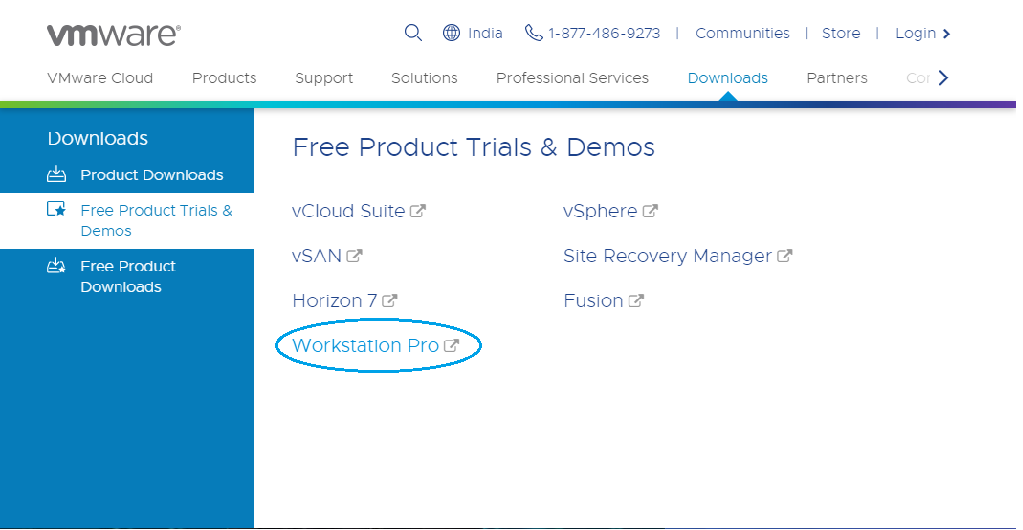
Hover on the Downloads tab; here, you will find various products.
To give an idea about products,
Fusion is an application for running multiple applications on Mac.
Workstation Player is for running a second OS on Windows or Linux PC for free for personal use.
We have chosen VMware Workstation Pro for installation demo purposes. VMware Workstation is available with the latest version as 15.
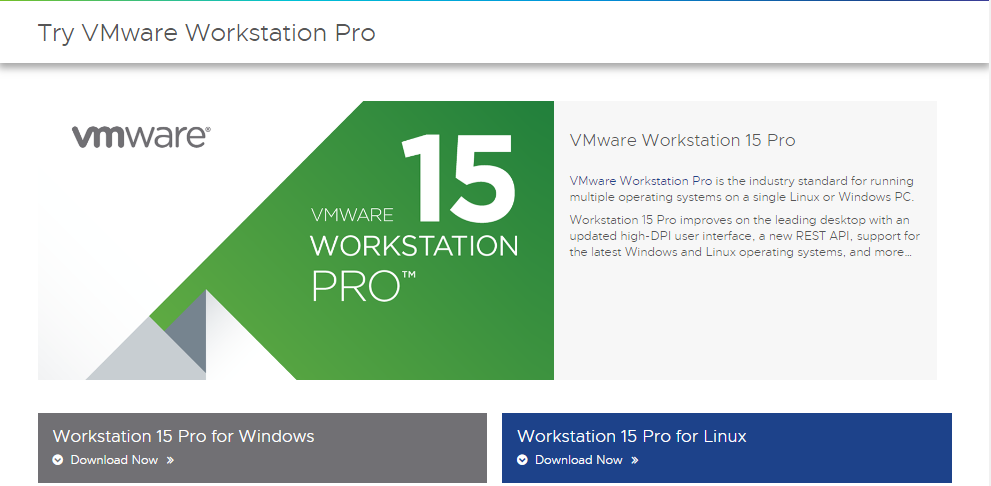
Step 2. Click on Free Product Trials & Demo >> Workstation Pro. You will be redirected to the download page. (Similarly, you can select any product you want to install.)
Click on Download Now according to your Operating System. We have chosen Workstation 15 Pro for Windows.
While downloading, ensure you have a proper internet connection, as the file may be large.
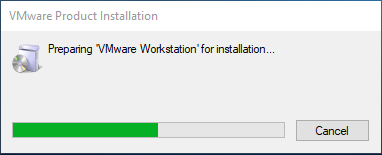
Step 3. Once the download is complete, run the .exe to install VMware Workstation. A popup will appear.
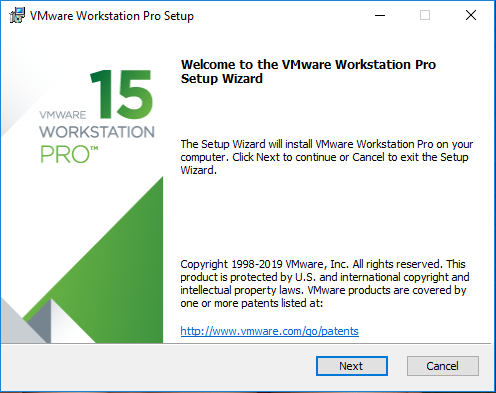
Step 4. Once Initialization gets completed, Click on Next.
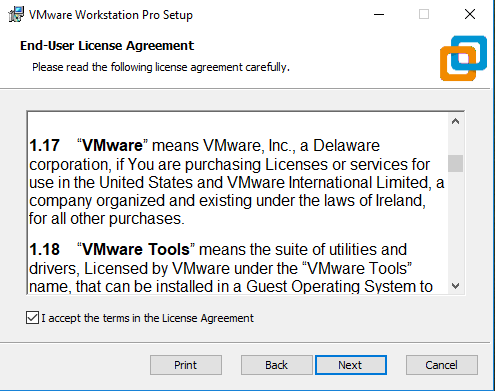
Step 5. Accept the terms and click Next
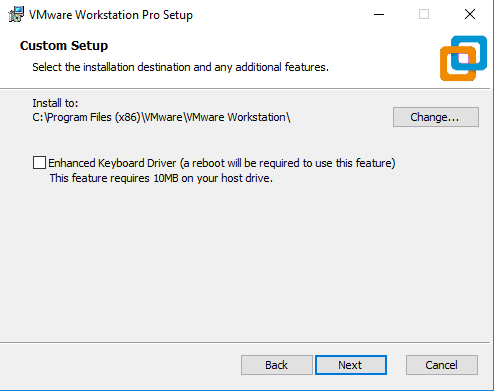
Step 6. On the next screen, It will ask for additional features; it is not mandatory to check this box. Click on Next.
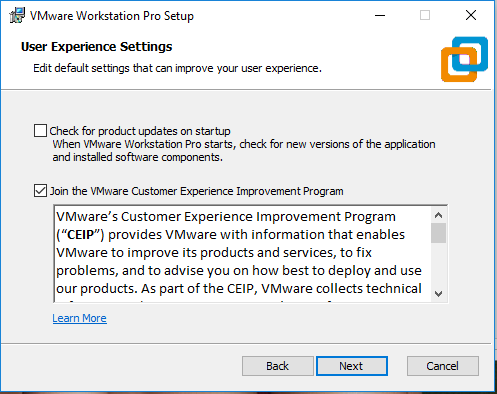
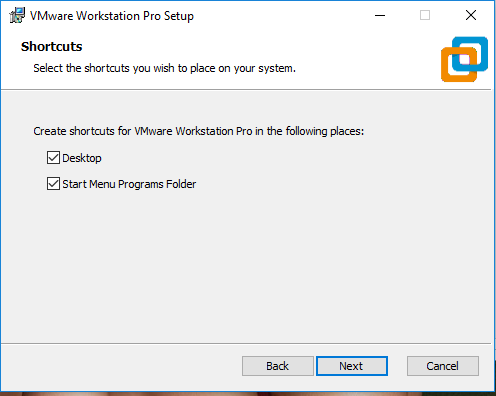
Step 7. On the next screen, some checkboxes are populated; check them as per your requirement.
Click on Next.
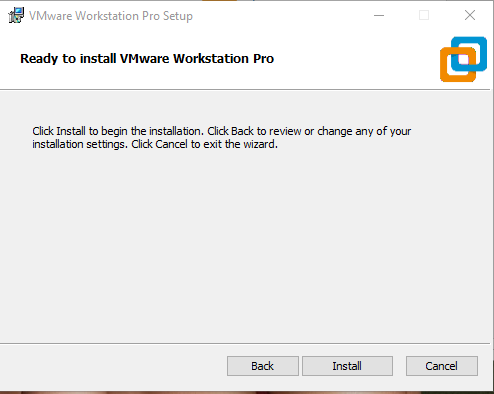
Step 8. At this step, VMware Workstation is ready to install. Click on Install.
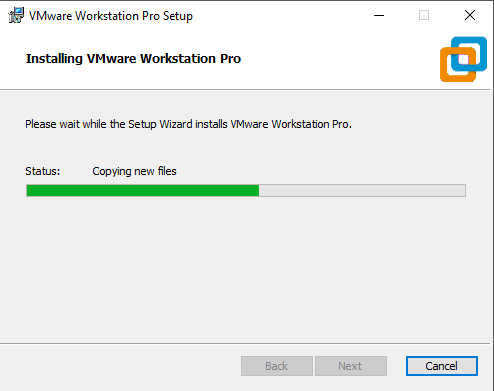
Step 9. At this step, you can see installation taking place. The installation will take some time; wait for it to install properly.
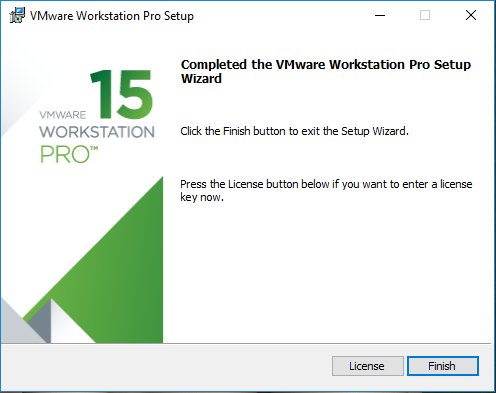
Step 10. Once the installation gets completed, you will see the following dialogue box. Click on Finish. If you have purchased the product and have a license key, click on License to enter the key.
Step 11. Upon Finishing, the window will close, and You can see VMware Workstation installed icon on your Desktop.
The icon looks like this,
Double Click on the icon to open the application.
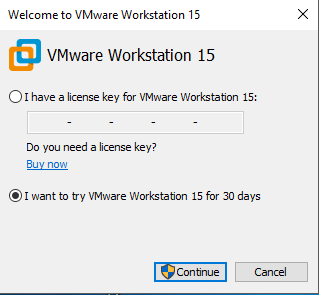
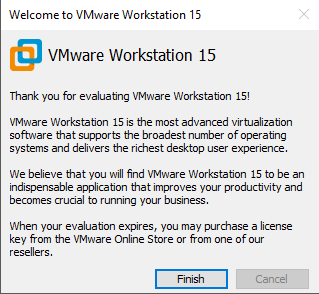
Step 12. For the first time opening, if you have not entered the License key in step 7, it will ask for a license key. You can go for the trial version, free for 15 to 30 days. Click on Continue. Make sure you have Admin rights for this in Windows.
At this stage, you will get the final installation message. Click on Finish.
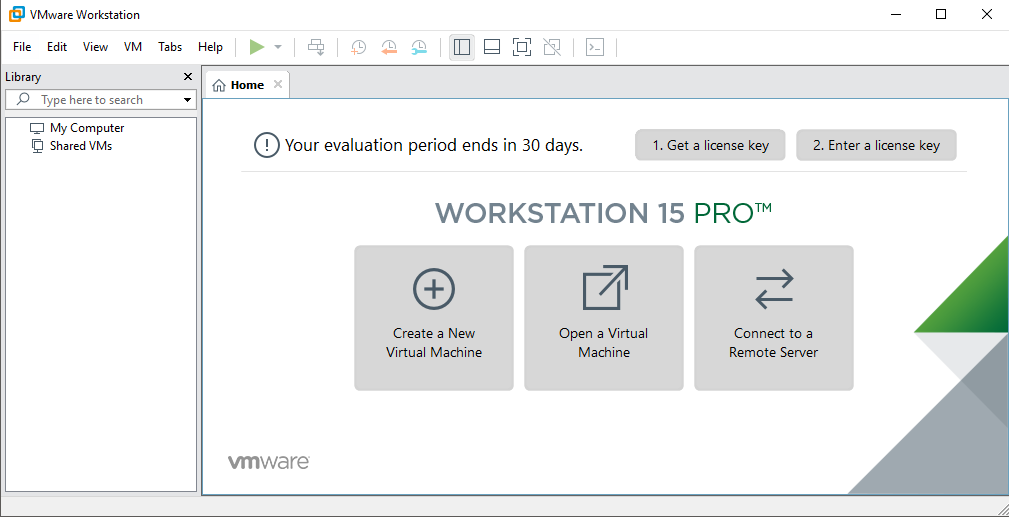
Finally, this will open a window of VMware Workstation Pro.
Recommended Article
This has been a guide on How to Install VMware. Here we discuss the Steps by Step process to Install VMware on Windows. You can also go through our other suggested articles to learn more –
