Updated April 15, 2023

Introduction to JavaScript Disable Button
Today, we will be looking into how to Disable Button using JavaScript. Basically, this disabling of any button is one of the functionalities which we see in most of the web applications. JavaScript Disable Button is not usable and not clickable button which can be coded programmatically using JavaScript. JavaScript can remove the disabled value and make the button enable for further functionality. We have an HTML button which has its own state with form controls. The disabled property would return if the button is disabled or not. Any element which is disabled is shown in grey color by default in all the browsers.
If we look according to syntax wise, it will look something like as below:
document.getElementById("btn").disabled = true/ false;So this syntactical line will help us to enable or disable based on the Boolean value we trigger. So, true is ‘1’ as enabled, and false is ‘0’ as disabled.
Examples of JavaScript Disable Button
Given below are the examples of JavaScript Disable Button:
Example #1
Here we shall take a button which is disabled, and on enabling would alert a popup on the browser.
Code:
<!DOCTYPE html>
<html>
<head>
<title>Enter data in multiple text boxes to Enable/ Disable button</title>
<style>
.show {
width: 100px;
height: 100px;
}
.click {
cursor: pointer;
padding-bottom: 50px;
}
</style>
</head>
<body>
<div class="click">Click me to Disable/Enable a html button</div>
<div class="show">
<input id="Button" type="button" value=" Button " style="background-color:blue" />
</div>
</body>
<script>
var samplebutton = document.getElementById("Button");
var clickButton = document.getElementsByClassName('click')[0];
samplebutton.disabled = true;
clickButton.addEventListener('click', function(event) {
samplebutton.disabled = !samplebutton.disabled;
});
samplebutton.addEventListener('click', function(event) {
alert('Button has been Enabled!');
});
</script>
</html>
Here, we shall put our logic for enabling or disabling the button as per the required functionality. We shall disable the button by making disable = true and add an event ‘click’ so that on click of the enabled button, we shall get an alert that ‘ Button has been Enabled!’.
Output:
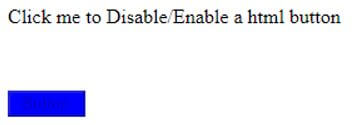
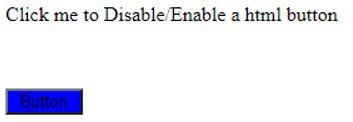
So on running our program, we shall get as above, with the button being disabled. We will not be able to click on the button unless it is enabled. So, if we click on the text, the button would get enabled.
You can see the difference between both the images. Now at the click of a button, we shall get an alert message saying ‘Button has been Enabled!’.
There is also another way we can disable the button using the JavaScript disabled property, which is the simplest of all.
Syntax:
object.disabledJavaScript disabled property is a Boolean property which takes true or false. Setting the disabled property to true will enable the button, and setting it to false will disable button, i.e. unclickable.
Let us see an example where we shall display 2 texts boxed to enter EmailID and password, with which button would be enabled.
Example #2
Code:
<!DOCTYPE html>
<html>
<head>
<style>
* { font: 20px Times New Roman; }
</style>
</head>
<body>
<h3>Enter EmailId and Password to enable the button!</h3>
<input type="text" id="emailtext" value = "" onkeyup="manageBtn(this)" />
<input type="text" id="pswrdtxt" value= "" onkeyup="manageBtn(this)" />
<input type="submit" id="btnSubmit" disabled />
</body>
<script>
function manageBtn(txt) {
var btn = document.getElementById('btnSubmit');
if (emailtext.value != '' && pswrdtxt.value != '') {
btn.disabled = false;
}
else {
btn.disabled = true;
}
}
</script>
</html>
Output:
On entering some values in both text boxes only, a button would be enabled as given below.
Example #3
Code:
<!DOCTYPE html>
<html>
<head>
<title>Enter data in multiple text boxes to Enable/ Disable button</title>
<style>
* { box-sizing: border-box; font: 20px Times New Roman; width: 99%; }
input {
padding: 15px;
margin: 4px 0;
border: 2px solid #ccc;
border-radius: 5px;
}
input[type=submit] { cursor: pointer; }
</style>
</head>
<body>
<h3>Enter EmployeeName and your designation to Disable the Submit button</h3>
<p>
Employee Name: <input type="text" id="employeename" placeholder="Enter your name here"
onkeyup="manageBtn(this)" />
</p>
<p>
Designation:
<input type="text" id="designation" placeholder="Enter your designation here"
onkeyup="manageBtn(this)" />
</p>
<input type="submit" id="submit" enabled />
</body>
<script>
function manageBtn(txt) {
var btn = document.getElementById('submit');
var element = document.getElementsByTagName('input');
for (i = 0; i < element.length; i++) {
if (element[i].type == 'text' && element[i].value == '') {
btn.disabled = true;
return false;
}
else {
btn.disabled = true;
}
}
}
</script>
</html>
Output:
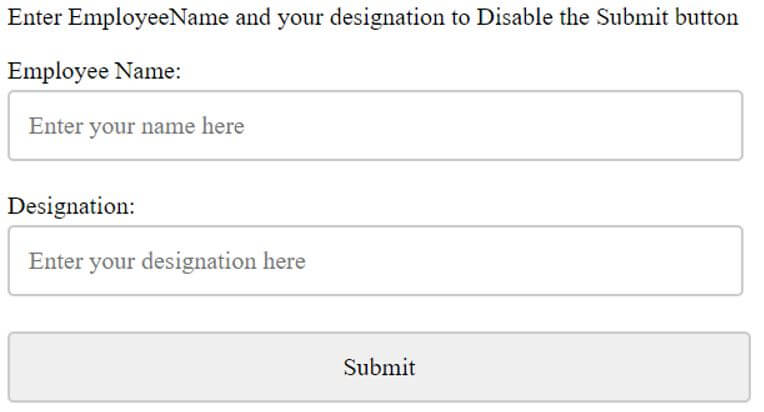
So here, Employee Name and Designation are the two text boxes which require values to Disable the Button. Don’t get confused; generally, we would enable the button on entering values, but here I am showing you for disabling the button.
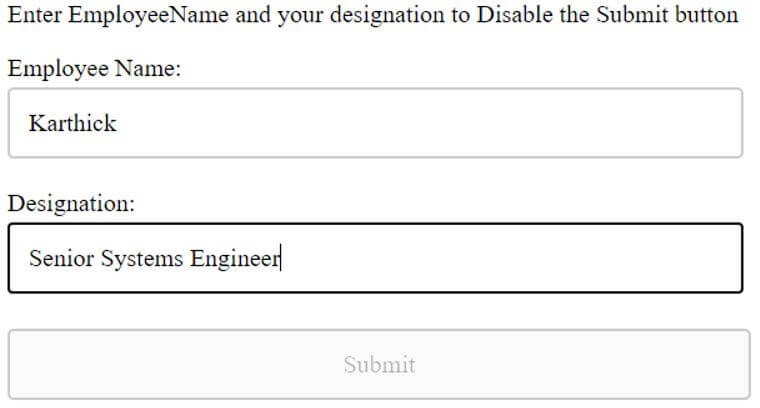
Only on entering some data in those texts boxed will the Submit button will be disabled.
So you can see that the button looks greyed off now from the previous screenshot where you can see the button highlighted and clickable due to JavaScript disabled property.
Conclusion
We have seen what is Disabling button in JavaScript which would differ from one in HTML programming. Illustrated 3 examples to make you understand better with which you can use these examples for reference and code it in your own way. It is just a matter of a property here in JavaScript which we have used is ‘disabled’ getting a Boolean value ‘true’ or ‘false’ with which button gets enabled or disabled. So the rest is our own logic with what conditions we want the button to be disabled or enabled.
Recommended Articles
This is a guide to JavaScript Disable Button. Here we discuss the introduction to JavaScript Disable Button along with examples, respectively. You may also have a look at the following articles to learn more –


