Updated February 21, 2023

Introduction to jQuery Ajax File Upload
jQuery ajax file upload is the process of uploading files from a local computer to a server. When we select a file in the browser and click the submit button, the browser copies the file from our local machine and sends it to the server, which then saves it to the specified location. To upload a file asynchronously, we can utilize ajax and jQuery.
jQuery Ajax File Upload
- For developers, uploading files is difficult, but uploading a file using Ajax is even easier and very simple.
- Advances in Ajax and browser support have made file uploading even easier. HTML5 uploader provides quick solutions but is insecure and incompatible with all browsers.
- At the time of file uploading using jQuery ajax, we are using two functions as follows.
- FormData() – This function is used to create a new object of form data.
- Move uploaded file() – This function is used to relocate an uploaded file.
- Due to poor client-side facilities, the equation required server-side components to handle the incoming data stream.
- On the client-side, HTML5 file input form elements helped. However, developers have added unneeded complexity to their programs when implementing Ajax and JavaScript file uploads.
- When developers use well-known frameworks like jQuery to create file uploads, they introduce unneeded complications.
- Using pure JavaScript and avoiding the usage of heavy libraries and frameworks is the easiest and simplest approach for a developer to perform an Ajax file upload.
- JQuery ajax file upload project is divided into three primary sections.
- The FileReader object from the new File API, the FormData object from XMLHttpRequest, the multiple attributes on the file input element
- The numerous element allows the user to pick multiple files for upload.
- The upload behavior will fall back to a normal, non-AJAX file upload for older browsers that don’t support FormData or FileReader.
- Because of the vast amount of code necessary and the time-consuming chores involved, using AJAX techniques to upload files can be intimidating.
How to upload an image to a jQuery ajax file
- In five simple steps, we can use JavaScript to upload a file to a server using Ajax.
- The webpage rendered in the client’s browser must include an HTML5 input form element.
- A JavaScript method must be written to begin the asynchronous Ajax-based file upload.
- A component must exist on the server to handle the file upload and preserve the resource locally.
- The server must respond to the browser with a status code indicating that the JavaScript file upload was successful. Likewise, the client’s browser must respond with an Ajax-based status code showing that the file was successfully uploaded.
- To begin, we’ll need a form and a preview picture container. Make an index.html file. We need to create an index.html file in our root directory.
- After creating the index.html file, the default browse button must now be hidden with CSS. Then create the style.css file in the CSS directory.
- We’ll require JavaScript code to handle the default functionality of the browse button and the preview picture. It is quite easy to send an ajax request with a file.
- We must create a new table where the uploaded image will be saved before writing PHP code.
How to create a jQuery ajax file?
The below steps show how to create a jQuery ajax file as follows.
Create HTML form
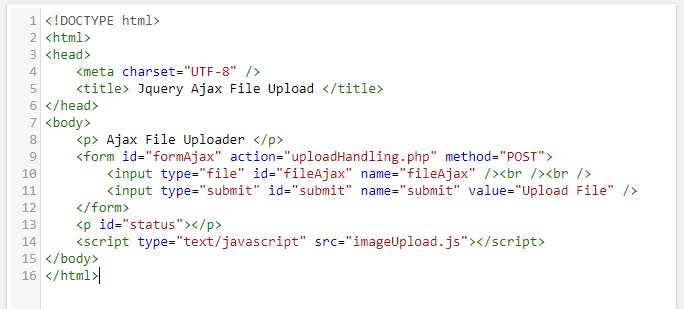
After creating the folder name as ajax_jQuery_upload, create a new file name as index.html, containing the code below.
Code:
<!DOCTYPE html>
<html>
<head>
<meta charset="UTF-8" />
<title> JQuery Ajax File Upload </title>
</head>
<body>
<p> Ajax File Uploader </p>
<form id="formAjax" action="uploadHandling.php" method="POST">
<input type = "file" id = "fileAjax" name = "fileAjax" />  <br /> <br />
<input type = "submit" id = "submit" name = "submit" value = "Upload File" />
</form>
<p id = "status"> </p>
<script type = "text/javascript" src = "imageUpload.js">
</script>
</body>
</html>- The action form directs visitors to a PHP script that handles image file uploads. POST is a protocol for transferring data to a server.
- In this case, we don’t need to specify the enctype property because it’s solely used for text input management.
Create ajax script
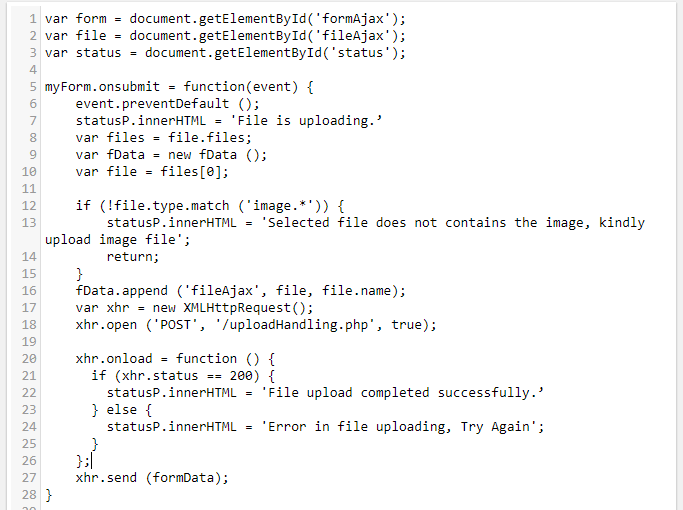
After creating the index.html file next step is to create an ajax script file name imageUpload.js as follows.
Code:
var form = document.getElementById('formAjax');
var file = document.getElementById('fileAjax');
var status = document.getElementById('status');
myForm.onsubmit = function(event)
{
event.preventDefault ();
statusP.innerHTML = 'File is uploading.’
var files = file.files;
var fData = new fData ();
var file = files[0];
if (!file.type.match ('image.*')) {
statusP.innerHTML = 'Selected file does not contains the image, kindly upload image file';
return;  }
fData.append ('fileAjax', file, file.name);
var xhr = new XMLHttpRequest();
xhr.open ('POST', '/uploadHandling.php', true);
xhr.onload = function () {
if (xhr.status == 200) {
statusP.innerHTML = 'File upload completed successfully.’
} else {
statusP.innerHTML = 'Error in file uploading, Try Again';
}    };
xhr.send (formData);
}
Setup server php script, which was used to accept the data from ajax request
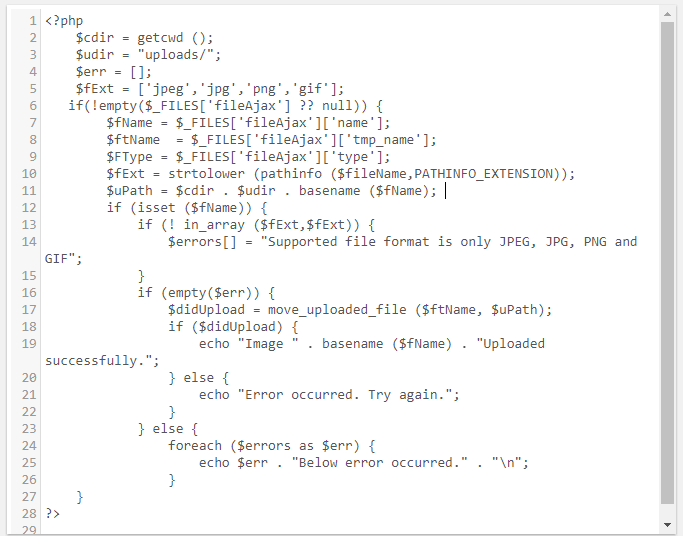
After creating the ajax script in this step, we are creating a php script used to accept the data from the request of ajax.
Code:
<?php
$cdir = getcwd ();
$udir = "uploads/";
$err = [];
$fExt = ['jpeg','jpg','png','gif'];
if(!empty($_FILES['fileAjax'] ?? null))
{
$fName = $_FILES['fileAjax']['name'];
$ftName  = $_FILES['fileAjax']['tmp_name'];
$FType = $_FILES['fileAjax']['type'];
$fExt = strtolower (pathinfo ($fileName,PATHINFO_EXTENSION));
$uPath = $cdir . $udir . basename ($fName);
if (isset ($fName))
{
if (! in_array ($fExt,$fExt)) {
$errors[] = "Supported file format is only JPEG, JPG, PNG and GIF";
}
if (empty($err)) {
$didUpload = move_uploaded_file ($ftName, $uPath);
if ($didUpload) {
echo "Image " . basename ($fName) . "Uploaded successfully.";
} else
{
echo "Error occurred. Try again.";
}
} else
{
foreach ($errors as $err) {
echo $err . "Below error occurred." . "\n";
}
}
?>
Test the ajax image uploader on the browser.
In this step, we test the ajax image uploader on the browser.
Conclusion
While uploading files using jQuery ajax, we need to follow five steps. 1) Creating an instance of the XMLHttpRequest. 2) Using the XMLHttpRequest object to set up various handlers. 3) Creating backend to get data from AJAX requests. 4) Form must be validated. 5) Establishing an effective audience feedback loop.
Recommended Articles
This is a guide to jQuery Ajax File Upload. Here we discuss How to create a jQuery ajax file along with the codes and outputs. You may also look at the following articles to learn more –


